I still remember the summer I spent building my first shed with my grandfather. We were determined to create the perfect backyard oasis, but our enthusiasm often clouded our judgment, leading to a plethora of common shed building mistakes to avoid. As we hammered away, I recall my grandfather saying, “Stanley, the key to a successful project is not just about following the instructions, but also about being aware of the pitfalls that can turn your dream into a nightmare.” His words stuck with me, and now, as a Sustainable Living Consultant, I’ve seen many DIY enthusiasts fall into the same traps.
In this article, I’ll share my honest, no-hype advice on how to sidestep these avoidable mistakes. You’ll learn how to identify and overcome the most common obstacles, from faulty foundation planning to poor material selection. By the end of this guide, you’ll be equipped with the knowledge to build a sturdy, functional, and beautiful shed that will serve as a testament to your creative self-sufficiency. So, let’s get started on this journey to DIY nirvana, and may our sheds stand tall as a symbol of our ingenuity and determination to live more sustainably.
Table of Contents
Guide Overview: What You'll Need
Total Time: several days to several weeks
Estimated Cost: $500 – $5,000
Difficulty Level: Intermediate / Hard
Tools Required
- Tape Measure for accurate measurements
- Square to ensure corners are square
- Level to ensure the shed is level
- Drill with screwdriver and drill bits
- Impact Driver for driving large screws
- Circular Saw for cutting lumber
- Miter Saw for making precise angled cuts
Supplies & Materials
- 2-in x 6-in lumber for the floor and wall framing
- 2-in x 4-in lumber for the roof rafters and wall studs
- Plywood or Oriented Strand Board for the roof and wall sheathing
- Roofing Felt for waterproofing the roof
- Asphalt Shingles for the roof covering
- Exterior-grade Screws for assembling the shed
- Weatherproof Glue for sealing gaps and joints
- Exterior Paint or Stain for protecting the shed from the elements
Step-by-Step Instructions
- 1. First, plan your shed’s foundation carefully, considering the slope of your land and the type of soil you’re working with. This might involve hiring a professional to assess your yard and determine the best spot for your shed, or it could be as simple as observing how water drains after a rainstorm to avoid any potential water accumulation issues.
- 2. Next, ensure you have all the necessary building permits before you start construction. This step is often overlooked, but it’s crucial for avoiding costly fines and finesse in your project. Take the time to research what permits are required in your area and submit your applications well in advance to avoid any delays.
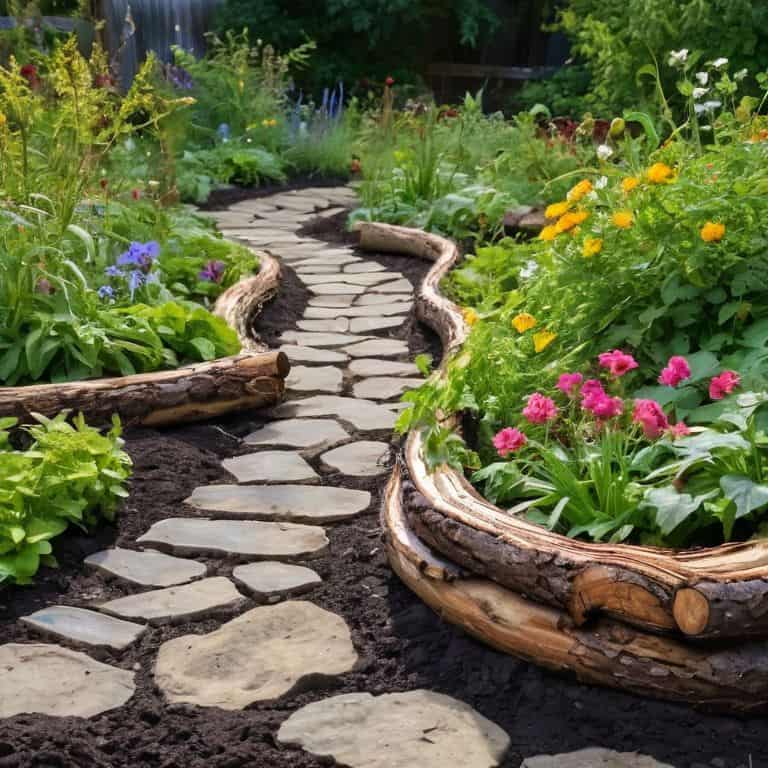
- 3. When preparing your site, clear the area of any debris, trees, or other obstacles that could interfere with your build. This is also a good opportunity to repurpose any materials you find, such as turning old trees into beams or using rocks for decorative elements around your shed.
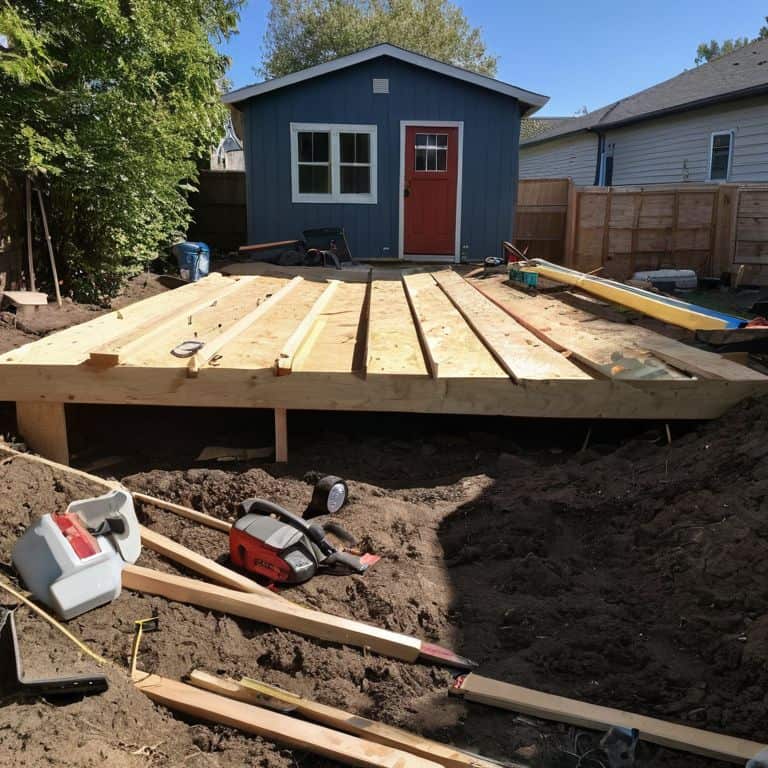
- 4. Now, it’s time to lay your shed’s foundation. Whether you’re using a concrete slab, a wooden platform, or something else, make sure it’s level and secure. A poorly laid foundation can lead to a host of problems down the line, including doors that won’t close properly and walls that are prone to cracking.
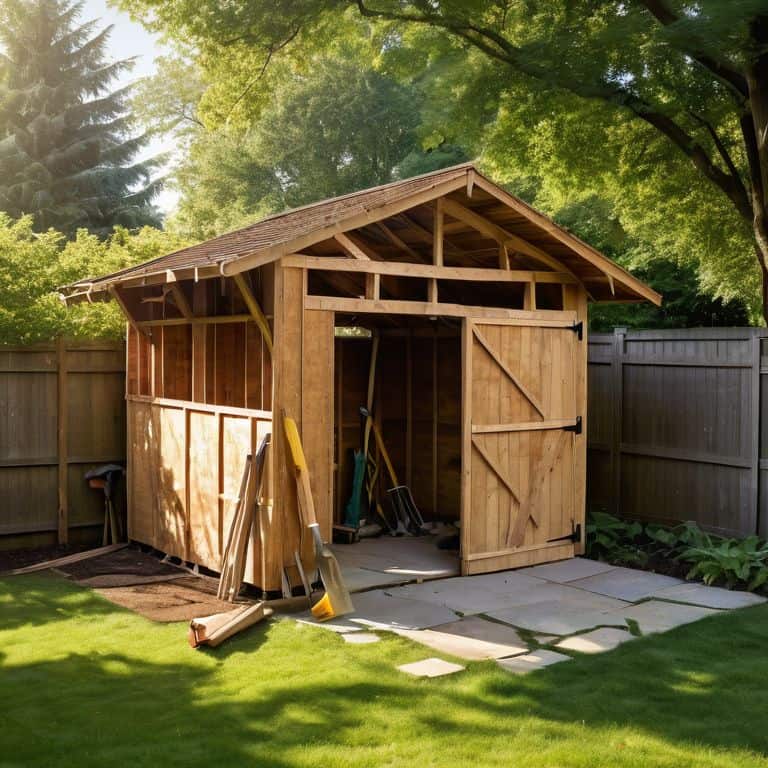
- 5. Frame your shed with durable materials, considering factors like weather resistance and pest protection. For example, using pressure-treated lumber for the parts of your shed that will be in contact with the ground can help prevent rot and insect damage.
- 6. Install your roof, paying close attention to waterproofing and ensuring that all seams are tightly sealed. This might involve applying a layer of roofing felt under your shingles or using a waterproof membrane on a flat roof.
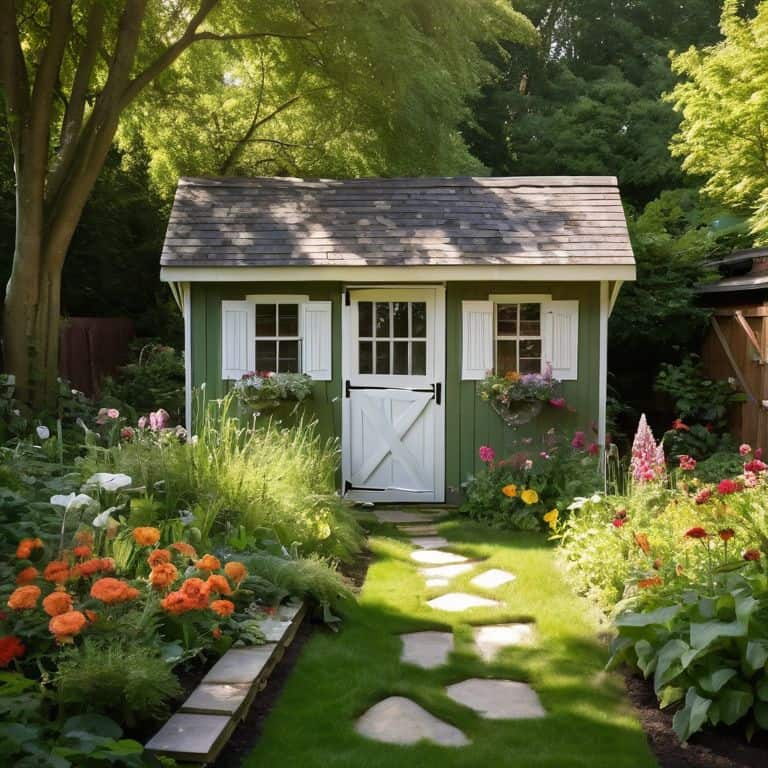
- 7. Finally, add the finishing touches to your shed, including doors, windows, and any decorative elements you like. Make sure your doors are properly aligned and your windows are securely fastened to prevent air leaks and potential break-ins.
Avoiding Shed Building Blunders
As I always say, a well-planned shed foundation design is the key to a successful DIY project. It’s essential to consider the terrain and ensure that your shed is level and secure. I’ve seen many a shed suffer from uneven flooring, which can lead to a host of problems down the line. To avoid this, take the time to properly assess your yard and choose a spot that’s both level and dry.
When it comes to the actual building process, there are a few common pitfalls to watch out for. One of the most critical is choosing the right shed materials. Not only do you want to select materials that are durable and weather-resistant, but you also want to consider the environmental impact of your choices. Opting for sustainable materials, such as reclaimed wood or low-VOC paints, can make a big difference in the long run.
By being mindful of these factors and taking the time to plan carefully, you can avoid many of the shed construction delays that can plague DIY projects. Remember, it’s all about taking your time and doing it right the first time around. With a little patience and creativity, you can build a shed that’s not only functional but also a beautiful addition to your yard.
Common Roofing Mistakes to Dodge
When it comes to roofing, I’ve seen many a shed go from sturdy to sketchy due to a few simple oversights. One of the most common mistakes is inadequate overhang, leaving the shed’s walls vulnerable to water damage and weathering. I like to think of the roof as a protective umbrella, and a good overhang is like the brim that keeps everything dry and cozy underneath. Another mistake is using low-quality or incompatible roofing materials, which can lead to leaks, rot, and a whole lot of headaches down the line.
As someone who’s spent countless hours urban foraging for unique materials, I can attest that even the most unlikely scraps can be repurposed into functional roofing solutions. Consider salvaging old pallet wood or corrugated metal to add a touch of whimsy and sustainability to your shed’s roof. With a little creativity and resourcefulness, you can create a sturdy, water-tight roof that’s both functional and visually appealing.
Shed Foundation Design Secrets
When it comes to shed foundation design, I always say, “it’s all about the basics.” A sturdy foundation is key to a shed that will stand the test of time. I like to think of it as the secret ingredient in your favorite recipe – it may not be the flashiest part, but it’s what makes everything come together. For me, a well-designed foundation is all about creating a level, stable base that will keep your shed safe from water damage and pest infestations.
I’ve found that using reclaimed wood or recycled materials can add a unique touch to your shed’s foundation, while also reducing waste. By getting creative with your foundation design, you can set yourself up for success and create a shed that’s not only functional, but also a reflection of your personal style.
5 Shed Building Slip-Ups to Sidestep for a Stress-Free Sanctuary
- Measure Twice, Cut Once: Double-Checking Your Math to Avoid Costly Mistakes
- Foundation Frenzy: Ensuring Your Shed’s Base is Level and Secure to Prevent Future Flops
- Roofing Rookies: Common Pitfalls to Avoid When Installing Your Shed’s Top Layer
- Door and Window Debacles: How to Properly Install Entrances and Exits to Maintain Your Shed’s Integrity
- Electrical Errors: Safety First When Adding Lights, Outlets, or Other Electrical Components to Your Shed
Key Takeaways for a Shed Building Pro
Always prioritize a sturdy foundation design to prevent shed instability and potential collapse, considering factors like soil type, drainage, and weight distribution
Be mindful of roofing mistakes such as inadequate slope, insufficient waterproofing, and poor material selection, which can lead to leaks, structural damage, and decreased shed lifespan
Embrace creative problem-solving and DIY resourcefulness to transform potential pitfalls into opportunities for innovation and self-sufficiency, turning your shed building journey into a rewarding adventure
Wisdom from the Workshop
The most magnificent sheds are often born from the ashes of our mistakes, for it’s in embracing our errors that we discover the true art of building something that not only stands the test of time, but tells the story of our journey towards self-sufficiency.
Stanley Truman
Embracing the Joy of DIY: A Conclusion
As we’ve explored the common shed building mistakes to avoid, it’s clear that attention to detail and a willingness to learn are key to a successful project. From shed foundation design secrets to avoiding common roofing mistakes, each step requires careful consideration and planning. By sidestepping these potential pitfalls, you’ll not only ensure a sturdy and functional shed but also cultivate a sense of pride and accomplishment in your DIY endeavors. Whether you’re a seasoned builder or a novice, the journey of creating something with your own hands is incredibly rewarding, and with the right mindset, you can turn any project into a labor of love.
Now, as you embark on your own shed building adventure, remember that it’s okay to make mistakes – they’re an inevitable part of the learning process. The important thing is to stay curious, keep experimenting, and always be open to new ideas and techniques. By embracing this mindset and applying the lessons from our guide, you’ll be well on your way to creating a beautiful, functional shed that not only serves its purpose but also reflects your unique personality and style. So, go ahead, get creative, and turn your vision into a reality – the joy of DIY is waiting for you, and with every new project, you’ll find that the possibilities are endless.
Frequently Asked Questions
What are the most critical mistakes to avoid when designing the foundation of my shed?
When designing your shed’s foundation, beware of uneven ground, inadequate drainage, and insufficient footings – these can lead to a wobbly or even collapsing structure. I like to think of it as giving your shed a stable hug from the ground up, ensuring it stands tall and proud for years to come.
How can I ensure that my shed's roofing is properly secured to withstand various weather conditions?
To secure your shed’s roofing, make sure to use durable fasteners and a waterproof underlayment. I like to add an extra layer of protection with a DIY sealant made from natural materials like beeswax and linseed oil. It’s a trick I learned from my urban foraging adventures – and it works like a charm!
What are some common mistakes to watch out for when choosing the right materials for my shed's construction?
When selecting materials for your shed, beware of choosing cheap over quality – it may save you pennies now, but can lead to costly repairs down the line. Opt for durable, sustainable options like reclaimed wood or recycled metal, and don’t forget to consider factors like weather resistance and pest protection.