I still remember the first time I tried to frame a shed wall – it was a disaster. I had envisioned a sturdy, charming structure, but what I got was a wobbly, uneven mess. It wasn’t until I stumbled upon a well-worn copy of a guide to framing a shed wall in my grandfather’s workshop that I discovered the secrets to building a shed that would stand the test of time. The key, I learned, was not in the fancy tools or the expensive materials, but in the simple, time-tested techniques that had been passed down through generations of craftsmen.
As you embark on your own journey to build a shed, I want to assure you that you’re in the right place. This article will provide you with practical, no-nonsense advice on how to frame a shed wall that will serve as a solid foundation for your entire project. We’ll cover everything from preparing the site to installing the roof, and I’ll share some of my favorite tips and tricks for making the process smoother and more enjoyable. By the end of this guide, you’ll be equipped with the knowledge and confidence to tackle your shed-building project with ease, and create a beautiful, functional space that you’ll cherish for years to come.
Table of Contents
Guide Overview: What You'll Need
Total Time: 4 hours 30 minutes
Estimated Cost: $100 – $300
Difficulty Level: Intermediate
Tools Required
- Circule Saw (for cutting lumber)
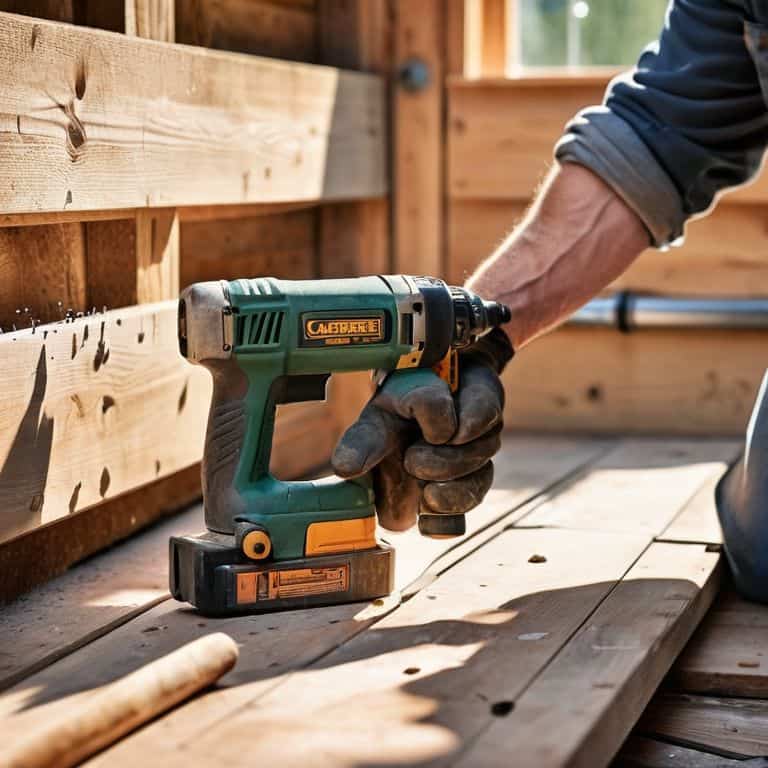
- Drill (with screwdriver and drill bits)
- Tape Measure (25 feet long)
- Square (for ensuring corners are square)
- Level (for ensuring walls are level)
- Hammer (for tapping screws into place)
- Wrench (for tightening bolts)
- Ladder (6 feet tall)
Supplies & Materials
- 2-in x 4-in Lumber (for wall framing)
- 2-in x 6-in Lumber (for top and bottom plates)
- Exterior-grade Plywood (for wall sheathing)
- Exterior-grade Screws (2 1/2 inches long)
- Weather-resistant Nails (3 inches long)
- Wood Glue (for reinforcing joints)
Step-by-Step Instructions
- 1. First, let’s gather our materials and get familiar with the tools we’ll be using. I like to think of this step as a treasure hunt around the house and yard, seeing what hidden gems we can find to repurpose. For framing a shed wall, we’ll need lumber for the studs, plates, and siding, as well as a hammer, tape measure, square, and nails. Don’t worry if you don’t have everything; we can always get creative with substitutions.
- 2. Next, we need to prepare the site where our shed will stand. This involves clearing the area of any debris, leveling the ground, and laying down a foundation. I’ve found that using reclaimed wood for the foundation not only reduces waste but also adds a unique character to our project. Remember, the key to a successful DIY project is to be flexible and open to new ideas.
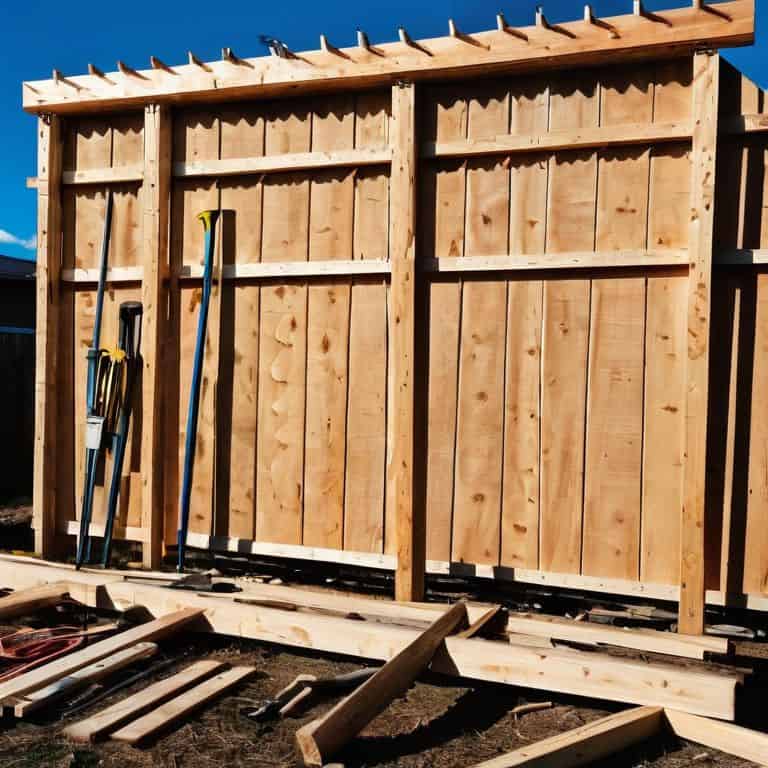
- 3. Now, let’s start framing the wall by constructing the base plate. This is the foundation of our wall, so it’s crucial to get it right. Use your tape measure to mark out the dimensions of your shed, and then cut your lumber accordingly. I like to use a mix of new and reclaimed wood to give my projects a touch of history.
- 4. With our base plate in place, it’s time to add the studs. These will provide the structural support for our wall, so make sure they’re evenly spaced and securely nailed. I’ve developed a technique I call “eco-studding,” where I use found materials like old pallets or fencing to create my studs. Not only does this reduce waste, but it also adds a layer of sustainability to our project.
- 5. Once our studs are in place, we can start adding the top plate. This is essentially the mirror image of our base plate, and it helps to tie the whole structure together. I like to think of this step as the culmination of our creative vision, where all the different elements start to come together.
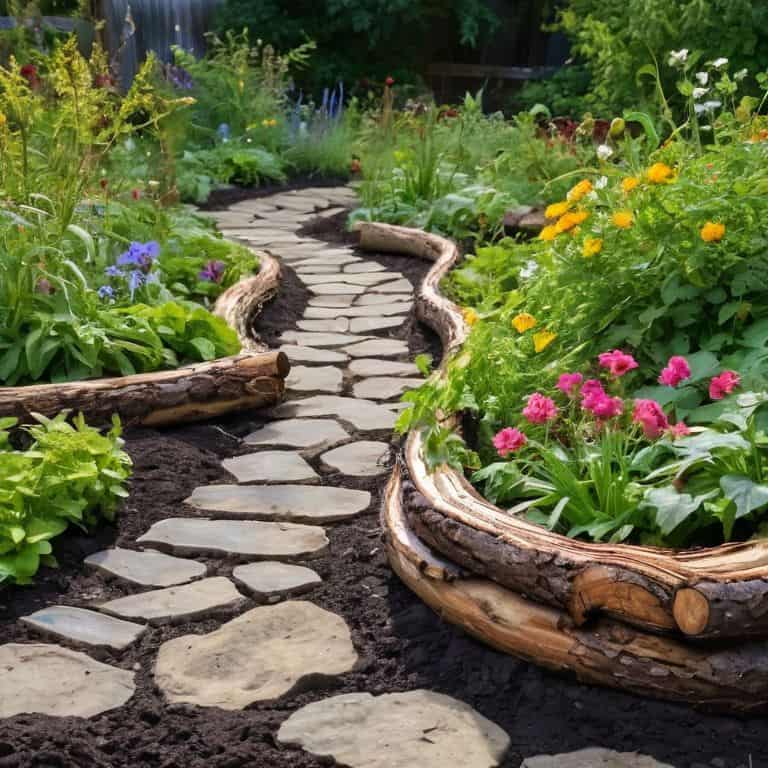
- 6. Now that we have our basic frame in place, it’s time to add some siding to protect our shed from the elements. I’m a big fan of using reclaimed wood or repurposed materials for this step, as it not only reduces waste but also adds a unique touch to our project. Consider using old fencing, pallet wood, or even plastic bottles to create a truly one-of-a-kind look.
- 7. Finally, let’s add some finishing touches to our shed wall. This might involve adding a coat of paint or sealant, installing a door or windows, or simply decorating the exterior with some of our favorite found objects. The key to this step is to have fun and let your creativity shine. Remember, the most important thing is to enjoy the process and be proud of what we’ve created together.
A Guide to Framing a Shed Wall
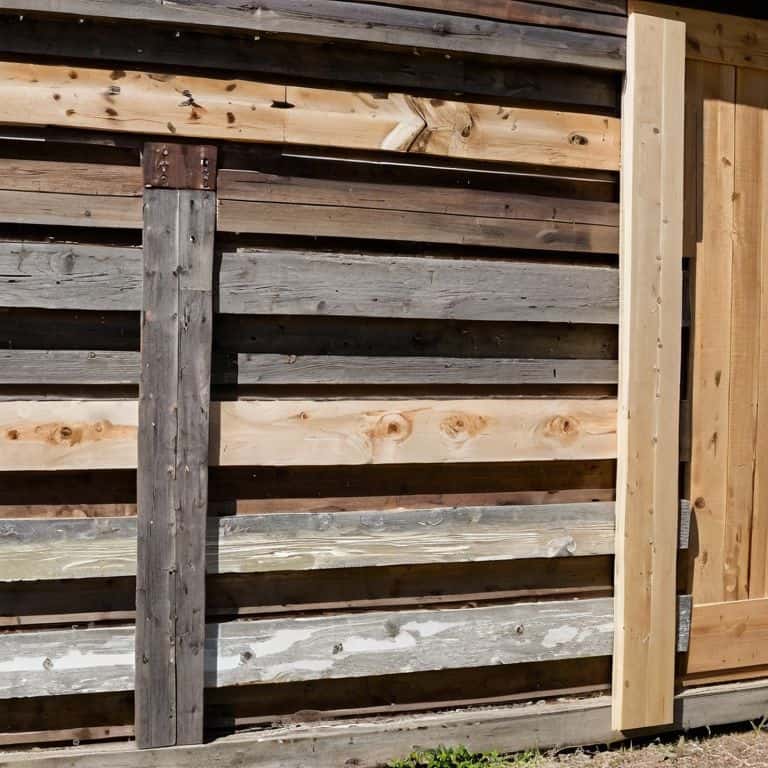
As I always say, the devil is in the details, and when it comes to shed wall construction tips, it’s all about paying attention to the little things. One of my favorite tricks for framing a shed for beginners is to use a combination of traditional lumber and reclaimed wood to add some character to the structure. Not only does this approach reduce waste, but it also gives your shed a unique personality.
When selecting the best lumber for shed framing, consider the type of wood that will be exposed to the elements. I like to use durable species like cedar or cypress for the exterior frames, as they can withstand the test of time and weather. Additionally, be sure to check your local shed building codes and regulations to ensure that your project meets all the necessary requirements.
To avoid common diy shed framing mistakes to avoid, take your time and double-check your measurements before cutting any lumber. It’s also essential to have a solid shed wall framing design idea in mind before starting your project. Consider factors like natural light, ventilation, and accessibility to create a functional and comfortable space. By following these tips and being mindful of the details, you’ll be well on your way to creating a beautiful and functional shed that will serve you for years to come.
Framing Mistakes to Avoid With Best Lumber
When working with lumber, it’s essential to be mindful of common mistakes that can compromise your shed’s structure. One of the most critical errors is using low-quality or damaged lumber, which can lead to a weak frame. I’ve seen it time and time again – a beautiful shed, meticulously planned, but constructed with subpar materials. To avoid this, always inspect your lumber before starting your project, and don’t be afraid to get creative with reclaimed or salvaged wood.
By choosing the right lumber, you’ll not only ensure your shed’s stability but also add a touch of character to your project. Remember, the key to a successful build is attention to detail and a willingness to think outside the box. With the right materials and a bit of ingenuity, you’ll be well on your way to crafting a sturdy and unique shed that reflects your personal style.
Shed Wall Construction Tips for Beginners
As a beginner, it’s essential to remember that framing a shed wall is all about creating a solid foundation. Start by ensuring your site is level and clear of debris. I like to think of it as preparing a canvas for a masterpiece – you want a smooth start to bring your vision to life. Double-check your measurements and use a trusty level to guarantee your frames are perfectly aligned.
For an added touch of character, consider incorporating reclaimed wood into your design. Not only is it eco-friendly, but it also adds a unique story to your shed. I’ve found that old wooden pallets can make fantastic wall panels, and with a little creativity, you can turn them into a stunning feature. Remember, the key to successful shed wall construction is patience, precision, and a willingness to think outside the box.
Hammering Home the Essentials: 5 Tips for a Sturdy Shed Wall
- Measure Twice, Cut Once: The golden rule of carpentry still reigns supreme – double-check your measurements to avoid costly mistakes and wasted lumber
- Choose Your Lumber Wisely: Not all wood is created equal, so select the best quality, straightest boards for your frame to ensure a solid foundation
- Frame with Flexibility in Mind: Consider the elements and the weight your shed will bear – factor in some flexibility to withstand harsh weather conditions and potential snow loads
- Plumb and Level are Your Best Friends: Before adding the finishing touches, make sure your frame is perfectly plumb and level to avoid a wonky shed that’s prone to leaks and structural issues
- Add Some Extra Support: Don’t be shy with the brackets and screws – adding extra support to your corners and seams will give you a shed that’ll stand tall for years to come
Key Takeaways for a Sturdy and Sustainable Shed
Always remember to choose lumber that’s not only durable but also sustainable, considering reclaimed or locally sourced wood to reduce your carbon footprint
Measure twice, cut once – and don’t be afraid to think outside the box when it comes to repurposing materials you might otherwise discard, like turning old pallets into shelving or decorative elements
Lastly, don’t underestimate the power of a well-planned frame: take your time to ensure each piece fits snugly into place, and feel free to add your own personal touches, like a handmade wooden sign or a living roof, to make your shed a true reflection of your creativity and commitment to sustainable living
Framing the Future
As we raise the walls of our sheds, let’s not just build structures, but cultivate a sense of self-sufficiency and harmony with the earth, where every beam and every board tells a story of resourcefulness and creativity.
Stanley Truman
Bringing Your Shed to Life
As we wrap up this journey of framing a shed wall, let’s take a moment to reflect on the progress we’ve made. From choosing the right lumber to avoiding common framing mistakes, we’ve covered the essential steps to turn your pile of wood into a sturdy shed. Remember, framing is the backbone of your shed, and with these tips, you’re well on your way to creating a sanctuary that’s both functional and beautiful. Whether you’re a seasoned DIY enthusiast or a beginner, the sense of accomplishment you’ll feel when you step back and admire your handiwork is unparalleled.
Now that you have the tools and the know-how, it’s time to unleash your creativity and make your shed a true reflection of your personality. Don’t be afraid to experiment with different designs, colors, and textures – after all, the beauty of DIY lies in its uniqueness. As you put the finishing touches on your shed, remember that it’s not just a physical structure, but a symbol of your ability to create something from scratch. So go ahead, add that extra coat of paint, install those solar panels, or plant a garden around your shed – the possibilities are endless, and the joy of creation is yours to behold.
Frequently Asked Questions
What are the most common mistakes to avoid when framing a shed wall to ensure it's sturdy and long-lasting?
Let’s avoid some common pitfalls! When framing a shed wall, watch out for uneven foundations, inadequate anchoring, and poorly spaced studs. These mistakes can lead to a wobbly structure that won’t withstand the elements. Trust me, I’ve seen it happen! Take your time, double-check your measurements, and remember, a sturdy shed starts with a solid foundation.
How do I determine the best type of lumber for my shed wall, considering factors like weather resistance and budget?
For my shed walls, I swear by durable woods like cedar or reclaimed pine. They’re naturally resistant to the elements and can withstand the test of time. Plus, they’re often budget-friendly options. Consider salvaging materials from old fences or barns to add some character and save some cash – it’s all about getting creative with what you’ve got!
Can I use reclaimed or recycled materials for framing my shed wall, and if so, what are some tips for preparing and incorporating them into the structure?
Absolutely, I’m all about breathing new life into old materials. Reclaimed wood can add character to your shed. Just ensure you inspect each piece for damage, and debark or de-nail as needed. You can also use recycled metal for roof support or siding. Get creative, and remember, imperfections are part of the charm!