I still remember the summer I spent building a treehouse for my neighbor’s kids, and the most challenging part was figuring out how to build a shed foundation that would withstand the elements and last for years to come. The conventional wisdom was to hire a contractor or spend a fortune on materials, but I was determined to prove that with a little creativity and some repurposed materials, we could create something truly special. As it turns out, building a shed foundation doesn’t have to be a daunting task, and I’m excited to share my experience with you.
In this article, I’ll walk you through the process of building a shed foundation using found materials and simple tools, making it accessible to anyone with a willingness to get their hands dirty. You’ll learn how to assess your site, choose the right materials, and construct a foundation that will provide a solid base for your shed. My goal is to empower you with the knowledge and confidence to take on this project yourself, and to show you that building a shed foundation can be a fun and rewarding experience. By the end of this guide, you’ll be well on your way to creating a sturdy foundation for your dream shed, and you’ll have the satisfaction of knowing you did it yourself.
Table of Contents
Guide Overview: What You'll Need
Total Time: 4 hours 30 minutes
Estimated Cost: $100 – $300
Difficulty Level: Intermediate
Tools Required
- Shovel (for digging)
- Level (to ensure even surface)
- Tape measure (for accurate measurements)
- Hammer (for tapping blocks into place)
- Power drill (with screwdriver and drill bits)
- Wrench (for tightening bolts)
- Ladder (for accessing high areas)
- Safety glasses (for protecting eyes from debris)
- Work light (for illuminating the work area)
Supplies & Materials
- 2-in x 6-in lumber (for foundation frame)
- 4-in x 4-in lumber (for foundation posts)
- Concrete mix (for setting posts)
- Gravel (for drainage and base material)
- Sand (for leveling and base material)
- Foundation anchors (for securing the shed to the foundation)
- Weather-resistant wood screws (for assembling the foundation frame)
- Post base brackets (for attaching posts to the foundation)
- Flashings (for protecting the foundation from water damage)
Step-by-Step Instructions
- 1. First, let’s start by assessing the land and choosing the perfect spot for our shed foundation. Consider the slope of your yard, the direction of the sun, and the proximity to any power sources or water supply. I like to think of this step as a fun treasure hunt, where we get to discover the hidden potential of our backyard.
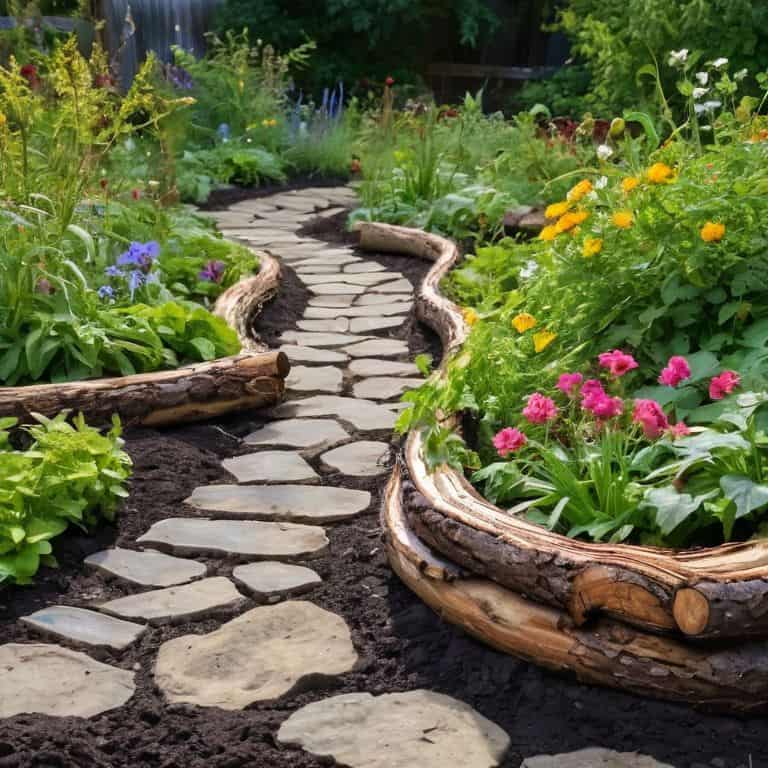
- 2. Next, we need to clear the area of any debris, rocks, or vegetation. This is a great opportunity to get creative and think about how we can repurpose any materials we find. For example, if we come across any interesting branches or rocks, we can set them aside for a future DIY project, like building a natural garden border.
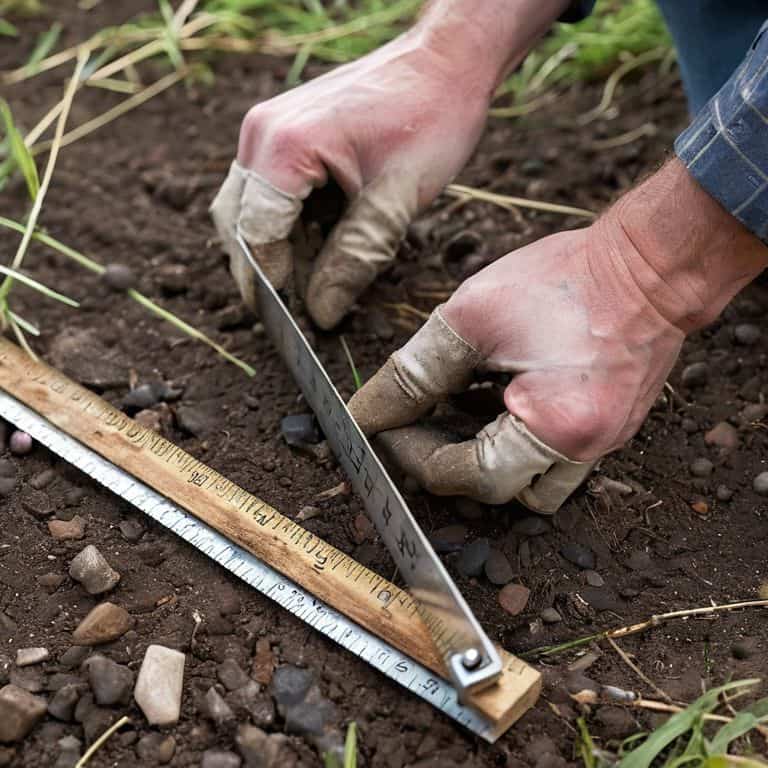
- 3. Now it’s time to mark out the foundation area. Use a rope or a hose to define the perimeter of your shed, and then use a can of spray paint to mark the outline on the ground. I find that using a mixture of trial and error and creative problem-solving is key in this step, as we need to make sure our foundation is level and square.
- 4. With our area marked out, we can start excavating the site. Use a shovel to carefully dig out the topsoil, and then set it aside for later use in our garden or yard. As we dig, let’s keep an eye out for any hidden treasures, like old bricks or stones, that we can use to add some character to our foundation.
- 5. Once we’ve reached the desired depth, it’s time to lay down the foundation material. This could be a layer of compacted gravel, a concrete slab, or even a permeable paver system. The key is to choose a material that is both durable and environmentally friendly, and that will provide a solid base for our shed.
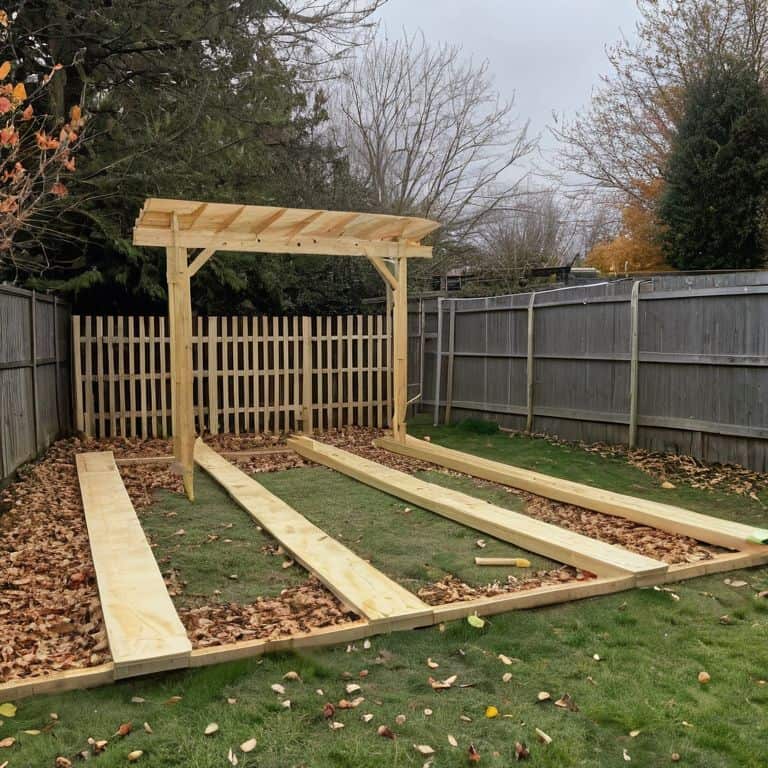
- 6. Next, we need to install the foundation walls. This could involve building a wall using reclaimed wood, or installing a pre-fabricated foundation system. Either way, the goal is to create a sturdy and level base that will support our shed and keep it safe from the elements.
- 7. With our foundation walls in place, we can start backfilling the area around them. Use a mixture of soil and gravel to fill in the gaps, and then compact it down using a hand tamper or a plate compactor. As we work, let’s take a step back and admire our handiwork, thinking about how our sustainable shed foundation is going to support our DIY dreams for years to come.
Crafting Shed Foundations
As we delve into the world of shed foundation types, it’s essential to consider the unique characteristics of your yard. For instance, if you’re building a shed on uneven ground, you may need to get creative with your foundation design. This could involve using DIY shed foundation kits or consulting with a professional to ensure a stable base for your shed.
When it comes to preparing a shed site, drainage is a crucial factor to consider. You’ll want to ensure that your shed foundation is designed with shed foundation drainage solutions in mind, such as a slight incline or a perforated pipe system. This will help prevent water from accumulating around your shed and reduce the risk of damage or erosion.
By taking the time to carefully plan and prepare your shed site, you can create a sturdy and long-lasting foundation that will serve as a solid base for your dream shed. Whether you’re working with a shed foundation cost estimate or simply looking for ways to reduce waste, repurposing materials and getting creative with your design can help you achieve your goals while also promoting sustainable living.
Building on Uneven Ground
When faced with uneven ground, the key is to get creative with your foundation. I like to think of it as a fun puzzle to solve. You can use reclaimed wood or stones to create a level base, or even repurpose old bricks to build a slight incline. The goal is to find a balance between the natural landscape and your shed’s foundation, rather than trying to force the land to conform to your design.
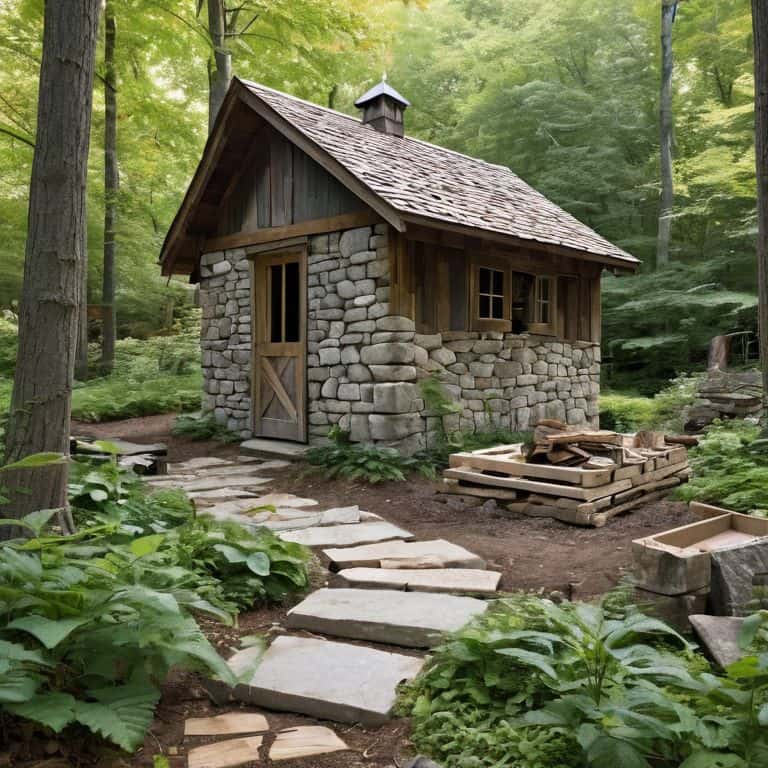
By working with the land, rather than against it, you can create a unique and charming foundation that not only supports your shed but also blends seamlessly into the surrounding environment. This approach may require a bit more time and effort, but the end result is well worth it – a beautiful, one-of-a-kind shed that feels like it’s grown organically from the earth itself.
Shed Foundation Types Uncovered
As we dive into the world of shed foundations, it’s essential to explore the various types that can bring your vision to life. From gravel bases to concrete slabs, each option offers a unique set of benefits and challenges. I’ve had my fair share of experimenting with different materials, and I can tell you that a well-chosen foundation can make all the difference in the longevity and stability of your shed.
Let’s take a closer look at some of the most popular shed foundation types, shall we? You’ve got your on-grade foundations, which are perfect for flat landscapes, and then there are the more elaborate frost-protected foundations for those chilly winter months. Each type has its own quirks and advantages, and understanding these will help you make an informed decision that suits your needs and the environment you’re working with.
Laying the Groundwork: 5 Tips to Shed Foundation Success
- Assess Your Yard’s Topography: Before breaking ground, take a stroll around your yard to identify the best spot for your shed, considering factors like drainage, sunlight, and accessibility
- Choose the Right Materials: Select materials that are not only durable but also sustainable, such as reclaimed wood or locally sourced gravel, to minimize your project’s environmental footprint
- Prepare the Site with Permaculture Principles: Clear the area of debris, and if necessary, use natural methods to level the ground, like terracing or swales, to create a harmonious relationship between your shed and the surrounding landscape
- Get Creative with Repurposed Materials: Think outside the box (or shed, in this case!) and incorporate repurposed items, like old bricks, stones, or wooden pallets, to add character and reduce waste in your foundation
- Build with Flexibility in Mind: Consider using a foundation type that allows for adjustments or expansion, like a modular or post-and-beam system, to future-proof your shed and make it easier to maintain or upgrade over time
Key Takeaways for a Sustainable Shed Foundation
Embracing creative reuse, you can transform scrap materials into a sturdy and unique shed foundation that not only reduces waste but also adds character to your outdoor space
Understanding your yard’s terrain is crucial – whether you’re dealing with uneven ground or a slope, there are innovative DIY solutions to ensure your shed stands firmly and securely, from using recycled plastic lattice for drainage to incorporating natural elements like rocks and logs
By choosing to build your shed foundation with sustainable materials and practices, you’re not only contributing to a healthier environment, but you’re also opening the door to a world of creative possibilities – where every project is an opportunity to invent, to reimagine, and to bring new life to discarded treasures
Laying the Groundwork for Dreams
The art of building a shed foundation isn’t just about laying bricks and mortar, it’s about weaving a tapestry of possibility, where every stone, every beam, and every repurposed fragment tells a story of transformation and renewal.
Stanley Truman
From Vision to Reality: Your Dream Shed Awaits
As we conclude our journey through the world of shed foundation building, remember that the key to a successful project lies in combining creativity with practicality. We’ve explored the basics of crafting shed foundations, from understanding the different types to overcoming the challenges of uneven ground. By embracing these principles, you’ll not only ensure a sturdy base for your shed but also cultivate a deeper connection with the natural world and the materials that surround us.
Now, as you stand in your backyard, envisioning the shed that will soon become a reality, recall that sustainable living is a journey, not a destination. It’s about embracing the beauty of imperfection, the thrill of repurposing, and the joy of creating something with your own hands. So, let’s get building, and let our sheds stand as testaments to the magic that happens when we combine imagination, resourcefulness, and a passion for the planet.
Frequently Asked Questions
What are some creative ways to repurpose old materials for a shed foundation?
I love upcycling old materials for shed foundations. Consider repurposing old bricks, stones, or concrete pavers for a sturdy base. You can also use reclaimed wood, like pallets or decking, to create a unique and eco-friendly foundation. Get creative and think outside the box – or shed, in this case!
How do I determine the best type of shed foundation for my specific yard and climate?
To find the perfect shed foundation for your yard and climate, let’s get curious! Observe how water flows, note the soil type, and consider the shed’s size and weight. For soggy yards, a gravel base might be the ticket, while dry areas might call for a concrete slab. Let’s explore and find the ideal fit together!
What are some common mistakes to avoid when building a shed foundation on uneven ground?
When building on uneven ground, beware of neglecting to level the site, using inadequate drainage, and not accounting for soil settlement – these missteps can lead to a wobbly shed and a whole lot of headaches down the line, my friend!