I still remember the summer I helped my neighbor, Mrs. Jenkins, transform her old shed into a cozy reading nook. The project was a labor of love, but the most daunting task was figuring out how to install roofing on a shed. I recall thinking, “There must be a simpler way to do this without breaking the bank or hiring a professional.” And that’s exactly what I want to share with you today – a straightforward, cost-effective approach to how to install roofing on a shed that won’t leave you feeling overwhelmed.
In this article, I’ll walk you through the entire process, from preparation to completion, with practical tips and honest advice on what to expect. You’ll learn how to choose the right materials, measure your shed, and install roofing like a pro. My goal is to empower you with the knowledge and confidence to tackle this project on your own, without sacrificing your weekend or your wallet. By the end of this guide, you’ll be equipped with the skills to give your shed a brand new look and a sturdy roof that will withstand the elements. So, let’s get started and bring your shed back to life!
Table of Contents
Guide Overview: What You'll Need
Total Time: 4 hours 30 minutes
Estimated Cost: $100 – $300
Difficulty Level: Intermediate
Tools Required
- Tape Measure for accurate measurements
- Square for ensuring straight cuts
- Circ Saw for cutting lumber
- Drill with screwdriver bits
- Hammer for tapping roofing nails into place
- Ladder sturdy and tall enough to reach the shed roof
- Utility Knife with extra blades
Supplies & Materials
- 2-in x 6-in lumber for roof rafters
- 2-in x 4-in lumber for roof supports
- Asphalt Shingles sufficient for the shed’s roof area
- Roofing Nails 1 1/2 inches long
- Roofing Felt for underlayment
- Ridge Cap Shingles for the roof’s peak
Step-by-Step Instructions
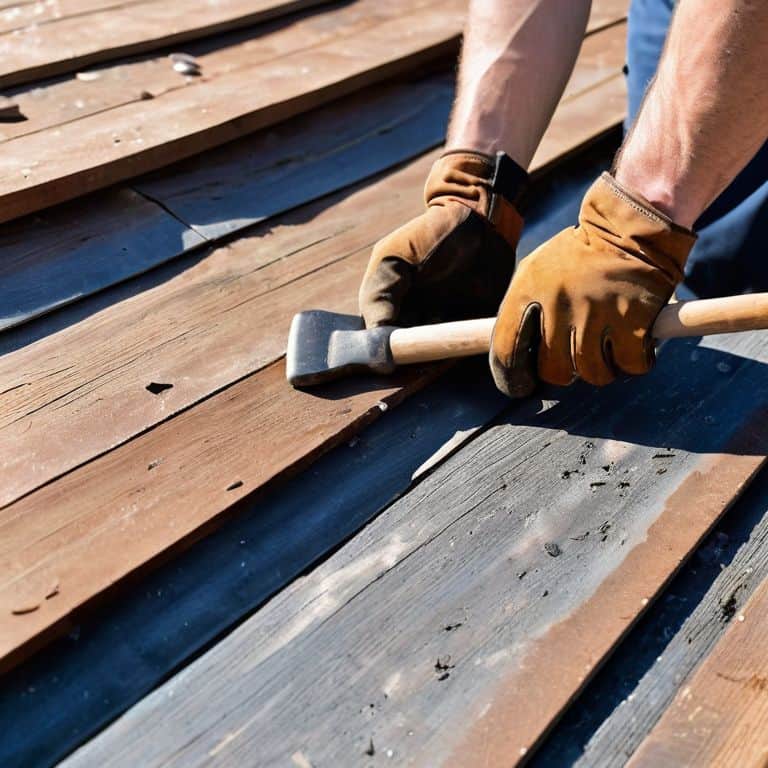
- 1. First, let’s get started with the foundation of our roofing project: preparing the shed itself. This means clearing the area around the shed, removing any debris or obstacles that could get in the way, and doing a quick inspection of the shed’s structure to ensure it’s sturdy and secure. I like to think of this step as setting the stage for a successful project.
- 2. Next, we need to gather our materials and tools. This includes the roofing itself (whether that’s asphalt shingles, metal, or something more eco-friendly like recycled plastic), a hammer, a tape measure, a square, a pencil, and a utility knife. Don’t forget to wear your safety gear, including gloves, safety glasses, and a dust mask. I’ve found that having everything within arm’s reach can make a big difference in the efficiency of the process.
- 3. Now it’s time to measure and mark the roof’s dimensions. This is crucial for ensuring that our roofing material is cut to the right size and that we don’t end up with any awkward gaps or overlaps. Use your tape measure to get the exact dimensions, and then use your pencil to mark the roof’s surface. Remember, accuracy is key here, so take your time and double-check your measurements.
- 4. With our measurements in hand, we can start cutting our roofing material to size. This is where things can get a bit tricky, so be sure to follow the manufacturer’s instructions and use the right tools for the job. For example, if you’re working with asphalt shingles, you’ll want to use a utility knife to score and snap the shingles, rather than cutting them with a saw. I’ve found that using a straightedge can help guide my cuts and ensure a clean edge.
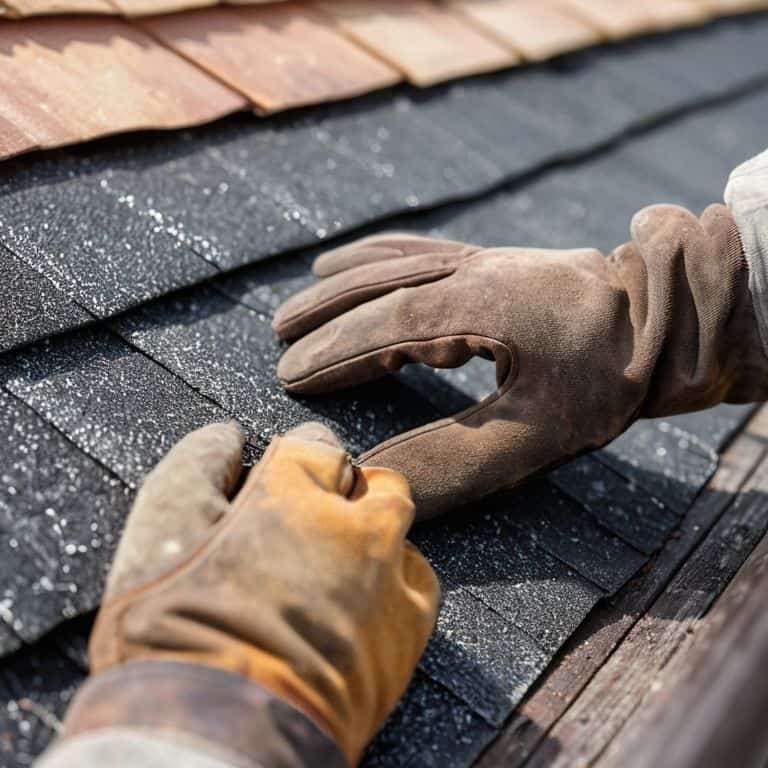
- 5. Once our roofing material is cut, it’s time to start installing it. This usually involves applying a layer of underlayment to the roof surface, followed by the roofing material itself. Be sure to follow the pattern recommended by the manufacturer, and use the right type and amount of fasteners to secure the material in place. For example, if you’re using nails, you’ll want to space them about 6-8 inches apart, depending on the type of roofing and the local building codes.
- 6. As we work our way across the roof, we’ll need to cut and fit the roofing material around any vents, skylights, or other obstacles. This can be one of the more challenging parts of the process, but with a little patience and creativity, you should be able to get a snug and secure fit. Just remember to take your time and work methodically, using your utility knife and other tools as needed to trim and shape the material.
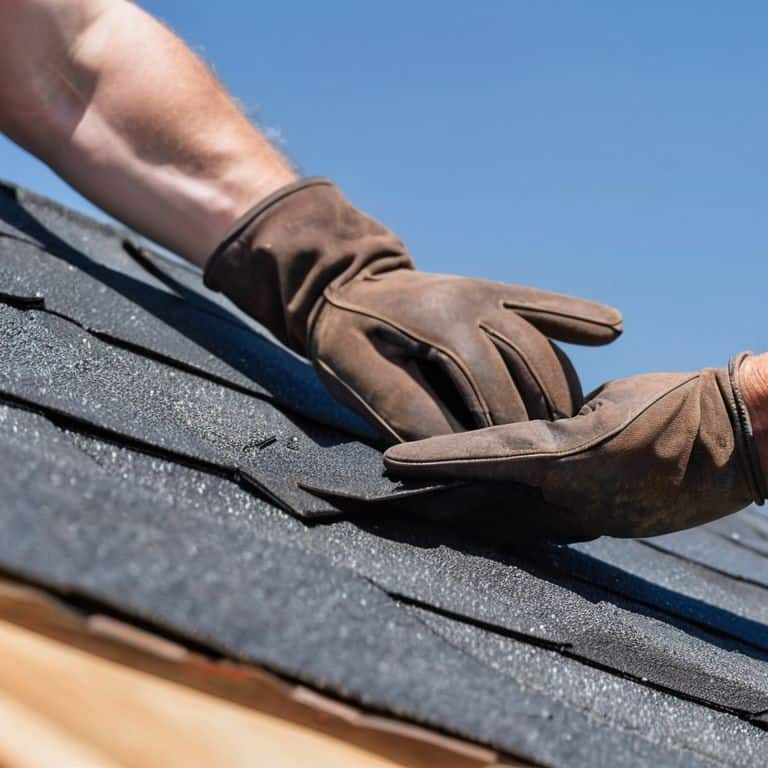
- 7. Finally, once the roofing material is in place, we can add the finishing touches, including any ridge caps, drip edges, or other trim pieces. This is where we can really make our shed stand out and add some personal flair to the project. Consider using recycled or repurposed materials for these trim pieces, or get creative with your paint and decorating choices to give your shed a unique and eye-catching look.
Shed Roofing Mastery
As I always say, the key to shed roofing mastery lies in the details. When it comes to choosing the right materials, I’m a big fan of asphalt shingles for sheds – they’re durable, affordable, and easy to install. However, it’s essential to consider the shed roof pitch calculation to ensure you’re getting the most out of your roofing materials.
To take your shed roofing game to the next level, consider investing in metal roofing installation tips from a professional. Not only will this provide you with a sleek and modern look, but it will also offer superior protection against the elements. Additionally, don’t overlook the importance of roofing underlayment materials – a good underlayment can make all the difference in preventing leaks and water damage.
When it comes to common diy shed roofing mistakes, one of the most critical errors is neglecting shed roof ventilation options. Proper ventilation is crucial for preventing moisture buildup and extending the lifespan of your roof. By incorporating simple ventilation solutions, such as ridge vents or solar-powered fans, you can ensure your shed remains dry and secure for years to come.
Asphalt Shingles for Unique Sheds
As I always say, the right materials can make all the difference in giving your shed a personality that reflects yours. Asphalt shingles, with their versatility and durability, are a fantastic choice for unique sheds. Not only are they easy to install, but they also come in a wide range of colors and styles, allowing you to match your shed’s roof to its surroundings or make a bold statement.
I’ve seen asphalt shingles used to create everything from a rustic, countryside look to a modern, sleek design. Their affordability and low maintenance requirements make them an excellent option for DIY enthusiasts like myself. Plus, they can be easily repurposed or recycled at the end of their life cycle, fitting perfectly into my philosophy of creative self-sufficiency and sustainable living.
Metal Roofing Installation Tips
When it comes to metal roofing, the key is in the details. I love how metal roofs can add a touch of modern whimsy to any shed. To ensure a successful installation, make sure to properly measure and cut your metal sheets, taking into account any obstructions like vents or skylights. It’s also essential to secure the sheets tightly to prevent wind damage and leaks.
I’ve found that using a waterproof sealant around the edges and seams can make all the difference. Plus, consider adding a layer of insulation to reduce noise and energy transfer. With these tips, you’ll be well on your way to a durable and stylish metal roof that will protect your shed for years to come.
Hammering Home the Essentials: 5 Tips for a Shed Roofing Success
- Measure Twice, Cut Once: Double-check your shed’s dimensions and roofing material requirements to avoid costly mistakes and ensure a snug fit
- Choose the Right Underlayment: Select a durable, waterproof underlayment to protect your shed from the elements and prevent costly repairs down the line
- Start from the Bottom Up: Begin installing your roofing material from the lowest point of the shed, working your way up to ensure a watertight seal and prevent water from seeping underneath
- Batten Down the Hatches: Secure your roofing material with sturdy battens, spaced evenly apart, to provide a solid foundation and withstand harsh weather conditions
- Add a personal Touch: Consider adding a unique feature, like a skylight or a decorative ridge cap, to give your shed a one-of-a-kind charm and make it a true reflection of your personality
Key Takeaways for a Shed Roofing Pro
Always consider the unique character of your shed and choose roofing materials that not only protect it from the elements but also enhance its visual appeal, whether through colorful asphalt shingles or durable metal roofing
Remember, the art of shed roofing is not just about following steps, but about embracing the opportunity to add a personal touch, such as customizing the roofing pattern or incorporating recycled materials into your design
By mastering the basics of shed roofing and embracing your creativity, you’ll not only ensure your shed remains a durable and functional part of your outdoor space but also cultivate a sense of pride and accomplishment in your DIY endeavors
Shedding Light on Roofing Wisdom
The art of installing roofing on a shed is not just about hammering nails, it’s about transforming a humble space into a cozy haven, one creative choice at a time.
Stanley Truman
Bringing It All Together: A Shed Roofing Success Story
As we’ve journeyed through the world of shed roofing, we’ve covered the essentials of installation, from preparation to completion. We’ve delved into the realm of asphalt shingles, exploring their unique benefits for sheds that stand out from the crowd. We’ve also touched upon metal roofing installation tips, highlighting the importance of precision and patience in achieving a professional finish. Bynow, you should be well-equipped to tackle your shed roofing project with confidence, armed with the knowledge to make informed decisions about materials, design, and execution.
As you embark on this DIY adventure, remember that the true beauty of shed roofing lies not just in its functionality, but in the creative expression it allows. Don’t be afraid to think outside the box, to experiment with novel materials, or to add your own personal touch to the project. By embracing this mindset, you’ll not only create a durable, weather-tight roof, but also a testament to your own resourcefulness and ingenuity, a symbol of the magic that happens when we combine imagination with elbow grease.
Frequently Asked Questions
What are the most common mistakes to avoid when installing roofing on a shed?
Hey friend, when it comes to shed roofing, I’ve seen folks trip up on measuring mistakes, inadequate underlayment, and improper shingle spacing. Let’s avoid those common pitfalls and get your shed looking sharp and watertight!
How do I determine the best type of roofing material for my shed based on my climate and budget?
Hey friend, choosing the right roofing material for your shed is a breeze. Consider your climate: if you’re in a sunny spot, metal roofing might be the way to go, while asphalt shingles could work well in shadier areas. For budget-friendliness, reclaimed wood or corrugated metal are great options. Let’s chat more about what works best for you!
Can I install roofing on my shed myself, or do I need to hire a professional for the job?
Absolutely, you can install roofing on your shed yourself. With some patience and the right guidance, it’s a totally doable DIY project. Just make sure to plan carefully, prepare your materials, and don’t hesitate to reach out if you have any questions along the way. I’m rooting for you to nail it (literally!) and give your shed a fresh new look.