I still remember the first time I tried to repair a cracked concrete driveway in my childhood home. My grandfather, a seasoned DIY enthusiast, taught me that with a little creativity and the right tools, even the most daunting tasks can become manageable. As I grew older, I realized that many people struggle with the idea of fixing their cracked driveways, often believing it’s a job solely for professionals. However, I’m here to tell you that learning how to repair a cracked concrete driveway is not only possible but also a rewarding DIY project that can save you money and give you a sense of accomplishment.
In this article, I’ll share my personal experience and provide you with practical advice on how to repair a cracked concrete driveway. You’ll learn about the necessary materials, step-by-step instructions, and tips to ensure a successful repair. My goal is to empower you with the knowledge and confidence to take on this project, and by the end of this guide, you’ll be equipped with the skills to transform your fractured driveway into a sturdy and safe surface. Whether you’re a seasoned DIYer or a beginner, I’m excited to help you embark on this journey and discover the satisfaction of fixing your cracked concrete driveway with your own hands.
Table of Contents
Guide Overview: What You'll Need
Total Time: 4 hours 30 minutes
Estimated Cost: $50 – $100
Difficulty Level: Intermediate
Tools Required
- Hammer (for tapping fillers into place)
- Trowel (for applying concrete patching compound)
- Level (to ensure even surface)
- Broom (for cleaning the driveway)
- Pressure washer (optional, for deep cleaning)
- Putty knife (for scraping out loose debris)
- Wire brush (for cleaning the crack edges)
Supplies & Materials
- Concrete patching compound
- Concrete filler (for deep cracks)
- Sand (for filling large gaps)
- Cement-based patching mix
- Water (for mixing the patching compound)
- Sealant (for protecting the repaired area)
Step-by-Step Instructions
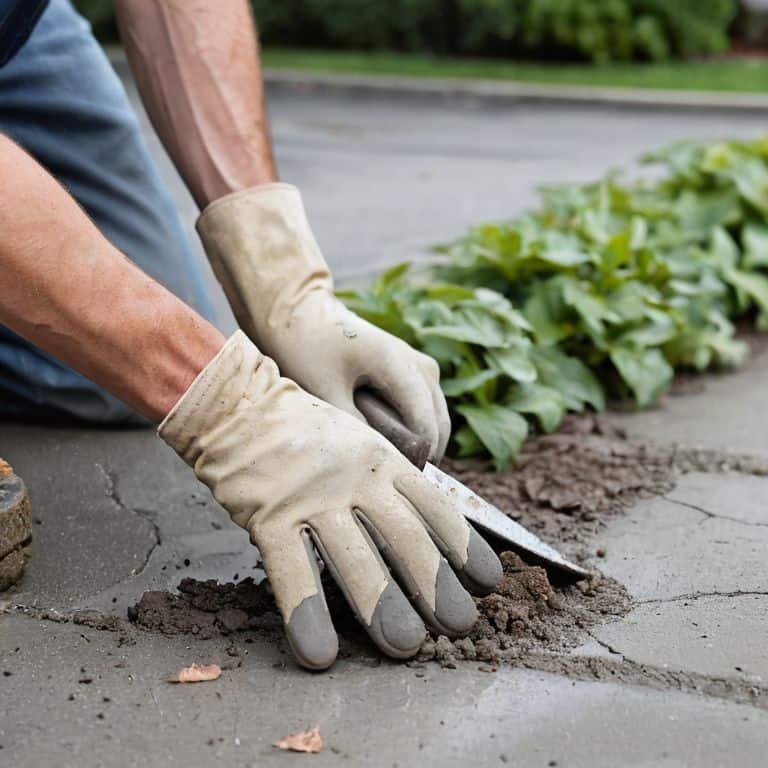
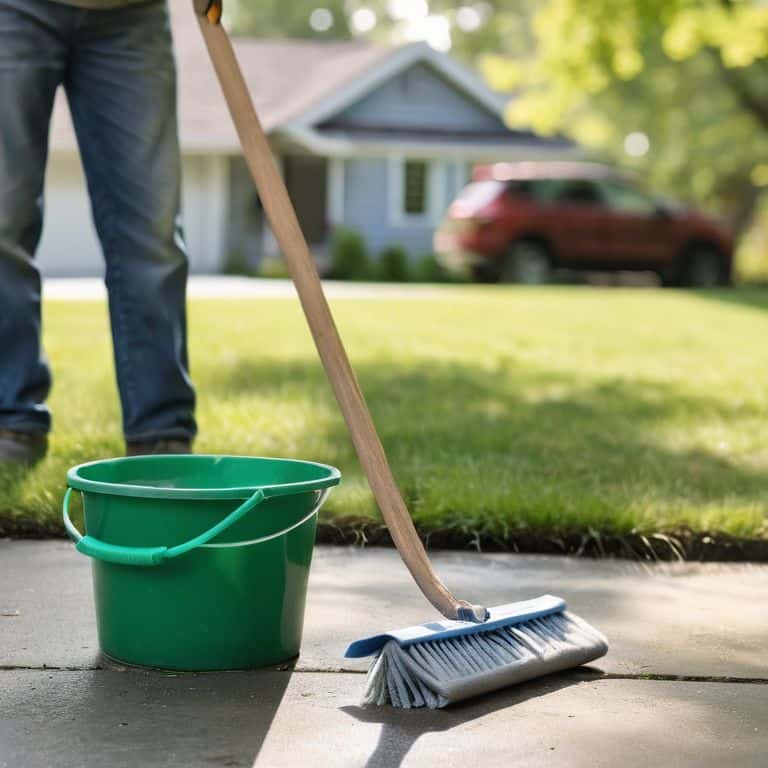
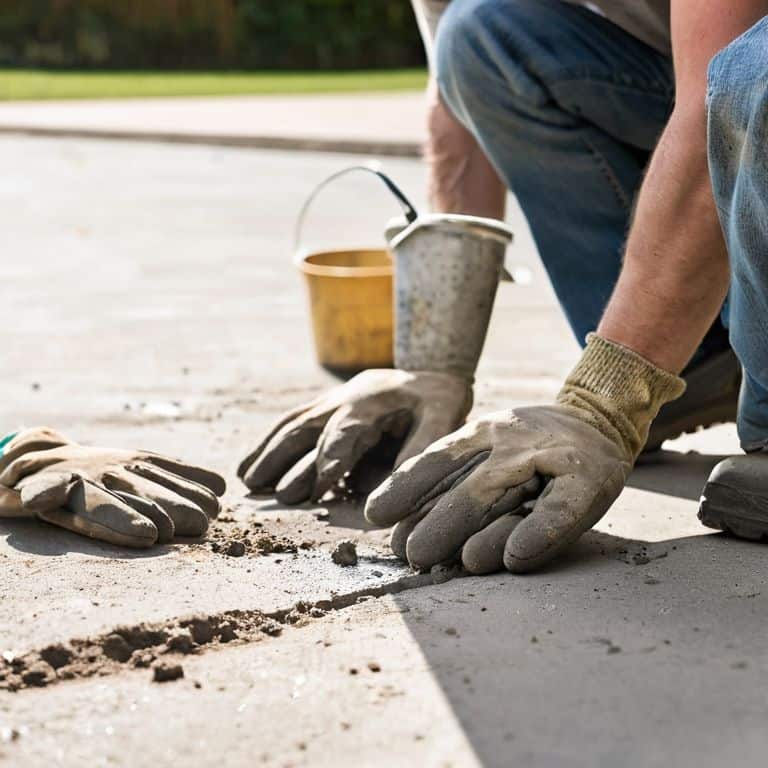
- 1. First, let’s prepare the area by clearing away any debris, dirt, or vegetation that may have grown in the cracks. This will give us a clean slate to work with, and ensure that our repair materials can bond properly with the existing concrete. Use a wire brush or a pressure washer to remove any stubborn dirt or grime, and then let the area dry completely before moving on to the next step.
- 2. Next, we need to assess the damage and determine the best course of action for our repair. Take a closer look at the cracks and see if they’re shallow or deep, and whether they’re affecting the structural integrity of the driveway. If the cracks are deep or widespread, we may need to use a more heavy-duty repair material, such as a concrete patching compound, to ensure a strong and lasting fix.
- 3. Now it’s time to clean and prime the cracks, which will help our repair material adhere to the concrete. Use a mixture of water and concrete cleaner to scrub away any remaining dirt or debris, and then let the area dry completely. Once dry, use a primer specifically designed for concrete repairs to coat the cracks, and let it dry according to the manufacturer’s instructions.
- 4. With our cracks clean and primed, we can now apply the repair material. For shallow cracks, a simple concrete caulk or sealant may be sufficient, while deeper cracks may require a more substantial patching compound. Use a caulking gun or trowel to apply the material, filling the crack completely and smoothing out the surface as you go. Make sure to follow the manufacturer’s instructions for application and drying times.
- 5. Once the repair material is dry, it’s time to finish and seal the surface. Use a concrete sealer to protect the repaired area from further damage, and to give the driveway a uniform appearance. Apply the sealer according to the manufacturer’s instructions, and let it dry completely before exposing the driveway to traffic or the elements.
- 6. To add an extra layer of protection and prevent future cracking, consider applying a concrete overlay or resurfacer to the entire driveway. This will not only help to seal and protect the concrete, but also provide a fresh new surface that’s resistant to stains and damage. Use a roller or sprayer to apply the overlay, and follow the manufacturer’s instructions for drying and curing times.
- 7. Finally, let’s inspect and maintain our handiwork, to ensure that the repair holds up over time. Regularly inspect the driveway for any signs of new cracks or damage, and address them promptly to prevent further deterioration. With regular maintenance and a little bit of TLC, our repaired driveway should remain strong and durable for years to come.
Reviving Your Driveway
As we work on reviving our driveways, it’s essential to consider concrete driveway maintenance tips that can help prevent future cracks. Regular cleaning and sealing can go a long way in extending the life of your driveway. I like to think of it as giving my driveway a little TLC – tender loving care. By doing so, you can prevent dirt and debris from accumulating and causing damage.
When it comes to repairing cracks, using the best concrete patching compounds can make all the difference. These compounds are specifically designed to bond with the existing concrete, creating a strong and durable repair. I’ve found that applying a driveway sealant after repairing cracks can also help protect the concrete from the elements. This is especially important in cold weather, as it can help prevent concrete cracks from forming in the first place.
By following these tips and using the right materials, you can keep your driveway looking its best and avoid costly repairs down the line. Whether you’re considering concrete resurfacing vs replacement, or simply looking for ways to reduce your diy concrete driveway repair costs, taking a proactive approach to maintenance is key. With a little creativity and some elbow grease, you can breathe new life into your driveway and enjoy it for years to come.
Best Concrete Patching Compounds Guide
When it comes to patching compounds, I always say, “the right tool for the job” makes all the difference. I’ve had my fair share of experimenting with various mixes, and let me tell you, some are definitely better than others. For a durable and long-lasting fix, I recommend opting for a polymer-modified patching compound. These gems offer superior bonding strength and can withstand the elements, ensuring your driveway stays revived for years to come.
My personal favorite is a compound that combines Portland cement, aggregates, and a special blend of additives. It’s like a recipe passed down from my grandmother – a little bit of this, a little bit of that, and voilà! You get a smooth, cohesive finish that seamlessly integrates with the surrounding concrete. Trust me, with the right patching compound, you’ll be well on your way to a driveway that’s not only functional but also a feast for the eyes.
Concrete Driveway Maintenance Tips
To keep your revived driveway looking its best, regular maintenance is key. I like to think of it as giving your driveway a little TLC. Seal your concrete every few years to protect it from the elements, and make sure to clean up any spills or stains promptly. A gentle detergent and warm water can work wonders.
By staying on top of maintenance, you’ll not only extend the life of your driveway but also prevent those pesky cracks from coming back. Plus, a well-cared-for driveway can really boost your home’s curb appeal. I’ve even been known to get creative with my maintenance routine, using natural materials like leaves and twigs to create a beautiful border around my driveway. It’s all about finding joy in the little things and making sustainable living a fun, creative process.
From Cracks to Craftsman: 5 Essential Tips for a Driveway Revival
- Assess the Damage: Before you start repairing, take a closer look at the cracks in your driveway to determine their depth and width, as this will help you choose the right materials and techniques
- Prepare for Battle: Clean the cracked area thoroughly, removing dirt, debris, and weeds, to ensure a strong bond between the old and new concrete
- Seal the Deal: Use a high-quality concrete patching compound to fill in the cracks, and consider applying a sealant to protect your driveway from future damage and extend its lifespan
- Get Creative with Repurposing: Consider repurposing old materials, such as broken bricks or stones, to create a unique and eco-friendly drainage system or decorative border around your driveway
- Maintain the Magic: Regularly inspect and maintain your driveway to prevent new cracks from forming, and keep it clean and sealed to ensure it remains a beautiful and functional part of your home’s exterior
Key Takeaways for a Revitalized Driveway
By embracing DIY repair methods and regular maintenance, you can extend the life of your concrete driveway and reduce the need for costly replacements
Choosing the right concrete patching compound is crucial for a successful repair, consider factors like durability, flexibility, and environmental impact when making your selection
Transforming your cracked concrete driveway into a vibrant and functional space requires creativity, patience, and a willingness to get a little messy – so don’t be afraid to think outside the box and explore innovative solutions
A Crack in the System
The art of repairing a cracked concrete driveway isn’t just about filling gaps, it’s about bridging the divide between neglect and nurture, where every patch and every fix is a testament to the beauty of revival and the human spirit’s capacity to transform the broken into the breathtaking.
Stanley Truman
From Cracked to Revitalized: A Job Well Done
As we wrap up our journey to breathing new life into your cracked concrete driveway, let’s take a moment to recap the key steps that have brought us to this point. We’ve covered the essential steps for repairing those pesky cracks, from preparing the area to applying the perfect patching compound. We’ve also delved into the world of concrete driveway maintenance tips, ensuring your newly repaired driveway stays in top condition for years to come. And, of course, we’ve explored the best concrete patching compounds to make your repair job not only effective but also long-lasting. By following these guidelines, you’ve not only saved yourself some money but also gained a sense of accomplishment that comes with a DIY job well done.
Now, as you stand back to admire your handiwork, remember that sustainable living is all about embracing these small victories. It’s about recognizing the potential in every cracked surface, every discarded item, and turning them into opportunities for growth and renewal. So, go ahead and take pride in your revitalized driveway. It’s more than just a repaired piece of concrete; it’s a testament to your ability to transform the ordinary into the extraordinary. And who knows? This might just be the beginning of your journey into the world of DIY delights and creative self-sufficiency. The possibilities are endless, and I’m excited to see what you’ll create next.
Frequently Asked Questions
What are the most common causes of cracks in a concrete driveway and how can I prevent them from happening in the first place?
My friend, cracks in concrete driveways often stem from settling soil, extreme temperatures, or poor installation. To prevent them, ensure proper drainage, use a high-quality concrete mix, and consider sealing your driveway to shield it from the elements. A little preventive love can go a long way in keeping your driveway intact and looking its best!
Can I use a DIY concrete patching compound or is it better to hire a professional to repair my cracked driveway?
I’m a big fan of DIY ingenuity, and with the right materials, you can create your own concrete patching compound. However, for larger or deeper cracks, it’s often best to consult a professional to ensure a lasting fix. That being said, for smaller cracks, a homemade mix of cement, sand, and water can be a cost-effective and eco-friendly solution.
How long does it typically take for a repaired concrete driveway to fully cure and be ready for regular use again?
The waiting game! Typically, a repaired concrete driveway takes around 24 to 48 hours to fully cure, but I like to give it a good 3-4 days before putting it back to regular use – just to be on the safe side and ensure it’s nice and sturdy.