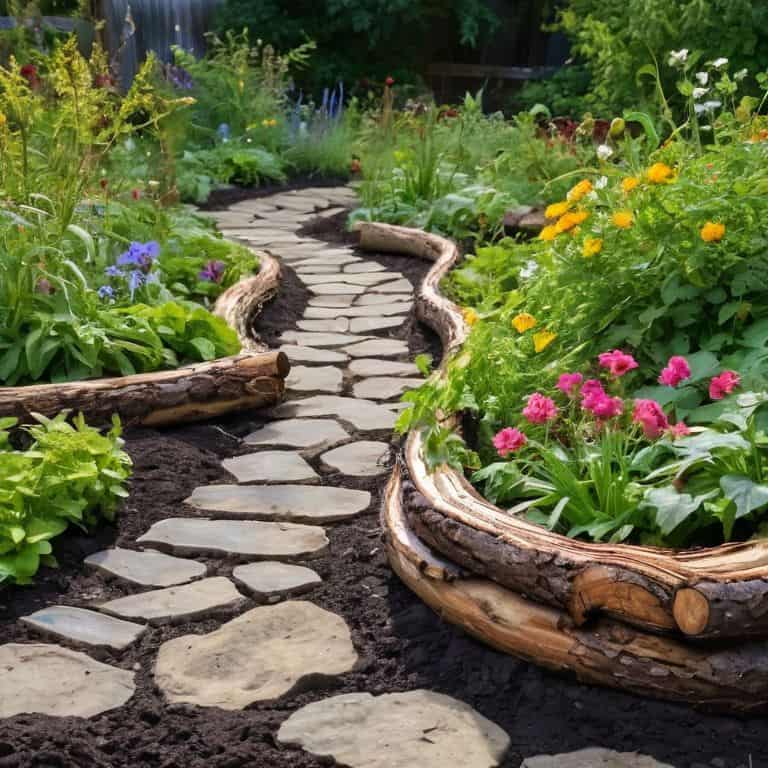
I still remember the first time I stumbled upon a hidden gem in my neighbor’s backyard – a beautiful, winding path made from concrete stepping stones. It was as if I had unearthed a treasure, and it sparked a curiosity in me to learn more about the art of creating these enchanting pathways. As I delved deeper, I realized that many people believe making concrete stepping stones is a daunting task, requiring specialized skills and expensive materials. But, I’m here to tell you that’s just not true – with a simple guide to making concrete stepping stones, you can unlock the secrets to transforming your outdoor space into a serene oasis.
As we embark on this creative journey together, I promise to share practical, no-nonsense advice on how to craft your own concrete stepping stones using everyday materials. In this article, you’ll discover the essential steps to create stunning pathways that will elevate your garden’s charm. From preparing the perfect mixture to adding personalized touches, I’ll walk you through each stage, ensuring that your concrete stepping stones turn out as unique and captivating as the ones that inspired me. So, let’s get started and uncover the magic of transforming your outdoor space, one stepping stone at a time, with the help of this comprehensive guide to making concrete stepping stones.
Table of Contents
- Guide Overview: What You'll Need
- Step-by-Step Instructions
- A Guide to Making Concrete Stepping Stones
- Stepping into Perfection: 5 Essential Tips for Enchanted Concrete Pathways
- Unleashing the Magic: 3 Key Takeaways for Your Enchanted Garden Pathways
- Unearthing Wisdom
- Embracing the Art of Transformation
- Frequently Asked Questions
Guide Overview: What You'll Need
Total Time: 2 hours 30 minutes
Estimated Cost: $20 – $40
Difficulty Level: Easy
Tools Required
- Gloves for protection
- Safety goggles for eye protection
- Trowel for mixing and applying concrete
- Mold to shape the stepping stones
- Level to ensure the stones are even
- Wheelbarrow or mixing bucket for mixing concrete
Supplies & Materials
- Concrete mix available in bags
- Water for mixing with concrete
- Decorative stones or pebbles for added design
- Sealant to protect the stones from weather
- Sand for base layer, about 2 inches deep
Step-by-Step Instructions
- 1. First, let’s gather our materials and get our hands dirty. We’ll need a few basic supplies like a bucket, a mixing stick, a mold to shape our stepping stones, and of course, the concrete mix itself. Don’t worry if you don’t have all the fancy tools; we can always improvise with what we have at home.
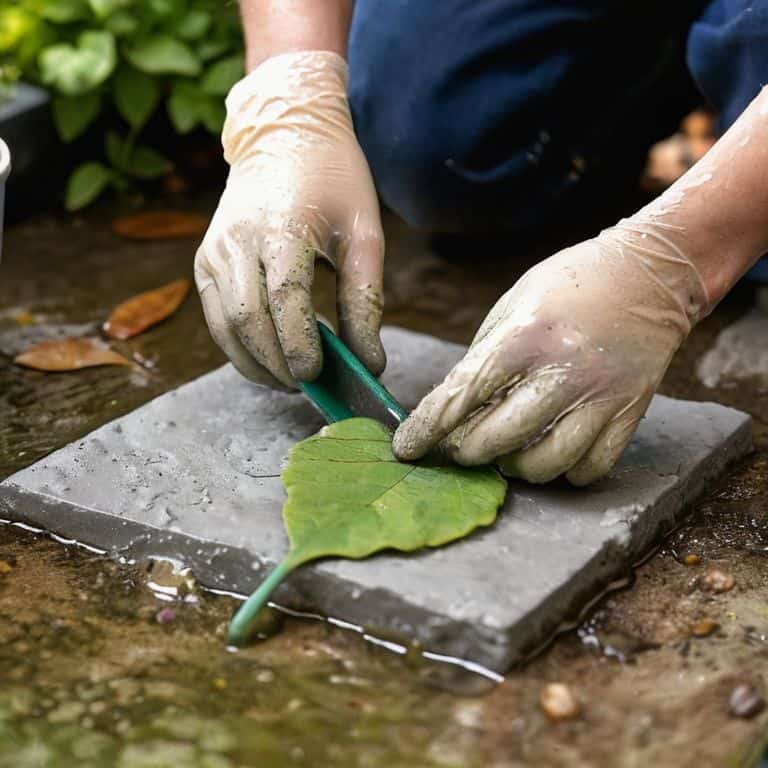
- 2. Next, we need to prepare our mold. You can use anything from a plastic container to a wooden frame, as long as it’s clean and dry. If you’re feeling fancy, you can even add some decorative touches like leaves or small rocks to give your stepping stone some personality.
- 3. Now it’s time to mix our concrete. Follow the instructions on the bag to get the right consistency, but don’t be afraid to experiment a little. If the mix is too dry, add a bit more water; if it’s too wet, add some more concrete powder. The goal is to get a smooth, pliable mixture that’s easy to work with.
- 4. With our mixture ready, it’s time to fill our mold. Pour the concrete into the mold, making sure to fill it to the top. Use your mixing stick or a similar tool to remove any air pockets and ensure the concrete is evenly distributed.
- 5. After filling the mold, we need to let it set. This is the hardest part – waiting! Let the concrete sit for at least 24 hours, or as recommended by the manufacturer’s instructions. During this time, keep it away from direct sunlight and moisture, which can affect the setting process.
- 6. Once our stepping stone has set, it’s time to remove it from the mold. Be gentle, as the concrete might still be a bit fragile. If it doesn’t come out easily, don’t force it – you can gently twist the mold or use a bit of water to help loosen it.
- 7. Finally, we get to seal and protect our beautiful new stepping stone. Use a concrete sealer to protect it from the elements and make it easier to clean. You can also add a personal touch by painting or decorating it, but make sure the sealer is fully dry first to avoid any damage.
A Guide to Making Concrete Stepping Stones
As I always say, the devil is in the details, and when it comes to concrete mix design for stepping stones, it’s all about finding the perfect balance. You want your stones to be durable, yet gentle on the feet. I like to think of it as a recipe for a delicious cake – you need the right ingredients in the right proportions to get that perfect texture. For my urban foraging friends, you can even use natural materials like leaves or twigs to create unique patterns and textures on your stones.
When it comes to molds, I’m a big fan of using recycled materials like old plastic containers or wooden frames. Not only is it eco-friendly, but it also adds a touch of whimsy to your garden. The best molds for concrete garden stones are the ones that allow you to get creative with shapes and sizes. Don’t be afraid to experiment and try out different designs – after all, that’s what makes your garden truly special.
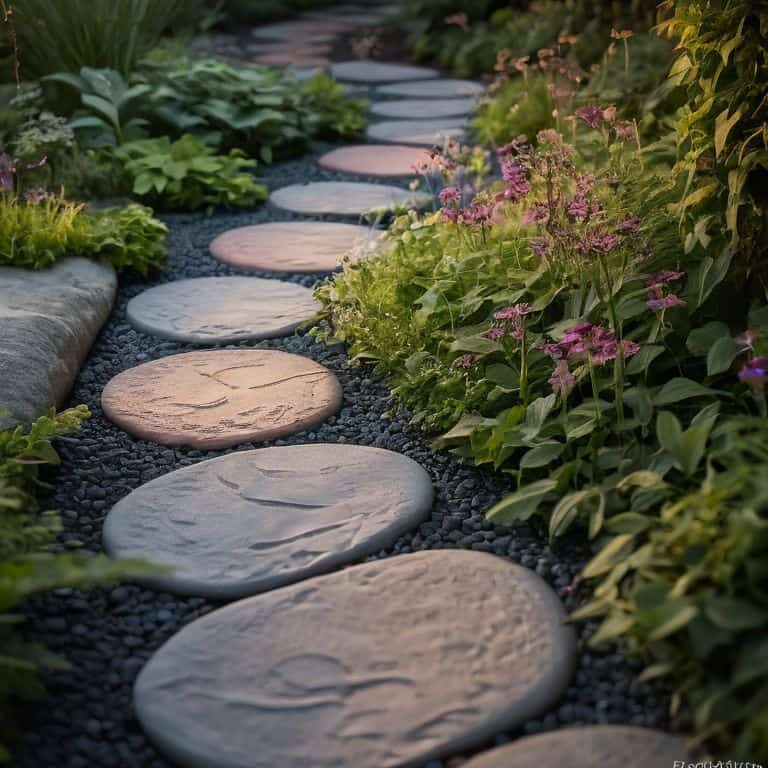
Now, once your stones are set, it’s time to think about decorative stone finishes for gardens. I love using natural dyes like turmeric or indigo to give my stones a pop of color. You can also try adding some shiny pebbles or glittering mosaics to give your garden a touch of magic. Remember, the key to making your garden stand out is to have fun and be creative – don’t be afraid to try new things and see what works for you!
Best Molds for Decorative Garden Stones Revealed
The fun part – choosing the perfect molds to bring your enchanted pathways to life! I’ve experimented with everything from silicone cake pans to wooden frames, and I’m excited to share my favorites with you. For a more rustic look, try using old cardboard tubes or plastic containers. If you’re feeling fancy, you can even create your own custom molds using reclaimed wood or 3D printing.
My top picks include flexible plastic molds in the shape of leaves, flowers, or animals – they add a playful touch to any garden. You can also use everyday items like old boots, buckets, or even a broken birdbath as a mold. The key is to think outside the box (or mold, in this case!) and have fun with it. With a little creativity, you’ll be crafting unique and captivating garden stones in no time.
Concrete Mix Design for Enchanted Pathways
To craft the perfect concrete mix for our enchanted pathways, we’ll need to blend a pinch of creativity with the right ingredients. I like to think of it as baking a cake, but instead of flour, sugar, and eggs, we’re working with cement, aggregate, and water. The key is to find the perfect balance between strength and aesthetics. For a more rustic look, you can add some coarse aggregate like pebbles or small rocks, while a smoother finish can be achieved with finer sands.
By experimenting with different mix designs, you can create unique textures and colors that reflect your personal style. For instance, adding a handful of iron oxide can give your stepping stones a warm, earthy tone, while a sprinkle of marble dust can create a beautiful, speckled effect. Remember, the beauty of making your own concrete mix lies in its imperfections, so don’t be afraid to get creative and try new things!
Stepping into Perfection: 5 Essential Tips for Enchanted Concrete Pathways
- Embellish with Eco-Friendly Embellishments: Add a touch of nature to your stepping stones by incorporating leaves, twigs, or flowers into the concrete mix for a unique, organic look
- Mix it Like You Mean it: Experiment with different concrete mix ratios to achieve the perfect balance of durability and malleability, ensuring your stepping stones are both sturdy and visually appealing
- Mold Mastery: Choose molds that reflect the whimsy of your garden, from elegant circles to playful animal shapes, to create stepping stones that are as much a part of the decor as the flowers themselves
- Seal the Deal: Apply a natural sealant, like beeswax or linseed oil, to protect your concrete stepping stones from the elements and maintain their vibrant appearance over time
- Step into Storytelling: Infuse your garden pathway with personal anecdotes by using found objects, like sea glass or pebbles, to create a narrative that unfolds with each step, making your outdoor space a true reflection of your creativity and character
Unleashing the Magic: 3 Key Takeaways for Your Enchanted Garden Pathways
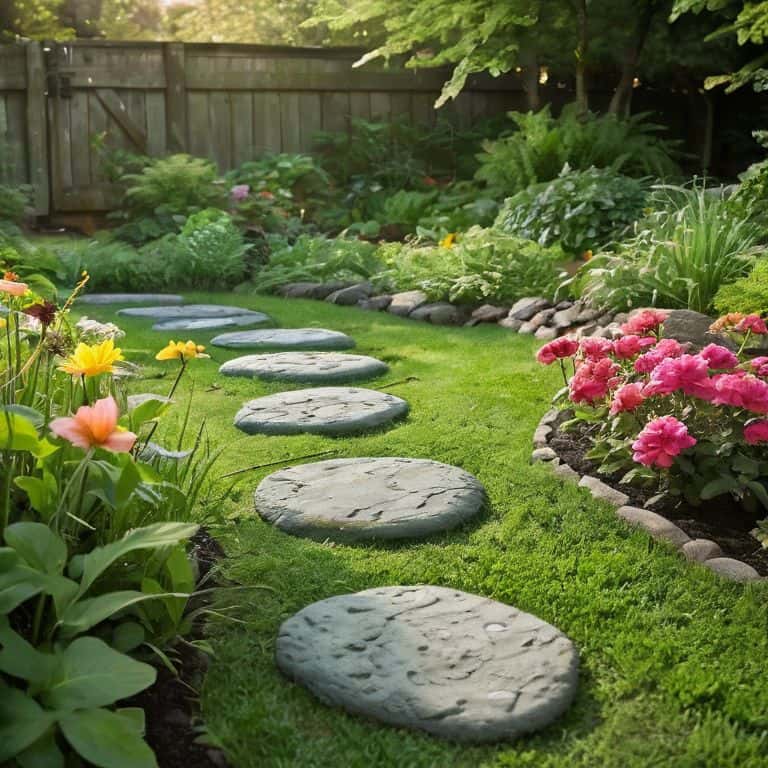
Embracing the art of transformation, you can turn discarded materials into breathtaking concrete stepping stones that not only elevate your garden’s aesthetic but also tell a story of creativity and resourcefulness
By experimenting with diverse concrete mix designs and molds, you can craft unique, decorative garden stones that reflect your personal style and add a touch of whimsy to your outdoor spaces
Ultimately, the journey to creating your own enchanted garden pathways is not just about the destination, but about the process of discovery, self-sufficiency, and the joy of making something truly special with your own hands
Unearthing Wisdom
As we craft each concrete stepping stone, we’re not just building a pathway – we’re weaving a tale of transformation, where discarded dreams become enchanted gardens, and the ordinary is elevated to an art form.
Stanley Truman
Embracing the Art of Transformation
As we conclude this journey of creating our own concrete stepping stones, let’s take a moment to reflect on the key elements that have brought us to this point. From designing the perfect concrete mix to selecting the best molds for our decorative garden stones, every step has been a testament to the power of creative self-sufficiency. By embracing the process and experimenting with different materials and designs, we’ve not only created functional pieces for our gardens but have also cultivated a sense of accomplishment and connection to our outdoor spaces.
As you place your final stepping stone, remember that this project is more than just a DIY endeavor – it’s a celebration of sustainable living and the magic that unfolds when we reimagine and repurpose. Let this be the starting point for your own journey of discovery, where every discarded item becomes an opportunity for creativity and every project a step towards a more enchanting, eco-friendly haven. The true beauty of making something with your own hands lies not just in the end result, but in the transformation you undergo along the way.
Frequently Asked Questions
What are some creative ways to decorate my concrete stepping stones after they've cured?
Now that your stepping stones have cured, it’s time to unleash your inner artist! Get creative with natural dyes, like turmeric or indigo, or add some sparkle with recycled glass or sea shells. You can also try leaf impressions, handmade stamps, or even upcycled mosaic tiles to give your stones a unique personality. The possibilities are endless!
Can I use recycled materials like old plastic containers or cardboard tubes as molds for my concrete stepping stones?
Absolutely, get creative with those recycled materials! Old plastic containers, cardboard tubes, or even wooden crates can make fantastic molds for your concrete stepping stones. Just ensure they’re clean and dry before use. Think outside the box, or in this case, the mold, and have fun experimenting with unique shapes and textures!
How do I ensure that my concrete stepping stones are durable and resistant to weathering and erosion over time?
To make your concrete stepping stones withstand the test of time, I swear by a good sealant and a dash of creativity. Apply a waterproof sealant after they’re fully cured, and consider adding a pinch of fiber reinforcement to the mix for extra durability. Voila, your enchanted pathways will stay vibrant and resilient, come rain or shine!