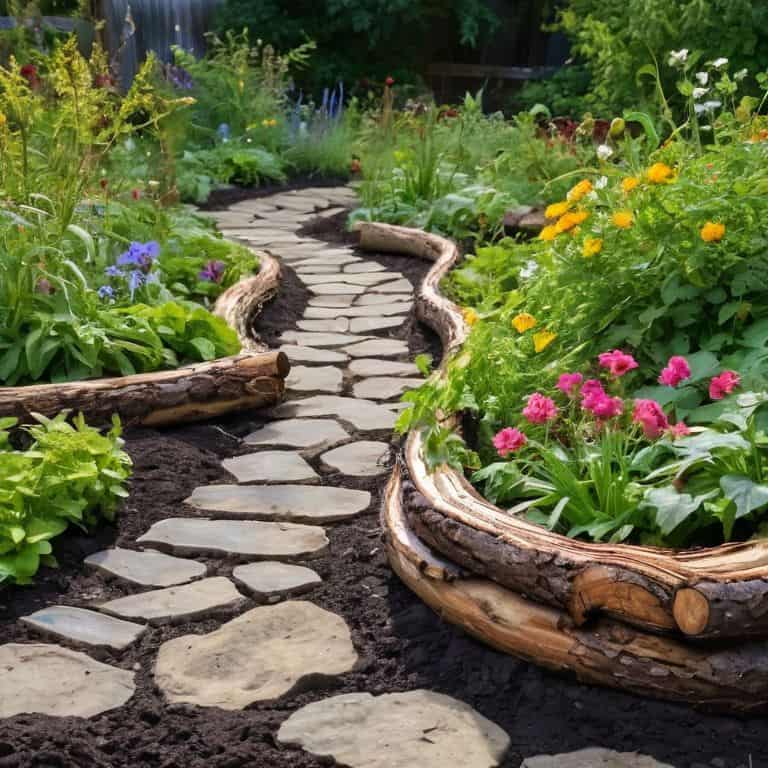
I still remember the first time I tried to build a wooden garden bed without properly waterproofing the inside. Let’s just say it was a soggy mess, and I had to get creative with some makeshift repairs. But, as I’ve learned over the years, how to waterproof the inside of a wooden garden bed is not just about slapping on some sealant and calling it a day. It’s about creating a thriving ecosystem that will make your plants (and your wallet) happy. I’ve discovered that with the right techniques, you can turn even the most mundane garden bed into a self-sustaining oasis.
In this article, I’ll share my no-nonsense advice on how to waterproof the inside of a wooden garden bed, from preparing the surface to applying the perfect sealant. You’ll learn how to identify potential pitfalls and transform your garden bed into a haven for your plants. I’ll walk you through each step, providing you with practical tips and tricks to make the process easy and enjoyable. By the end of this guide, you’ll be equipped with the knowledge to create a beautiful, functional, and waterproof garden bed that will be the envy of all your friends and neighbors.
Table of Contents
Guide Overview: What You'll Need
Total Time: 2 hours 30 minutes
Estimated Cost: $50 – $100
Difficulty Level: Intermediate
Tools Required
- Utility Knife (with extra blades)
- Putty Knife (for applying sealant)
- Gloves (for protection from chemicals)
- Drop Cloths (for protecting surrounding areas)
- Brushes (various sizes for applying waterproofing membrane)
Supplies & Materials
- Wooden Garden Bed Liner (optional, but recommended)
- Waterproofing Membrane (specifically designed for outdoor use)
- Silicone Sealant (for sealing any gaps or joints)
- 2-in x 6-in lumber (for creating a frame or supports if necessary)
- Wood Screws (for assembling or repairing the garden bed if needed)
Step-by-Step Instructions
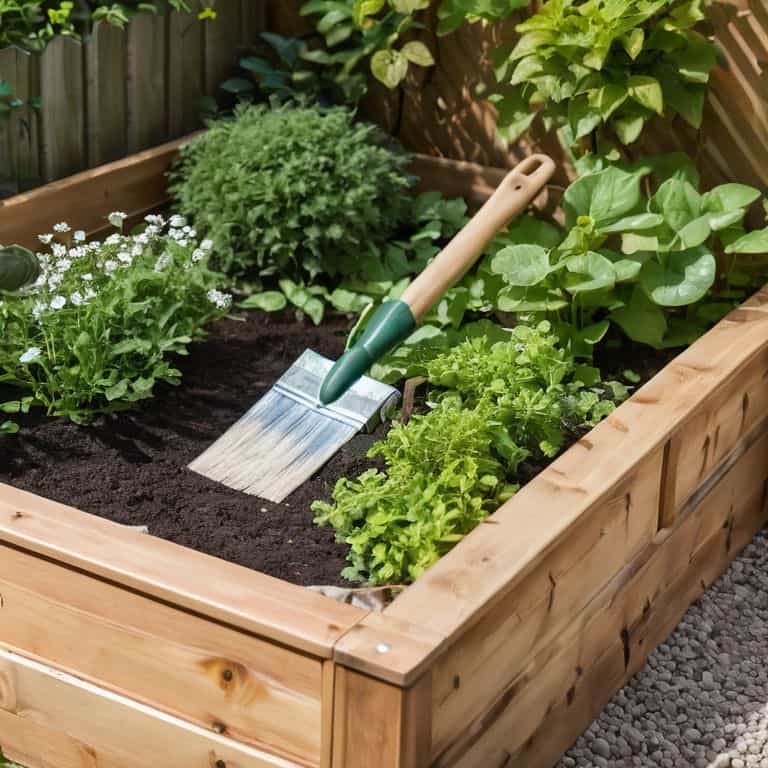
- 1. First, gather your materials like a treasure hunter on a mission – you’ll need a waterproofing agent (I swear by a good ol’ beeswax and linseed oil mix), a paintbrush or foam brush for application, and some sandpaper or a wire brush to roughen up the surface and help that waterproofing magic stick. Don’t forget a drop cloth or old sheets to protect your workspace from any stray strokes of genius.
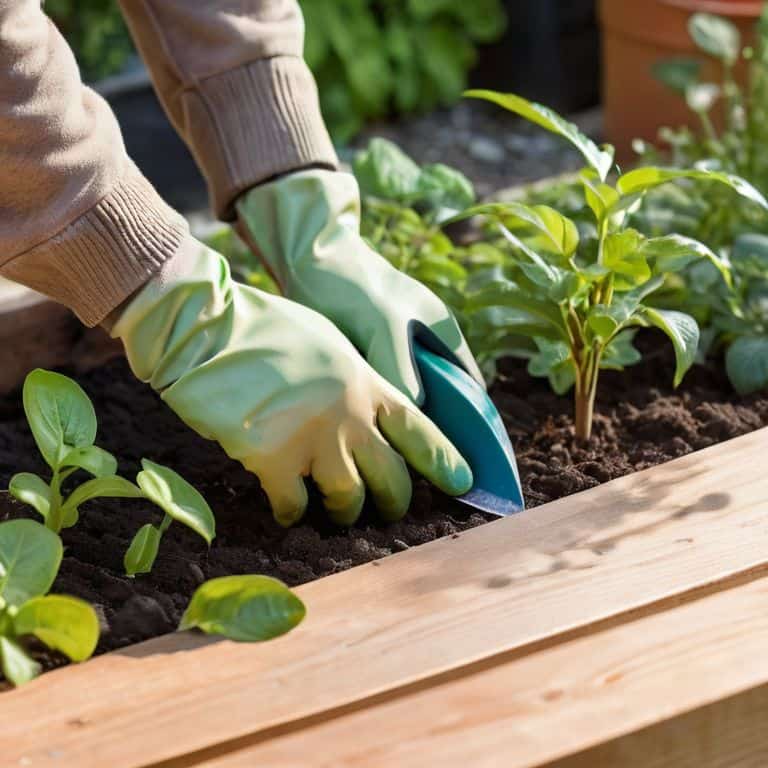
- 2. Next, prepare the wood for its spa day by giving it a good cleaning with some soap and water to remove any dirt, grime, or lingering doubts about your DIY abilities. Rinse thoroughly and let it dry completely, because we’re about to get this wooden garden bed ready for a lifetime of thriving plants.
- 3. Now, take your sandpaper or wire brush and gently scuff up the surface of the wood to create a better bond between the wood and the waterproofing agent. Think of it as giving the wood a gentle wake-up call, like a spring morning sunrise, to get it ready for the amazing things to come.
- 4. With your surface prepared, it’s time to apply the waterproofing agent. Dip your paintbrush or foam brush into the mixture and start applying it evenly, making sure to cover every nook and cranny. Don’t be shy; a generous coat is what you’re aiming for here, but avoid overdoing it, or you might end up with a sticky mess.
- 5. Allow the first coat to dry completely, following the instructions on your waterproofing agent for the exact drying time. Once it’s dry, inspect your handiwork and decide if you need a second coat. If you do, repeat the process, making sure to apply it as evenly as possible.
- 6. After your final coat is dry, take a step back and admire your work. The inside of your wooden garden bed should now be protected from moisture damage, ready to be filled with soil and the promise of new life. To further protect your garden bed, consider adding a layer of landscape fabric to prevent weeds and improve drainage.
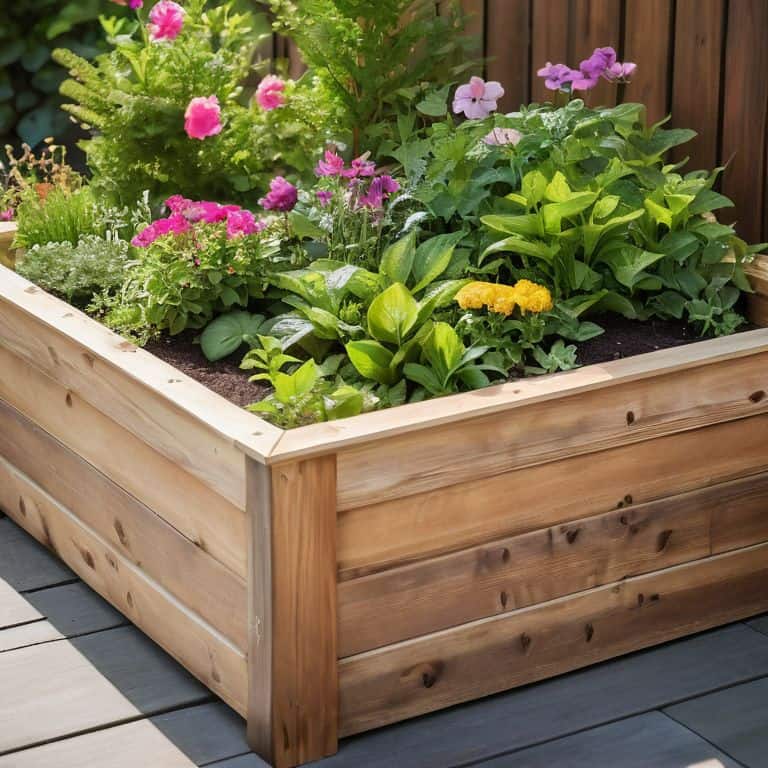
- 7. Finally, put it all together by filling your newly waterproofed garden bed with a mix of soil and compost, and then planting your favorite herbs, vegetables, or flowers. As you watch your garden flourish, remember that you’ve not only created a beautiful outdoor space, but you’ve also reduced waste by giving new life to a potentially discarded wooden garden bed.
Waterproofing Wooden Wonders
As I delve into the world of wooden planter box waterproofing methods, I’m reminded of the importance of protecting our outdoor spaces from the elements. A well-waterproofed wooden garden bed is not only a haven for plants, but also a testament to our creativity and resourcefulness. When it comes to choosing the best waterproof sealants for outdoor wood, I always opt for natural, non-toxic options that won’t harm the environment.
In my experience, protecting wood from rot and decay requires a combination of proper sealing and regular maintenance. A waterproofing membrane for raised beds can be a game-changer, providing a durable barrier against moisture and pests. By installing a DIY wooden garden bed liner, you can add an extra layer of protection and ensure your plants thrive in a healthy, sustainable environment.
As a sustainable living consultant, I’ve seen firsthand the impact of wood preservation techniques for garden beds on the overall health of a garden ecosystem. By using eco-friendly methods and materials, we can create outdoor spaces that not only beautify our surroundings but also promote biodiversity and ecological balance. Whether you’re a seasoned gardener or just starting out, I encourage you to explore the world of wooden garden bed waterproofing and discover the best waterproof sealants for outdoor wood that work for you.
Breathing Life With Best Waterproof Sealants
When it comes to breathing life into your wooden garden bed, the right waterproof sealant can be a total game-changer. I’m obsessed with experimenting with different eco-friendly options, like plant-based oils and waxes, that not only protect the wood but also add a touch of natural charm. From tung oil to beeswax, these sealants don’t just waterproof – they also bring out the unique textures and colors of the wood, giving your garden bed a one-of-a-kind personality.
My personal favorite is a homemade blend of linseed oil and lemon juice – it’s like a spa day for your wooden garden bed! Not only does it provide a sturdy barrier against moisture, but it also leaves a subtle, sunny scent that’s just irresistible. Whatever sealant you choose, remember to apply it with love and let it dry completely before filling your garden bed with soil and plants. The result? A thriving oasis that’s as sustainable as it is stunning.
Diy Liner Installation for Rot Free Delight
Now that we’ve explored the wonderful world of waterproof sealants, let’s dive into the fun part – creating a DIY liner for your wooden garden bed. This is where things get really creative, and I just love seeing what people come up with. Essentially, you’ll be lining the interior of your bed with a waterproof material, like a durable plastic sheet or a recycled liner, to keep moisture from seeping in and causing rot.
I like to think of it as giving your garden bed a cozy, protective hug. By installing a liner, you’re not only preventing water damage but also making cleanup a breeze. Just imagine being able to enjoy your thriving garden without worrying about the wooden frame deteriorating over time. It’s a simple yet effective way to ensure your garden bed remains a vibrant oasis for years to come.
Sealing the Deal: 5 Essential Tips for a Waterproof Wooden Garden Bed
- Choose the right sealant for your wooden garden bed, considering factors like durability, eco-friendliness, and UV resistance to ensure a long-lasting waterproof barrier
- Prepare the wood surface by cleaning and drying it thoroughly, removing any debris or old sealant to create a strong bond between the wood and the new sealant
- Apply a thin, even layer of sealant to the interior of the garden bed, using a brush or roller to cover all surfaces, including any corners or joints where water might collect
- Consider adding a DIY liner or membrane to the garden bed for extra protection against rot and moisture damage, using materials like plastic sheeting or landscape fabric
- Regularly inspect and maintain your waterproofed garden bed to ensure the sealant remains effective, reapplying as needed to prevent water damage and extend the life of your wooden garden bed
Three Key Takeaways to Waterproof Your Wooden Garden Bed
Always prepare your wooden garden bed for waterproofing by cleaning and drying the interior to ensure a strong bond between the wood and the waterproofing agent
Choose the right waterproofing sealant for your needs, considering factors such as durability, eco-friendliness, and ease of application to protect your garden bed from moisture damage
Consider adding a DIY liner installation for extra protection against rot and decay, and don’t be afraid to get creative with repurposed materials to give your garden bed a unique and personalized touch
Waterproof Wisdom
As we tenderly seal the inside of our wooden garden beds, we’re not just fending off rot and decay, we’re cultivating a sanctuary where life can flourish – where every drop of rain and every ray of sunshine is a reminder of our capacity to nurture and protect the beauty that surrounds us.
Stanley Truman
Nurturing Your Garden Sanctuary
As we’ve explored the world of waterproofing your wooden garden bed, remember that it’s all about transforming the ordinary into the extraordinary. We’ve covered the essential steps, from preparing the wood to applying the perfect waterproof sealant, and even delved into the magic of DIY liner installation. By following these guidelines, you’ll not only protect your garden bed from moisture damage but also create a thriving sanctuary for your plants to flourish. It’s a journey that requires patience, creativity, and a willingness to get your hands dirty, but the rewards are well worth the effort.
As you embark on this sustainable living journey, keep in mind that every small step counts, and the art of waterproofing your wooden garden bed is just the beginning. Imagine the joy of watching your garden grow, knowing that you’ve played a part in reducing waste and promoting eco-friendly practices. So, let’s continue to nurture our gardens and, in doing so, nurture our planet, one creative DIY project at a time. The possibilities are endless, and I’m excited to see the innovative ways you’ll choose to make your mark on the world of sustainable living.
Frequently Asked Questions
What are some common mistakes to avoid when applying waterproof sealant to the inside of a wooden garden bed?
When sealing your wooden garden bed, beware of applying too much waterproofing goodness at once – it can pool and attract moisture. Also, make sure to clean the surface thoroughly before application, and avoid sealing on a sunny day, as it can cause the sealant to dry too quickly, compromising its effectiveness.
Can I use a DIY liner made from recycled materials, such as old plastic sheets or tarps, to waterproof my wooden garden bed?
Absolutely, get creative with those recycled plastic sheets or tarps! A DIY liner can be a fantastic, eco-friendly solution. Just ensure it’s clean, puncture-free, and properly secured to prevent water from seeping behind it. I love repurposing old materials to give new life to our gardens, don’t you?
How often should I reapply waterproof sealant to the inside of my wooden garden bed to ensure it remains protected from moisture damage?
The million-dollar question: how often to reapply waterproof sealant? Well, my friend, it’s quite simple – every 6 to 12 months, or when you notice the sealant starting to wear off. Think of it as giving your garden bed a seasonal spa day, ensuring it remains protected and thriving all year round!