I still remember the first time I tried to build a workbench from scratch – it was a disaster. I had envisioned a sturdy, reliable workstation where I could bring my DIY projects to life, but what I ended up with was a wobbly, makeshift disaster that seemed to threaten collapse at any moment. The problem was, I had fallen into the trap of thinking that building a workbench had to be a complex, intimidating process, requiring a wealth of expertise and a small fortune in materials. But as I delved deeper into the world of DIY and sustainable living, I discovered that the truth is far simpler: with a little creativity and some basic know-how, anyone can learn how to build a workbench that’s not only functional, but also a reflection of their unique style and personality.
As we embark on this journey together, I promise to share with you the honest, no-hype advice you need to create a workbench that truly sparks joy and inspires you to create something amazing. We’ll explore the basics of design, materials, and construction, and I’ll reveal some of my favorite tips and tricks for turning scrap wood into a sturdy and reliable workstation. Whether you’re a seasoned DIY enthusiast or just starting out, my goal is to empower you with the knowledge and confidence to take on this project and make it your own. So, let’s get started and breathe some life into that old scrap wood – I promise you, the end result will be well worth the effort.
Table of Contents
Guide Overview: What You'll Need
Total Time: 4 hours 30 minutes
Estimated Cost: $100 – $200
Difficulty Level: Intermediate
Tools Required
- Circular Saw (for cutting lumber)
- Drill Press (for precise drilling)
- Hand Saw (for cutting curves or small pieces)
- Sander (for smoothing out wood surfaces)
- Tape Measure (for accurate measurements)
- Square (for ensuring square corners)
- Level (for ensuring the workbench is level)
- Clamps (for holding pieces together during assembly)
- Hammer (for tapping pieces into place)
Supplies & Materials
- 2-in x 4-in lumber (for the frame)
- 3/4-in plywood (for the top and shelves)
- Wood Glue (for bonding wood pieces together)
- 2 1/4-in wood screws (for assembling the frame)
- 1 1/4-in wood screws (for attaching the top and shelves)
- Wood Filler (for filling any gaps or holes)
- Sandpaper (for smoothing out the finish)
- Finish Nails (for attaching trim or molding)
- Paint or Stain (for finishing the workbench)
Step-by-Step Instructions
- 1. First, let’s start by gathering our materials, because I truly believe that the most important part of any DIY project is the thrill of the hunt for the perfect pieces. For our workbench, we’ll need some sturdy legs, a solid top, and a few scraps of wood to hold it all together. I like to think of this step as a treasure hunt, where we get to explore our local thrift stores, garage sales, or even our own backyard for hidden gems.
- 2. Next, we need to prepare our workspace, which is essentially just a fancy way of saying “clear a big area and get ready to make a mess.” Move any breakable or fragile items to a safe distance, cover your floor with a drop cloth or old sheets, and put on your favorite music – we’re about to get our hands dirty and have some fun. Remember, the key to a successful DIY project is to be flexible and enjoy the process.
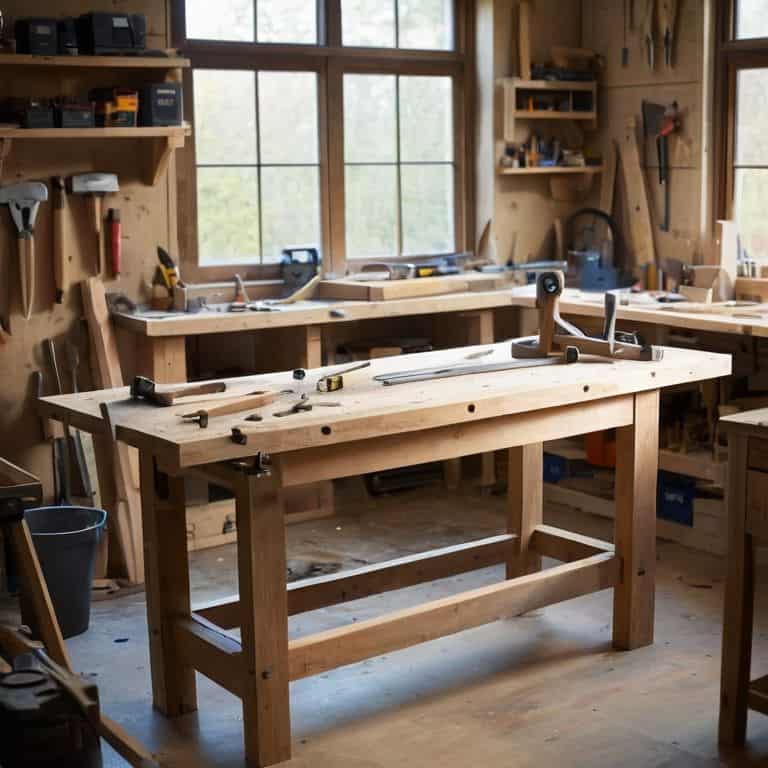
- 3. Now it’s time to design our workbench, taking into account the space where it will live and the tasks we’ll be using it for. Will it be a dedicated spot for woodworking, a crafting station, or a general-purpose work area? Consider the height, length, and width that will make your workbench comfortable and functional. I like to sketch out a few ideas, thinking about the flow of my workflow and how I can optimize the space to suit my needs.
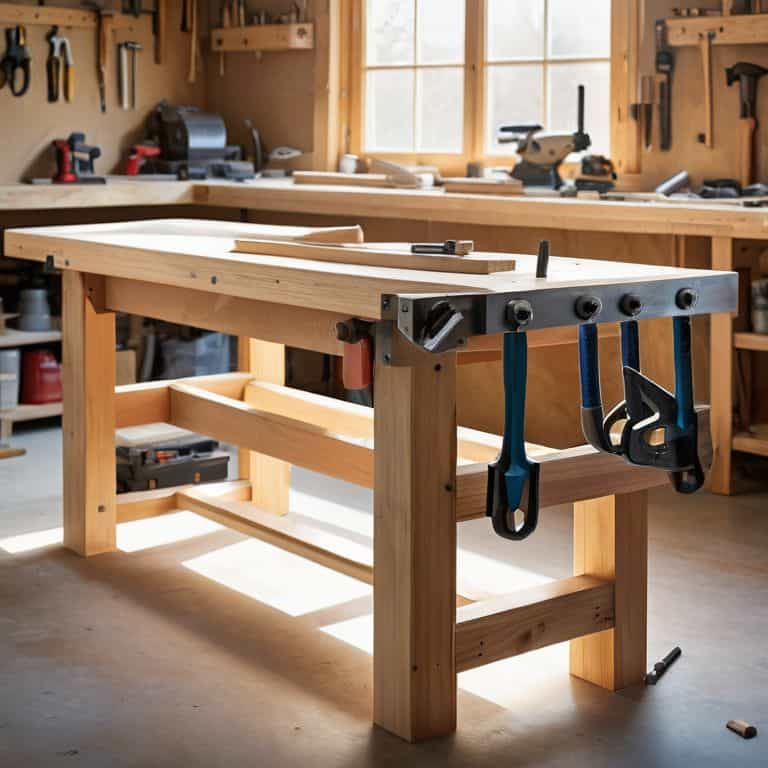
- 4. With our design in mind, let’s start building the frame of our workbench. We’ll use our sturdy legs and some 2x4s to create a solid base that can support all our tools and projects. Use screws or nails to attach the legs to the frame, making sure it’s level and secure. Don’t worry too much about perfection at this stage – we can always make adjustments later.
- 5. Next, we’ll add the work surface, which is where the magic happens. Cut your solid top to the desired size, sand it down to smooth out any rough edges, and attach it to the frame using screws or wood glue. I like to use a combination of both for extra security. Remember to leave a little room for expansion and contraction, depending on the type of wood you’re using and the temperature fluctuations in your workspace.
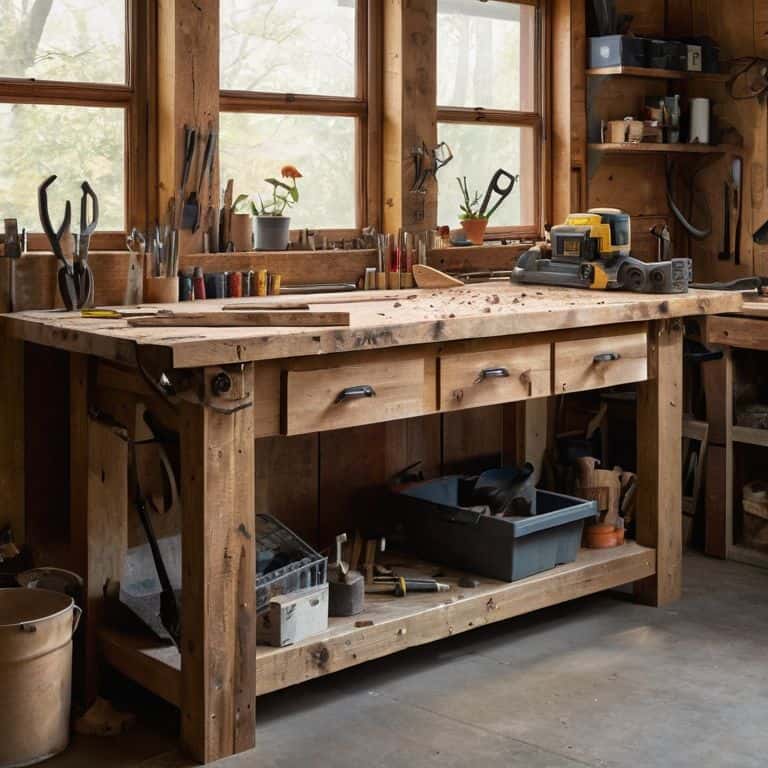
- 6. Now it’s time to add some storage and organization to our workbench, because let’s face it – a cluttered workspace can be a major creativity killer. Think about what you need to store: tools, materials, or maybe even a few favorite snacks to keep you fueled throughout the day. You can add drawers, shelves, or even just some simple hooks to hang your most frequently used items.
- 7. Finally, let’s add some finishing touches to our workbench, like a coat of paint or varnish to protect the wood and give it a personalized look. You can also add some decorative trim or molding to give it a more polished feel. Take a step back, admire your handiwork, and think about all the amazing projects you’ll be creating on your new workbench – the possibilities are endless, and that’s what makes DIY so exciting.
Building a Workbench
As I always say, building a workbench for beginners is all about experimentation and creativity. When it comes to choosing the best materials for a workbench top, consider what you have available in your workshop or what you can salvage from old furniture. I’ve found that reclaimed wood can add a unique character to your workbench, making it not only functional but also a piece of art.
One of the most overlooked aspects of workbench design is ergonomic considerations. Ensure that your workbench height is comfortable for you, allowing you to work without straining your back. I like to think of my workbench as an extension of myself, a tool that should enhance my productivity and well-being.
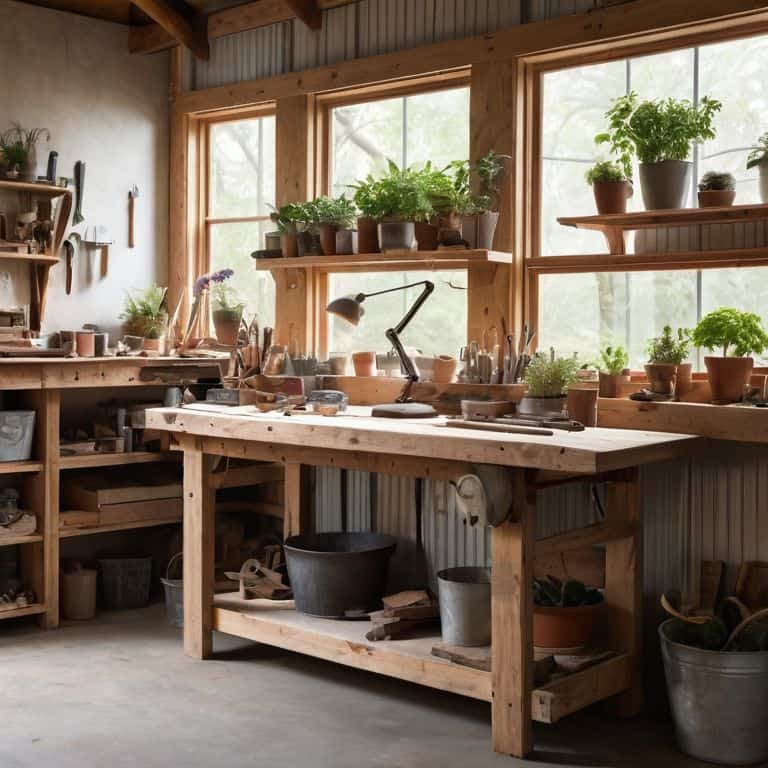
For those working with limited space, simple workbench designs for small garages can be a game-changer. Consider incorporating diy workbench ideas on a budget, such as using old pallets or crates to create a modular and adaptable work surface. By thinking outside the box and embracing sustainable living, you can create a workbench that not only serves its purpose but also reflects your personality and values.
Ergonomic Diy Designs
As I always say, a workbench is not just a piece of furniture, it’s a haven for creativity. When it comes to ergonomic DIY designs, I believe in creating a space that adapts to your needs, not the other way around. Consider the height and comfort of your work surface, ensuring it allows for effortless movement and minimal strain. By incorporating curved edges, cushioned grips, or even a built-in ergonomic rest, you can transform your workbench into a sanctuary that nurtures both body and mind.
I love experimenting with repurposed materials to create unique, ergonomic features. For instance, an old door can become a sloping surface for comfortable tool placement, while a discarded pipe can be reborn as a handy armrest. The key is to observe your own working habits and tailor your design to fit your natural flow. By doing so, you’ll not only create a workstation that promotes efficiency but also one that inspires joy and fosters a deeper connection with the creative process.
Upcycled Workbench Plans
As I delve into the world of upcycled workbench plans, I’m reminded of the countless garage sales and thrift stores I’ve scavenged for hidden gems. An old door, a wooden pallet, or even a vintage dresser can be transformed into a one-of-a-kind workbench. I’ve seen friends turn a retired picnic table into a potting bench, complete with built-in planters and a charming wooden trellis. The key is to think beyond the original purpose of an item and envision its potential as a functional work surface.
My own upcycled workbench is made from an old bowling lane, which I sanded and refinished to reveal the beautiful wood grain beneath. I added some reclaimed metal legs and a vintage vice, and now it’s the centerpiece of my workshop. The story behind each upcycled workbench is unique, and that’s what makes them truly special. Whether you’re a seasoned DIY enthusiast or just starting out, I encourage you to explore the world of upcycled workbench plans and uncover the hidden potential in unexpected places.
Hammering Out the Details: 5 Essential Tips for Your Dream Workbench
- Choose Your Lumber Wisely: Consider the story behind your wood, whether it’s reclaimed from an old barn or sustainably sourced from a local forest, to add character and a clear conscience to your workbench
- Measure Twice, Cut Once (But Don’t Be Afraid to Improvise): The key to a successful DIY project is finding the balance between planning and spontaneity, so don’t hesitate to pivot when inspiration strikes
- Ergonomics is Everything: Design your workbench with your body in mind, ensuring that the height, lighting, and tool placement all contribute to a comfortable and efficient workspace that sparks joy and minimizes strain
- Get Creative with Your Hardware: Repurpose old machinery parts, bike gears, or even kitchen utensils to add a touch of whimsy and ingenuity to your workbench’s design, making it truly one-of-a-kind
- Lighting Makes the Space: Incorporate a mix of warm and cool lighting sources, such as string lights, lanterns, or LED strips, to create a welcoming ambiance that invites you to tinker, create, and bring your ideas to life
Key Takeaways for Your Upcycled Workbench Project
Transform your workspace with creativity: remember, the goal of upcycling is not just to reuse materials, but to reimagine them in a way that brings new life and functionality to your workbench
Measure twice, cut once: precision is key when working with reclaimed wood and materials, ensuring your workbench is not only unique but also sturdy and reliable
Make it yours: don’t be afraid to add personal touches and embellishments to your workbench, whether it’s a handmade quilt as a work surface cover or a set of repurposed jar organizers for your tools and supplies
Building with Heart
A workbench is not just a piece of furniture, it’s a canvas for creativity, a sanctuary for self-sufficiency, and a testament to the transformative power of our own two hands.
Stanley Truman
Embracing the Joy of Creation
As we conclude our journey to building the ultimate upcycled workbench, let’s take a moment to reflect on the key elements that have brought us to this point. From scavenging for the perfect scraps of wood to carefully crafting each component with our own hands, we’ve not only created a functional workspace but also embodied the spirit of sustainability. By choosing to upcycle and repurpose materials, we’re reducing waste and embracing a more environmentally conscious approach to DIY projects. This mindset is at the core of what it means to live creatively and responsibly.
As you stand back to admire your handiwork, remember that the true beauty of this project lies not just in the workbench itself, but in the process of creation and the sense of accomplishment that comes with it. May this project be the catalyst for a lifetime of inventive and eco-friendly endeavors, inspiring you to continually seek out new ways to breathe life into the discarded and to find joy in the journey of making something truly unique and meaningful.
Frequently Asked Questions
What are the essential tools I need to have in my workshop to build a sturdy workbench?
My friend, let’s get down to business! For a sturdy workbench, you’ll need a trusty tape measure, a reliable level, a drill press, and some good ol’ fashioned hand tools like a hammer, saw, and wrench. Oh, and don’t forget a pencil to mark those crucial measurements – I like to use a pencil made from reclaimed wood, it’s a nice touch!
How can I ensure that my upcycled workbench is ergonomic and comfortable to work on for long periods?
To ensure your upcycled workbench is ergonomic, consider the height and comfort of your workspace. Add a cushioned surface or a wooden lip to prevent tools from slipping off, and don’t forget to leave some extra room for your legs to move freely. I like to think of it as creating a cozy nook for your creativity to flourish!
What types of materials can I use to make my workbench durable and resistant to scratches and spills?
For a durable workbench, I recommend using reclaimed hardwoods, metal frames, or composite materials. Add a protective finish like linseed oil or polyurethane to shield against scratches and spills. You can also upcycle old doors, pallets, or bowling alley lanes for a unique and resilient surface.


