I still remember the first time I tried to tackle a basic electrical work project in my tiny apartment – I was determined to breathe new life into the space, but ended up feeling like I was in way over my head. The truth is, a guide to basic electrical work doesn’t have to be intimidating or overwhelming. In fact, with the right mindset and a few simple tools, you can start to see the potential for transformation in even the most mundane objects and spaces.
As we dive into this journey together, I promise to share my honest, no-nonsense advice on how to get started with basic electrical work. We’ll explore the fundamentals of electrical systems, and I’ll show you how to turn everyday objects into functional pieces that will make your space truly unique. From lighting fixtures to outlets, we’ll cover it all, and I’ll provide you with the confidence and knowledge you need to take on your own projects and make them a reality.
Table of Contents
- Guide Overview: What You'll Need
- Step-by-Step Instructions
- A Guide to Basic Electrical Work
- Illuminate Understanding Circuit Breaker Panels and Basic Wiring
- Spark Safety Diy Electrical Projects for Beginners
- Shocking Secrets: 5 Essential Tips for Taming the Sparks
- Empowering Your DIY Journey: 3 Key Takeaways
- Empowering Your Space
- Empowering Your Electrical Odyssey
- Frequently Asked Questions
Guide Overview: What You'll Need
Total Time: 4 hours 30 minutes
Estimated Cost: $50 – $100
Difficulty Level: Intermediate
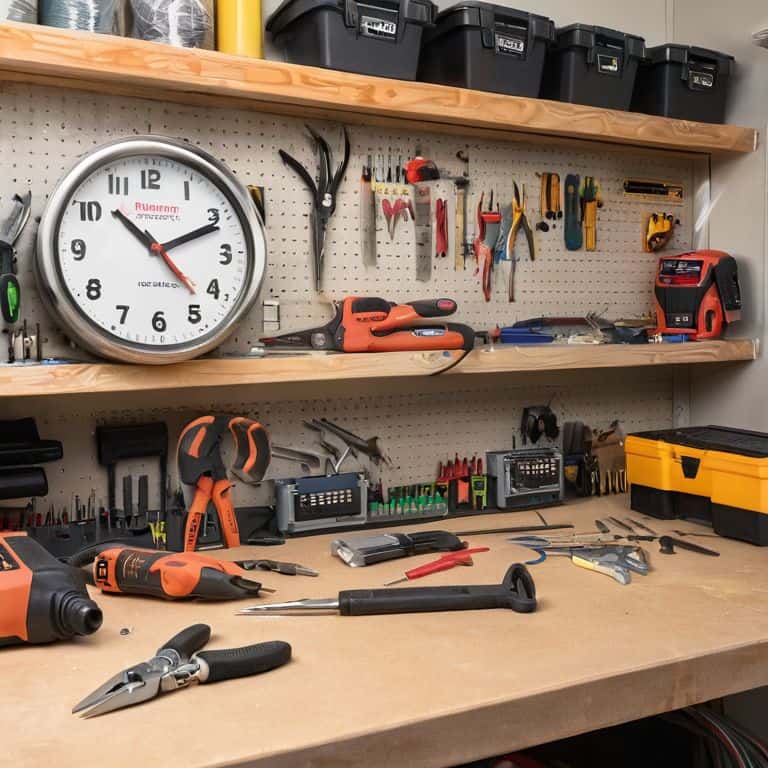
Tools Required
- Voltage Tester (for safety)
- Pliers (needle-nose and slip-joint)
- Screwdriver Set (flathead and Phillips)
- Wire Strippers (for 10-gauge to 20-gauge wire)
- Tape Measure (25 feet long)
Supplies & Materials
- 20-gauge Copper Wire (by the foot)
- 15-amp Circuit Breaker (single-pole)
- 1 inch Wood Screws (for mounting)
- Electrical Outlet Box (single-gang)
- Non-Metallic Sheathed Cable (6 feet long)
Step-by-Step Instructions
- 1. First, let’s get started with the basics of electrical work by understanding the safety protocols that will keep us safe throughout our project. This includes turning off the main power supply to the area we’re working on and using a voltage tester to ensure there’s no electricity flowing through the wires. I always say, safety first, and it’s essential to make this a habit when working with electricity.
- 2. Next, we need to gather our tools and materials, which may include a wire stripper, pliers, screwdrivers, and electrical tape. I love repurposing old items as tools, so don’t be afraid to think outside the box and use that old pencil as a makeshift wire marker or a used plastic container as a DIY cable organizer. This not only reduces waste but also adds a touch of creativity to our project.
- 3. Now, let’s move on to understanding the different types of wires and their color codes. This is crucial because each color represents a specific function, such as black for hot wires, white for neutral wires, and copper for ground wires. I find it helpful to create a mental map or a physical diagram to keep track of these codes and ensure we’re connecting the right wires to the right terminals.
- 4. With our wires identified, it’s time to start stripping and connecting them. This involves using our wire stripper to remove the insulation and then twisting or soldering the wires together. Remember to use the right gauge of wire for your project, as this will affect the flow of electricity and the overall safety of our electrical work. It’s also a good idea to label our wires as we go to avoid confusion later on.
- 5. Once we’ve connected our wires, we can start assembling our electrical components, such as outlets or switches. This involves mounting the components to the wall or a board and then connecting the wires to the correct terminals. I like to think of this step as building a puzzle, where each piece fits together to create a functional and safe electrical system.
- 6. As we near the end of our project, it’s essential to test our work to ensure everything is functioning correctly and safely. This involves turning the power back on and using our voltage tester to check for any electrical currents where they shouldn’t be. If something doesn’t seem right, don’t hesitate to go back and double-check our connections and wiring.
- 7. Finally, let’s finish off our project by securing any loose wires and tidying up our workspace. This might involve using electrical tape or cable ties to keep our wires organized and out of the way. I always feel a sense of accomplishment when I complete a DIY electrical project, knowing that I’ve not only saved money but also created something with my own hands that will serve me well for years to come.
A Guide to Basic Electrical Work
As I delve into the world of DIY electrical projects, I’m reminded of the importance of electrical safety protocols at home. It’s crucial to understand the basics of circuit breaker panels and how they distribute power throughout your house. By familiarizing yourself with these panels, you’ll be better equipped to tackle more complex projects, like installing LED light fixtures. This not only enhances the ambiance of your space but also reduces energy consumption.
When it comes to basic wiring techniques, it’s essential to start with the fundamentals. I always recommend beginning with simple projects, such as replacing common electrical outlet problems, to build your confidence and skills. As you progress, you can move on to more intricate tasks, like rewiring a room. Remember, the key to successful DIY electrical projects is to take your time and be meticulous in your work.
By embracing DIY electrical projects for beginners, you’ll not only save money but also develop a sense of self-sufficiency. As you explore the world of electrical work, keep in mind that understanding circuit breaker panels is vital to ensuring your safety and the efficiency of your projects. With practice and patience, you’ll be well on your way to becoming a proficient DIY electrician, capable of tackling a wide range of projects and enhancing your home’s electrical system.
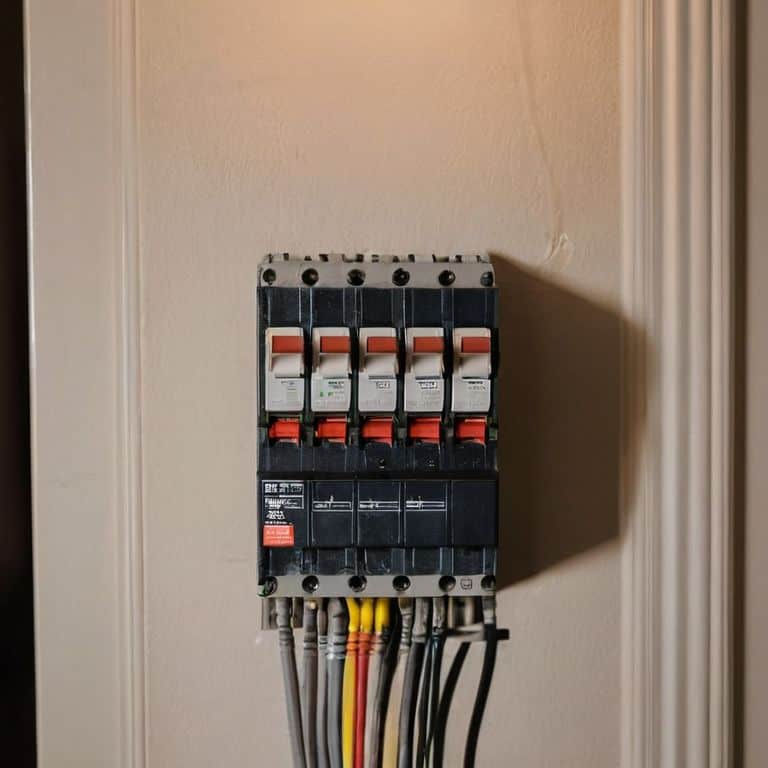
Illuminate Understanding Circuit Breaker Panels and Basic Wiring
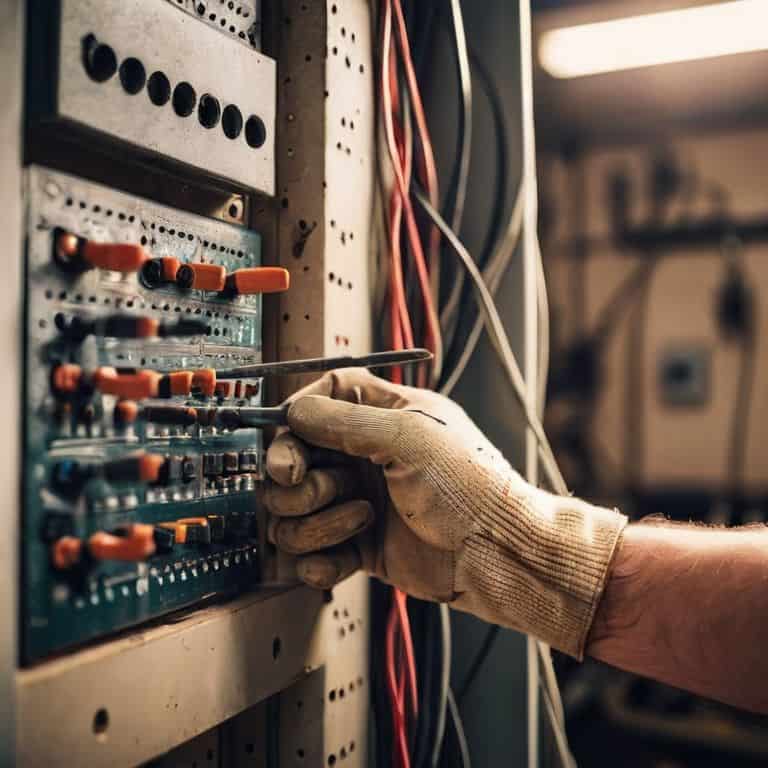
As we dive into the world of basic electrical work, it’s essential to understand the heartbeat of our home’s electrical system: the circuit breaker panel. This humble hero keeps our lights shining, our appliances humming, and our devices charged. Inside, you’ll find a maze of wires, fuses, and switches that work in harmony to distribute power throughout our homes. By grasping the basics of circuit breaker panels and wiring, we can unlock a world of DIY possibilities, from installing new lighting fixtures to powering our favorite gadgets.
Let’s start by exploring the basics of wiring. Think of wires as the veins of our electrical system, carrying life-giving energy to every corner of our homes. With a few simple tools and some know-how, we can tap into this network, adding new outlets, switches, and fixtures to illuminate our lives. Whether you’re a seasoned pro or a curious beginner, understanding circuit breaker panels and basic wiring is the key to unlocking a brighter, more sustainable future – one wire at a time.
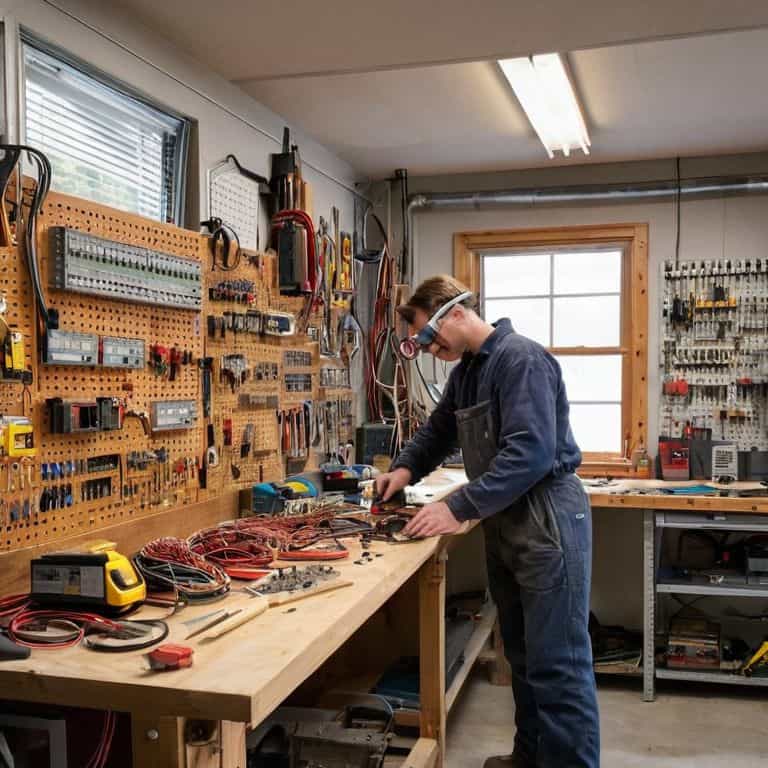
Spark Safety Diy Electrical Projects for Beginners
As we dive into the world of DIY electrical projects, safety is my top priority. I want to empower you with the knowledge to tackle simple tasks like replacing a light fixture or installing a new outlet. Before we begin, let’s cover some essential safety tips. Always turn off the power to the circuit you’re working on, and verify it’s safe using a voltage tester. It’s also crucial to use the right materials and follow local electrical codes.
By taking these precautions, you’ll be well on your way to becoming a confident DIY electrician. Remember, it’s all about being mindful and taking your time. With a little practice, you’ll be sparking new life into your space in no time. I’m excited to share my expertise with you and help you unlock the full potential of your home’s electrical system.
Shocking Secrets: 5 Essential Tips for Taming the Sparks
- Always turn off the main power supply before starting any electrical work – it’s like putting on your favorite apron, a ritual that sets you up for success!
- Use a non-contact voltage tester to ensure there’s no electricity flowing through the wires, because who doesn’t love a good safety net?
- Label your wires and circuits as you go, it’s like keeping a treasure map of your electrical adventures – you never know when you’ll need to find your way back!
- Keep your workspace clean and clutter-free, a tidy area is a tidy mind, and when working with electricity, a clear mind is a safe one!
- Never be afraid to consult a professional if you’re unsure about any part of the process – after all, even the most seasoned urban foragers know when to ask for help, and that’s just good DIY etiquette!
Empowering Your DIY Journey: 3 Key Takeaways
Always remember to turn off the main power supply before starting any electrical work, and never be afraid to get creative with repurposed materials to add a personal touch to your projects
Understanding the basics of circuit breaker panels and wiring can be a game-changer – it’s like unlocking a secret world of possibilities for breathing new life into old spaces and objects
By embracing DIY electrical work and sustainable living practices, you’re not only reducing waste and living more eco-consciously, but also cultivating a sense of community and collaboration that can inspire others to join the creative self-sufficiency movement
Empowering Your Space
As we weave a tapestry of innovation and sustainability, remember that every wire, every switch, and every circuit is not just a connection to power, but a thread in the narrative of our self-sufficiency and creativity.
Stanley Truman
Empowering Your Electrical Odyssey
As we conclude this journey through the world of basic electrical work, let’s recap the key takeaways that will set you up for success. We’ve delved into the essentials of safety, understanding that spark safety is not just a precaution, but a mindset. We’ve also explored the fundamentals of circuit breaker panels and basic wiring, illuminating the path to tackling your own DIY electrical projects with confidence. By embracing these principles, you’re not just learning about electrical work; you’re unlocking a sense of self-sufficiency that will serve you well in all your future endeavors.
As you move forward, remember that the true power of DIY electrical work lies not just in the projects you complete, but in the creative problem-solving they inspire. Every successfully completed project is a testament to your ability to transform and improve your surroundings. So, don’t be afraid to dream big and tackle that ambitious project you’ve been putting off. With the right mindset and a bit of practice, you’ll be illuminating your world in no time, one wire at a time.
Frequently Asked Questions
What are some common mistakes to avoid when working with electrical circuits for the first time?
When working with electrical circuits for the first time, beware of overloaded outlets, incorrect wire sizing, and neglecting to turn off the main power supply – these slip-ups can lead to short circuits, fires, or even electrocution. Always double-check your connections and consult a pro if unsure!
How do I know which type of wire is suitable for my DIY electrical project?
Ah, wire wisdom! For most DIY projects, you’ll want to choose between 14-gauge, 16-gauge, or 18-gauge wire, depending on the amperage and distance. Think of it like a recipe: match the wire to your project’s specific needs, and always check local electrical codes for the perfect blend of safety and style!
Are there any specific safety precautions I should take when attempting to repair or replace a circuit breaker?
When tinkering with circuit breakers, safety is key. Always switch off the main power supply, and consider having a buddy nearby for extra caution. Use a voltage tester to ensure there’s no live current, and never touch electrical components with wet hands or while standing on a damp surface – let’s keep those sparks safe and controlled!


