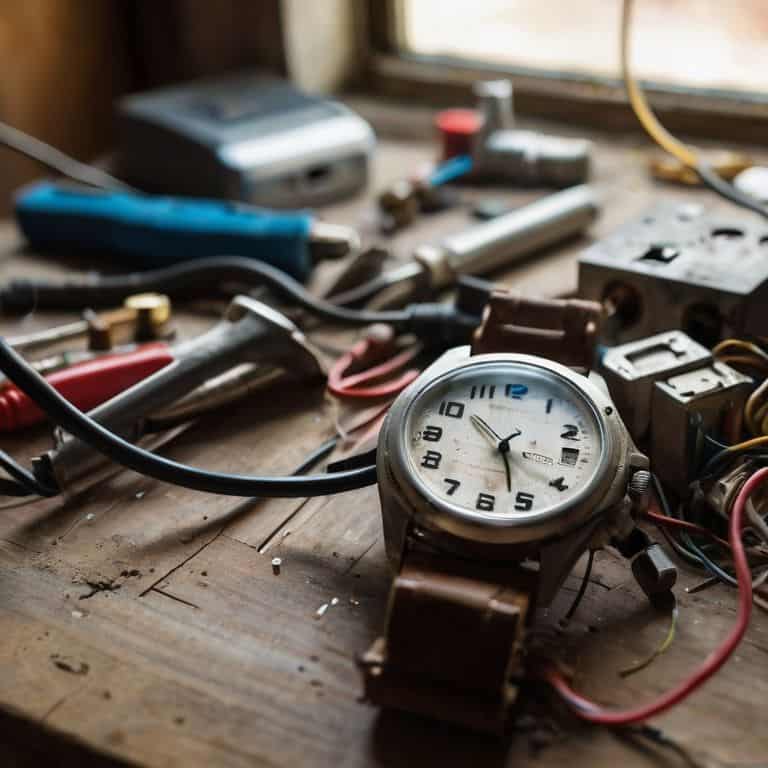
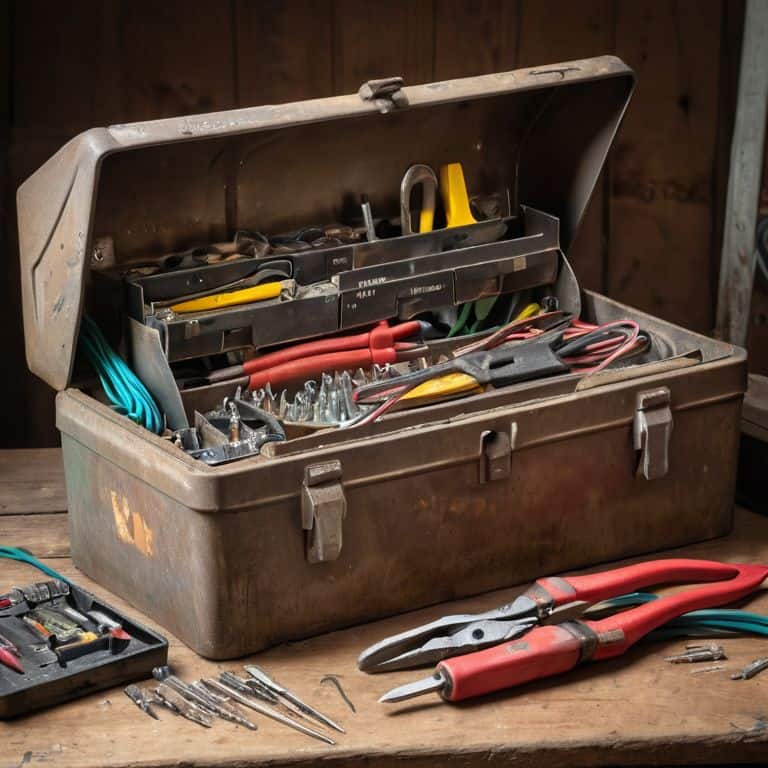
As I rummaged through my grandfather’s old toolbox in his cozy workshop, I stumbled upon a tangle of wires and circuits that sparked my curiosity. I was on a mission to restore an antique lamp I had found at a flea market, and I soon realized that a guide to basic electrical work was essential to bringing it back to life. The myth that electrical work is only for professionals is a notion that I’ve often encountered, but I’ve learned that with the right guidance, even the simplest tasks can become a fun DIY adventure.
In this article, I promise to share my honest and practical advice on how to tackle basic electrical work with confidence. You’ll learn how to safely navigate the world of wiring and circuits, and discover the joy of creating something with your own hands. From understanding the basics of electricity to troubleshooting common issues, I’ll provide you with a step-by-step approach to help you overcome any obstacles and achieve your DIY goals. Whether you’re a beginner or just looking to refresh your skills, this guide is designed to empower you with the knowledge and skills necessary to take on any basic electrical project that comes your way.
Table of Contents
Guide Overview: What You'll Need
Total Time: 4 hours 30 minutes
Estimated Cost: $50 – $100
Difficulty Level: Intermediate
Tools Required
- Voltmeter (for measuring voltage)
- Pliers (needle-nose and slip-joint)
- Screwdriver set (flathead and Phillips)
- Wire strippers (for stripping 10 inches of wire)
- Tape measure (for measuring 6 feet of distance)
Supplies & Materials
- 20-amp circuit breaker
- 14-gauge wire (by the foot)
- Wire nuts (assorted sizes)
- Outlet receptacles (duplex or single)
- Switch plates (decorative or standard)
Step-by-Step Instructions
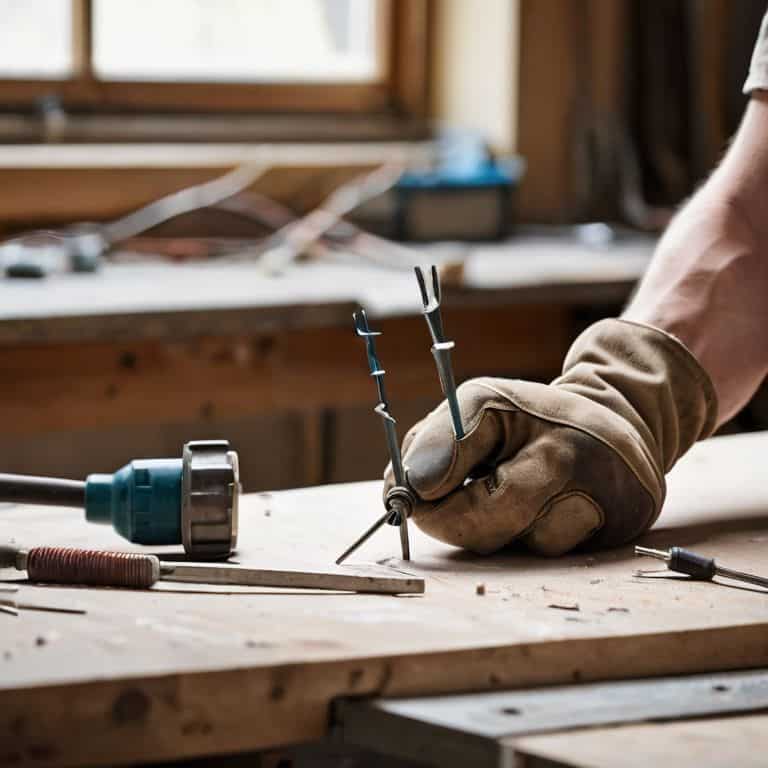
- 1. To begin with, safety should always be your top priority when it comes to basic electrical work. Make sure you have a clear understanding of the project you’re about to undertake and have all the necessary tools and materials within reach. This includes a voltage tester, wire strippers, and a variety of screwdrivers. I recall a time when I was working on a small electrical project in my parents’ bed-and-breakfast, and I had to double-check the wiring diagram to ensure everything was correctly connected.
- 2. Next, you’ll need to turn off the power to the circuit you’re working on. This is a crucial step that cannot be overstated. Locate the main electrical panel and switch off the breaker or remove the fuse for the circuit. Use your voltage tester to confirm that there’s no electricity flowing to the circuit. I’ve found that taking a moment to verify the power is off can save you from a lot of potential danger.
- 3. Now, it’s time to start working on the actual electrical components. If you’re replacing a light fixture, for example, you’ll need to remove the old one. This usually involves removing a few screws and gently pulling the fixture away from the ceiling. Be careful not to touch any of the electrical wires, and use a non-contact voltage tester to ensure there’s no power flowing through them. I remember a particularly tricky fixture I had to replace in an old cottage, where the screws were hidden behind a decorative trim.
- 4. Once you have access to the wires, you’ll need to identify which ones are which. This can be a bit daunting if you’re new to electrical work, but a simple wiring diagram can be a huge help. Typically, black wires are hot, white wires are neutral, and copper wires are ground. Make sure to label each wire as you go to avoid confusion later on. I’ve developed a habit of using color-coded stickers to keep track of the wires.
- 5. With your wires identified and labeled, you can start connecting them to your new fixture. Make sure to match the wires correctly – black to black, white to white, and so on. Use your wire strippers to remove any insulation from the ends of the wires, and then secure them to the fixture using the provided connectors. It’s essential to tighten the connectors firmly to ensure a good connection. I’ve learned that a good connection is key to avoiding future electrical issues.
- 6. After you’ve connected all the wires, it’s time to put everything back together. Mount the new fixture to the ceiling or wall, making sure it’s securely fastened. Then, turn the power back on at the main electrical panel and test the fixture to make sure it’s working properly. If it doesn’t turn on, check your wiring connections to ensure everything is connected correctly. I recall a time when I had to troubleshoot a faulty connection in a vintage lamp, and it turned out to be a simple fix.
- 7. Finally, take a step back and admire your handiwork. You’ve successfully completed a basic electrical project, and you should be proud of yourself. Take a moment to document your work, either by taking photos or writing down what you did. This will help you remember what you’ve done and can be a useful reference for future projects. I like to keep a journal of my electrical adventures, complete with photos and diagrams, to help me track my progress and plan future projects.
A Guide to Basic Electrical Work
As I delve into the world of DIY electrical projects, I’ve learned that electrical safety protocols are paramount. It’s essential to familiarize yourself with basic wiring diagrams to avoid any potential hazards. I recall a recent visit to a flea market where I stumbled upon an old electrical toolbox, which sparked my curiosity and led me to explore more about the basics of electrical work.
When it comes to tackling DIY electrical projects, having a home electrical inspection checklist can be a lifesaver. It helps identify potential issues before they become major problems. I’ve also discovered that DIY electrical project ideas can be found in the most unexpected places, such as vintage postcards or antique electrical equipment. By embracing these unique sources of inspiration, you can add a personal touch to your projects.
To get started, it’s crucial to have the right tools in your electrical tool kit essentials. This includes a multimeter, wire strippers, and pliers, among others. By being mindful of common electrical mistakes to avoid, you can ensure a smooth and successful project. As I continue to explore the world of electrical work, I’m excited to share more of my findings and tips with you, and I hope you’ll join me on this journey of discovery.
Spark Safety Electrical Protocols Uncovered
As I delved into the world of DIY electrical work, I realized that safety is the spark that sets any successful project ablaze. It’s essential to understand the protocols that keep you protected from shocks and injuries. I recall my grandfather, an experienced electrician, always stressing the importance of turning off the main power supply before starting any work. This simple step can be a lifesaver, and it’s astonishing how often it’s overlooked.
By following basic electrical safety guidelines, you’ll be well on your way to becoming a competent DIY enthusiast. Always use insulated tools, wear protective gear, and never touch electrical components with wet hands or while standing on a conductive surface. These precautions may seem mundane, but they’re the foundation upon which safe and successful electrical work is built.
Wiring Wonders Diy Project Ideas to Try
As I delved into the world of DIY electrical projects, I discovered a treasure trove of creative possibilities. From stringing up fairy lights in my backyard to revamping vintage lamps, each project sparked a sense of accomplishment and whimsy. I’ve found that even the simplest wiring tasks can become a fun adventure with the right mindset and materials. With a few basic tools and a dash of curiosity, you can unlock a world of electrical wonders, transforming your space into a unique reflection of your personality.
Some of my favorite projects include crafting custom lampshades, installing smart home devices, and even upcycling old electronics into quirky planters. The thrill of bringing new life to discarded items is a treasure hunt in itself, and I invite you to join me on this journey of discovery, where every wire and circuit tells a story waiting to be uncovered.
Shocking Insights: 5 Essential Tips for Tackling Basic Electrical Work
- Always switch off the main power supply before starting any electrical work, and verify the absence of voltage using a non-contact voltage tester to ensure your safety
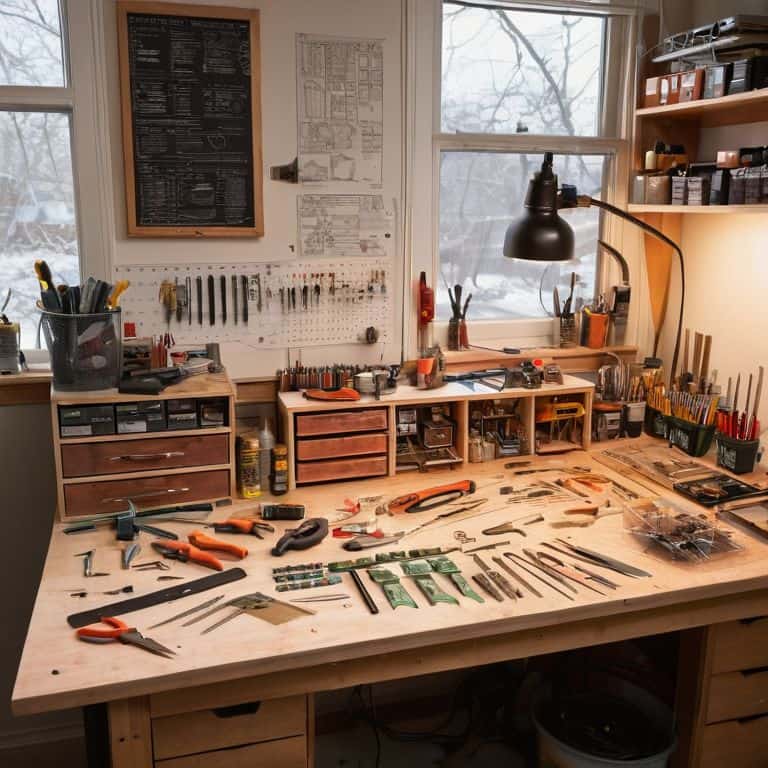
- Use the right tools for the job, investing in a good quality wire stripper, pliers, and screwdrivers to make your electrical projects a breeze
- Respect the basics of electrical circuits, understanding the difference between series and parallel circuits to avoid overloading and short circuits
- Keep your workspace organized and clutter-free, labeling wires and components as you go to avoid confusion and mistakes
- Never be afraid to consult the pros, calling in a licensed electrician if you’re unsure about any aspect of your electrical project to guarantee a safe and successful outcome
Electric Insights: 3 Key Takeaways
I’ve learned that with the right mindset and precautions, DIY electrical work can be a thrilling adventure, allowing you to breathe new life into old fixtures and appliances
From my grandfather’s workshop to my own projects, I’ve discovered that understanding the basics of electrical work can empower you to tackle a wide range of tasks, from simple repairs to complex installations
Whether you’re a seasoned tinkerer or a curious beginner, I hope my guide has inspired you to embark on your own journey of electrical discovery, sparking a sense of wonder and creativity in the process
Illuminating Insights
As I’ve learned from my own DIY adventures, basic electrical work is not just about wires and circuits, but about sparking a sense of curiosity and creativity that can illuminate even the most mundane spaces.
Vera Kump
Empowering Your Electrical Journey
As I reflect on our journey through the world of basic electrical work, I’m reminded of the importance of safety protocols and wiring fundamentals. We’ve explored the essential steps to get you started, from understanding circuits to tackling your first DIY projects. It’s been an exciting adventure, and I hope you’ve felt your confidence grow with each new concept and skill. Whether you’re looking to save money, enhance your home, or simply develop a new hobby, the knowledge you’ve gained here will serve as a solid foundation for your future electrical endeavors.
As you close this guide and look to the future, remember that electrical work is a journey, not a destination. It’s about embracing the process, learning from your mistakes, and continuously challenging yourself to try new things. So, go ahead and spark your creativity, ignite your curiosity, and watch your projects come to life. The world of electrical work is full of hidden gems and surprises, and I have no doubt that you’re ready to uncover them, one circuit at a time.
Frequently Asked Questions
What are the most common mistakes to avoid when performing basic electrical work?
As I’ve learned from my grandfather’s workshop adventures, common mistakes to avoid include overloading circuits, ignoring grounding, and using incorrect wire gauges – all of which can lead to sparks flying in the wrong direction, if you know what I mean!
How do I know which wires are safe to handle and which ones to avoid?
When I’m exploring old fixtures or tackling a new DIY project, I always remember to identify wires by their colors: black or red for ‘hot’ wires, white or gray for neutral, and copper for ground. It’s like being a treasure hunter, searching for the right clues to unlock the secret to safe and successful electrical work!
What are some essential tools I need to have in my toolkit for basic electrical projects?
My go-to essentials for basic electrical projects include a trusty multimeter, wire strippers, and a set of needle-nose pliers – I found some amazing vintage ones at a flea market last summer! Of course, a reliable screwdriver and some insulated wire nuts are also must-haves in my toolkit.


