I still remember the first time my granddad taught me how to change your own oil in our small Midwestern garage. It was a rite of passage, really – a moment when I realized that taking care of my vehicle wasn’t just about throwing money at a mechanic, but about understanding the intricacies of the machine itself. There’s a common myth that changing your own oil is a daunting, messy task, but I’m here to tell you that’s just not true. With the right guidance, it’s easier than you think, and I’m excited to share my knowledge with you.
In this article, I’ll walk you through the straightforward process of changing your oil like a pro. You’ll learn how to gather the necessary tools, prepare your vehicle, and get the job done efficiently. I’ll share some of my own tips and tricks, gained from years of working on cars and restoring vintage bicycles in my spare time. By the end of this guide, you’ll be empowered to take control of your vehicle’s maintenance, saving you time and money in the long run. So, let’s get started and discover the satisfaction of doing it yourself – it’s a feeling that’s hard to beat, and one that I’m eager to help you experience for yourself.
Table of Contents
Guide Overview: What You'll Need
Total Time: 1 hour 15 minutes
Estimated Cost: $20 – $40
Difficulty Level: Intermediate
Tools Required
- Socket wrench (for your car’s specific oil drain plug)
- Ratchet and socket (for your car’s oil filter)
- Oil drain pan (large enough to hold 4 quarts of oil)
- Funnel (for pouring in new oil)
- New oil filter wrench (if your car has a screw-on filter)
Supplies & Materials
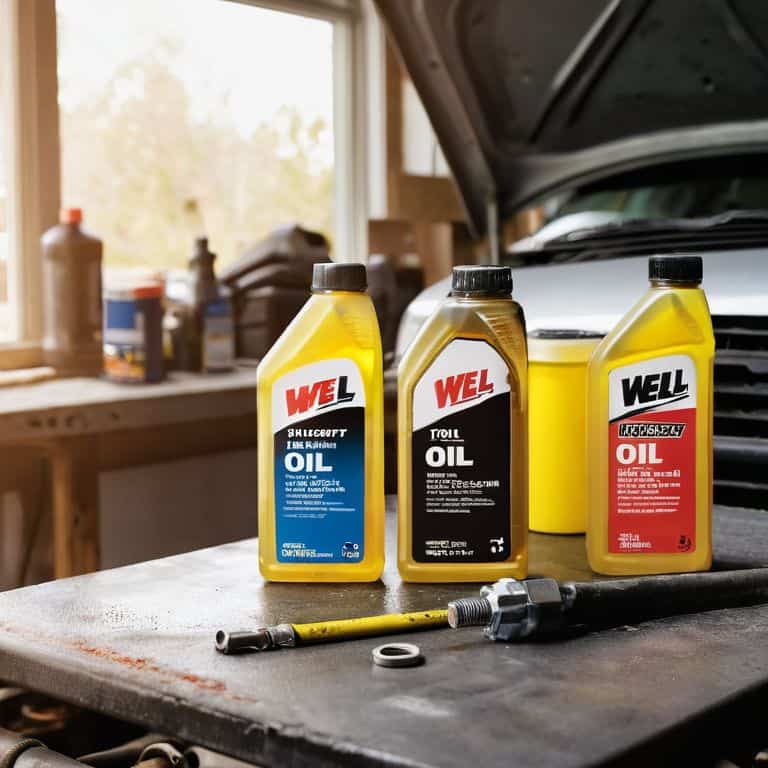
- Motor oil (the correct type and amount for your vehicle)
- New oil filter (the correct type for your vehicle)
- Oil filler cap gasket (if your car has a removable one)
- Rags (for cleaning up spills)
- Safety glasses (for protecting your eyes from oil splashes)
Step-by-Step Instructions
- 1. First, gather all the necessary tools and materials, which I like to call my “oil change arsenal”, including a socket wrench, oil drain pan, new oil filter, enough motor oil to fill your vehicle, and a pair of gloves to keep your hands clean. Make sure you have a clear and flat surface to work on, like my garage workshop where I spend most of my free time restoring vintage bicycles.
- 2. Next, warm up your engine by driving your vehicle for a few minutes, as this will help the oil drain more easily. While you’re driving, think about the sense of accomplishment you’ll feel after completing this DIY project, just like I do every time I finish restoring a bike. Once you’re back in your garage, turn off the engine and let it sit for a few minutes.
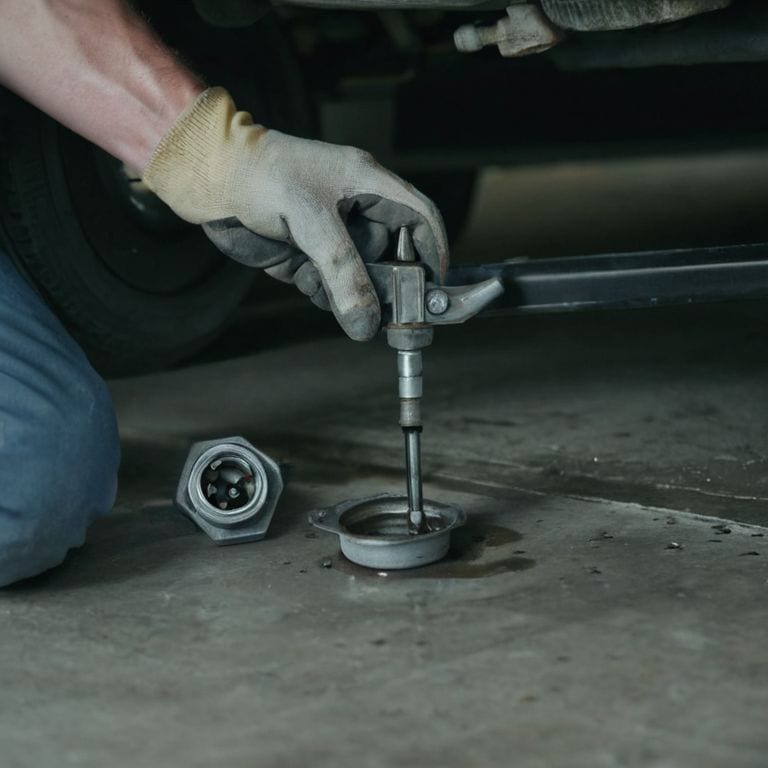
- 3. Locate the oil drain plug, usually found at the bottom of the engine, and position the oil drain pan underneath to catch the old oil. I’ve named my trusty socket wrench “Bertha”, and she’s been with me through countless oil changes and bike restorations. Use Bertha or your own socket wrench to loosen the drain plug, then completely remove it by hand to let the old oil flow out.
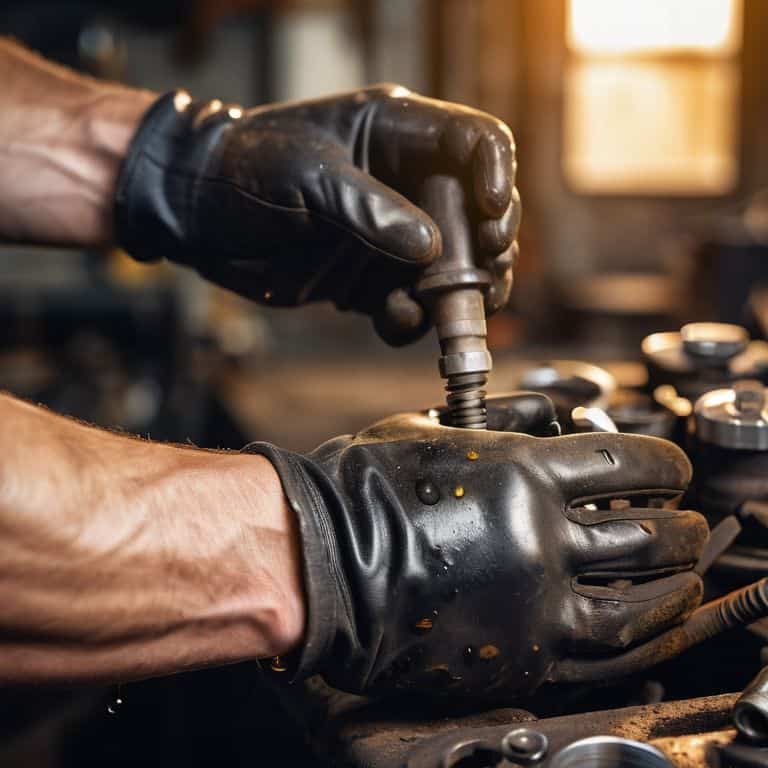
- 4. Once the old oil has stopped dripping, replace the oil drain plug and tighten it to the specified torque to avoid any leaks. Now it’s time to focus on the oil filter, which I like to think of as the unsung hero of your vehicle’s engine. Use a filter wrench to loosen and remove the old filter, being careful not to spill any oil when it’s removed.
- 5. Install a new oil filter by hand tightening it in a clockwise direction. Don’t overtighten, as this can damage the filter or threads. I’ve got a filter wrench named “Filbert” that’s been a reliable companion in my garage for years. Next, refill your engine with the recommended type and amount of new oil, which you can find in your vehicle’s manual or on the oil filler cap.
- 6. Replace the oil filler cap and start the engine, letting it run for a few minutes to circulate the new oil. While the engine is running, check for any signs of leaks around the oil drain plug and oil filter. If everything looks good, congratulations, you’ve just completed a successful DIY oil change, and you should feel a great sense of pride in your handy work.
- 7. Finally, dispose of the used oil and filter responsibly by taking it to a recycling center or an auto parts store that accepts used oil and filters. Clean your tools, including Bertha and Filbert, and store them in your garage, ready for the next project. Now, go ahead and take your vehicle for a spin, enjoying the “smooth ride” that comes with fresh oil and the knowledge that you did it yourself.
Mastering Oil Changes
As I reflect on my experiences with oil changes, I’ve come to realize the importance of synthetic oil benefits. Not only does it provide better engine performance, but it also lasts longer than traditional oil. When it comes to oil filter replacement, I always make sure to have a few oil filter wrenches on hand to make the process smoother. My grandfather used to say, “A good mechanic is always prepared,” and I’ve found that to be especially true when working on oil changes.
I’ve also learned a thing or two about car jack safety precautions. It’s crucial to ensure the car is securely supported before draining the oil into a pan. I recall one time when I was working on my vintage bicycle, and I had to use a torque wrench to loosen a stubborn bolt. It’s amazing how often those skills transfer to working on cars. When it comes to oil changes, having the right tools, like a torque wrench for oil drain plug, can make all the difference.
To keep your car running smoothly, it’s essential to stick to a regular oil change schedule. I like to think of it as a preventive measure, similar to how I maintain my vintage bicycles. By staying on top of oil changes, you can avoid more significant problems down the road. Whether you’re a seasoned mechanic or a DIY novice, remembering to drain the oil into a pan is a crucial step that should never be overlooked.
Synthetic Oil Benefits Inside
Now that we’ve mastered the art of changing our own oil, let’s dive into the benefits of using synthetic oil. I’ve seen it make a world of difference in my own vintage bike restorations. Synthetic oil provides better engine protection, especially in extreme temperatures. It also helps to improve fuel efficiency and reduce engine wear, making it a great choice for those who want to get the most out of their vehicle. I’ve named my synthetic oil bottle “Synthia” – she’s a game-changer in my garage, and I think she can be in yours too. With synthetic oil, you can drive confidently, knowing your engine is well-protected.
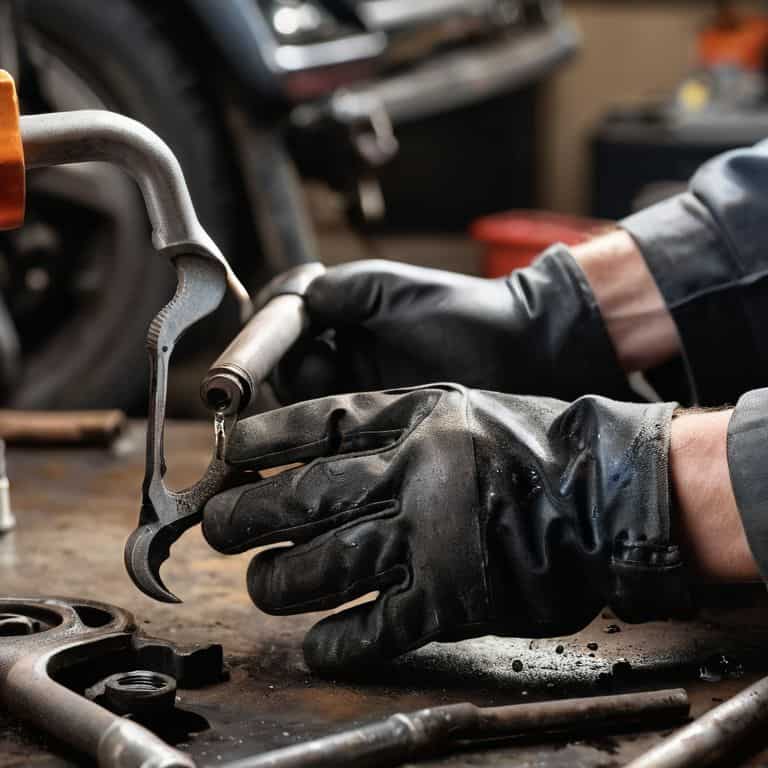
Torque Wrench Safety First
When it comes to tightening those bolts, I always say, “Meet Bertha, my trusty torque wrench.” She’s been with me since my grandfather’s days, and I’ve named her for her reliability. Now, I know some folks might think, “What’s the big deal about torque wrenches?” Well, let me tell you, using the right amount of torque is crucial to avoid stripping threads or damaging your engine. I’ve seen it happen to the best of us, and it’s a real headache to fix.
So, here’s the deal. Always refer to your vehicle’s manual for the recommended torque specs, and double-check that your torque wrench is calibrated correctly. I like to give Bertha a little tune-up every now and then to ensure she’s giving me accurate readings. With the right torque and a bit of finesse, you’ll be golden. Remember, safety first, and your vehicle will thank you.
Get Your Hands Dirty: 5 Essential Oil Change Tips
- Always refer to your vehicle’s manual for specific oil change recommendations, just like I did with my granddad’s old Chevy
- Use a socket set that’s been well-loved, like my trusty ‘Bertha’ and ‘Betsy’ – they’ve seen their fair share of oil changes
- Never underestimate the power of a drain pan, my ‘Silver Savior’ has saved me from more spills than I can count
- Take your time when tightening the oil filter, don’t overtighten like I did with my ‘Tighty’ wrench – it’s all about finding that sweet spot
- Keep a record of your oil changes, including the date, mileage, and type of oil used, it’s a habit that’ll keep your car purring like my restored vintage bicycle, ‘The Green Machine’
Key Takeaways for a Smoother Ride
Regular oil changes are crucial for your vehicle’s health, and with the right mindset, it can be a therapeutic experience that brings you closer to your machine
Synthetic oil can be a game-changer for your engine, offering better performance in extreme temperatures and improved fuel efficiency – it’s worth considering for your next oil change
Safety always comes first, so make sure you’re using the right tools, like a torque wrench, to avoid stripping bolts or damaging your engine – your granddad would be proud of your caution and professionalism
Garage Wisdom
Changing your own oil is like riding a vintage bike – it’s not just about getting from point A to point B, it’s about the journey, the thrill of getting your hands dirty, and the satisfaction of knowing you’re keeping your ride running smooth.
John Beeler
Wrapping Up Your DIY Oil Change Adventure
As we conclude this journey into the world of DIY oil changes, let’s summarize the key points: we’ve covered the basics of getting your hands dirty, walked through a step-by-step guide, and even touched on mastering oil changes with a deep dive into synthetic oil benefits and the importance of torque wrench safety. Remember, the goal is not just to change your oil, but to transform your garage into a space where creativity and innovation thrive. By following these steps and tips, you’re not only saving money and gaining practical skills, but you’re also becoming part of a community that values hands-on knowledge and self-sufficiency.
So, as you put away your tools and admire your handiwork, remember that this is just the beginning. The DIY spirit is about embracing a mindset of continuous learning and improvement. Whether you’re restoring a vintage bicycle, like I am, or tackling a new project in your garage, the sense of accomplishment and pride you feel is unparalleled. Keep tinkering, keep learning, and most importantly, keep enjoying the process of turning your garage into a playground of creativity and innovation. With every project, you’re not just fixing something, you’re building a legacy of self-reliance and ingenuity.
Frequently Asked Questions
What are the most common mistakes to avoid when changing my own oil?
Ah, great question! When changing your own oil, watch out for over-tightening the drain plug, using the wrong type of oil, and not properly disposing of the used oil. I’ve seen it happen to the best of us, even me! Just remember, my trusty sidekick, ‘Socket Sam,’ always says, ‘a little caution goes a long way’
How often should I change my oil filter, and can I reuse the old one?
Ah, great question! I always say, change that oil filter every 5,000 to 7,500 miles, depending on your ride. As for reusing the old one, I’d advise against it – it’s like trying to restore a vintage bike with worn-out brakes, just not worth the risk. Trust me, a new filter’s a small price for peace of mind, and my trusty filter wrench, ‘Bertha,’ will make the job a breeze!
Can I use synthetic oil in my older vehicle, or is it only recommended for newer models?
Absolutely, you can use synthetic oil in your older ride! I’ve done it with my vintage bike restorations and it’s a game-changer. Synthetic oil provides better engine protection and can even help clean out grime. Just check your owner’s manual to ensure it’s compatible, and you’re good to go – my trusty sidekick, ‘Sockets,’ the socket wrench, will help you get the job done!


