I still remember the first time I changed the oil in my motorcycle – it was a game-changer for the bike’s performance and my sense of accomplishment. My grandfather, a seasoned mechanic, guided me through the process, and I was amazed at how something as simple as a guide to changing the oil on a motorcycle could make such a huge difference. As I grew older, I realized that many motorcycle owners were intimidated by this basic maintenance task, and that’s when I decided to share my knowledge and experience with others. I’ve written this article as a guide to changing the oil on a motorcycle that’s easy to follow and understand.
In this article, I’ll walk you through the step-by-step process of changing your motorcycle’s oil, sharing tips and tricks that I’ve learned over the years. You’ll discover how to choose the right oil, prepare your bike for the change, and dispose of the used oil responsibly. My goal is to make this process as straightforward and enjoyable as possible, so you can get back to riding and enjoying your motorcycle. By the end of this guide, you’ll be confident in your ability to change your motorcycle’s oil and keep your bike running smoothly, and you’ll have a newfound appreciation for the importance of regular maintenance in extending the life of your vehicle.
Table of Contents
- Guide Overview: What You'll Need
- Step-by-Step Instructions
- A Guide to Changing Motorcycle Oil
- Get Your Hands Dirty: 5 Essential Tips for a Smooth Motorcycle Oil Change
- Key Takeaways for a Smooth Ride
- Oil Change Wisdom
- Bringing It All Together: Motorcycle Oil Change Mastery
- Frequently Asked Questions
Guide Overview: What You'll Need
Total Time: 1 hour 30 minutes
Estimated Cost: $20 – $50
Difficulty Level: Intermediate
Tools Required
- Socket wrench (with 3/8 inch and 1/2 inch sockets)
- Ratchet and extension (for reaching oil drain plug)
- Oil drain pan (large enough to hold 2-4 quarts of oil)
- New oil filter wrench (if your motorcycle has a screw-on filter)
- Funnel (for pouring in new oil)
- Rag (for cleaning up spills)
Supplies & Materials
- Motorcycle oil (the correct type and amount for your motorcycle)
- New oil filter (if your motorcycle has a cartridge-style filter)
- Oil drain plug gasket (if your motorcycle has a drain plug with a gasket)
- Funnel with a spout (for easy pouring)
Step-by-Step Instructions
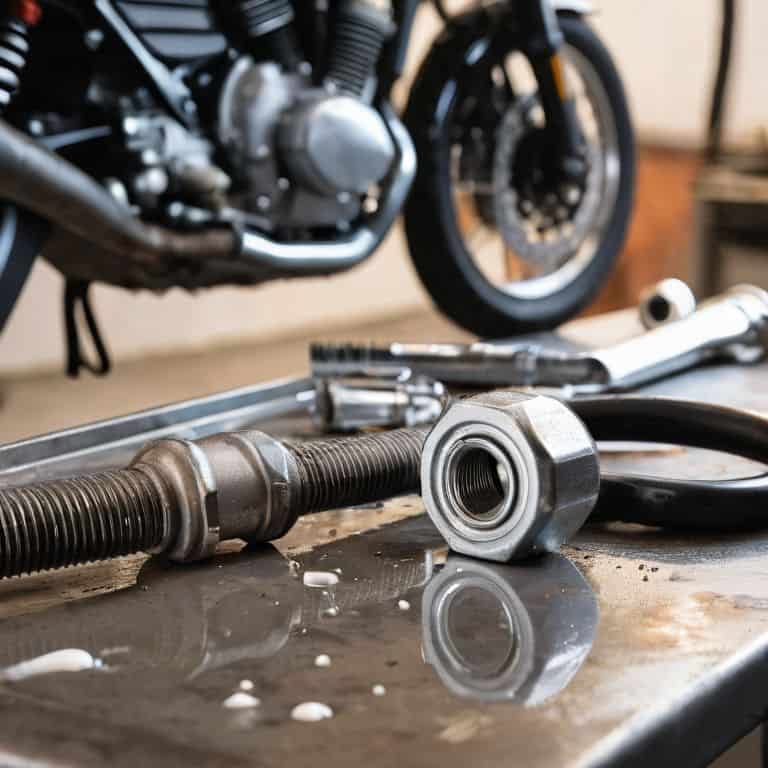
- 1. First, make sure you’ve got the right tools for the job, including a socket wrench, a drain pan, and some new oil filters. I like to lay out all my tools on a workbench, just like my grandfather taught me, and give them a quick once-over to make sure everything is in working order. My trusty sidekick, a socket wrench I’ve named “Bertha,” always gets the job done.
- 2. Next, warm up that engine by taking your motorcycle for a short spin around the block. This helps the oil drain more easily, and it’s a great excuse to get out and enjoy the fresh air. As you’re riding, think about the importance of regular maintenance and how it can help extend the life of your bike.
- 3. Now it’s time to find a level surface and get to work. Use some jack stands to lift the bike and give yourself some clearance to work underneath. I always double-check that the stands are securely in place before I start crawling around underneath the bike.
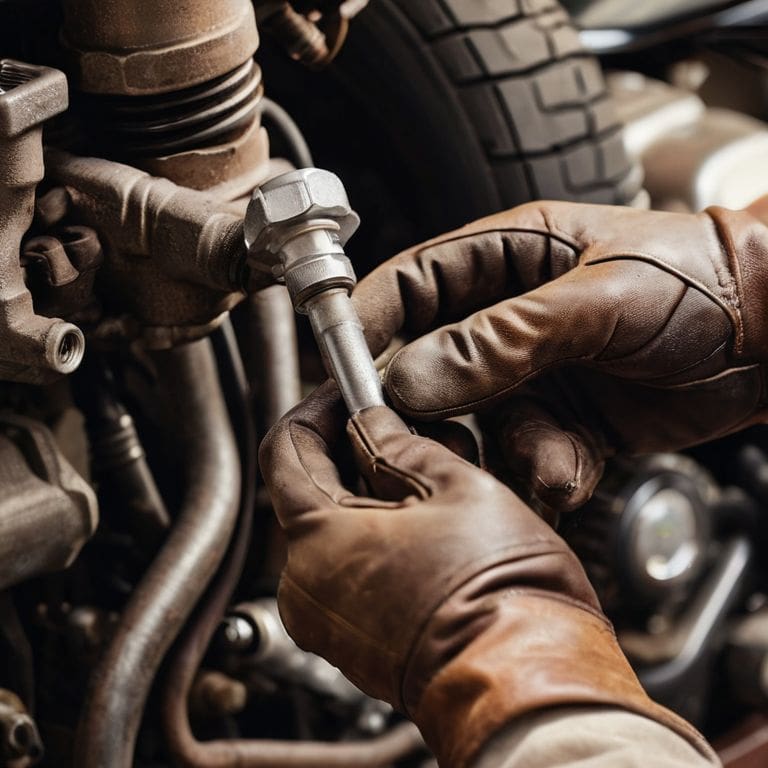
- 4. Locate the oil drain plug and use your socket wrench (hello again, Bertha!) to loosen it. Be prepared for the oil to start draining out, and make sure your drain pan is in place to catch it. This is the part of the process where I always feel like I’m giving my bike a little TLC.
- 5. Once the oil has stopped draining, use a new oil filter wrench to remove the old filter. Be careful not to spill any oil when you’re removing it, and take a moment to inspect the old filter for any signs of wear or damage. This is a great opportunity to check for any other potential issues.
- 6. Install a new oil filter and hand tighten it. Don’t overtighten it, or you might end up damaging the threads. I like to use a little bit of muscle memory to get the filter tightened just right.
- 7. Now it’s time to add some new oil to the bike. Use a funnel to pour in the recommended type and amount of oil, and take a moment to double-check your work. I always feel a sense of satisfaction when I’m pouring in the new oil, knowing that my bike is going to be running smoothly for months to come.
- 8. Finally, take your bike for another spin to circulate the new oil and make sure everything is running smoothly. This is the best part of the process – getting back out on the road and enjoying the fruits of your labor. As you’re riding, take a moment to appreciate the sense of accomplishment that comes with knowing you’ve taken good care of your bike.
A Guide to Changing Motorcycle Oil
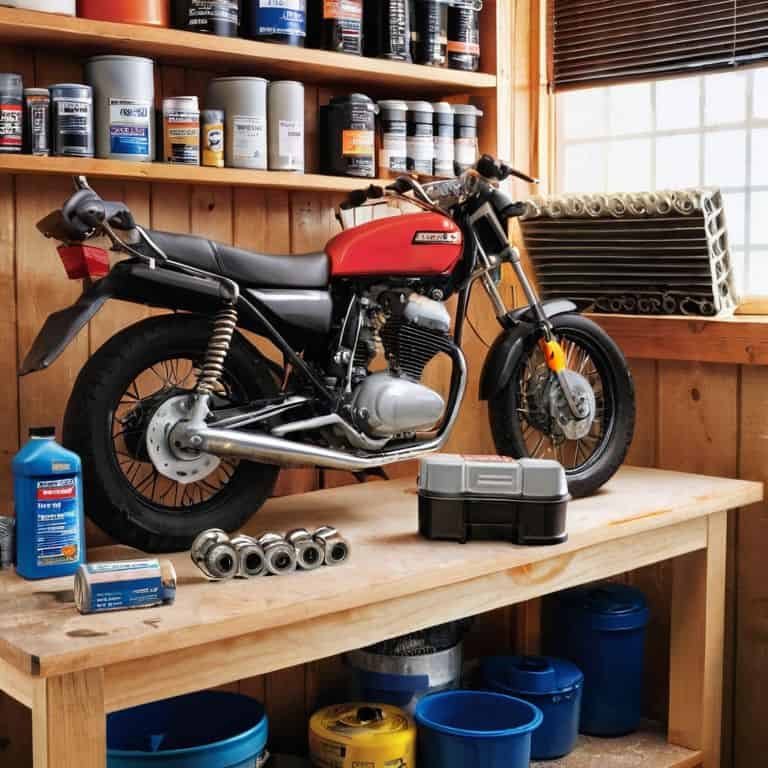
As I always say, a clean garage is a happy garage, and that includes keeping your motorcycle in top shape. When it comes to motorcycle oil filter replacement, it’s essential to use the correct type of filter to ensure your bike runs smoothly. I like to keep a stash of spare filters in my garage, labeled and organized, of course – my trusty filter wrench, Bertha, is always ready to go.
One of the most significant advantages of using synthetic oil benefits for motorcycles is the improved engine performance and increased fuel efficiency. I’ve seen it firsthand with my own bike, and it’s made a world of difference. However, it’s crucial to be aware of common motorcycle oil change mistakes, such as over-tightening the oil filter or using the wrong type of oil. My grandfather always told me, “Measure twice, tighten once,” and it’s a mantra that has served me well over the years.
To avoid any issues, it’s a good idea to consult a motorcycle oil capacity chart to ensure you’re using the right amount of oil for your bike. For older bikes, like my vintage bicycle restoration projects, it’s especially important to use the best oil for high mileage motorcycles to keep the engine running smoothly. By following these tips and staying on top of your motorcycle oil change interval, you’ll be able to enjoy many miles of trouble-free riding.
Common Oil Change Mistakes to Avoid
When I’m in the garage, tinkering with my bike, I always think back to my grandpa’s advice: “a job worth doing is a job worth doing right.” That’s especially true when it comes to changing your motorcycle’s oil. One mistake I see a lot of folks make is not properly disposing of the used oil and filter. Don’t just dump it in the trash – take it to a recycling center or an auto parts store that accepts used oil. Another common mistake is over-tightening the oil filter, which can damage the threads and lead to leaks.
I’ve also seen people use the wrong type of oil for their bike, which can affect performance and even cause damage. Always check your owner’s manual to make sure you’re using the right stuff. My trusty sidekick, a tool I’ve named “Torquey,” always helps me get the job done right. By avoiding these common mistakes, you’ll be able to keep your bike running smoothly and prolong its lifespan.
Synthetic Oil Benefits for Your Bike
Synthetic oil is like the secret sauce for your bike – it keeps the engine purring like a contented grandpa on his favorite armchair. I swear by it, and for good reason. Not only does it provide better lubrication, but it also handles extreme temperatures like a pro. My trusted sidekick, a 20-year-old vintage bike I’ve restored, runs smoother than ever thanks to synthetic oil. It’s worth the extra cost, if you ask me.
I’ve seen it make a world of difference in my own bike’s performance, and I’m excited to share that with you. With synthetic oil, you can expect a cleaner engine, better fuel efficiency, and a longer-lasting bike. It’s a no-brainer for anyone who wants to give their ride the best care possible.
Get Your Hands Dirty: 5 Essential Tips for a Smooth Motorcycle Oil Change
- Always warm up your engine before draining the oil – it helps the oil flow out more easily, trust me, I’ve been there!
- Use a socket wrench named ‘Bertha’ (like mine) to remove the drain plug, and be prepared for the oil to start draining out quickly
- Choose the right type of oil for your bike – I swear by synthetic oil, it’s like a spa day for your engine, and it’s worth the extra cost
- Don’t be like me and forget to replace the oil filter – it’s a crucial step to keep your engine running smoothly, and it’s easy to overlook
- Keep a drip pan handy, because no matter how careful you are, spills can happen – and don’t worry, it’s all part of the fun of getting your hands dirty in the garage
Key Takeaways for a Smooth Ride
Regular oil changes are crucial for extending the life of your motorcycle, and with the right guidance, you can make this process a breeze, just like I do with my vintage bicycle restorations
Choosing the right synthetic oil can make all the difference in your bike’s performance and longevity, so don’t be afraid to get a little dirty and experiment until you find the perfect fit
By avoiding common oil change mistakes, such as using the wrong type of oil or not properly disposing of used oil, you’ll not only keep your bike in top shape but also do your part for the environment, just like my grandfather taught me in our small Midwestern town’s hardware store
Oil Change Wisdom
The oil change is more than just a routine maintenance task – it’s a chance to reconnect with your ride, to understand its rhythms and needs, and to keep it purring like a contented beast, one drip at a time.
John Beeler
Bringing It All Together: Motorcycle Oil Change Mastery
There you have it, folks! A comprehensive guide to changing the oil on your motorcycle. We’ve covered the essential steps to get your bike running smoothly, from preparation to disposal of used oil. I also shared my grandpa’s wisdom on the synthetic oil benefits for your bike, highlighting how it can improve performance and extend the life of your engine. Additionally, we touched on common oil change mistakes to avoid, ensuring you’re well-equipped to tackle this routine maintenance task with confidence. By following these guidelines, you’ll be well on your way to becoming a motorcycle maintenance master, just like my grandpa taught me in our small Midwestern town’s hardware store.
As you put your tools away and admire your handiwork, remember that maintaining your motorcycle is not just about keeping it in good condition – it’s about building a relationship with your bike. Every oil change, every tweak, and every repair is an opportunity to understand your vehicle better and fine-tune your skills. So, don’t be afraid to get your hands dirty and experiment with new projects in your garage. Who knows, you might just discover a new passion, like I did with restoring vintage bicycles. Whatever your next project may be, keep in mind that the garage is your playground, and the possibilities are endless. Happy wrenching, and I’ll see you in the next guide!
Frequently Asked Questions
What are the consequences of using the wrong type of oil for my motorcycle?
Using the wrong type of oil in your motorcycle can lead to decreased engine performance, increased wear on moving parts, and even engine damage. I’ve seen it happen to a buddy’s bike, and trust me, it’s not pretty. Always check your owner’s manual to ensure you’re using the recommended oil type – your bike will thank you!
How often should I change my motorcycle's oil to ensure optimal performance?
Ah, great question! For optimal performance, I recommend changing your motorcycle’s oil every 2,500 to 5,000 miles, depending on the type of oil and your riding style. My grandpa used to say, ‘A clean engine is a happy engine!’ And trust me, regular oil changes will keep your bike purring like my vintage bicycle after a fresh tune-up!
Can I reuse the oil filter or do I need to replace it every time I change the oil?
Ah, great question! I always say, ‘Why risk it?’ when it comes to oil filters. They’re relatively cheap and play a crucial role in keeping your bike’s engine clean. I recommend replacing the oil filter every time you change the oil, just like my trusty sidekick, ‘Filter Phil,’ would want me to.