I still remember the first time I had to how to prepare your motorcycle for winter storage. I was a young mechanic, and my grandfather, who owned the local hardware store, taught me the importance of giving my bike a little TLC before the cold months. He’d say, “_John, a well-prepared motorcycle is like a well-oiled machine – it’ll start right up come springtime_.” I’ve since learned that it’s not just about throwing a cover over it and calling it a day. There are some common myths out there, like thinking that simply draining the gas tank is enough to keep your ride safe during the winter.
As someone who’s spent years tinkering in the garage, I’m excited to share my practical tips with you on how to prepare your motorcycle for winter storage. In this article, I’ll walk you through the honest, no-hype process of getting your bike cozy for the cold months. From storing the battery to protecting the engine, I’ll give you the lowdown on what really works. My goal is to help you avoid those frustrating surprises when you’re ready to hit the road again in the spring. So, let’s get started and make sure your motorcycle is ready to ride come springtime!
Table of Contents
Guide Overview: What You'll Need
Total Time: 2 hours 30 minutes
Estimated Cost: $50 – $100
Difficulty Level: Intermediate
Tools Required
- Tire pressure gauge (for accurate pressure readings)
- Multimeter (for battery testing)
- Funnel (for oil changes)
- Socket set (for spark plug removal)
- Rags (for cleaning)
- Plastic bags or a breathable storage cover (for protecting the motorcycle from dust and moisture)
Supplies & Materials
- Motor oil (for oil changes)
- Fuel stabilizer (to prevent fuel degradation)
- Battery tender (for maintaining battery charge)
- Desiccant packets (to control humidity)
- 2 inches of foam tubing or pipe insulation (to protect pipes and hoses from freezing)
- Stabilized fuel (for filling the tank before storage)
Step-by-Step Instructions
- 1. First, let’s start with the basics – cleaning the motorcycle. This is an essential step to prevent any dirt or debris from causing damage during the winter months. I like to use a soft-bristled brush and some mild soap to wipe down the bike, making sure to get into all the nooks and crannies. Don’t forget to clean the tires, wheels, and any other areas that might be prone to dirt and grime buildup.
- 2. Next, we need to drain the fuel tank and run the engine until it’s almost out of gas. This will help prevent any stale fuel from causing problems when you start the bike up again in the spring. I also like to add a fuel stabilizer to the remaining fuel to keep it fresh and prevent any corrosion. My trusty sidekick, a tool I’ve named “Bertha,” is a fuel drain pump that makes this process a whole lot easier.
- 3. Now it’s time to change the oil and filter. This is a crucial step to protect the engine from any corrosion or damage caused by dirty oil. I always use a high-quality oil filter and make sure to dispose of the used oil and filter responsibly. My oil filter wrench, which I’ve lovingly named “Ollie,” is a vital tool in this process.
- 4. The next step is to charge and maintain the battery. I like to use a battery tender to keep the battery charged and healthy during the winter months. This will prevent any sulfation and ensure the battery is ready to go when you need it again. I’ve named my battery tender “Betsy,” and she’s a reliable companion in keeping my motorcycle’s battery in top shape.
- 5. We also need to prep the tires for winter storage. I recommend checking the tire pressure and making sure it’s at the recommended level. You should also consider using tire covers or bags to protect the tires from the elements and prevent any dry rot. My tire pressure gauge, which I’ve named “Pete,” is a handy tool that helps me get the pressure just right.
- 6. Another important step is to apply a rust inhibitor to any metal parts that might be prone to corrosion. I like to use a silicone-based spray to protect the chain, sprockets, and any other metal components. This will help prevent any rust or corrosion from forming during the winter months. My can of rust inhibitor, which I’ve named “Rusty,” is always within arm’s reach.
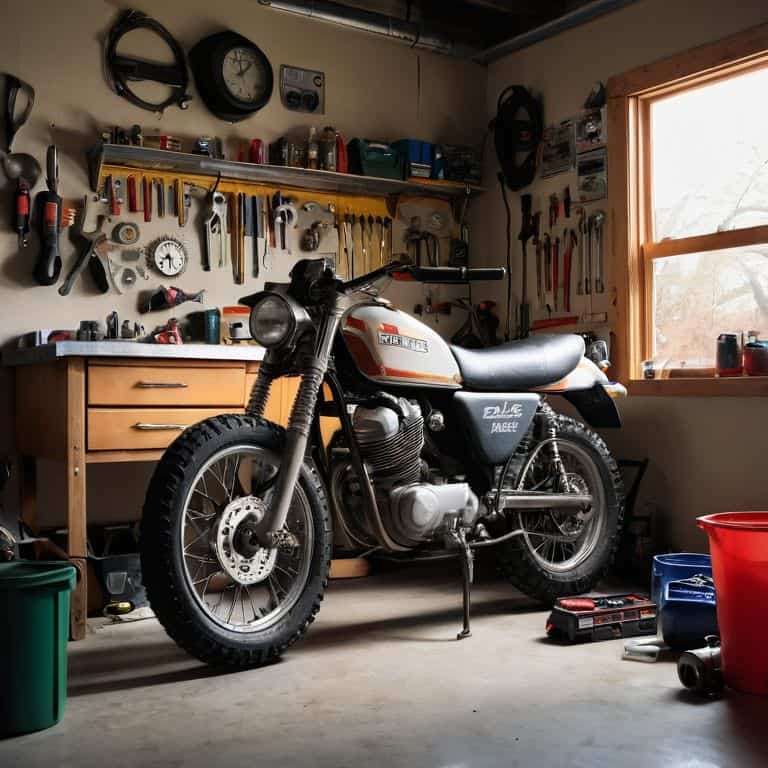
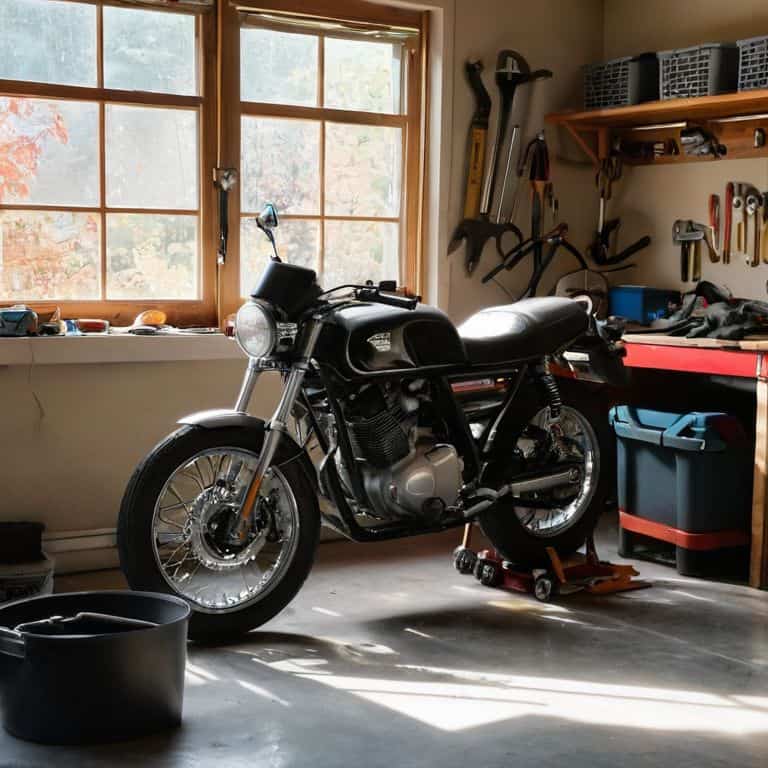
- 7. Finally, let’s not forget to cover and store the motorcycle in a dry, secure location. I recommend using a breathable cover to protect the bike from dust and moisture. You should also consider storing the motorcycle on a lift or blocks to prevent any flat spots from forming on the tires. My motorcycle cover, which I’ve named “Charlie,” is a trusted companion in keeping my bike safe and secure during the winter months.
Winterizing Your Ride
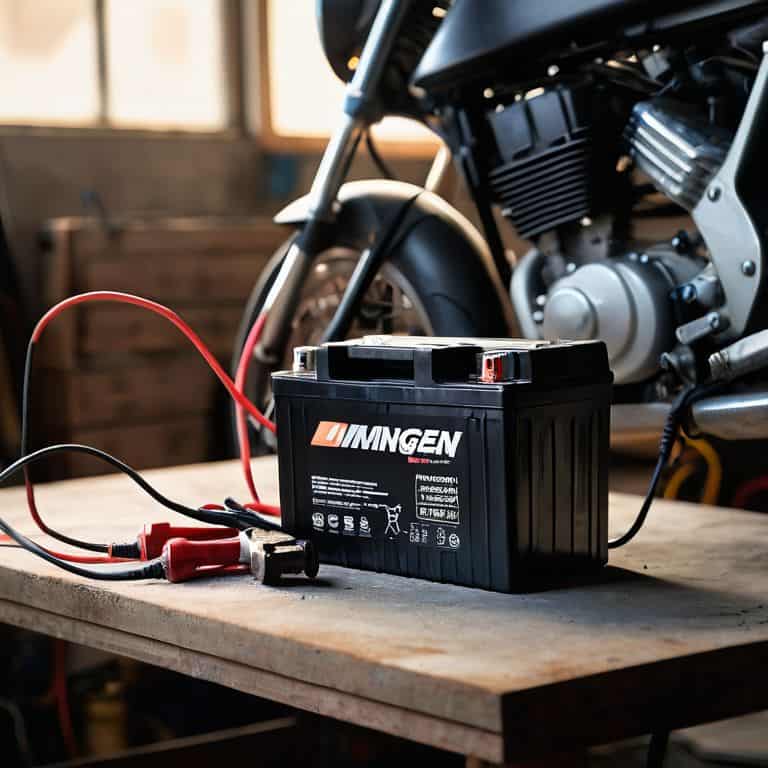
As I always say, proper preparation is key to a stress-free winter for your motorcycle. One often overlooked aspect is storing motorcycle batteries. I like to give my battery a good charge before storing it in a cool, dry place. This helps prevent sulfation, which can reduce the battery’s lifespan. I also make sure to check the battery’s voltage regularly to ensure it’s not draining excessively.
When it comes to protecting your motorcycle from the elements, a good cover is essential. I swear by the best motorcycle covers for winter, which are typically made of durable, waterproof materials. These covers can help prevent rust and corrosion on your bike’s metal components. Additionally, they can keep dust and debris from accumulating on the surfaces, making it easier to get back on the road come springtime.
Before putting your motorcycle away for the winter, it’s also important to consider preparing motorcycle tires for storage. I like to inflate my tires to the recommended pressure and then elevate them off the ground using blocks or a lift. This helps prevent flat spots from forming, which can be a real headache to deal with when you’re ready to ride again. By taking these extra steps, you can ensure your motorcycle remains in top condition throughout the winter months.
Motorcycle Winterization Tips Inside
When it comes to winterizing your ride, I’ve got a few tricks up my sleeve. First, make sure to drain the fuel tank and add a stabilizer to prevent corrosion. I also like to give my bike a good wipe down with a microfiber cloth to remove any dirt or grime that might be lurking. My trusty sidekick, a tool I’ve named “Bertha,” is a soft-bristled brush that helps me get into all the nooks and crannies.
By taking these extra steps, you’ll be able to rest easy knowing your motorcycle is cozy and protected from the harsh winter elements. I’ve seen it time and time again – a little TLC now saves a lot of headaches come springtime.
Storing Bike Batteries Like a Pro
When it comes to storing bike batteries, I’ve learned a thing or two from my grandfather, who always said, “A battery’s like a good friend – you gotta take care of it, even when you’re not using it.” I make sure to charge my batteries to about 50% capacity before storing them, and I always keep them off the cold concrete floor. My trusty “Volty” voltage tester and “Chomper” charger are my go-to tools for this job. By doing it this way, you’ll prevent sulfation and keep your battery healthy throughout the winter. It’s a simple step, but it makes a big difference come springtime.
Winter Wisdom: 5 Essential Tips to Prepare Your Motorcycle for Hibernation
- Drain the Fuel: I like to think of it as giving my bike a digestive cleanse – drain the fuel tank and run the engine dry to prevent stale gas from causing issues come springtime
- Protect the Paint: A good wax job is like a warm hug for your motorcycle’s paint job – it’ll protect it from the harsh winter elements and keep it looking shiny and new
- Store in a Dry Place: My grandfather used to say, ‘A dry garage is a happy garage’ – keep your motorcycle away from damp areas to prevent rust and corrosion
- Keep the Battery Cozy: I named my battery tender ‘Bertha’ – she’s a hard worker and keeps my bike’s battery warm and toasty during the cold winter months
- Give it a Good Cleaning: A clean motorcycle is a happy motorcycle – give it a thorough cleaning before storing it away, and don’t forget to name your cleaning supplies, like I do – ‘Midge’ the mild detergent and ‘Betsy’ the brush are my go-tos
Key Takeaways for a Smooth Winter
Winterize your motorcycle by following a few simple steps, including draining the fuel system, changing the oil, and protecting the engine from corrosion, just like I do with my own vintage bike restorations
Properly store your bike batteries by keeping them charged, clean, and dry, and consider using a battery tender to maintain the charge and prevent damage, a trick I learned from my grandfather
By following these tips and taking the time to prepare your motorcycle for winter storage, you’ll be able to hit the road again come springtime with a well-maintained bike that’s ready for adventure, and I’ll be here, tinkering in my garage, ready to share more tips and tricks
Winter Wisdom
Preparing your motorcycle for winter storage is like giving it a warm hug for the cold months ahead – it’s a labor of love that ensures your ride will be ready to hit the road when spring arrives, and with the right steps, you can keep it purring like a contented beast all winter long.
John Beeler
Wrapping Up: A Job Well Done
As we’ve worked through the process of preparing your motorcycle for winter storage, remember that attention to detail is key. From the initial steps of cleaning and inspecting your bike, to the crucial tasks of draining fluids and storing batteries like a pro, each action plays a vital role in ensuring your ride remains in top condition come springtime. By following the steps outlined in our guide, you’ve not only protected your investment but also guaranteed a smoother, more enjoyable riding experience when the warmer months return.
Now, as you put the final touches on your winterization project, take a moment to feel a sense of pride and accomplishment. You’ve taken the first step in transforming your garage into a haven of creativity and innovation, where every project is an opportunity to learn, grow, and unleash your inner mechanic. As you look forward to the next riding season, remember that the time and effort you’ve invested will pay dividends in the form of a reliable, high-performance motorcycle that’s ready to hit the open road at a moment’s notice.
Frequently Asked Questions
What are the best practices for draining fuel from my motorcycle before storing it for winter?
Draining fuel is crucial before storing your bike for winter. I recommend using a fuel drain kit or a manual pump to remove as much gas as possible from the tank. Don’t forget to run the engine for a few minutes to clear the lines, and then store the bike with a nearly empty tank to prevent stale fuel issues come springtime.
How often should I check on my motorcycle during the winter storage period to ensure it's still in good condition?
I like to check on my bike every 4-6 weeks during winter storage, just to make sure everything’s still in order. I’ll top off the fluids, charge the battery, and give it a quick once-over to catch any potential issues before they become major headaches. Trust me, it’s worth the occasional visit to ensure a smooth ride come springtime!
Are there any specific types of storage facilities or covers that are recommended for protecting my motorcycle from the elements during winter?
For winter storage, I swear by a dry, climate-controlled garage or a high-quality cover that breathes, like a nice thick canvas or a specialized motorcycle cover with a waterproof membrane – my favorite is the ‘StormGuard’ cover, it’s a game-changer for keeping the elements at bay.