I still remember the first time I stumbled upon a dusty old woodworking shop in my neighborhood. The smell of sawdust and the sound of chiseling away at a piece of wood sparked something within me. As I delved deeper into the world of woodworking, I realized that there’s a common misconception about it being an exclusive domain of seasoned craftsmen. But the truth is, a guide to basic woodworking is all you need to get started on this creative journey. With the right mindset and a few essential tools, you can unlock the doors to a world of possibilities, from crafting beautiful furniture to creating intricate wood carvings.
As you embark on this journey with me, I promise to share practical tips and tricks that will help you navigate the basics of woodworking. We’ll explore the fundamentals of working with wood, from selecting the right materials to mastering various techniques. My goal is to empower you with the knowledge and confidence to take on projects that bring you joy and a sense of accomplishment. In this article, we’ll focus on providing a comprehensive introduction to woodworking, covering the essential tools, safety precautions, and techniques you need to know to get started. So, let’s get our hands dirty and uncover the secrets of basic woodworking together!
Table of Contents
Guide Overview: What You'll Need

Total Time: 2 hours 30 minutes
Estimated Cost: $50 – $100
Difficulty Level: Intermediate
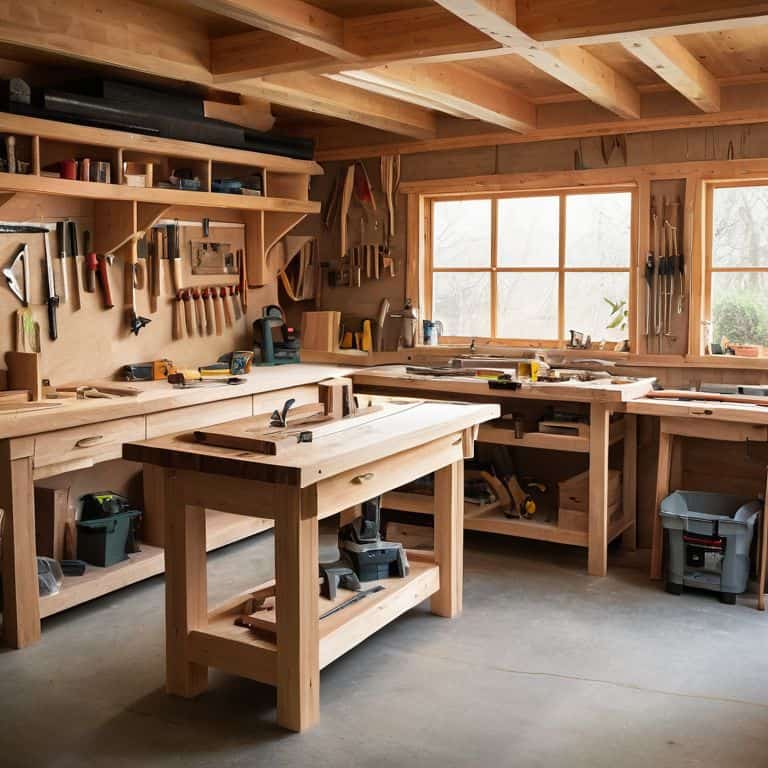
Tools Required
- Table Saw for making straight cuts
- Miter Saw for making precise angled cuts
- Drill Press for drilling accurate holes
- Sandpaper for smoothing out wood surfaces
- Tape Measure for measuring and marking lumber
- Clamp for holding wood pieces together
- Safety Glasses for protecting your eyes from debris
Supplies & Materials
- 2-in x 4-in lumber for framing and support
- 3/4-inch plywood for building shelves and cabinets
- Wood Glue for bonding wood pieces together
- 2 1/4-inch wood screws for assembling wood pieces
- Wood Filler for filling gaps and holes
- Paint or Stain for finishing and protecting the wood
Step-by-Step Instructions
- 1. First, let’s start with the basics of safety. When working with wood and power tools, it’s essential to wear protective gear such as safety glasses, a dust mask, and earplugs. I also recommend wearing comfortable, closed-toe shoes and tying back any long hair. This will help prevent any accidents and ensure a smooth workflow.
- 2. Next, we need to gather our tools and materials. For basic woodworking, you’ll need a table saw, a drill press, a hand saw or a circular saw, a tape measure, a square, and a pencil. Don’t worry if you don’t have all of these tools; you can always improvise with what you have. I’ve found that using a hand saw can be just as effective as a circular saw, and it’s a great way to get a feel for the wood.
- 3. Now, let’s move on to preparing our workspace. Clear a flat surface, such as a workbench or a table, and cover it with a protective layer like a drop cloth or a sheet of plywood. This will help prevent any damage to the surface and make cleanup easier. I also like to have a trash can and a recycling bin nearby to encourage responsible waste management.
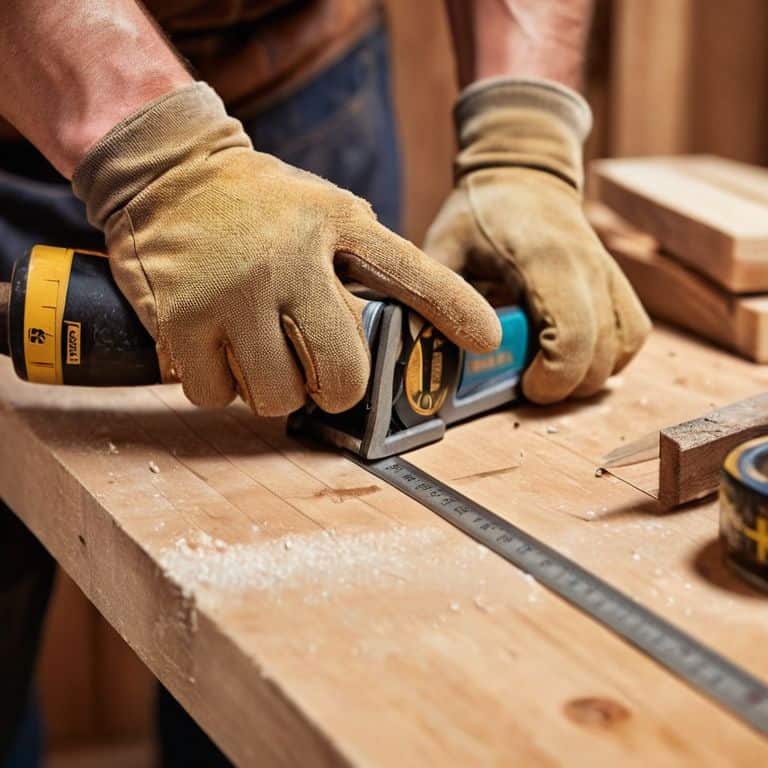
- 4. With our workspace ready, it’s time to start measuring and cutting our wood. Use your tape measure to mark the dimensions of the wood you want to cut, and then use a square to ensure your cuts are straight. If you’re using a hand saw, take your time and make smooth, gentle strokes. Remember to always cut away from your body and keep your fingers clear of the blade.
- 5. Once we have our cut wood, we can start assembling our project. Use a drill press to make precise holes for screws or nails, and then use a hand saw or a coping saw to make any curved cuts. Don’t be afraid to experiment and try new things – it’s all part of the creative process. I like to think of woodworking as a form of problem-solving, where every challenge is an opportunity to learn and grow.
- 6. As we continue to work on our project, it’s essential to take breaks and stay organized. Take a step back to admire your work, and make sure you have all the necessary tools and materials within reach. I like to use a pegboard or a toolbox to keep my tools organized and easy to find. This will help you stay focused and avoid any frustration or burnout.
- 7. Finally, let’s talk about finishing touches. Once our project is assembled, we can start adding a finish, such as stain or varnish, to protect the wood and enhance its appearance. I like to use a natural finish, such as beeswax or linseed oil, to bring out the beauty of the wood. Remember to always follow safety guidelines when working with chemicals, and make sure you have good ventilation in your workspace.
A Guide to Basic Woodworking
As I delve deeper into the world of woodworking, I’ve come to realize the importance of woodworking safety tips. It’s essential to wear protective gear, such as safety glasses and a dust mask, to prevent injuries and ensure a smooth workflow. I also recommend investing in essential woodworking hand tools, like a reliable tape measure and a sharp pencil, to make measuring and marking a breeze.
When it comes to creating functional pieces, understanding basic wood joints for furniture is crucial. I’ve found that mastering simple joints, such as the mortise and tenon, can elevate your projects from basic to brilliant. Additionally, familiarizing yourself with introduction to wood types and grain will help you choose the perfect material for your next project. By considering the unique characteristics of each wood type, you can create stunning pieces that showcase your craftsmanship.
For beginners, I suggest starting with simple woodworking projects for beginners, such as building a birdhouse or a picture frame. These projects allow you to practice fundamental skills, like measuring and cutting, without feeling overwhelmed. As you gain confidence, you can move on to more complex projects, always keeping in mind common woodworking mistakes to avoid, such as inaccurate measurements and inadequate sanding.
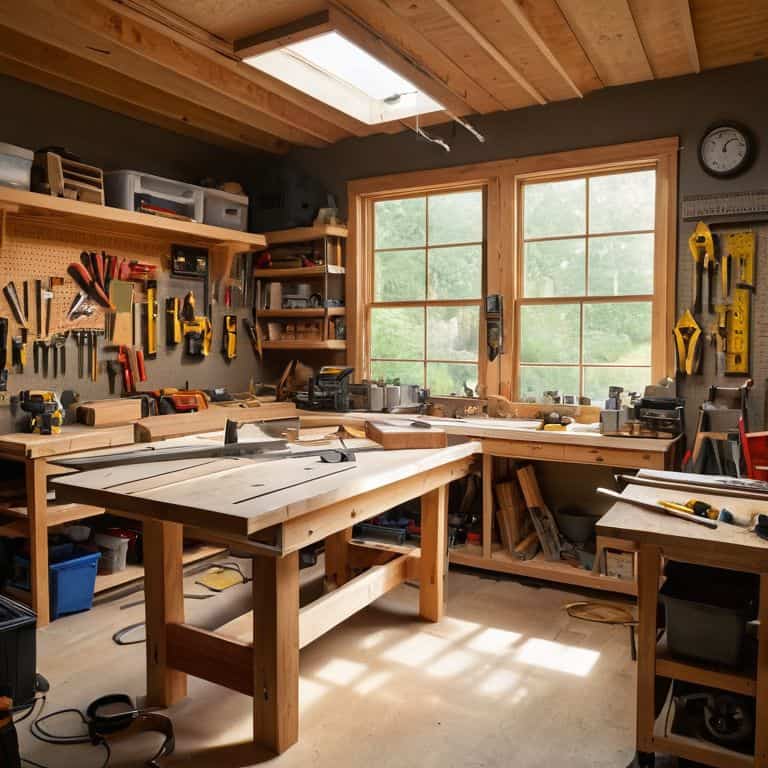
Essential Tools for Whimsical Woodwork
Essential Tools for Whimsical Woodwork
As I always say, the right tools can turn any project into a masterpiece. For woodworking, you’ll need a few trusty friends by your side. I recommend starting with a sturdy hammer, a tape measure, and a reliable saw. Don’t worry if they’re not the fanciest – I’ve made do with thrift store finds and improvised tools in a pinch.
My personal favorite? A good ol’ chisel set. There’s something magical about coaxing shapes from raw wood, and chisels make it all possible. Of course, safety always comes first, so be sure to invest in some proper gloves and goggles too. With these essentials, you’ll be well on your way to crafting your own whimsical woodwork wonders!
Safety Tips and Simple Project Starts
As we dive into the world of woodworking, safety always comes first. I like to think of it as preparing for a fun adventure – you want to make sure you have all the right gear to enjoy the journey. Wear protective goggles, a dust mask, and keep loose clothing tied back. Now, let’s talk about simple project starts. Begin with small, delightful projects like birdhouses or picture frames. These little gems will help you build confidence and skills, and before you know it, you’ll be crafting like a pro.
Remember, the key to a successful woodworking journey is to start small and have fun. Don’t be afraid to experiment and try new things – it’s all part of the creative process. With a little patience and practice, you’ll be well on your way to creating beautiful, functional pieces that bring joy to your life and the lives of those around you.
Woodworking Wisdom: 5 Tips to Unleash Your Creativity
- Start with the basics: understand your wood types and their unique characteristics to bring out the best in your projects
- Measure twice, cut once: accuracy is key in woodworking, so take your time and double-check your measurements to avoid costly mistakes
- Get creative with scraps: don’t throw away those leftover pieces of wood, instead, think outside the box and find new uses for them, like making coasters or small decorative boxes
- Safety first: always wear protective gear, including gloves and safety glasses, and keep your workspace clean and clutter-free to avoid accidents
- Practice makes perfect: don’t be discouraged if your first projects don’t turn out as expected, keep experimenting and trying new things, and you’ll soon develop the skills and confidence to tackle more complex projects
Whimsy Woodworking Wisdom: 3 Key Takeaways
Embracing the art of whimsical woodworking means unleashing your creativity to transform scraps into masterpieces, and with the right mindset, every project becomes an exciting journey of discovery and self-expression.
By mastering the essential tools and safety tips, you’ll not only ensure a fun and injury-free experience but also open yourself up to a world of possibilities where every piece of wood tells a story waiting to be crafted.
Remember, the true magic of woodworking lies not in the tools or the techniques, but in the stories you tell with every creation, the memories you forge with every cut, and the sustainable future you build with every repurposed piece of wood.
Unleashing Creativity
The beauty of woodworking lies not in the tools or the techniques, but in the transformation of the ordinary into the extraordinary, where every scrap of wood tells a story of potential and promise.
Stanley Truman
Embracing the Joy of Woodworking
As we conclude this journey through the world of basic woodworking, let’s take a moment to reflect on the essential tools and safety tips that have been our guides. From the humble hammer to the versatile table saw, each instrument has played its part in helping us unlock the secrets of this timeless craft. By embracing the principles of whimsical woodwork, we’ve not only learned to create something from nothing but have also discovered the joy of working with our hands and the satisfaction of bringing our imagination to life.
As you put down your tools and step back to admire your latest creation, remember that the true magic of woodworking lies not just in the end result, but in the process itself. It’s about the journey, the experimentation, and the thrill of turning a pile of scraps into a masterpiece. So, don’t be afraid to get creative, to try new things, and to push the boundaries of what’s possible. For in the world of woodworking, the only limit is your own imagination, and the possibilities are endless.
Frequently Asked Questions
What types of wood are best for beginners to work with?
My friend, let’s get cozy with some fantastic woods for beginners! I recommend starting with pine, cedar, or cypress – they’re softwoods that are easy to work with and forgiving. Plus, they’re often sustainably sourced and budget-friendly. Trust me, you’ll be crafting like a pro in no time with these wonderful woods!
How do I properly maintain and sharpen my woodworking tools?
The secret to keeping your woodworking tools in tip-top shape lies in regular maintenance and sharpening! I like to think of it as giving my tools a little TLC. For sharpening, I swear by a good whetstone and some gentle elbow grease. A well-honed edge makes all the difference in your projects, trust me!
What are some common mistakes to avoid when starting a woodworking project?
My friend, let’s avoid those pesky pitfalls! Common mistakes to watch out for include measuring inaccurately, neglecting to plan for wood movement, and skipping the all-important sanding step. Trust me, I’ve been there – a little patience and attention to detail can save you from a world of frustration and ensure your project turns out truly wonderful!


