
I still remember the day my trusty power drill decided to give up on me – the motor was slowing down, and I knew it was time to learn how to replace the brushes in a power drill. It was a moment of truth, realizing that with a little know-how, I could breathe new life into my faithful DIY companion. The common myth that replacing drill brushes is a daunting task, best left to professionals, is simply not true. In fact, it’s a relatively straightforward process that can save you money and reduce electronic waste.
As someone who’s passionate about sustainable living and creative self-sufficiency, I’m excited to share my experience with you. In this article, I’ll guide you through the simple, step-by-step process of replacing your power drill’s brushes, using easy-to-find materials and basic tools. You’ll learn how to identify the signs of worn-out brushes, prepare your drill for the replacement, and get back to your DIY projects in no time. By the end of this guide, you’ll be empowered to take matters into your own hands and keep your power drill running smoothly, all while embracing the joy of creative problem-solving and reducing your environmental footprint.
Table of Contents
Guide Overview: What You'll Need
Total Time: 30 minutes to 1 hour
Estimated Cost: $10 – $30
Difficulty Level: Easy / Intermediate
Tools Required
- Screwdriver (flathead and Phillips)
- Pliers (needle-nose)
- Wrench (adjustable)
- Work light (optional)
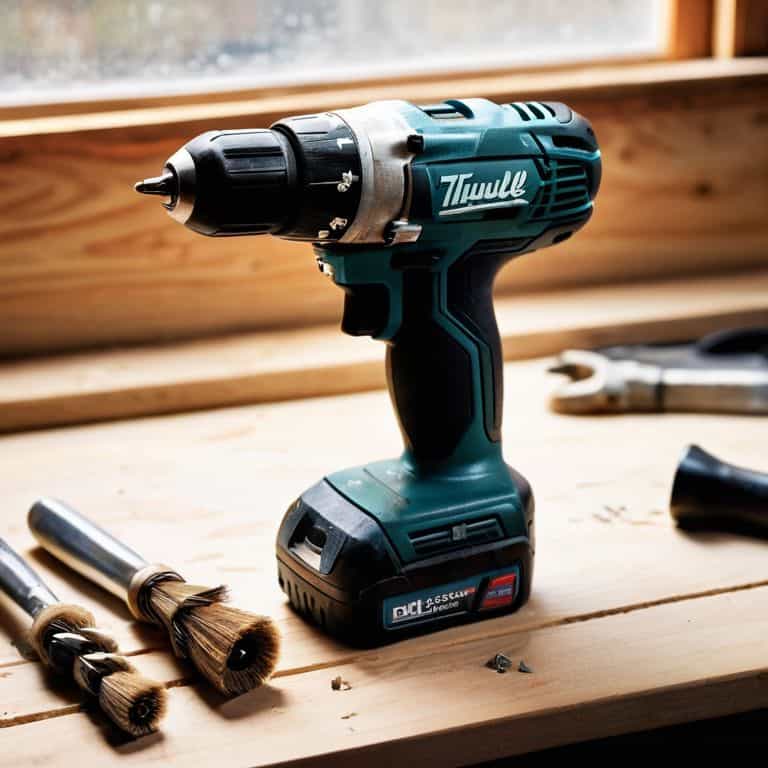
Supplies & Materials
- Replacement brushes (specific to your drill model)
- Electrical contact cleaner (for cleaning drill’s electrical contacts)
- Rags (for cleaning)
Step-by-Step Instructions
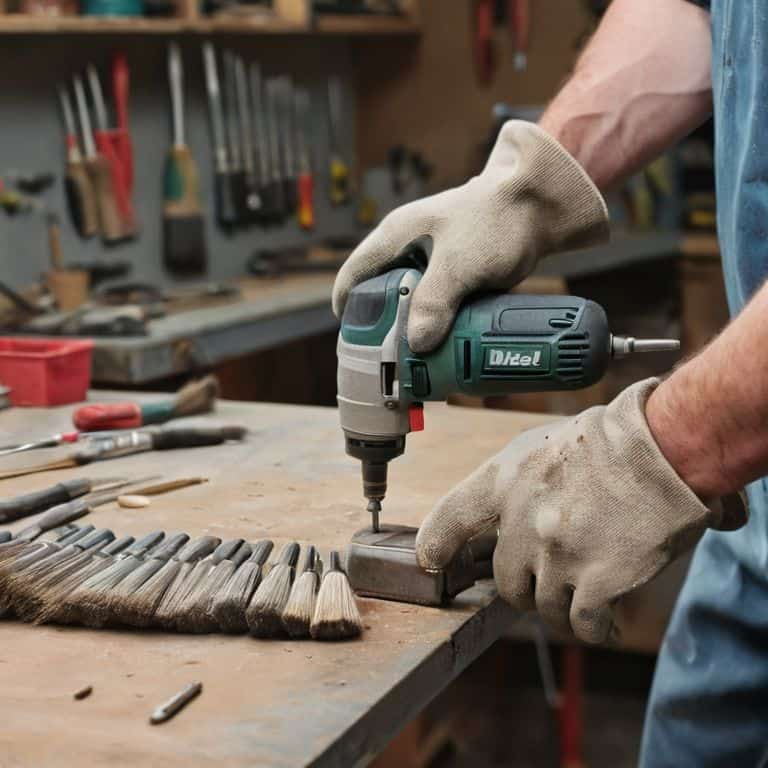
- 1. First, let’s get started by preparing our workspace – clear a flat surface, like a workbench or a table, and make sure it’s free from any clutter or obstacles that might get in the way of our DIY adventure. I like to think of this step as setting the stage for a creative performance, where every tool and material has its own special role to play.
- 2. Next, we need to gather our tools and materials – this includes the replacement brushes, a screwdriver (preferably a trusty old friend that’s been with you through countless projects), and the power drill itself, which is patiently waiting for its new lease on life. I always find it exciting to see how a simple set of tools can lead to a world of possibilities, from _renewing_ an old piece of equipment to _upcycling_ discarded materials into something entirely new.
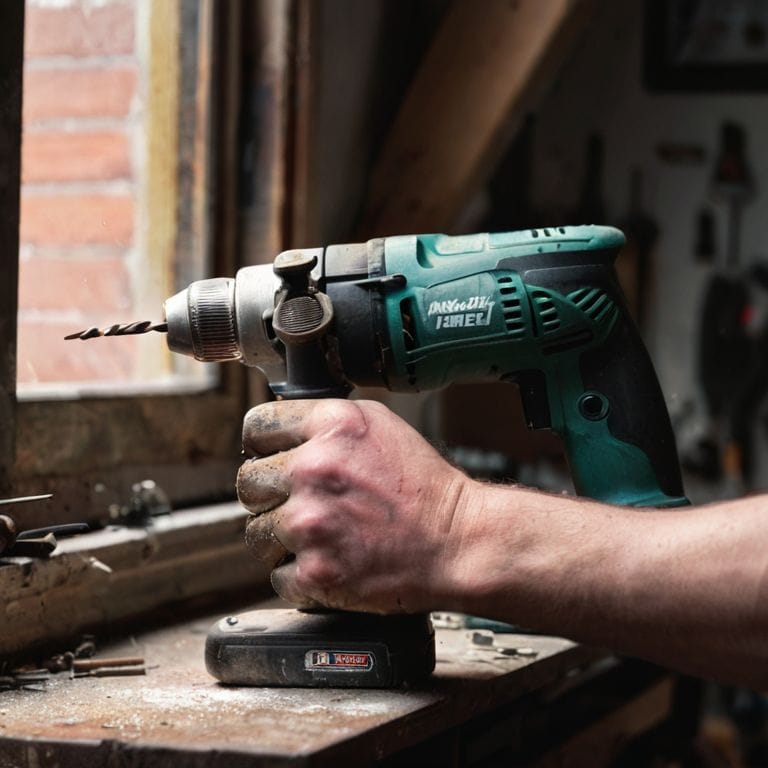
- 3. Now, it’s time to disconnect the power drill from any power source – safety first, my friends! We don’t want any unexpected surprises or _shocks_ while we’re working our magic. This is also a good moment to appreciate the _simple elegance_ of our drill’s design, understanding how each part works together in harmony.
- 4. The next step involves removing the brush holder or cap – this is where our screwdriver comes into play. Gently pry open or unscrew the cap, depending on your drill’s model, and set it aside in a safe place where it won’t get lost. Remember, the goal here is to work with the drill’s existing design, not against it, so take your time and be gentle.
- 5. With the brush holder exposed, we can now remove the old brushes – these might be stuck in place, so be patient and gentle as you coax them out. It’s a bit like _liberating_ a small, worn-out part that’s given its all to our DIY endeavors, making way for the new and improved. Take a moment to inspect the area and ensure it’s free from any debris or dust that might interfere with the new brushes.
- 6. After removing the old brushes, it’s essential to clean the brush holder and surrounding area – a small brush or a cloth can work wonders here, ensuring a smooth and _dust-free_ environment for our new brushes to thrive in. This step might seem minor, but trust me, it makes all the difference in the world when it comes to the performance and longevity of our trusty power drill.
- 7. Now, we’re ready to install the new brushes – align them properly with the brush holder, making sure they’re seated correctly and securely in place. This is the moment when our power drill starts to feel _renewed_, ready to tackle new projects and bring our creative visions to life. Take your time, and don’t hesitate to refer to your drill’s manual if you need any additional guidance.
- 8. With the new brushes in place, replace the brush holder or cap – screw it back on securely, but avoid overtightening, which could damage the threads or the cap itself. It’s all about finding the right balance, much like when we’re _fine-tuning_ a piece of handmade furniture to fit perfectly into its new home.
- 9. Finally, test your power drill to ensure everything is working as it should – plug it in, turn it on, and listen for any unusual sounds or vibrations. If all seems well, congratulations! You’ve not only given your power drill a new lease on life but have also taken a significant step towards embracing a more _self-sufficient_ and sustainable approach to your DIY endeavors.
Revive Your Drill
As you’ve successfully replaced the brushes in your power drill, it’s time to breathe new life into your trusty tool. Regular maintenance is key to preventing power drill motor failure, and with your newfound knowledge, you’ll be well on your way to a well-oiled machine. Consider setting a DIY power drill maintenance schedule to ensure your drill remains in top condition.
When it comes to carbon brush replacement tips, one often overlooked aspect is the cost of replacement. While it may seem like a significant expense upfront, think of it as an investment in the longevity of your power drill. In the long run, replacing worn brushes can save you from more costly drill motor repair at home or even worse, having to purchase a brand new drill.
To keep your power drill in pristine condition, be on the lookout for signs of worn brushes, such as decreased performance or strange noises. By staying vigilant and addressing these issues promptly, you’ll be able to prevent power drill motor failure and enjoy a reliable tool for years to come. With a little practice and patience, you’ll become a master of power drill brush replacement and be well on your way to a more self-sufficient, DIY lifestyle.
Diy Brush Replacement
Now that we’ve identified those telltale signs of worn brushes, it’s time to get creative and replace them. I love this part – it’s like giving your trusty power drill a brand new heartbeat. To start, gather your replacement brushes and a screwdriver that fits the drill’s casing screws. Gently pry open the casing, taking care not to damage any internal components.
As you swap out the old brushes for the new ones, remember to handle them with care – these tiny components are the key to your drill’s revival. With the new brushes securely in place, reassemble the drill and get ready to breathe new life into your DIY projects.
Signs of Worn Brushes
As I always say, a power drill is only as good as its brushes. So, how do you know when it’s time to give your trusty drill a little TLC? Keep an eye out for signs of worn brushes, like a decrease in drill performance, increased voltage consumption, or even sparks flying out of the vent! These symptoms can be a real creative buzzkill, but don’t worry, I’ve got you covered.
If you notice your drill slowing down or making strange noises, it might be time to take a closer look. Check for physical signs of wear, like brush friction or excessive heat buildup. These red flags will let you know it’s time to swap out those brushes and get your drill humming again.
Drill Revival Essentials: 5 Tips to Get You Started
- Prepare Your Workspace: Before diving into the replacement process, clear a flat surface and lay out your tools and the new brushes to ensure a smooth and efficient workflow
- Safety First: Always unplug your power drill from the power source to avoid any accidental start-ups or electrical shocks during the replacement process
- Brush Up on Your Knowledge: Familiarize yourself with the specific type of brushes your drill requires, as different models may have distinct brush designs or materials
- Cleanliness is Key: Use a soft brush or a cloth to remove any debris or dust from the brush holders and surrounding areas to ensure a secure and proper fit for the new brushes
- Test Run: After successfully replacing the brushes, plug in your drill and perform a few test runs without any load to ensure the brushes are properly seated and the drill is functioning as expected
Key Takeaways for a Revitalized Drill
By recognizing the signs of worn brushes, such as decreased drill performance, excessive heat generation, and unusual noises, you can take proactive steps to replace them and breathe new life into your power drill
Embracing the DIY spirit, you can replace your drill’s brushes with minimal tools and expertise, saving you money and reducing electronic waste, all while honing your self-sufficiency skills
With your drill revitalized, you’ll be empowered to tackle a wide range of creative projects, from woodworking and home repairs to urban foraging and crafting, inspiring a more sustainable and inventive you
Drill Revival Wisdom
The humble power drill, a steadfast companion in our creative journeys, reminds us that even in the smallest of parts, like the brushes that bring it to life, lies a world of possibility for renewal and rebirth, if we only take the time to look, to tinker, and to reimagine.
Stanley Truman
Bringing Your Drill Back to Life
As we’ve explored in this guide, replacing the brushes in your power drill is a straightforward process that can breathe new life into your trusty DIY companion. By recognizing the signs of worn brushes and taking the simple steps to replace them, you’re not only ensuring your drill continues to function at its best but also embracing a core principle of sustainable living: extending the life of the things we own. This mindset, applied to all areas of our lives, can lead to a significant reduction in waste and a more creative approach to problem-solving.
So, the next time your drill starts to slow down, remember that it’s not just about replacing parts – it’s about empowering yourself to fix, to create, and to make the most out of what you have. By doing so, you’re joining a community that values ingenuity, self-sufficiency, and the joy of making something with your own hands. Keep creating, and remember, every discarded item is an opportunity waiting to be transformed into something truly extraordinary.
Frequently Asked Questions
What are the consequences of not replacing worn brushes in my power drill?
Not replacing worn brushes can lead to reduced drill performance, overheating, and even motor burnout. It’s like trying to run a car on worn-out tires – it just won’t go the distance! Neglecting brush replacement can cut your drill’s lifespan short, so let’s get those new brushes in and keep your DIY projects humming along smoothly.
Can I use brushes from a different power drill model as replacements?
While it’s tempting to repurpose brushes from another drill, I advise against it. Different models have unique brush designs, and using mismatched brushes can lead to poor performance or even damage your drill. Instead, opt for exact replacement brushes or consider upcycling an old drill into a unique planter – get creative and give new life to old parts!
How often should I inspect and potentially replace the brushes in my power drill to ensure optimal performance?
Inspect your drill’s brushes every 3-6 months, or when you notice a drop in performance. Look for worn or frayed brushes, and consider replacing them if they show significant wear. Regular checks will help you catch issues before they become major problems, keeping your drill running smoothly and preventing costly repairs down the line.


