I still remember the first time I tried to how to use a power drill correctly – I was attempting to hang a quirky vintage sign I found at a flea market in my bedroom, but I ended up stripping the screw head. It was a frustrating moment, but it taught me that using a power drill is not just about holding it and pressing the trigger. There’s a certain finesse required, a harmony between you and the tool that makes all the difference. Over the years, I’ve learned that many of us struggle with this very basic yet essential DIY skill, often because we’re led to believe that it’s all about brute force rather than technique.
As someone who’s passionate about uncovering hidden gems and sharing practical advice, I want to assure you that mastering the art of how to use a power drill correctly is within your reach. In this article, I’ll share my personal tips and tricks for getting the most out of your power drill, from choosing the right bits to maintaining your tool. You’ll learn how to drill with confidence, avoiding common mistakes that can lead to damaged materials or injured hands. By the end of this guide, you’ll be equipped with the knowledge to tackle a variety of DIY projects with ease, and maybe even discover a new hobby that brings you joy and a sense of accomplishment.
Table of Contents
Guide Overview: What You'll Need
Total Time: 1 hour 15 minutes
Estimated Cost: $20 – $50
Difficulty Level: Intermediate
Tools Required
- Power Drill (with adjustable speed setting)
- Drill Bits (various sizes, e.g., 1/16 inch, 1/8 inch, 1/4 inch)
- Screwdriver (for adjusting drill settings)
- Work Light (for illuminating work area)
- Clamp (for holding material in place, e.g., 2 inches x 4 inches lumber)
Supplies & Materials
- Drill Bit Sharpener (optional, for maintaining drill bit performance)
- Safety Glasses (for protecting eyes from debris)
- Workbench (for providing a stable work surface, e.g., 30 inches x 60 inches)
Step-by-Step Instructions
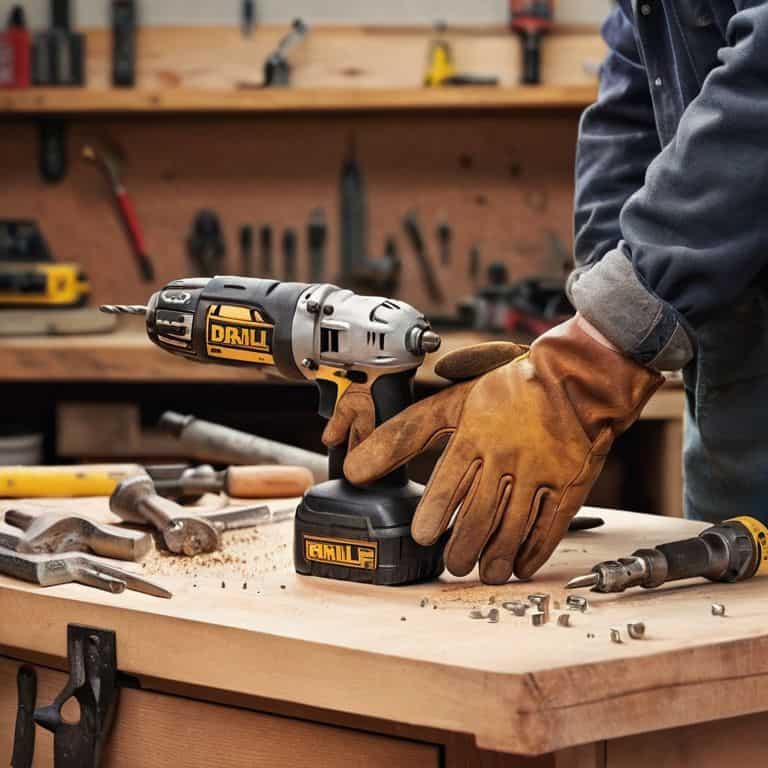
- 1. First, let’s get started with the basics: safety first. Before you even think about picking up that power drill, make sure you’re wearing the right gear, including safety goggles and a dust mask. I like to think of it as preparing for a treasure hunt, where the treasure is a successfully completed project. You should also ensure your work area is clear of any clutter or tripping hazards, giving you a clean slate to work on.
- 2. Next, it’s time to get familiar with your power drill. Take a few minutes to read through the manual and understand the different settings and features. I find that understanding the tool is key to using it effectively. Look for the different speed settings, the type of chuck it has, and how to properly secure your drill bits. It’s like deciphering a map to a hidden treasure – once you understand the symbols, you’re one step closer to finding the loot.
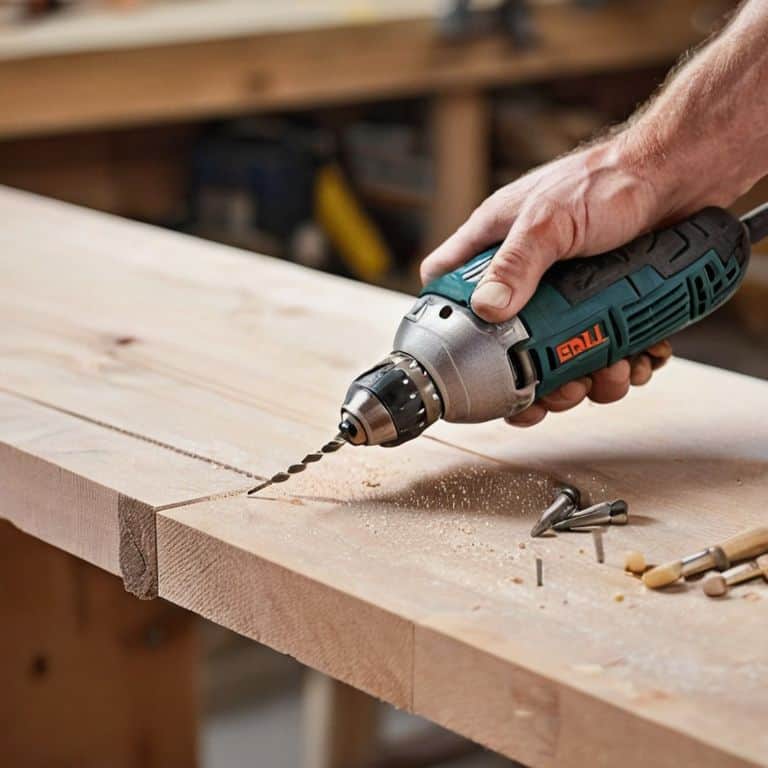
- 3. Now that you’re all set with your drill, it’s time to choose the right drill bit for your project. This can be a bit overwhelming with all the options available, but don’t worry, it’s easier than navigating a flea market for unique souvenirs. Consider the type of material you’re working with and the size of the hole you need to make. For example, if you’re working with wood, you’ll want to use a sharp, sturdy bit that can handle the grain. If you’re working with metal, you’ll want a bit that’s designed specifically for that task.
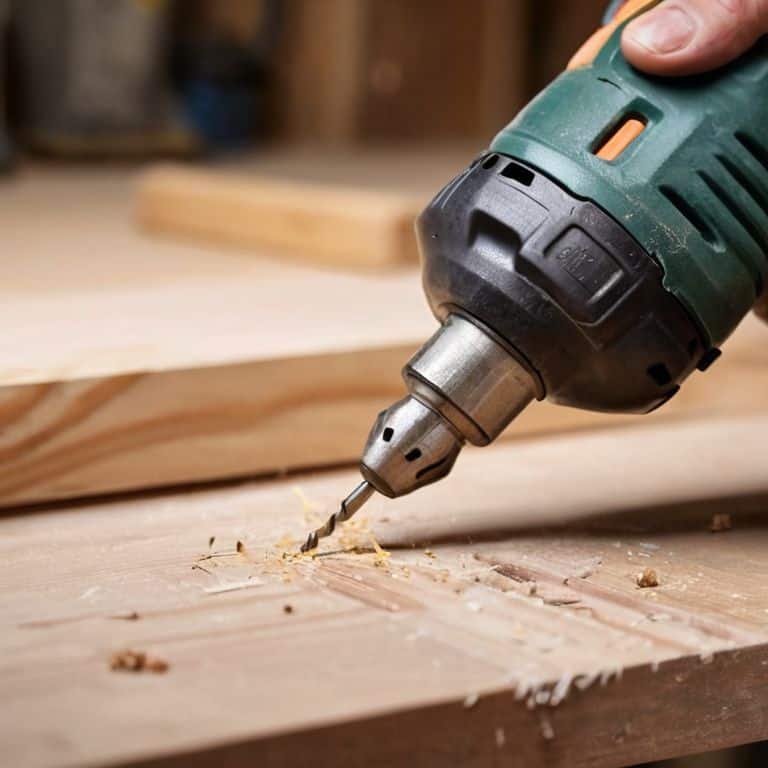
- 4. With your drill bit securely in place, it’s time to start drilling. Begin by applying gentle, consistent pressure to the drill, making sure not to apply too much force. You want to let the drill do the work, rather than relying on your own strength. As you drill, keep an eye on the bit and make adjustments as needed to avoid slipping or binding. It’s a bit like taking a polaroid photo – you need to have the right focus and timing to capture the perfect shot.
- 5. As you make progress on your project, be sure to take breaks and stay organized. This will help you avoid fatigue and keep your workspace tidy. I like to use this time to collect my thoughts and plan out the next steps, much like I do when I’m writing a story inspired by one of my postcards. Take a moment to tidy up any debris, and make sure all your tools are within reach. It’s amazing how a clear mind and a clean workspace can help you stay focused and motivated.
- 6. Now, let’s talk about drill maintenance. After each use, take the time to clean your drill and store it properly. This will help extend the life of your tool and keep it running smoothly. I think of it as taking care of a trusty companion – you want to make sure it’s always ready for the next adventure. Use a soft brush to remove any debris, and apply a few drops of oil to the moving parts. It’s a small task, but it makes a big difference in the long run.
- 7. Finally, it’s time to put your project together. Whether you’re building a piece of furniture or creating a work of art, this is the moment you’ve been waiting for. Take your time, and make sure all the pieces fit together smoothly. It’s like writing the final sentence of a story – you want to make sure it’s satisfying and complete. Stand back and admire your handiwork, knowing that you’ve created something truly unique and special. And who knows, maybe your project will inspire a new story, or even a new adventure.
Drilling Into the Heart
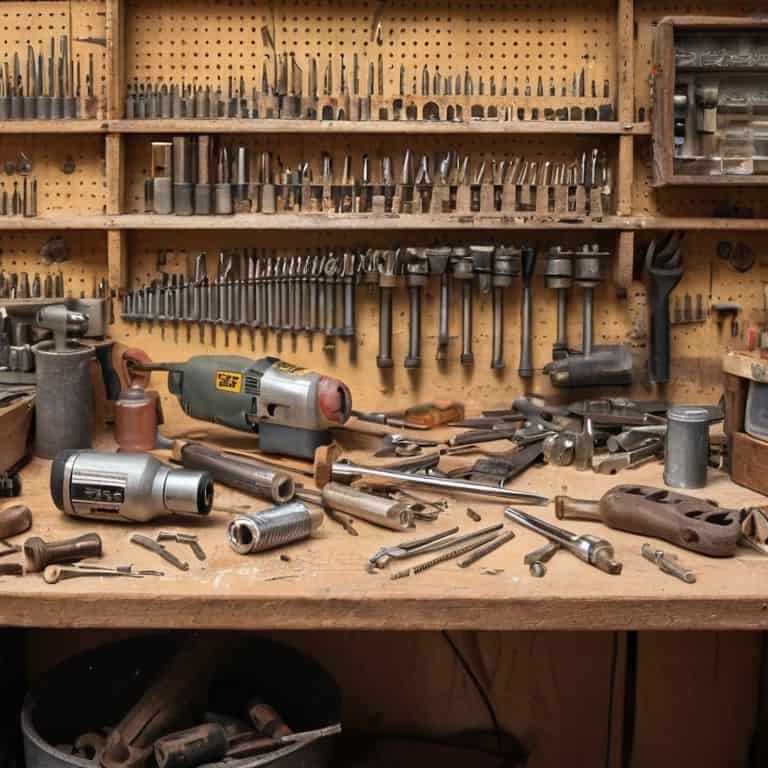
As I delve deeper into the world of power drilling, I’ve come to realize that proper drill bit maintenance is crucial for achieving optimal results. It’s not just about selecting the right drill bit, but also about keeping it in good condition. I recall a trip to a quaint hardware store in a small town, where I stumbled upon a treasure trove of vintage drill bits. The store owner, a seasoned carpenter, shared with me the importance of regular cleaning and storage to prevent rust and damage.
When it comes to drill safety precautions, I always say that preparation is key. Before starting any drilling project, take a moment to assess the surrounding area and ensure you’re wearing the necessary protective gear. This includes safety glasses, gloves, and a dust mask. I’ve learned this the hard way, having once drilled into a wooden beam without proper protection, resulting in a nasty splinter. Now, I make it a point to prioritize my safety above all else.
In my experience, choosing the right drill speed can make all the difference in achieving a smooth, precise hole. It’s essential to understand the material you’re working with and adjust your drill speed accordingly. For instance, when drilling into metal, a slower speed is often more effective, while drilling into wood may require a faster speed. By taking the time to understand drill torque settings, you’ll be able to tackle even the most challenging drilling projects with confidence.
Mastering Drill Safety Precautions
As I delve into the world of power drilling, I’m reminded of the countless flea market treasures I’ve discovered, each with its own unique story. Similarly, mastering drill safety precautions is a treasure trove of knowledge that requires careful exploration. It’s essential to wear protective gear, including safety glasses and gloves, to prevent injuries from flying debris or accidental slips. I recall a particularly memorable find – a vintage postcard from a small town famous for its woodworking craftsmanship – which inspired me to write a short story about the importance of safety in the workshop.
By taking the time to properly secure your workpiece and maintain a clean workspace, you’ll be well on your way to drilling like a pro. Just as a well-crafted story can transport you to new and exciting places, a well-executed drill safety plan can give you the confidence to tackle even the most complex projects, and who knows, maybe even inspire a new tale or two.
Proper Bit Maintenance Tips
As I delve deeper into the world of power drilling, I’ve come to realize that proper bit maintenance is the secret to unlocking a drill’s true potential. It’s like discovering a rare gem at a flea market – you have to know where to look and how to care for it. Regularly cleaning and storing your drill bits can make all the difference in their performance and longevity. I like to think of it as writing a new chapter in the story of my drill bits – each one has its own unique tale to tell, and with proper care, they’ll continue to inspire new adventures.
By keeping your bits in top condition, you’ll be able to tackle even the toughest projects with confidence. It’s a bit like collecting postcards from my travels – each one holds a memory, and with the right care, they’ll remain vibrant and inspiring for years to come. Whether you’re a seasoned pro or just starting out, taking the time to maintain your drill bits will pay off in the long run, and who knows, maybe even inspire a new story or two.
Drilling Like a Pro: 5 Essential Tips to Get You Started
- Choose the right drill bit for the job, considering the type of material you’re working with and the desired outcome, just like selecting the perfect treasure to bring home from a flea market
- Maintain a firm, comfortable grip on the drill, with a stance that allows for easy movement and control, much like holding a polaroid camera steady to capture the perfect shot
- Start with slow, steady motions, gradually increasing speed as you become more comfortable with the drill’s rhythm and your project’s demands, similar to how I ease into writing a story inspired by a new postcard
- Keep your work area well-lit, clean, and clear of debris to ensure accuracy and safety, just as I carefully curate my treasure hunts to avoid missing a hidden gem
- Practice, practice, practice – the more you drill, the more intuitive it becomes, allowing you to focus on the creative aspects of your project, like crafting a compelling narrative from a newly collected postcard
Key Takeaways for Drilling Like a Pro
Always choose the right drill bit for your project, as this will significantly impact the quality of your work and the safety of your drilling experience
Regular maintenance of your drill bits is crucial, including cleaning, storing, and sharpening them to extend their lifespan and prevent accidents
By following proper drill safety precautions, such as wearing protective gear and keeping loose clothing tied back, you can ensure a safe and enjoyable drilling experience, whether you’re a seasoned pro or a beginner
Drilling with Soul
The power drill is not just a tool, but an extension of your creativity and curiosity – it’s about feeling the thrill of making something with your own hands, and the sense of pride that comes with it.
Vera Kump
Drilling Down to the Essentials
As we’ve explored the world of power drilling, it’s clear that mastering the basics is just the beginning. From choosing the right drill bit to maintaining a safe working environment, every detail counts. We’ve delved into proper bit maintenance tips and mastering drill safety precautions, emphasizing the importance of a thorough approach. By following these steps and tips, you’ll be well on your way to becoming a proficient power drill user, capable of tackling a variety of projects with confidence. Remember, practice makes perfect, so don’t be afraid to get hands-on and drill like you mean it.
With your newfound knowledge, you’re ready to unleash your creativity and take on projects that bring you joy. Whether you’re a seasoned DIY enthusiast or just starting out, the world of power drilling is full of possibilities. As you continue to refine your skills, keep in mind that the journey is just as important as the destination. Don’t be afraid to experiment, try new things, and push beyond your comfort zone. With a power drill in hand and a sense of adventure in your heart, you’ll be amazed at what you can accomplish – and the stories you’ll tell along the way.
Frequently Asked Questions
What are some common mistakes to avoid when using a power drill for the first time?
As a novice driller, I’ve learned the hard way – avoid applying too much pressure, which can damage the material or strip the screw head. Also, don’t forget to keep your work surface clear of clutter and ensure the drill bit is properly secured to prevent accidents. Trust me, it’s all about balance and preparation!
How do I choose the right drill bit for the material I'm working with?
Choosing the right drill bit is like finding the perfect treasure at a flea market – it requires a keen eye! For wood, I swear by twist bits, while for metal, I opt for titanium-coated bits. And for glass or tiles, diamond-coated bits are my go-to. The key is to match the bit to the material’s unique personality.
What safety precautions should I take when drilling in tight or enclosed spaces?
When drilling in tight spots, I always say, ‘safety first, treasure hunter!’ Wear protective gear, like goggles and a dust mask, and ensure good ventilation to avoid inhaling debris. Keep loose clothing tied back and avoid wearing jewelry that could get caught. It’s also a good idea to have a spotter or a clear escape route, just in case!


