I still remember the first time I tried to tackle a DIY project with a dull circular saw blade – it was like trying to cut through a brick wall with a spoon! I had been putting off learning about a guide to changing a circular saw blade for far too long, and it showed in my lackluster results. But the truth is, changing a circular saw blade is not as daunting as it seems, and it’s a crucial step in unlocking your full DIY potential.
In this article, I’ll walk you through the straightforward process of giving your circular saw a new lease on life. You’ll learn how to breath new life into your toolbox by swapping out that old blade for a shiny new one, and I’ll share some handy tips and tricks I’ve picked up along the way to make the process as smooth as possible. By the end of this guide, you’ll be equipped with the knowledge and confidence to tackle even the most ambitious DIY projects, and you’ll never have to struggle with a dull blade again.
Table of Contents
Guide Overview: What You'll Need
Total Time: 30 minutes to 1 hour
Estimated Cost: $20 – $50
Difficulty Level: Intermediate
Tools Required
- Wrench or allen wrench (depending on the saw model)
- New circular saw blade (correct size and type for the saw)
- Safety glasses (for protecting eyes from debris)
- Work light (optional, for better visibility)
- Gloves (for protecting hands from cuts and abrasions)
Supplies & Materials
- Circular saw blade (replacement blade of the correct size and type)
- Sawdust collection system (optional, for cleaning up sawdust and debris)
Step-by-Step Instructions
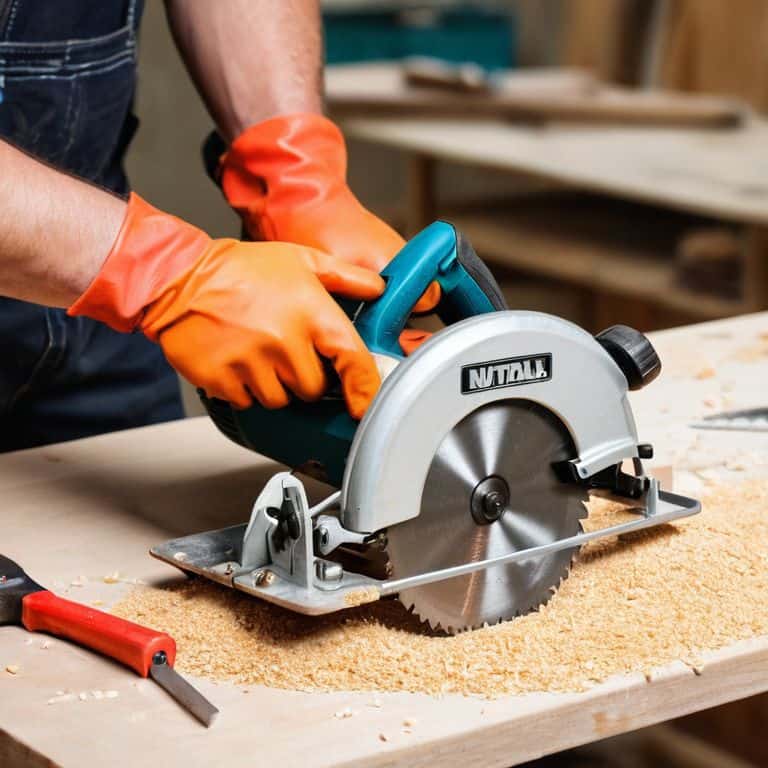
- 1. First, let’s get started by preparing our workspace. Clear a flat surface, like a workbench or a large table, and make sure it’s free from any clutter or obstructions. This will give us a safe and comfortable area to work on our circular saw. Take a moment to gather all the necessary tools and materials, including the new blade, a wrench or screwdriver, and a pair of gloves.
- 2. Next, we need to unplug the circular saw to avoid any accidental start-ups or electrical shocks. This is a crucial safety step, so make sure you double-check that the saw is completely powered down before proceeding. Take a deep breath, and let’s move on to the next step with confidence.
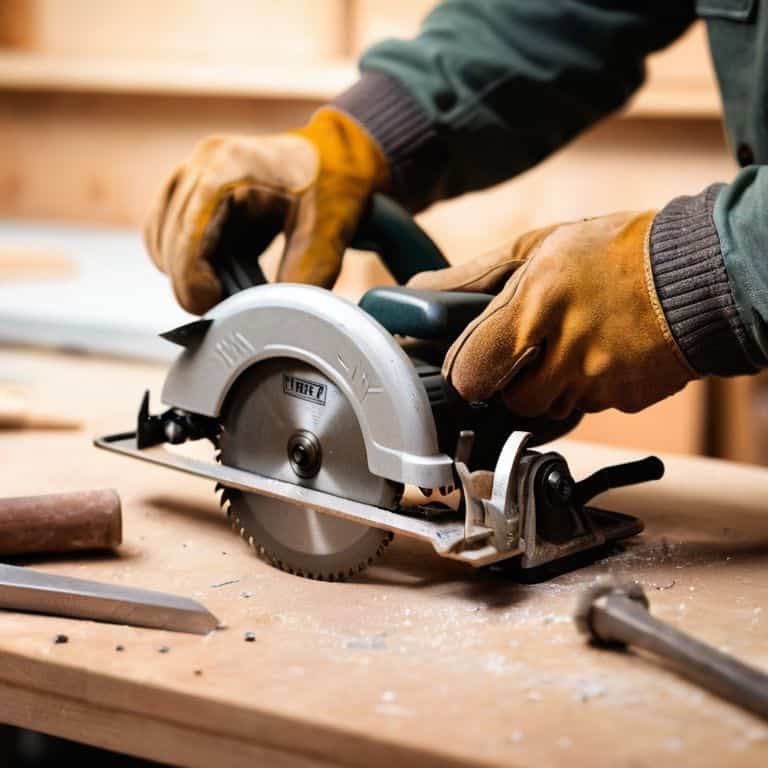
- 3. Now, it’s time to remove the blade guard. This will give us access to the old blade and allow us to remove it. Use your wrench or screwdriver to loosen the screws or clips holding the guard in place. Be careful not to touch any of the sharp edges or moving parts, and take your time to ensure a smooth and safe removal process.
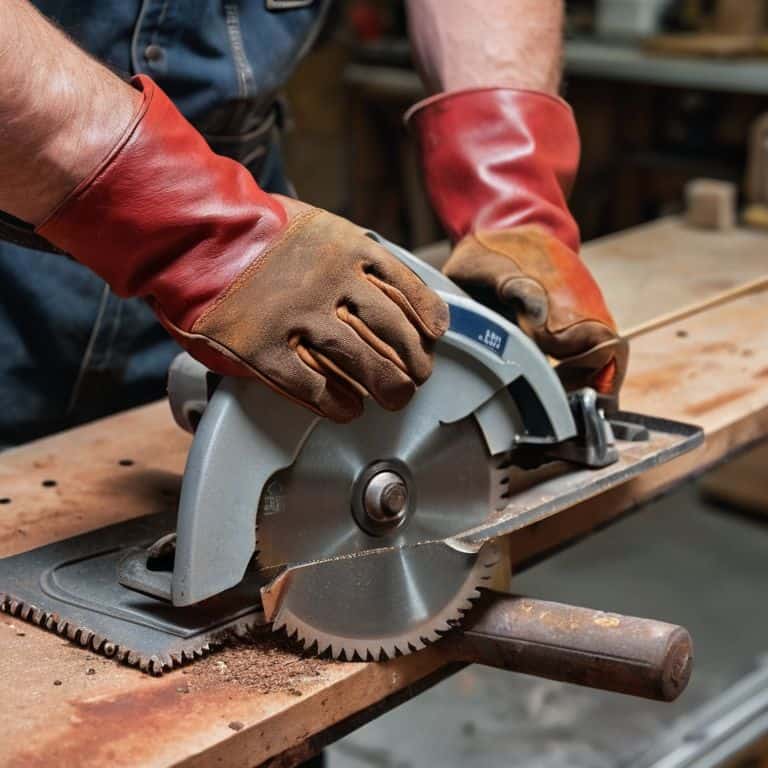
- 4. With the blade guard out of the way, we can now locate the arbor nut that holds the old blade in place. This nut can be a bit stubborn, so be prepared to apply some gentle but firm pressure. Use your wrench to loosen the nut by turning it counterclockwise. Don’t remove it yet, just loosen it enough to break the seal.
- 5. The next step is to completely remove the arbor nut and take out the old blade. This might require a bit of elbow grease, but don’t worry, it’s a straightforward process. Once the nut is removed, carefully pull out the old blade, taking note of its orientation and position on the arbor. Set the old blade aside, and let’s get ready to install the new one.
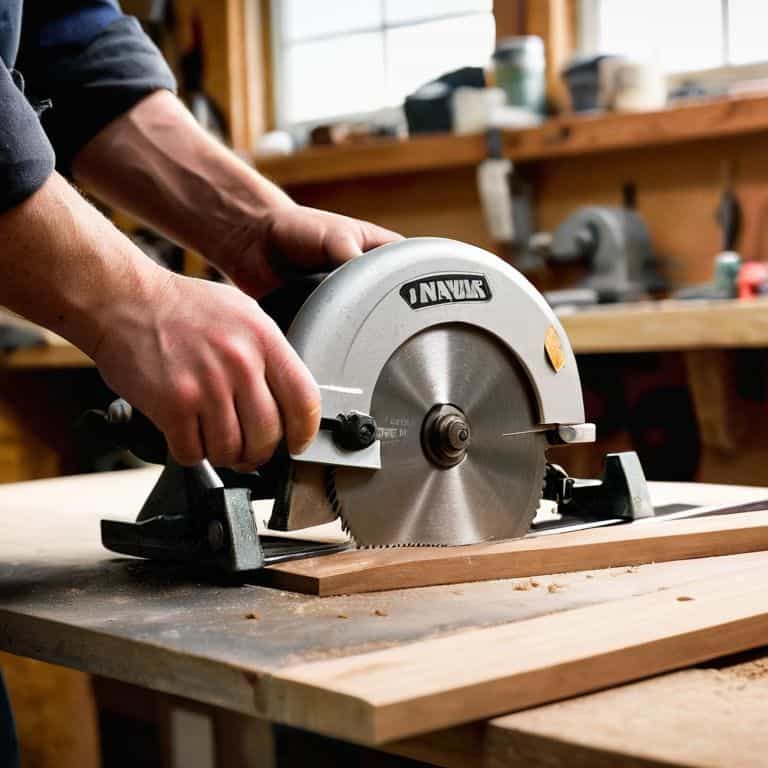
- 6. Now it’s time to install the new blade, making sure it’s properly seated and aligned on the arbor. Take a moment to inspect the new blade for any debris or packaging materials that might be obstructing the mounting holes. Gently push the new blade onto the arbor, ensuring it’s securely in place.
- 7. With the new blade installed, we can now replace the arbor nut and tighten it in a clockwise direction. Make sure it’s snug but not overtightened, as this can damage the blade or the saw. Use your wrench to apply even pressure, and take your time to ensure the nut is properly secured.
- 8. Finally, let’s reassemble the saw by replacing the blade guard and any other components we removed earlier. Double-check that all screws and clips are securely in place, and give the saw a quick once-over to ensure everything is working smoothly. Take a step back, and admire your handiwork – you’ve successfully changed your circular saw blade!
Reviving Your Saw
As I always say, breathing new life into your toolbox is all about the details. When it comes to circular saw blade removal techniques, it’s essential to consider the arbor size and compatibility of your saw. This will ensure a smooth and safe removal process. I like to think of it as preparing a canvas for a new masterpiece – you want a clean slate to work with.
Now, let’s talk about the age-old debate: saw blade sharpening vs replacement. While sharpening can be a great way to extend the life of your blade, there comes a time when replacement is the better option. I’ve found that using a blade changing tool can make all the difference in this process. It’s a small investment that can save you time and frustration in the long run. Plus, it’s a great opportunity to inspect your saw’s circular saw safety features and make any necessary adjustments.
In my experience, circular saw motor maintenance is just as important as changing the blade. By keeping your motor well-lubricated and clean, you can ensure your saw runs smoothly and efficiently. It’s all about finding that balance between practicality and creativity. With a little practice and patience, you’ll be tackling DIY projects like a pro and giving new life to your trusty circular saw.
Circular Saw Blade Removal Techniques
When it comes to removing a circular saw blade, I’ve found that a little creativity can go a long way. Instead of relying on specialized tools, I like to use a trusty old screwdriver and a bit of elbow grease. By carefully prying the blade loose and then gently lifting it off, you can avoid damaging the saw’s arbor or the blade itself. It’s all about finesse and patience – just like when I’m foraging for wild herbs in the city, you’ve got to know when to apply a little extra pressure.
I’ve also discovered that a well-placed piece of scrap wood can make a great makeshift tool for removing stubborn blades. Simply wedge the wood between the blade and the saw’s guard, and use it to gently rock the blade back and forth until it comes free. It’s a technique that’s served me well over the years, and one that I’m always excited to share with fellow DIY enthusiasts.
Saw Blade Sharpening vs Replacement
When it comes to reviving your saw, you’re often faced with a choice: sharpening or replacing the blade. I’ve found that sharpening can be a great way to breathe new life into a dull blade, and it’s a skill that’s well worth learning. With a little practice, you can get your blade cutting like new again, and it’s a very eco-friendly option too.
That being said, there are times when replacement is the better option. If your blade is badly damaged or has simply reached the end of its lifespan, it’s time to bring in a new one. I like to think of it as an opportunity to upgrade and try out a new type of blade that might be better suited to my current projects. Either way, the key is to stay flexible and adapt to the needs of your saw and your workshop.
Saw-some Success: 5 Tips for a Smooth Blade Swap
- Prepare Your Workspace: Clear a flat surface and lay down a protective cloth to prevent damage from stray screws or the old blade
- Choose the Right Blade: Select a replacement blade that matches your saw’s specifications and suits your project’s needs, whether it’s ripping, cross-cutting, or making precise cuts
- Safety First: Always unplug your circular saw before starting the blade change, and consider wearing gloves to protect your hands from sharp edges and potential slips
- Get the Right Tools: Gather a wrench or the manufacturer’s recommended tool for blade changes, and make sure it’s in good condition to avoid stripping screws or damaging the saw
- Double-Check Your Work: After installing the new blade, give it a few test spins to ensure it’s properly seated, balanced, and ready for your next DIY adventure
Key Takeaways for a Sharper Saw
Always prioritize safety when working with power tools, and make sure you’ve unplugged your circular saw before attempting to change the blade
A dull blade can be revived, but knowing when to sharpen versus replace is crucial – consider the cost, time, and your project’s requirements to make an informed decision
By mastering the art of changing and maintaining your circular saw blade, you’ll not only extend the life of your tool but also unlock a world of creative possibilities in your DIY and woodworking projects
Embracing the Art of DIY
The humble act of changing a circular saw blade is not just a task, but a testament to our capacity for self-sufficiency and creativity – it’s a reminder that with every replacement, we’re not just maintaining our tools, but also our connection to the world around us.
Stanley Truman
Embracing the Joy of DIY: A Circular Saw Blade Change Guide
As we wrap up this journey of giving your circular saw a brand new lease on life, let’s take a moment to reflect on the key takeaways. We’ve delved into the world of circular saw blade removal techniques, explored the age-old debate of saw blade sharpening vs replacement, and most importantly, learned how to change a circular saw blade with confidence. These skills are not just about maintaining your tools; they’re about embracing a mindset of self-sufficiency and creativity in the face of everyday challenges.
So, the next time you’re faced with a dull blade or a project that seems daunting, remember that the power to transform and create is in your hands. By embracing the DIY spirit and applying these principles, you’re not just changing a saw blade; you’re breathing new life into your toolbox and your community. Keep tinkering, keep creating, and most importantly, keep inspiring others to do the same. Together, let’s build a world where every discarded item is an opportunity for innovation and every DIY project is a celebration of human ingenuity.
Frequently Asked Questions
What are the most common mistakes to avoid when changing a circular saw blade?
When swapping out your circular saw blade, beware of common pitfalls like improper alignment, overtightening, and neglecting to unplug the saw – trust me, I’ve been there! Take your time, and double-check your work to avoid those frustrating mistakes and ensure a smooth, safe blade change.
How often should I change my circular saw blade to ensure optimal performance and safety?
Changing your circular saw blade is all about feel and frequency – I like to swap mine out every 50-100 cuts, or when I notice it’s getting a bit sluggish. Safety first, my friend! A dull blade can be a hazardous one, so trust your instincts and give your saw some TLC.
Can I use any type of blade on my circular saw or are there specific compatibility requirements I should be aware of?
Ah, great question! When it comes to choosing a blade for your circular saw, compatibility is key. You’ll want to ensure the blade’s diameter, arbor size, and tooth count match your saw’s specs. Don’t worry, it’s easier than it sounds – just check your user manual or the manufacturer’s website for guidance. I like to think of it as finding the perfect puzzle piece for your trusty saw!


