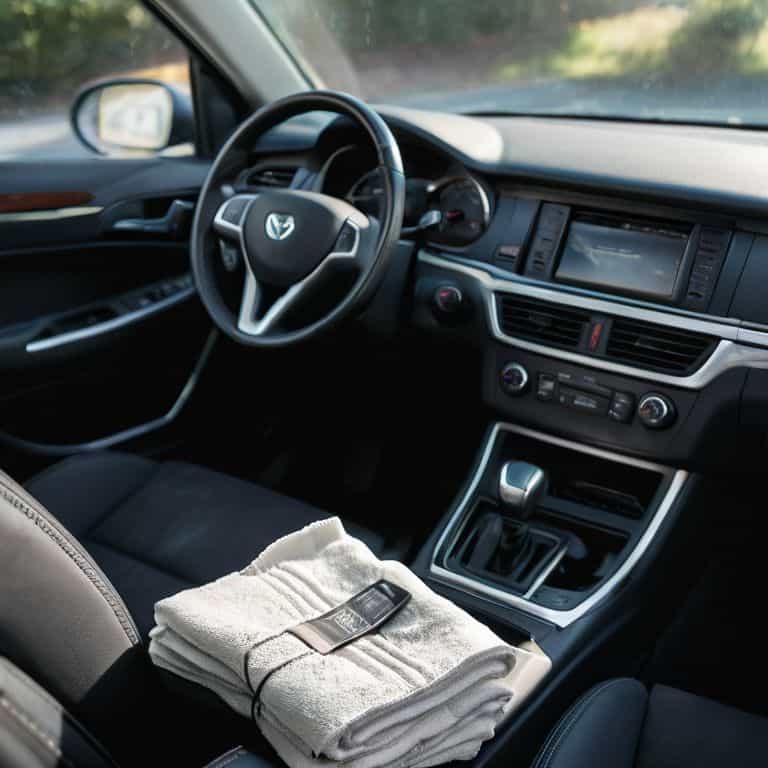
I still remember the day I decided to deep clean my car’s interior – it was a messy, cluttered disaster. But as I rolled up my sleeves and got to work, I realized that it wasn’t just about wiping down surfaces and vacuuming the floors. It was about uncovering the hidden gems beneath the grime and restoring my ride to its former glory. That’s what I want to share with you today – the secrets to how to deep clean your car’s interior like a pro, without breaking the bank or losing your mind.
In this article, I’ll walk you through my tried-and-true process for transforming your car’s interior from grimy to gleaming. You’ll learn the essential steps to tackle tough stains, eliminate odors, and leave your car feeling fresh and clean. From the nitty-gritty details of cleaning between the seats to the best-kept secrets for making your upholstery look like new, I’ll share my honest, no-hype advice for getting the job done. So, buckle up and let’s get started on this journey to a cleaner, happier car – and a happier you!
Table of Contents
- Guide Overview: What You'll Need
- Step-by-Step Instructions
- Deep Cleaning Your Ride
- Best Vacuum for Car Carpets and Leather Upholstery Secrets
- Car Interior Detailing Tips From a Garage Guru
- Unleashing the Shine: 5 Garage-Tested Tips for a Deep Clean Car Interior
- Key Takeaways for a Garage Guru
- Wisdom from the Garage
- Bringing Your Ride Back to Life
- Frequently Asked Questions
Guide Overview: What You'll Need
Total Time: 2 hours 30 minutes
Estimated Cost: $20 – $50
Difficulty Level: Intermediate
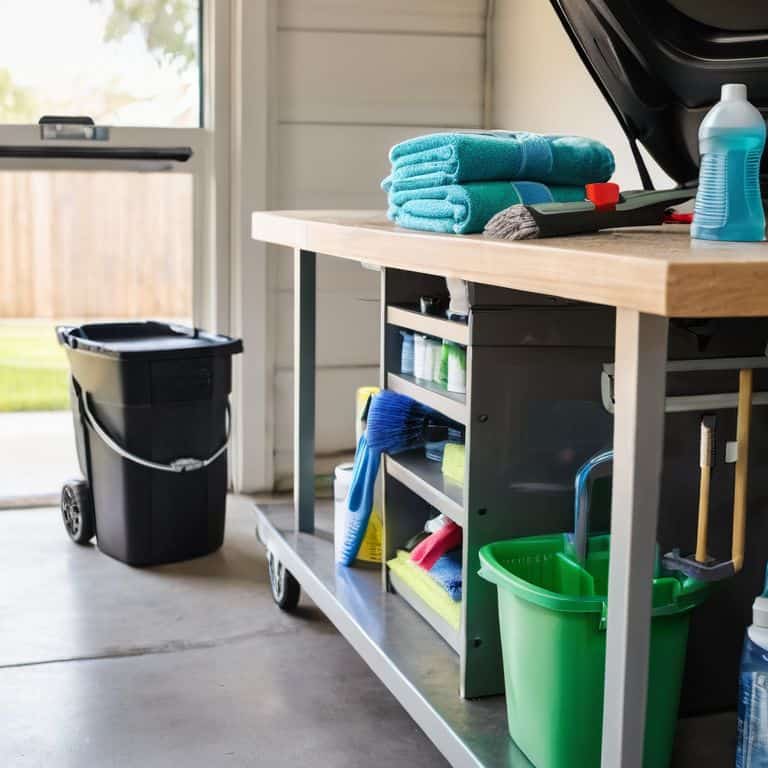
Tools Required
- Vacuum Cleaner with upholstery and crevice tools
- Soft-bristled Brush for dusting and cleaning vents
- Microfiber Cloths for wiping down surfaces
- Scrub Brush for tough stains on carpets and upholstery
- Tire Brush for cleaning dashboard and trim
- Stepladder for accessing hard-to-reach areas, approximately 2 feet tall
Supplies & Materials
- Car Interior Cleaner
- Glass Cleaner
- Disinfectant Wipes
- Leather Cleaner and Conditioner if your car has leather seats
- Fabric Protector for protecting carpets and upholstery from stains
- Trash Bags for disposing of trash and debris, approximately 10 inches by 13 inches in size
Step-by-Step Instructions
- 1. First, let’s get started by gathering all the necessary tools and supplies, which I like to call my “Detailing Dream Team”. This includes a vacuum cleaner, a variety of brushes, a microfiber cloth, a cleaning solution, and a scrub brush. I’ve named each of my tools, by the way – there’s “Sucky” the vacuum, “Bristle” the brush, and “Mighty Mike” the microfiber cloth.
- 2. Next, we’ll begin by removing all the trash and personal items from the car’s interior. This is the part where we get to dig in and get our hands dirty, so to speak. Take out the floor mats, empty the glove compartment, and pull out any removable cups or trays. Give everything a good once-over to make sure we’re not missing any hidden messes.
- 3. Now it’s time to vacuum the interior, and I always start with the ceilings and upper areas first. This helps prevent any dirt or debris from falling onto the clean areas below. Use “Sucky” to get into all the nooks and crannies, including the seat crevices and door panels. Don’t forget to vacuum the trunk area as well.
- 4. With the vacuuming done, it’s time to move on to the cleaning solutions. I like to use a mixture of mild soap and warm water to clean the interior surfaces. Dip “Mighty Mike” into the solution, wring it out thoroughly, and start wiping down the dashboard, center console, and door panels. Be sure to avoid any sensitive electronics or areas with delicate materials.
- 5. The next step is to tackle the upholstery and carpets. For this, I use a combination of spot cleaning and deep cleaning techniques. Use a cleaning solution specifically designed for the type of fabric or material you’re dealing with, and apply it to any stains or high-traffic areas. Let it sit for a few minutes before blotting it with a clean cloth.
- 6. Now we move on to the glass and mirror surfaces. I use a glass cleaner and a lint-free cloth to wipe down the windshield, side windows, and rearview mirror. Be sure to avoid any streaks or residue by using a circular motion and cleaning in one direction only.
- 7. Finally, it’s time to put everything back together and add the finishing touches. Replace the floor mats, put back any removable cups or trays, and vacuum one last time to get rid of any remaining dirt or debris. Take a step back and admire your handiwork – your car’s interior should now be looking squeaky clean and feeling like new.
Deep Cleaning Your Ride
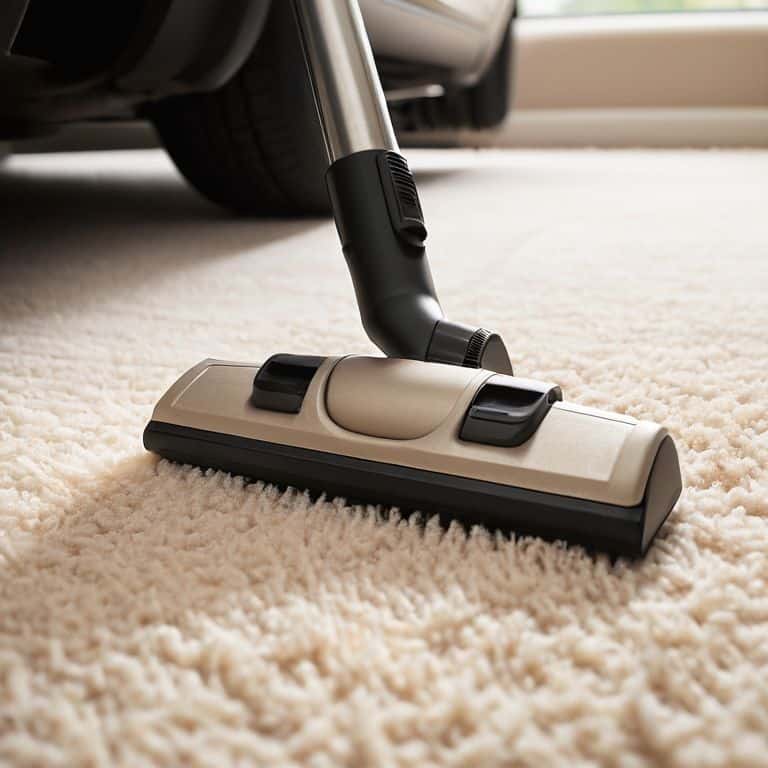
As I always say, a clean car is a happy car. When it comes to car interior detailing tips, I’ve learned that it’s all about the little things. For instance, using the best vacuum for car carpets can make a huge difference in removing dirt and dust that can damage your carpets over time. I like to use my trusty “Suction Sam” vacuum, which I’ve named for its powerful suction power.
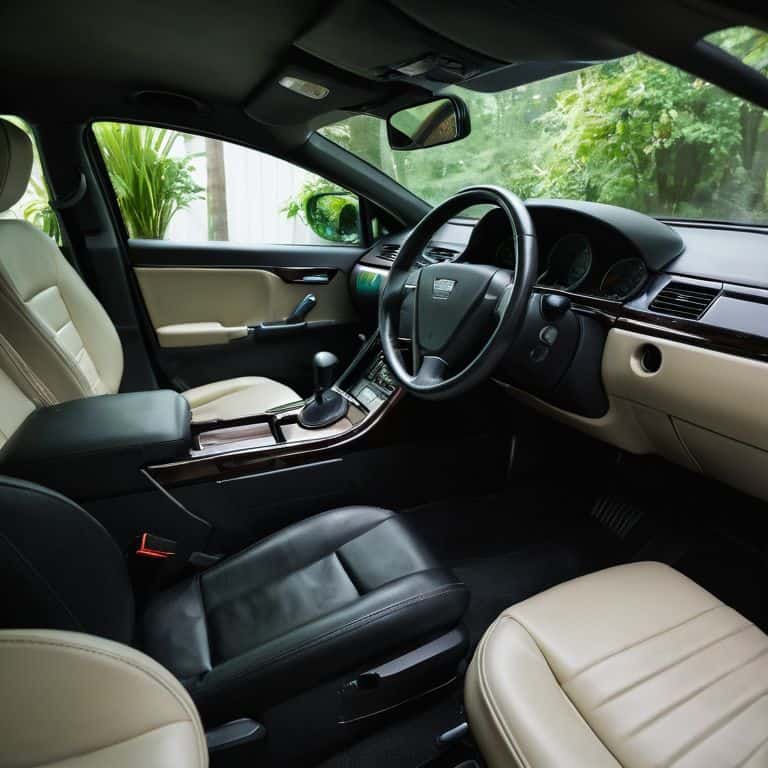
When dealing with leather upholstery, it’s essential to use the right leather upholstery cleaning products to avoid damaging the material. I’ve found that a gentle cleaner and a soft brush can work wonders in removing stains and conditioners to keep the leather soft and supple. And let’s not forget about the dashboard – dashboard polishing techniques can bring out the shine in your car’s interior. I use a combination of polish and a microfiber cloth to get the job done.
To keep your car smelling fresh, consider using odor removal from car interior products or natural air fresheners like essential oils or baking soda. I like to keep a small container of “Fresh Fiona” air freshener in my car to keep it smelling like new. By following these tips and using the right interior car cleaning products review, you can keep your car’s interior looking and feeling its best.
Best Vacuum for Car Carpets and Leather Upholstery Secrets
When it comes to tackling those pesky car carpets and leather upholstery, I swear by my trusty sidekick, “Sucky” – a handheld vacuum that’s been with me through thick and thin. For deeper cleans, I break out the big guns: my “Suction Master” wet/dry vacuum. Its gentle yet firm touch is perfect for getting into tight spaces and leaving my ride’s interior looking like new.
I’ve found that using the upholstery brush attachment on “Suction Master” makes all the difference when it comes to delicate leather surfaces. It’s all about the right tools for the job, and with these two vacuums in my arsenal, I can tackle even the toughest messes with confidence.
Car Interior Detailing Tips From a Garage Guru
Now that we’ve gotten our hands dirty, let’s talk about the finer points of car interior detailing. As someone who’s spent years restoring vintage bicycles, I can tell you that it’s all about the details. My trusty sidekicks, Bertha the brush and Sammy the scrubber, always come in handy when getting into tight spaces. When it comes to car interiors, it’s the little things that make a big difference – a thorough vacuum, a wipe-down of all surfaces, and a gentle cleaning of any delicate materials.
I like to think of it as giving my car a mini-spa day, right in my own garage. By taking the time to carefully clean and condition every aspect of the interior, I’m not only making my car look and feel its best, but I’m also preserving its value and longevity. Whether you’re a seasoned garage guru or just starting out, remember that the key to a successful deep clean is attention to detail and a willingness to get a little creative.
Unleashing the Shine: 5 Garage-Tested Tips for a Deep Clean Car Interior
- Give your car’s interior a thorough once-over, just like I do with my vintage bicycle restorations – every nook and cranny needs some love
- Vacuum like you mean it – don’t just suck up the dirt, get into all the tight spaces where dust and dirt love to hide, and remember, my trusty sidekick ‘Suzy Sweep’ is the best vacuum for the job
- Ditch the harsh chemicals and go for gentle, eco-friendly cleaners that won’t harm your car’s surfaces or the environment, my grandfather always said ‘a clean car is a happy car’
- Don’t forget the often-overlooked areas like air vents, dashboard crevices, and seat belts – a soft brush and some TLC can work wonders, just ask my tool ‘Betsy Brush’
- Finish it all off with a protective coating on your surfaces and a blast of fresh air – your car will thank you, and so will your nose, trust me, I’ve been there with my own garage projects
Key Takeaways for a Garage Guru
Always start your deep cleaning journey by giving your car’s interior a thorough once-over, just like I do with my trusty sidekick, a vacuum named Vera
Remember, the right tools make all the difference – from my favorite microfiber cloth, Bertha, to a reliable vacuum like Vera, each one is a trusted companion in the pursuit of a grime-free ride
By following these steps and making car interior detailing a regular part of your garage routine, you’ll not only keep your vehicle in top shape but also unleash your inner garage guru, ready to tackle any project that rolls into your workshop
Wisdom from the Garage
A deep clean isn’t just about wiping down surfaces; it’s about uncovering the potential of your ride and making it shine from the inside out – just like restoring a vintage bike, it’s the little details that make all the difference!
John Beeler
Bringing Your Ride Back to Life
As we wrap up this deep dive into car interior detailing, let’s recap the key takeaways: we’ve covered the essential steps to transform your car’s interior from grime to shine, and explored some expert tips and tricks to make the process a breeze. From the best vacuum for car carpets to the secrets of leather upholstery care, we’ve left no stone unturned in our quest for a cleaner, healthier ride. By following these steps and incorporating them into your regular car maintenance routine, you’ll be well on your way to creating a spa-like atmosphere in your vehicle.
So, the next time you fire up the engine and hit the open road, remember that your car’s interior is more than just a space – it’s an extension of your personality and a reflection of your love for the journey. By embracing the art of car interior detailing and making it a part of your garage guru toolkit, you’ll not only be driving in style, but also unleashing your inner creativity and taking your passion for cars to the next level. Happy detailing, and I’ll see you in the garage!
Frequently Asked Questions
What's the best way to remove stubborn stains from fabric seats?
Time to bust out my trusty sidekick, ‘Stain Slayer’ – aka a gentle fabric cleaner and a soft-bristled brush. Gently scrub the stain, then blot with a microfiber cloth. For tougher stains, I whip out ‘Tough Guy,’ my upholstery cleaner, and let it sit for a bit before rinsing and drying. Works like a charm in my garage, and it’ll do the same for you!
How often should I deep clean my car's interior to maintain its condition?
Honestly, I deep clean my car’s interior every 2-3 months, depending on how much I’ve been using it. If you’re a daily driver, you might want to bump that up to every month. For me, it’s all about keeping my ride feeling fresh and new, just like my grandfather taught me when we’d tinker in the garage together.
Are there any specific products or tools that are safe to use on sensitive surfaces like leather or wood trim?
Ah, great question! For sensitive surfaces like leather or wood trim, I swear by my trusty sidekicks, ‘Softy’ the microfiber cloth and ‘Gentleman’ the leather conditioner. They’re perfect for cleaning and protecting those delicate areas without leaving any harsh chemicals or scratches behind.


