I still remember the first time I attempted to build a raised garden bed in my backyard. I was convinced that I needed to buy a slew of expensive materials and follow a complex set of instructions to get it just right. But, as I soon discovered, the truth is that creating a thriving garden bed is more about creativity and resourcefulness than it is about breaking the bank. In fact, learning how to build a raised garden bed can be a fun and rewarding DIY project that not only saves you money but also helps to reduce waste.
As someone who’s passionate about sustainable living, I’m excited to share my expertise with you and show you that building a raised garden bed can be a breeze, even for a beginner. In this article, I’ll walk you through the simple, step-by-step process of transforming old wood and other reclaimed materials into a beautiful and functional garden bed. You’ll learn how to repurpose everyday items and turn them into something truly special, all while reducing your environmental footprint. By the end of this guide, you’ll be equipped with the knowledge and confidence to create your own unique garden oasis, and I couldn’t be more thrilled to be a part of your journey.
Table of Contents
- Guide Overview: What You'll Need
- Step-by-Step Instructions
- Building Raised Garden Beds
- Sowing the Seeds of Success: 5 Essential Tips for Building a Thriving Raised Garden Bed
- Nurturing Your Green Thumb: 3 Key Takeaways
- Cultivating Life from Scraps
- From Vision to Verdant Reality
- Frequently Asked Questions
Guide Overview: What You'll Need
Total Time: 2 hours 30 minutes
Estimated Cost: $50 – $100
Difficulty Level: Intermediate
Tools Required
- Circular Saw (for cutting lumber)
- Drill (with screwdriver and drill bits)
- Tape Measure (for measuring and marking lumber)
- Level (for ensuring the bed is level)
- Shovel (for filling with soil)
- Gloves (for protecting your hands)
- Safety Glasses (for protecting your eyes)
Supplies & Materials
- 2-in x 6-in lumber (for the frame)
- 2-in x 4-in lumber (for the bottom)
- Wood Screws (for assembling the frame)
- Weather-Resistant Wood Glue (for reinforcing the frame)
- Soil (for filling the bed)
- Gravel or Landscape Fabric (for drainage and weed control)
Step-by-Step Instructions
- 1. First, let’s start by gathering our materials, which can be as simple as collecting old wooden pallets, bricks, or stones from around the house or neighborhood. I love scouring local garage sales and thrift stores for unique materials that can add a touch of personality to our project. For this raised garden bed, we’ll need some wooden planks, a hammer, nails, a saw, and a drill. Don’t worry if your materials aren’t perfect – we’re going for rustic charm here.
- 2. Next, we’ll prepare our site by choosing a spot that gets plenty of sunlight and is close to a water source. Clear the area of any debris, and if you’re building on a slope, make sure to level the ground. I like to use a mixture of sand and compost to create a stable base for our raised bed. This will help with drainage and give our plants a healthy start.
- 3. Now it’s time to cut our wooden planks to the right size. We’ll need four planks for the frame of our raised bed, and two more for the bottom. I recommend using a coping saw or a jigsaw to make curved cuts, if you want to add a decorative touch. Just remember to always wear protective gear, like gloves and safety glasses, when working with power tools.
- 4. With our planks cut, we can start assembling the frame of our raised bed. Use your hammer and nails to attach the planks together, making sure the corners are secure. If you’re using bricks or stones, you can simply stack them on top of each other, using a bit of mortar to hold them in place. Don’t worry if it’s not perfect – we can always make adjustments as we go.
- 5. Once our frame is built, we can add the bottom layer of our raised bed. This will help with drainage and prevent our soil from washing away. I like to use a mixture of landscape fabric and weed barrier to keep pests and weeds out. Simply cut the fabric to size, and attach it to the bottom of our frame using a staple gun or some twine.
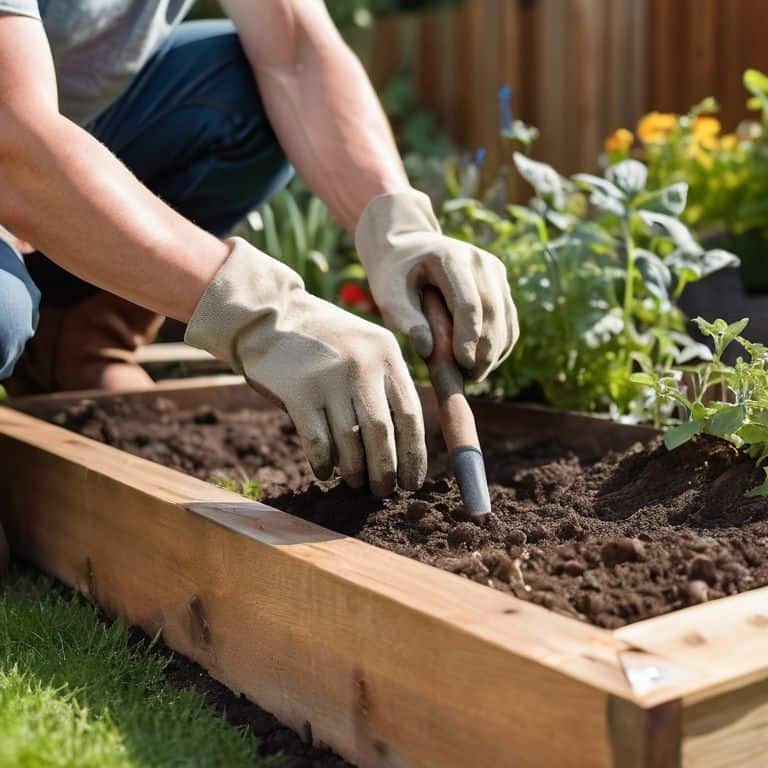
- 6. Now it’s time to fill our raised bed with soil and start planting. I recommend using a mixture of topsoil, compost, and perlite to create a well-draining and fertile soil. You can also add some organic fertilizer to give your plants a boost. Just remember to plant your seeds or seedlings at the right depth, and water them well to get them established.
- 7. Finally, let’s add some finishing touches to our raised garden bed. We can add a trellis or a arbors to provide support for climbing plants, or use some natural stone to create a decorative border. I also like to add a few personal touches, like a handmade wooden sign or a wind chime, to make our raised bed feel like a truly special place. With a little creativity, our raised garden bed can become a thriving oasis in even the smallest of spaces.
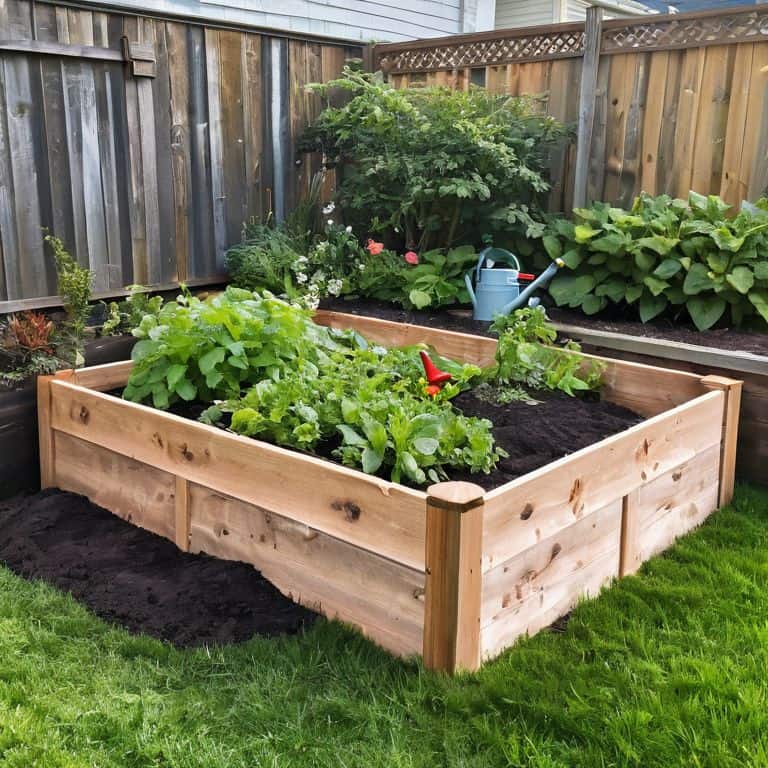
Building Raised Garden Beds
As I always say, the art of creating something from scratch is all about embracing the journey. When it comes to building raised garden beds, considering the space you have available is crucial. For those with limited room, raised garden bed designs for small spaces can be a game-changer. I’ve seen people transform tiny balconies into thriving gardens using nothing but a little creativity and some well-placed wooden planks.
One of the biggest challenges I’ve faced in my own gardening adventures is building on uneven terrain. If you’re looking to build a raised garden bed on a slope, my advice is to start with a solid foundation. This might involve digging into the slope to create a level surface or using retaining walls to hold back the soil. It’s also important to choose the best wood types for raised garden beds, as some can be prone to rot or insect damage when exposed to moisture.
When filling your raised garden bed, remember to mix it up – literally! Combining different soil types and adding in some organic matter can make all the difference in creating a thriving ecosystem. And don’t forget to consider raised garden bed irrigation systems, which can help reduce waste and ensure your plants get just the right amount of water. With a little practice and patience, you’ll be well on your way to growing your own delicious fruits and veggies in no time.
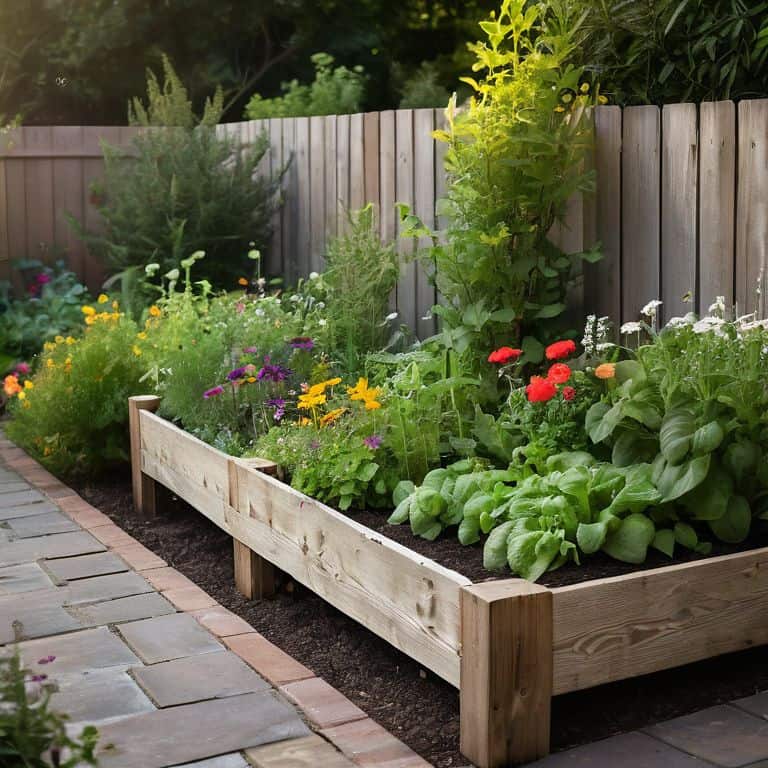
Best Wood Types for Raised Beds
When it comes to choosing the perfect wood for your raised garden bed, I always say, “think reclaimed, think repurposed!” Old cedar fencing, cypress, or redwood are fantastic options – they’re naturally resistant to rot and insects. If you’re feeling adventurous, consider scouring local garage sales or salvage yards for unique, weathered pieces that add character to your garden. Just be sure to clean and disinfect any reclaimed wood before use.
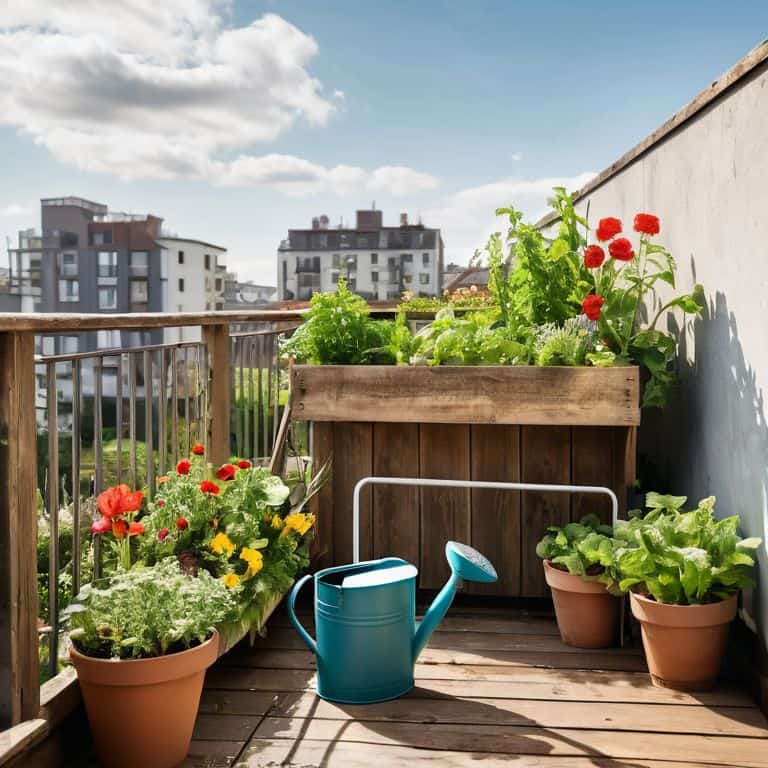
Raised Garden Bed Designs for Small Spaces
For those with limited space, don’t worry – you can still cultivate a lush oasis. I love repurposing old pallets or crates to create compact raised garden beds that fit snugly into tight corners or against walls. You can also try using vertical planters or trellises to make the most of your space. I’ve even seen people use old boots or containers as mini raised beds – the possibilities are endless!
Let’s think outside the box (or bed, in this case) and get creative with our small space designs. Consider a keyhole bed, where a small path leads to a central planting area, or a zig-zag design that maximizes space while adding visual interest. Whatever design you choose, remember to have fun and experiment with different shapes, sizes, and materials to find what works best for you and your space.
Sowing the Seeds of Success: 5 Essential Tips for Building a Thriving Raised Garden Bed
- Let the sunshine in: Choose a spot that gets at least 6 hours of direct sunlight a day to give your plants the best chance to flourish
- Dig deep: Ensure your raised bed is at least 6-8 inches deep to provide ample root space for your plants to grow strong and healthy
- Water you waiting for: Incorporate a drainage system to prevent waterlogged soil and keep your plants happy and hydrated
- Get creative with materials: Consider repurposing old pallets, bricks, or stones to add a touch of personality to your raised bed and reduce waste
- Mix it up: Blend a variety of soil types, including compost and organic matter, to create a nutrient-rich environment that will make your plants thrive
Nurturing Your Green Thumb: 3 Key Takeaways
Embracing the art of upcycling, you can transform discarded materials into thriving raised garden beds that not only reduce waste but also add a touch of whimsy to your outdoor spaces
By selecting the right wood type and design for your raised garden bed, you can create a harmonious blend of form and function, perfect for small spaces or sprawling backyards alike
Whether you’re a seasoned gardener or a beginner with a green thumb, the process of building a raised garden bed is an opportunity to connect with nature, get creative, and cultivate a sense of self-sufficiency that extends far beyond your garden’s borders
Cultivating Life from Scraps
The art of building a raised garden bed isn’t just about stacking wood and filling it with soil, it’s about breathing new life into forgotten spaces and nurturing a sense of self-sufficiency that blooms as beautifully as the flowers it holds.
Stanley Truman
From Vision to Verdant Reality
As we wrap up our journey to build a raised garden bed, let’s take a moment to reflect on the key takeaways. We’ve explored the basics of raised garden bed construction, from choosing the perfect wood type to designing a layout that maximizes space. We’ve also delved into the world of creative designs for small spaces, proving that even the most compact areas can be transformed into thriving oases. By following these steps and embracing your inner DIY spirit, you’ve not only created a functional garden bed but also taken a significant step towards a more sustainable and self-sufficient lifestyle.
Now, as you stand back to admire your handiwork, remember that every seed you plant is an investment in a greener, healthier future. Your raised garden bed is more than just a plot of land – it’s a symbol of your commitment to living in harmony with nature. So go ahead, get your hands dirty, and watch your vision blossom into a vibrant reality. With every harvest, you’ll be reminded of the magic that happens when creativity meets sustainability, and the joy of growing your own food will be a reward unlike any other.
Frequently Asked Questions
What are some creative ways to repurpose old materials for building a raised garden bed?
I love upcycling old materials for raised beds. Consider repurposing old pallets, brick, or stone walls, and even retired bathtubs. You can also breathe new life into old fences, decking, or barn wood. Get creative and think outside the box – or in this case, the garden bed!
How do I ensure proper drainage in my raised garden bed to prevent waterlogged soil?
To avoid waterlogged soil, add a layer of gravel or broken pottery at the bottom of your raised bed, and make sure to include some drainage holes. You can even repurpose old plastic bottles or tubes to create a DIY drainage system – get creative and keep that water flowing!
What are the best plants to grow in a raised garden bed for a beginner, and how do I care for them?
Let’s get growing, friend! As a beginner, try easy-to-love plants like leafy greens, cherry tomatoes, and herbs. Give them about 6 hours of sunlight, water when the top inch of soil feels dry, and fertilize lightly. With a little love, you’ll be harvesting in no time!


