I still remember the first time I tried to apply a durable wood finish to a reclaimed wooden bench I had built. I was so excited to see the final result, but after following the instructions to the letter, I ended up with a finish that looked more like a sticky mess than a beautiful, protected surface. It was a frustrating moment, but it taught me that there’s more to applying a durable wood finish than just following the manufacturer’s instructions. As someone who’s passionate about sustainable living and DIY projects, I’ve learned that how to apply a durable wood finish is not just about slapping on some varnish, but about understanding the wood, the environment, and the desired outcome.
In this article, I’ll share my honest, no-hype advice on how to apply a durable wood finish that will make your wooden creations last for years to come. I’ll walk you through my favorite techniques, from preparation to application, and give you practical tips on how to avoid common mistakes. Whether you’re a seasoned woodworker or a beginner, you’ll learn how to bring out the beauty in your wood and protect it from the elements. My goal is to empower you with the knowledge and confidence to take on your own DIY projects, and to make sustainable living a part of your everyday life. So, let’s get started and discover the joy of applying a durable wood finish that will make your creations truly special.
Table of Contents
Guide Overview: What You'll Need
Total Time: 4 hours 30 minutes
Estimated Cost: $50 – $100
Difficulty Level: Intermediate
Tools Required
- Sandpaper (various grits)
- Paintbrushes (1 inch, 2 inch, and 4 inch wide)
- Rags (lint-free)
- Drop cloths (or old sheets)
- Polyurethane applicator (or foam brush)
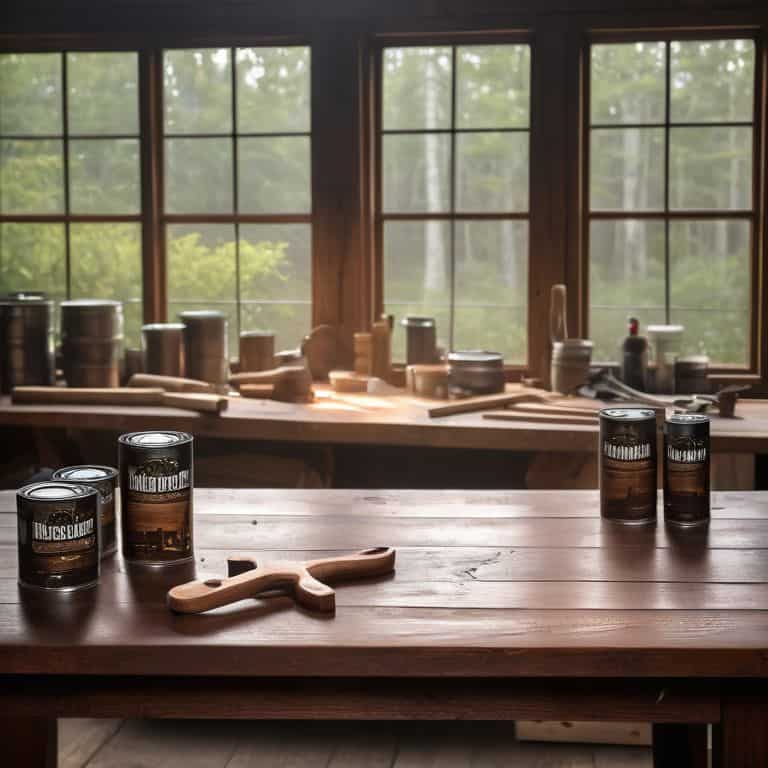
Supplies & Materials
- Wood stain (choose your desired color)
- Polyurethane (water-based or oil-based)
- Wood filler (optional)
- Steel wool (fine grade)
- Mineral spirits (for cleaning and thinning)
Step-by-Step Instructions
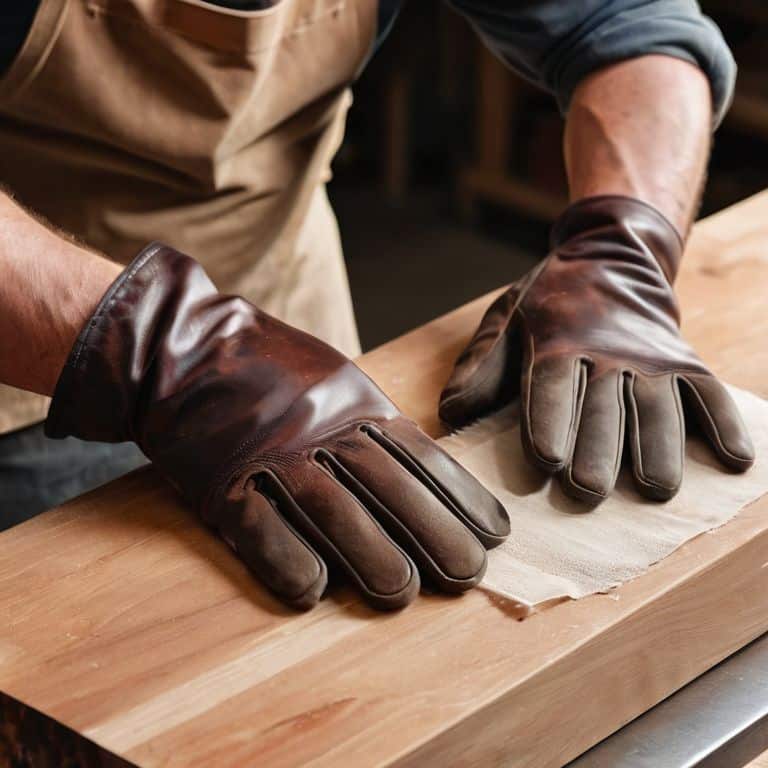
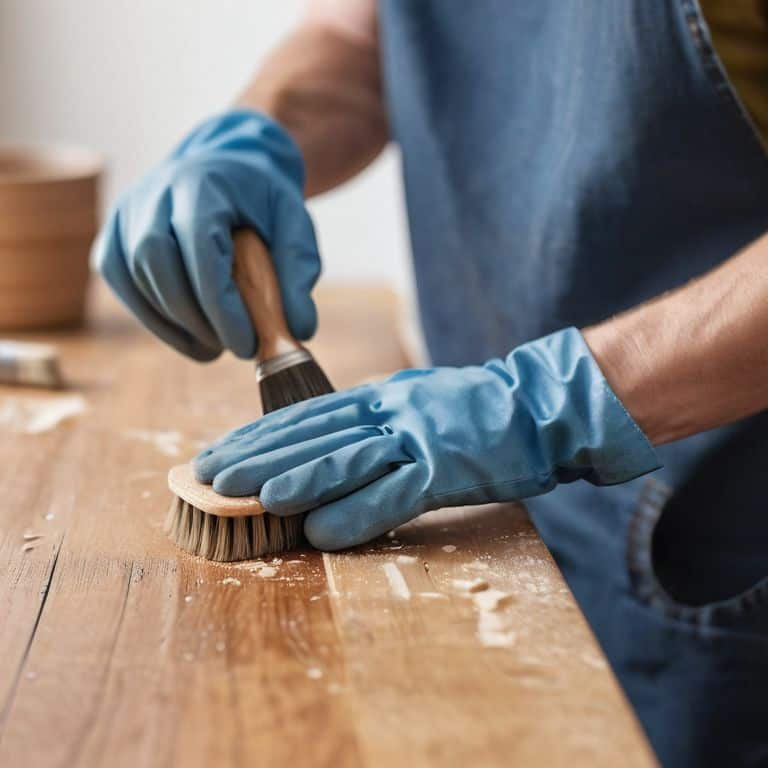
- 1. First, let’s prepare the wood surface by cleaning it thoroughly with a mixture of warm water and mild soap. This step is crucial in ensuring that the wood finish adheres evenly and lasts long. I like to use a soft-bristled brush to gently scrub away any dirt, grime, or old finish that might be lingering on the surface.
- 2. Next, we need to sand the wood to create a smooth surface for the finish to adhere to. Start with a coarse-grit sandpaper (about 120-grit) and work your way up to a finer grit (220-grit) for a silky smooth finish. Remember to sand in the direction of the wood grain to avoid scratching the surface.
- 3. Now, it’s time to apply a wood conditioner if your wood is particularly porous or prone to warping. This step helps to stabilize the wood and prevent it from absorbing too much of the finish. I like to use a natural wood conditioner made from beeswax and essential oils – it not only protects the wood but also gives it a lovely scent.
- 4. With our wood surface prepared, we can now apply the wood finish. I’m a big fan of using natural oils like tung oil or linseed oil, which not only provide a durable barrier against moisture but also bring out the natural beauty of the wood. Use a clean, lint-free cloth to apply the oil, working in small circular motions to cover the entire surface.
- 5. After applying the first coat of finish, let it dry completely according to the manufacturer’s instructions – this can take anywhere from a few hours to overnight, depending on the type of finish you’re using. Once it’s dry, use a clean cloth to wipe away any excess finish that may have accumulated in the wood grain or other recessed areas.
- 6. To achieve a truly durable finish, you’ll need to apply multiple thin coats, allowing each coat to dry completely before applying the next. I like to think of this process as building up layers of protection, each one strengthening the bond between the wood and the finish. Be patient and don’t rush this step – the end result will be well worth the extra effort.
- 7. Finally, once you’ve applied the final coat of finish, let it cure for a few days before putting your wood project to use. This allows the finish to fully harden and bond with the wood, creating a strong and resilient barrier against the elements. And that’s it – with these simple steps, you’ll be well on your way to creating beautiful, long-lasting wood projects that will bring joy and warmth to your home for years to come.
Unlocking Durable Wood Finish
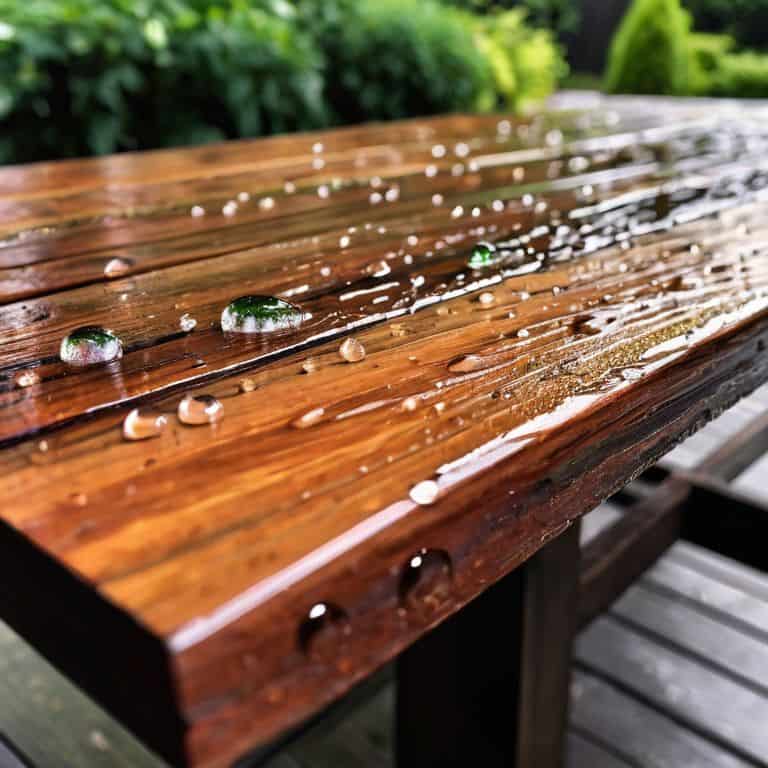
As I delve into the world of wood finishing, I’ve come to realize that unlocking a durable wood finish is not just about following a set of instructions, but also about understanding the nuances of the wood itself. For instance, when it comes to waterproofing wood for outdoor use, it’s essential to choose the right type of finish that can withstand the elements. I’ve found that applying a best varnish for furniture making can make all the difference in protecting the wood from harsh weather conditions.
When working with wood floors, I’ve learned that applying polyurethane to wood floors requires a great deal of patience and attention to detail. It’s crucial to apply thin, even coats, allowing each layer to dry completely before adding the next. This process can be tedious, but the end result is well worth the effort. By taking the time to properly finish your wood floors, you can enjoy a beautiful, durable surface that will last for years to come.
In my experience, one of the most common mistakes in wood finishing is not preparing the surface properly. This can lead to uneven staining or a finish that doesn’t adhere well to the wood. To avoid this, I always make sure to tips for staining wood evenly, using a high-quality stain and applying it in thin, even coats. By following these simple tips and using the right materials, you can achieve a stunning, professional-looking finish that will elevate your entire project.
Avoiding Mistakes in Polyurethane Application
When working with polyurethane, it’s easy to get caught up in the excitement of transforming your wood project. However, I’ve learned from my own experiences that a few simple mistakes can make all the difference. Applying too much polyurethane at once can lead to a sticky, uneven finish that’s more prone to scratches and damage. On the other hand, applying too little might not provide enough protection. I like to think of it as finding the perfect balance – just like when I’m foraging for the right mix of wild herbs to add to my grandmother’s famous quilt-making tea.
To avoid these common pitfalls, I always make sure to read the instructions carefully and do a small test patch on a discreet area of the wood. This simple step can save you from a world of frustration and ensure a durable, beautiful finish that will last for years to come.
Breathing Life With Waterproofing
Now that we’ve unlocked the secrets to a durable wood finish, let’s talk about the magic of waterproofing. This is where things get really exciting, as it’s all about adding an extra layer of protection to our beautifully finished wood. I like to think of it as giving my wood projects a cozy raincoat – it keeps them safe and sound, no matter the weather. By applying a waterproofing agent, we’re not only ensuring our wood lasts longer, but we’re also preserving its natural beauty.
I’ve got a few favorite tricks up my sleeve for waterproofing, from using natural wax to applying a synthetic sealant. The key is to find the right balance between protection and aesthetics, so our wood still looks and feels amazing. With the right waterproofing technique, we can enjoy our wood creations for years to come, whether they’re indoors or outdoors.
Finishing Touches: 5 Essential Tips for a Durable Wood Finish
- Prepare Your Surface: Before applying any finish, make sure your wood is sanded to perfection and free of dust and debris – a clean start is the key to a beautiful, long-lasting finish
- Choose the Right Finish: Don’t be overwhelmed by the options – consider the type of wood, the desired color, and the level of protection you need, and select a finish that fits your unique project
- Apply Thin Coats: It’s tempting to slather on a thick layer, but trust me, thin coats are the way to go – they dry faster, reducing the risk of dust and bubbles, and result in a smoother finish
- Work in a Well-Ventilated Area: Safety first! Make sure you’re working in a well-ventilated area, and consider using a mask to avoid inhaling fumes – your health and safety are just as important as the finish itself
- Be Patient and Let it Cure: The hardest part of the process might be waiting, but don’t rush it – let each coat cure completely before applying the next, and you’ll be rewarded with a durable, gorgeous finish that will last for years to come
Key Takeaways for a Durable Wood Finish
Always prepare your wood surface before applying any finish, as a smooth and clean base is crucial for a lasting result
Remember to choose the right type of wood finish for your project, considering factors like durability, waterproofing, and the type of wood you’re working with
Don’t be afraid to experiment and combine different finishes and techniques to achieve a unique, timeless look that reflects your personal style and creativity
The Art of Durability
As we coax life into the wood, remember that a durable finish is not just a protective barrier, but a testament to our ability to harmonize nature’s beauty with human ingenuity.
Stanley Truman
Bringing it All Together: A Durable Wood Finish Journey
As we conclude this journey of applying a durable wood finish, it’s essential to remember the key steps that will make your project a success. From preparing the wood surface to applying the perfect coat of polyurethane, each step is crucial in achieving a timeless charm. We’ve also explored the importance of breathing life with waterproofing and avoiding common mistakes in polyurethane application. By following these guidelines and unlocking the secrets of durable wood finish, you’ll be well on your way to creating beautiful, long-lasting pieces that reflect your unique style and creativity.
As you embark on your next DIY adventure, remember that the true magic lies not just in the end result, but in the process of creation itself. Don’t be afraid to experiment, try new things, and push the boundaries of what’s possible. With a durable wood finish, you’re not just protecting your wood, you’re also telling a story of craftsmanship and dedication. So go ahead, get creative, and watch your projects come to life with a finish that’s not just durable, but truly unforgettable.
Frequently Asked Questions
What are the most common mistakes to avoid when applying a durable wood finish to ensure it lasts for years to come?
When applying a durable wood finish, I’ve found that common mistakes to avoid include uneven application, insufficient drying time, and not preparing the wood surface properly. These missteps can lead to a finish that’s prone to chipping or peeling, defeating the purpose of all our hard work!
How do I choose the right type of wood finish for my specific project, considering factors like durability, color, and environmental impact?
Choosing the right wood finish is like foraging for the perfect wild mushroom – it’s all about considering the unique characteristics of your project. Think about durability, color, and eco-friendliness. Ask yourself: will it be indoors or outdoors? What’s the desired look? And what’s the environmental footprint? Let’s get curious and find the perfect fit together!
Can I apply a durable wood finish to previously finished wood, or do I need to strip the old finish first to get the best results?
The age-old question of reviving previously finished wood. Generally, it’s best to strip the old finish for optimal results, but if it’s still in decent shape, you can try applying a new coat over it. Just make sure to roughen up the surface with some sandpaper first to help the new finish adhere.


