I still remember the first time I tried to install a dimmer switch in my tiny apartment – it was a game-changer for ambiance and energy efficiency. But what struck me was how daunting the process seemed at first, only to reveal itself as a surprisingly straightforward DIY project. The common myth that you need to be an electrician to tackle this task is simply not true. With a few basic tools and some patience, anyone can learn how to install a dimmer switch and start enjoying the benefits of adjustable lighting.
As we dive into this step-by-step guide, I promise to share practical advice and honest tips gained from my own experiences. You’ll learn how to prepare your space, choose the right dimmer switch for your needs, and safely complete the installation. My goal is to empower you with the knowledge and confidence to take on this project and start exploring the world of DIY home improvements. By the end of this article, you’ll be well on your way to becoming a dimmer switch installation pro, capable of breathing new life into any room with the perfect lighting.
Table of Contents
- Guide Overview: What You'll Need
- Step-by-Step Instructions
- Illuminating Diy Delights
- Shine On: 5 Essential Tips for a Smooth Dimmer Switch Installation
- Shining Bright: 3 Key Takeaways for a Successful Dimmer Switch Installation
- Illuminating Wisdom
- Shining Bright: A Job Well Done
- Frequently Asked Questions
Guide Overview: What You'll Need
Total Time: 1 hour 30 minutes
Estimated Cost: $20 – $40
Difficulty Level: Intermediate
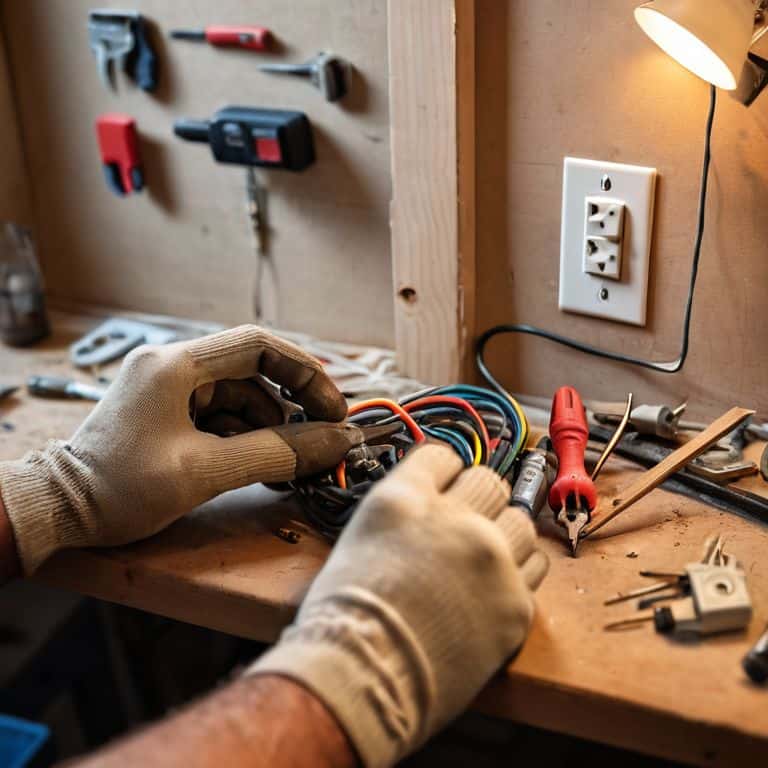
Tools Required
- Needle-Nose Pliers (for wire manipulation)
- Screwdriver (flathead and Phillips)
- Voltage Tester (for safety)
- Wire Strippers (for 6 inches of wire insulation removal)
Supplies & Materials
- Dimmer Switch (compatible with existing electrical setup)
- Electrical Tape (for wire insulation)
- Wall Plate (to match existing decor)
- 15-amp Wire Nuts (for secure connections)
Step-by-Step Instructions
- 1. First, let’s get familiar with the basics of a dimmer switch installation, which involves understanding the wiring and the components involved, so take a few minutes to read through the manufacturer’s instructions and familiarize yourself with the parts and tools required for the job, and don’t hesitate to reach out if you have any questions or concerns.
- 2. Next, prepare your workspace by turning off the power to the light switch at the main electrical panel, and then use a voltage tester to ensure there’s no electricity flowing to the switch, this is a crucial step for your safety, and I always like to double-check, even if I’m 99% sure the power is off.
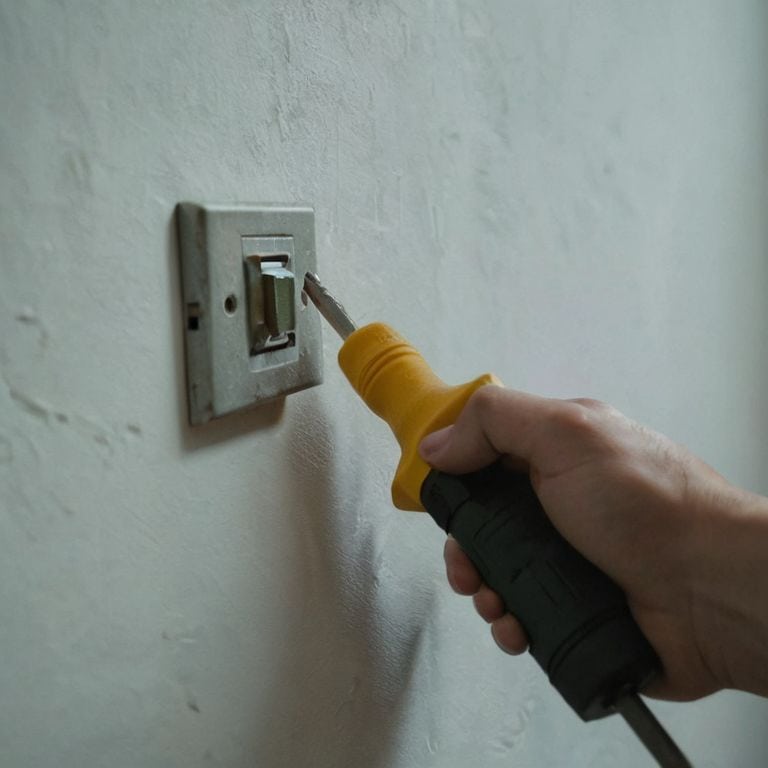
- 3. Now, let’s remove the old switch, which typically involves taking out the screws that hold it in place, and then gently pulling it away from the wall, be careful not to touch any of the wires together, as this can cause a short circuit, and remember to take note of the wire colors and connections, so you can replicate them with the new dimmer switch.
- 4. The fourth step is to connect the wires to the new dimmer switch, which usually involves attaching the black (hot) wire to the brass terminal, the copper (ground) wire to the green terminal, and the white (neutral) wire to the silver terminal, make sure to secure them tightly, but avoid overtightening, as this can damage the wires or the switch.
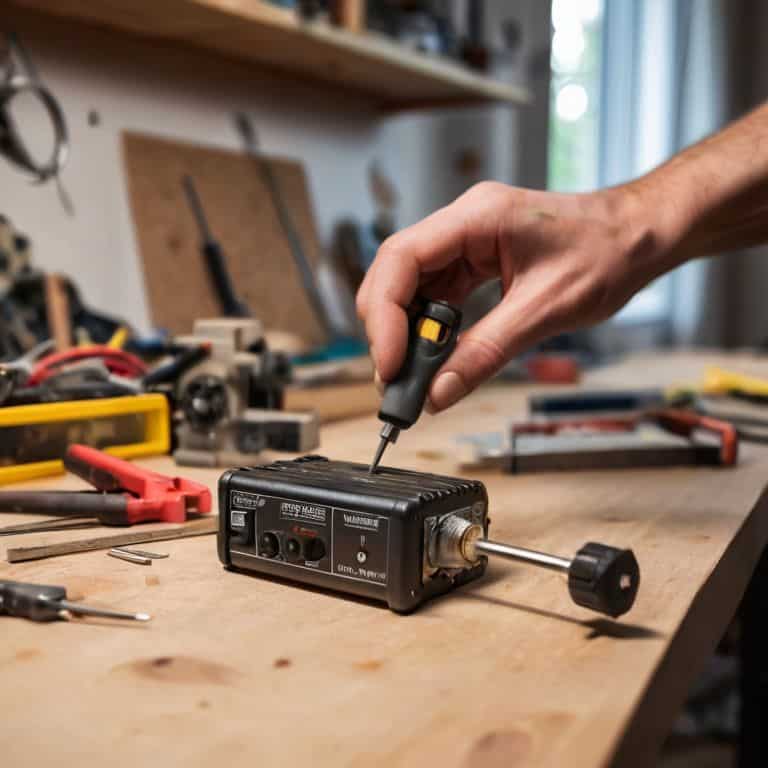
- 5. With the wires connected, it’s time to mount the new dimmer switch, which typically involves screwing it into place, making sure it’s level and secure, and then tightening the screws firmly, but again, be careful not to overtighten, as this can damage the switch or the wall.
- 6. Next, turn the power back on at the main electrical panel, and then use your voltage tester to ensure the dimmer switch is working correctly, and that there are no signs of electrical shock or other hazards, this is an important step, as it helps you identify any potential issues before they become major problems.
- 7. Finally, test the dimmer switch by flipping it on and off, and adjusting the brightness to your desired level, and if everything is working as expected, congratulations, you’ve successfully installed your new dimmer switch, and you can now enjoy the benefits of energy-efficient lighting and customizable ambiance in your home.
Illuminating Diy Delights
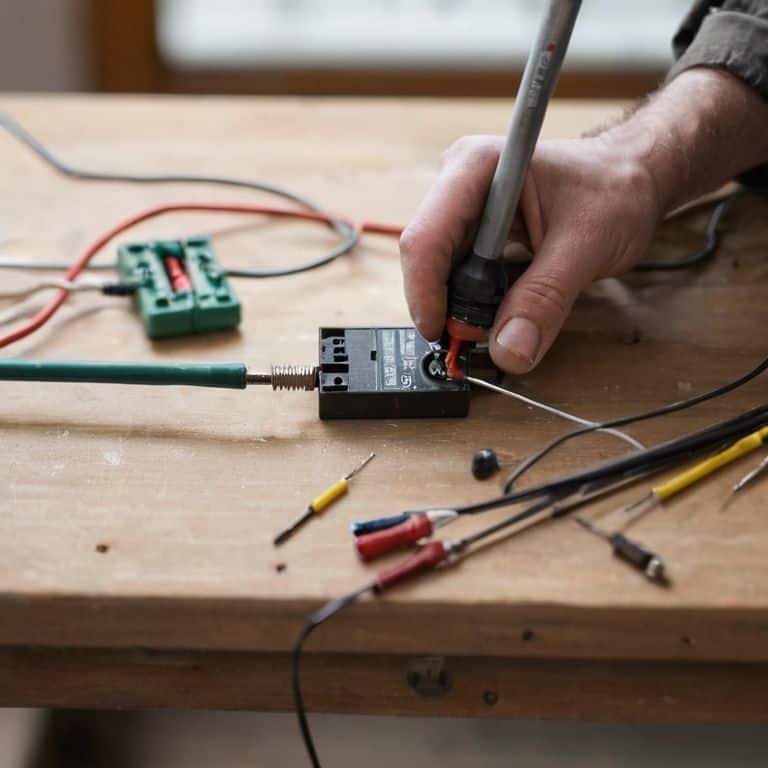
As I always say, the devil is in the details, and when it comes to dimmer switch wiring diagram, it’s essential to get it right. When working with multiple lights, consider the types of dimmer switches for homes that can handle the load. I’ve found that installing a dimmer switch with multiple lights can be a bit tricky, but with the right tools and a clear understanding of the wiring, it’s a breeze.
One of the most common mistakes people make is not following dimmer switch safety precautions. It’s crucial to turn off the power to the circuit before starting the installation process. I also recommend replacing a standard switch with a dimmer to give your space a more modern and energy-efficient feel. By doing so, you’ll not only reduce energy consumption but also add a touch of elegance to your home.
In case you encounter any issues during the installation, don’t worry, it’s easy to troubleshoot. Dimmer switch troubleshooting tips are readily available, and with a little patience, you’ll be able to identify and fix the problem in no time. Remember, the key to a successful installation is to take your time and pay attention to the details. With a little practice and patience, you’ll be a pro at installing dimmer switches in no time, and you’ll be enjoying the benefits of a more sustainable and energy-efficient home.
Deciphering Dimmer Switch Wiring Diagrams
As we dive deeper into the world of DIY lighting, deciphering dimmer switch wiring diagrams can seem like a daunting task, but trust me, it’s a breeze once you get the hang of it. I like to think of it as a treasure map, leading you to a treasure trove of illumination possibilities. By understanding the symbols and markings on the diagram, you’ll be able to navigate the installation process with ease, making informed decisions about your lighting setup.
Think of wiring diagrams as a recipe for your dimmer switch installation. They provide a clear roadmap, outlining the necessary connections and components. With a little practice, you’ll be able to read these diagrams like a pro, making adjustments and customizations to suit your unique space and style.
Mastering Types of Dimmer Switches
As we dive deeper into the world of dimmer switches, it’s essential to understand the various types that can elevate your space. From traditional rotary dimmers to sleek touch-screen models, each has its unique charm and functionality. I’ve had my fair share of experimenting with different types, and I must say, it’s amazing how a simple switch can transform the ambiance of a room. For instance, I once repurposed an old rotary dimmer to create a quirky lamp for my urban foraging-themed workshop – it added a touch of whimsy to the entire space!
When choosing a dimmer switch, consider the style and era of your space. For a vintage vibe, a traditional toggle dimmer might be the perfect fit, while a modern smart home might call for a wireless dimmer. By mastering the types of dimmer switches, you’ll be able to breathe new life into your lighting and create a space that’s truly one-of-a-kind.
Shine On: 5 Essential Tips for a Smooth Dimmer Switch Installation
- Before you begin, ensure you’ve turned off the power to the circuit at the main electrical panel to avoid any shocking surprises
- Choose the right dimmer switch for your needs, considering factors like single-pole vs. three-way, and whether you need a smart or standard switch
- Take your time deciphering the wiring diagram, and don’t hesitate to consult online resources or a professional if you’re unsure about any connections
- Use a voltage tester to double-check that the power is off, and consider having a helper assist you with the installation for added safety and support
- Once you’ve completed the installation, test your dimmer switch with a variety of lighting setups to ensure it’s functioning smoothly and adjust as needed for the perfect glow
Shining Bright: 3 Key Takeaways for a Successful Dimmer Switch Installation
I’ve learned that with a few simple tools and a dash of creativity, you can breathe new life into your space by installing a dimmer switch that not only saves energy but also adds a touch of warmth and ambiance
Deciphering dimmer switch wiring diagrams and mastering the various types of dimmer switches are crucial steps in ensuring a safe and successful installation – it’s all about understanding the language of your electrical system
By embracing the DIY spirit and applying a little inventive problem-solving, you can turn a mundane lighting setup into an illuminating delight that reflects your personal style and contributes to a more sustainable living space
Illuminating Wisdom
As we embark on the journey of installing a dimmer switch, remember that it’s not just about adjusting the light, it’s about illuminating the potential for creativity and self-sufficiency in every corner of our lives.
Stanley Truman
Shining Bright: A Job Well Done
As we wrap up this journey of installing a dimmer switch, let’s take a moment to reflect on the key points we’ve covered. From understanding the basics of dimmer switch wiring diagrams to mastering the various types of dimmer switches available, we’ve empowered ourselves with the knowledge to tackle this project with confidence. By following the step-by-step guide and exploring the illuminating DIY delights, you’ve not only learned a new skill but also opened the door to a world of creative possibilities in your home.
Now, as you stand back to admire your handiwork, remember that sustainable living is not just about completing a project, but about embracing a mindset that values creativity, self-sufficiency, and the joy of making something out of nothing. So, go ahead, experiment with new DIY projects, and watch your space transform into a vibrant reflection of your personality and values. Congratulations, you’ve just taken the first step towards a brighter, more resourceful you!
Frequently Asked Questions
What are the most common mistakes to avoid when installing a dimmer switch?
When installing a dimmer switch, beware of common pitfalls like incorrect wire connections, insufficient load capacity, and ignoring manufacturer specs. Double-check those wiring diagrams and ensure your switch can handle the lighting load – a little extra caution can save you from a world of flickering frustration!
Can I install a dimmer switch in a location with multiple light fixtures?
Absolutely, you can install a dimmer switch with multiple light fixtures. Just ensure you’re using a switch rated for the total wattage of all the lights, and consider a smart dimmer or a switch with a high wattage capacity for seamless control over your entire lighting setup.
Do I need to hire an electrician to install a dimmer switch or can I do it myself?
Don’t worry, installing a dimmer switch is a DIY-friendly task. With basic electrical knowledge and caution, you can breathe new life into your lighting. I’ll guide you through it – no electrician needed. Just remember to turn off the power at the circuit breaker and we’ll get started on this illuminating adventure together!


