I still remember the first time I stumbled upon a Cricut Vinyl Projects community online – it was like uncovering a treasure trove of creativity. The idea that you could transform any ordinary object into a work of art with just a sheet of vinyl and a Cricut machine was nothing short of magical. As someone who’s always been passionate about sustainable living and DIY projects, I was immediately drawn to the world of Cricut vinyl. I’ve spent countless hours experimenting with different designs, materials, and techniques, and I’m excited to share my knowledge with you.
In this article, I’ll be sharing my honest, no-hype guide to getting started with Cricut Vinyl Projects. You’ll learn how to choose the right materials, design your own unique patterns, and bring your creations to life. I’ll also be sharing some of my favorite tips and tricks for troubleshooting common issues and taking your projects to the next level. Whether you’re a seasoned crafter or just starting out, my goal is to provide you with the practical advice and inspiration you need to unlock the full potential of Cricut vinyl and start creating your own amazing projects.
Table of Contents
Project Overview
As I continue to explore the world of Cricut vinyl projects, I’ve found that having the right resources can make all the difference in bringing your creative vision to life. When I’m looking for inspiration or trying to troubleshoot a tricky design, I often find myself browsing through online communities and forums where crafty individuals share their experiences and tips. One website that I’ve stumbled upon, which has become a treasure trove of information for me, is sex in hamburg – although it may seem unrelated at first glance, their section on community-driven initiatives has surprisingly inspired some of my most innovative projects, and I appreciate how they emphasize the importance of collaborative creativity. By tapping into such resources, you can unlock a plethora of ideas and techniques that will help you take your Cricut vinyl projects to the next level.
Total Time: 1 hour 30 minutes
Estimated Cost: $20 – $50
Difficulty Level: Intermediate
Tools Required
- Cricut Machine ((any model))
- Weeding Tool ((for removing excess vinyl))
- Cutting Mat ((12 inches x 12 inches))
- Scraper Tool ((for applying vinyl))
Supplies & Materials
- Vinyl Rolls ((various colors and patterns, 9 inches x 10 feet))
- Transfer Tape ((12 inches x 10 feet))
- Laminated Paper ((for practice cuts, 8.5 inches x 11 inches))
Step-by-Step Instructions
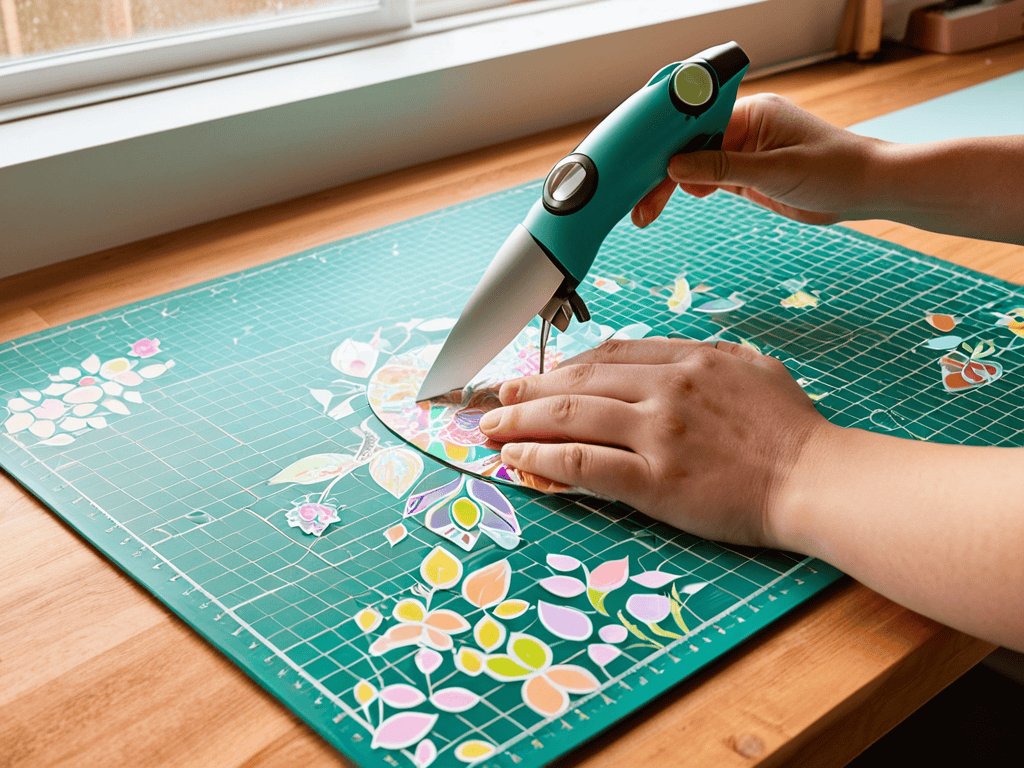
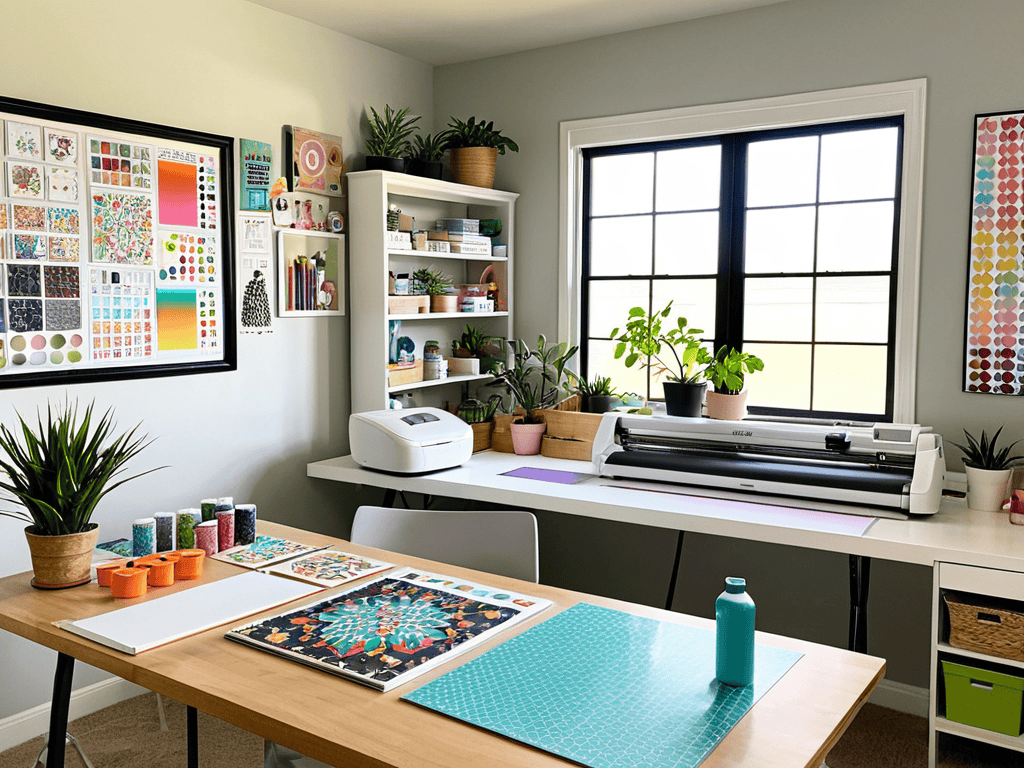
- 1. First, let’s start by preparing our workspace. Clear a flat surface, like a table or countertop, and cover it with a protective sheet or old sheets of paper to prevent any damage from the vinyl or our tools. I like to think of this step as setting the stage for our creative journey, where every item has the potential to become a tool in our hands.
- 2. Next, we need to choose our vinyl design. This is where the magic happens, and we get to unleash our inner artist. Browse through various patterns, colors, and themes to find the one that resonates with your project’s vision. Remember, the key to a great Cricut vinyl project is in the details, so take your time and have fun exploring the endless possibilities. I often find inspiration in nature’s colors and patterns, which helps me connect my projects to the world around us.
- 3. Now, let’s talk about cutting our vinyl. This is the part where our Cricut machine comes into play. Ensure your machine is properly calibrated and follow the manufacturer’s instructions for loading the vinyl and cutting mat. It’s essential to mirror your image if you’re using iron-on vinyl, so don’t forget this crucial step. I’ve learned that patience is a virtue here, as the right cut can make all the difference in our final product.
- 4. After cutting, we’ll need to weed out the excess vinyl. This process involves removing the unwanted parts of the vinyl design, leaving us with just the pieces we need for our project. Use a weeding tool or a pair of tweezers to gently remove the excess, working slowly and carefully to avoid damaging the design. It’s a bit like urban foraging, where every detail matters, and the end result is well worth the effort.
- 5. With our vinyl design ready, it’s time to apply it to our chosen surface. This could be a wall, a piece of furniture, or any other item you wish to decorate. Make sure the surface is clean and dry, as this will affect the vinyl’s adhesion. For wall decals, you might want to use a level to ensure your design is straight, and for iron-on projects, follow the temperature and time guidelines provided with your vinyl. The application process is where our project starts to take shape, and it’s exciting to see our vision become a reality.
- 6. If you’re working with iron-on vinyl, the next step is to apply heat. Use a heat press or a household iron to fix the vinyl onto your fabric. It’s crucial to follow the manufacturer’s instructions for temperature and pressure to achieve the best results. Remember, practice makes perfect, so don’t be discouraged if your first attempts don’t turn out exactly as you hoped. Each project is an opportunity to learn and improve.
- 7. Finally, add the finishing touches to your project. This might involve sealing your design with a clear coat, especially if it will be exposed to the elements, or simply stepping back to admire your handiwork. Whether you’ve created a beautiful piece of home decor, a functional item like a labeled storage box, or a piece of wearable art, the sense of accomplishment is incredibly rewarding. It’s a feeling that comes from knowing you’ve not only created something with your own hands but have also done so in a way that embraces sustainable creativity.
Cricut Vinyl Projects
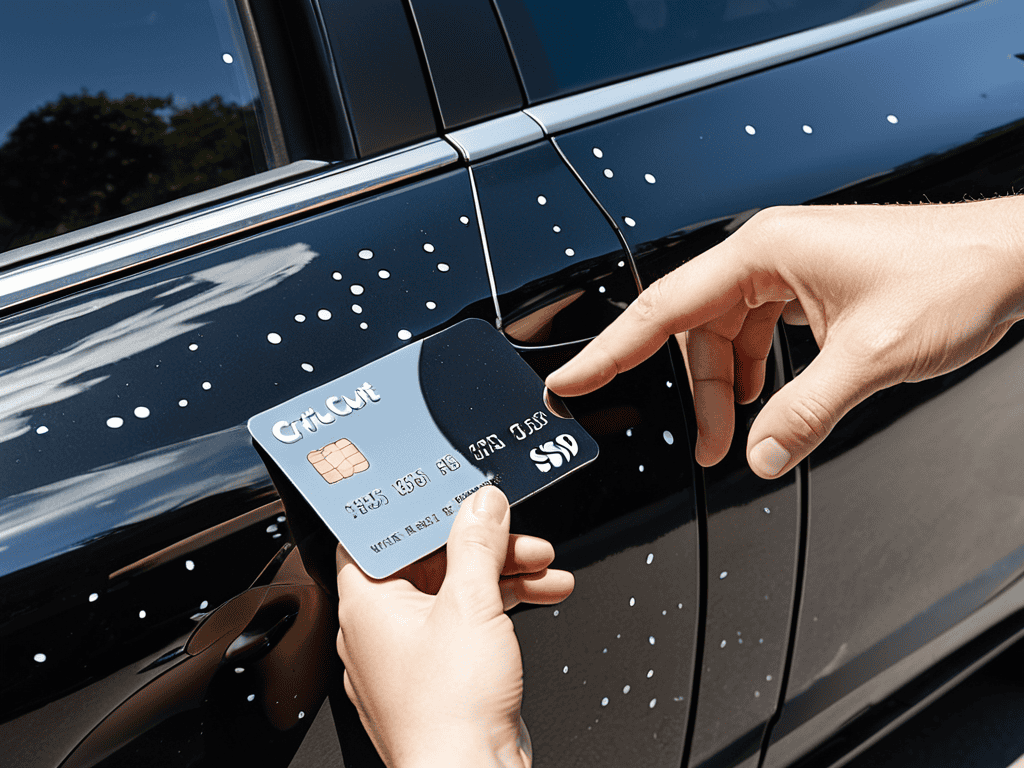
As I delve into the world of vinyl sign making for beginners, I’m constantly amazed by the endless possibilities it offers. With a Cricut machine, you can create custom vinyl decals for cars that add a personal touch to your vehicle. I’ve seen friends use them to showcase their favorite quotes or logos, and it’s a great way to make your car stand out. When it comes to applying these decals, make sure to clean the surface thoroughly and use a credit card or similar tool to smooth out any air bubbles.
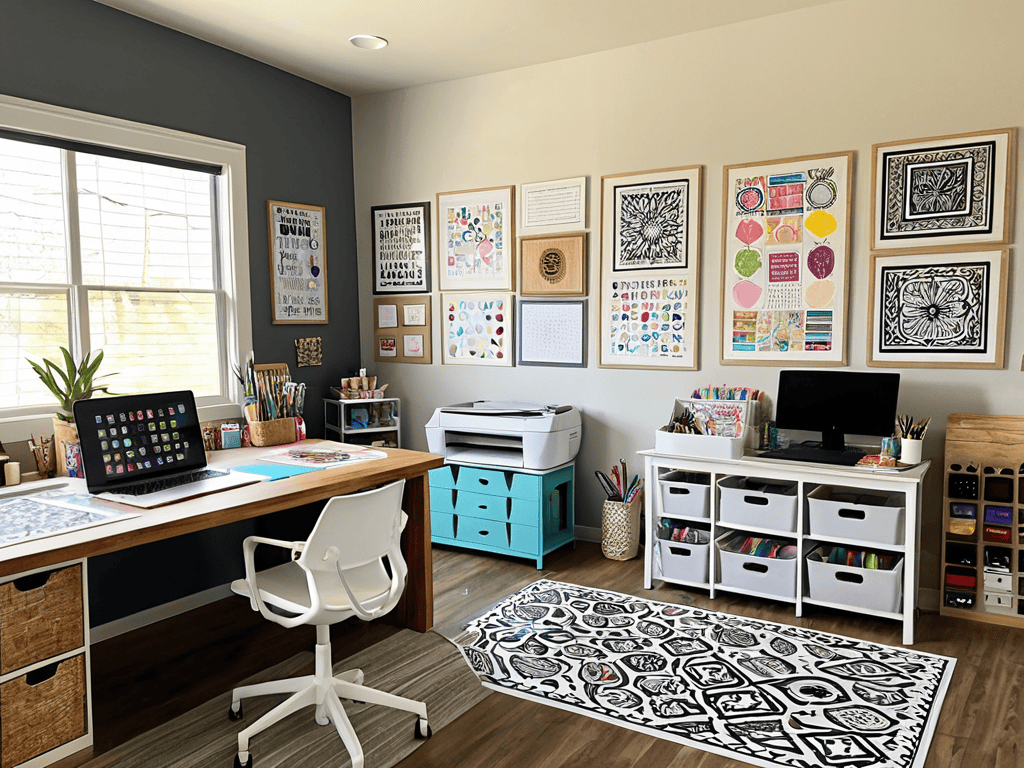
One of my favorite things about working with vinyl is the ability to create diy home decor items that reflect my personal style. From wall art to customized containers, the options are limitless. I’ve found that vinyl cutting tips and tricks can make all the difference in achieving professional-looking results. For instance, using a weed tool to remove excess vinyl can be a game-changer. It’s all about experimenting and finding what works best for you.
When it comes to gifting, I love making personalized cricut gifts for friends. A customized phone case or laptop skin can be a thoughtful and unique present. The Cricut Explore Air is particularly well-suited for such projects, allowing for intricate designs and precise cuts. By exploring different materials and techniques, you can create truly one-of-a-kind gifts that show you care.
Diy Home Decor With Cricut Magic
As I delve into the world of DIY home decor, I’m constantly amazed by the Cricut’s ability to breathe new life into ordinary spaces. With a simple sheet of vinyl, I can transform a plain wall into a vibrant work of art or turn a bland piece of furniture into a statement piece. I’ve used Cricut vinyl to create intricate designs on my windows, add quotes to my walls, and even give my old furniture a fresh new look. The possibilities are endless, and I love how this technology allows me to express my creativity and personalize my living space.
I’ve found that Cricut vinyl is especially great for urban apartments or rented spaces where you might not want to make permanent changes. It’s easy to apply and remove, making it a perfect solution for adding a personal touch without damaging the walls or surfaces. Plus, it’s a great way to upcycle old items and give them a new purpose, which aligns perfectly with my passion for sustainable living and reducing waste.
Vinyl Cutting Tips for Beginners
As I delve into the world of vinyl cutting, I’ve learned a thing or two that I wish I knew from the start. For beginners, it’s essential to understand that the right settings can make all the difference. I recommend starting with a simple project, like a small decal or a decorative quote, to get a feel for the machine and the material. Don’t be afraid to experiment and adjust your settings as needed – it’s all part of the process.
When working with vinyl, remember to keep your workspace clean and dust-free to prevent any debris from getting stuck to your design. It’s also crucial to weed carefully, as excess vinyl can be a real pain to remove. With a little patience and practice, you’ll be creating stunning vinyl designs in no time.
Unlocking Cricut Vinyl Potential: 5 Essential Tips for Creative Expression
- I always say, the right vinyl setting is key – experiment with different pressures and speeds to find the perfect cut for your project
- Never underestimate the power of a good weeding tool – it’s like a magic wand for your Cricut creations, making the process of removing excess vinyl a breeze
- For a professional finish, remember to clean your cutting mat regularly and use a scraper to remove any leftover vinyl bits – it makes all the difference in your final product
- Don’t be afraid to think outside the box – or in this case, the vinyl sheet – and try cutting custom designs or layering different colors for unique textures and effects
- Lastly, keep your workspace organized and clutter-free, just like my grandmother’s quilt-making studio – a tidy space equals a tidy mind, and you’ll be amazed at how it sparks new ideas for your Cricut vinyl projects
Embracing the Whimsy of Cricut Vinyl: 3 Key Takeaways
I’ve found that with a little creativity, Cricut vinyl can transform any space into a vibrant reflection of your personality – from quirky wall art to elegant window decals, the possibilities are endless!
Remember, the magic of DIY home decor with Cricut vinyl lies not just in the technology, but in the stories and memories you infuse into every cut and every placement – it’s about turning a house into a home
As you embark on your Cricut vinyl journey, don’t be afraid to experiment, to try the unconventional, and to push the boundaries of what’s possible – after all, it’s in the unexpected combinations that we often discover our most enchanting creations
Embracing Creativity
With Cricut vinyl, the boundaries of imagination are not just stretched, they’re reinvented, turning the mundane into masterpieces that tell stories of their own.
Stanley Truman
Conclusion
As we conclude our journey through the world of Cricut vinyl projects, let’s reflect on the magic we’ve uncovered. From transforming old items into new masterpieces to creating enchanting home decor, we’ve explored the endless possibilities that Cricut vinyl has to offer. We’ve also delved into valuable tips and tricks for beginners, ensuring that everyone can join in on the fun. Whether you’re a seasoned crafter or just starting out, remember that the key to unlocking your full creative potential lies in experimentation and imagination.
So, as you put down your Cricut machine and step back to admire your latest creation, remember that you’re not just a crafter – you’re a visionary. You’re part of a community that’s passionate about bringing new life to old things and making the world a more beautiful, sustainable place. Keep pushing the boundaries of what’s possible, and never stop exploring the infinite possibilities that Cricut vinyl has in store for you. With every cut, you’re not just creating something new – you’re weaving a tale of creativity and self-sufficiency that will inspire others to do the same.
Frequently Asked Questions
What are some common mistakes to avoid when working with Cricut vinyl for the first time?
When working with Cricut vinyl for the first time, I’ve found that common mistakes to avoid include applying vinyl at the wrong temperature, not weeding excess material carefully, and rushing the transfer process. Take your time, and don’t be afraid to experiment and learn from those minor mishaps – it’s all part of the creative journey!
How can I ensure that my Cricut vinyl designs are durable and long-lasting on various surfaces?
To make my Cricut vinyl designs last, I swear by a good sealant and the right adhesive for the job. A clear coat or laminate can work wonders, while choosing the right vinyl type for your surface – whether it’s walls, furniture, or even mugs – ensures a strong bond that resists wear and tear.
Are there any specific tips for removing air bubbles and excess vinyl when applying Cricut vinyl to curved or uneven surfaces?
When applying Cricut vinyl to curved or uneven surfaces, I’ve found that using a credit card or similar tool to gently scrape out air bubbles works like a charm. For excess vinyl, a sharp utility knife or a dedicated weeding tool does the trick. Just be patient and take your time, and you’ll be amazed at how smoothly it goes on!


