I still remember the day I turned my grandfather’s old wooden crates into a set of quirky storage shelves for my tiny apartment. It was a eureka moment – I had stumbled upon a treasure trove of repurposed wood and a passion for sustainable living. As I began to share my DIY projects with friends and family, I realized that many of them were struggling to find creative solutions for their storage needs. That’s when I decided to share my knowledge on how to build storage shelves that are not only functional but also environmentally friendly.
In this article, I promise to guide you through the process of transforming discarded materials into beautiful and functional storage shelves. You’ll learn how to upcycle old pallets and turn them into unique storage solutions that reflect your personal style. I’ll share my favorite tips and tricks for building storage shelves that are both sturdy and aesthetically pleasing. By the end of this journey, you’ll be equipped with the skills and confidence to create your own eco-friendly storage solutions, and join me in my mission to make sustainable living a joyful expression of our shared creativity.
Table of Contents
Guide Overview: What You'll Need
Total Time: 4 hours 30 minutes
Estimated Cost: $50 – $100
Difficulty Level: Intermediate
Tools Required
- Circular Saw (for cutting lumber)
- Drill (with screwdriver and drill bits)
- Tape Measure (for measuring and marking lumber)
- Level (for ensuring shelves are level)
- Hammer (for tapping screws into place)
- Wrench (for tightening bolts)
- Utility Knife (with extra blades)
Supplies & Materials
- 2-in x 4-in lumber (for shelf frames)
- 3/4-in plywood (for shelf boards)
- Wood Screws (2 1/2 inches long)
- Wood Glue (for reinforcing joints)
- Sandpaper (for smoothing out wood surfaces)
- Paint or Stain (optional, for finishing the shelves)
- Wall Anchors (for securing shelves to walls)
Step-by-Step Instructions
- 1. First, let’s start by gathering our materials, which in this case, are those old wooden crates we’ve been eyeing for a while now. We’ll need some basic tools like a hammer, nails, a drill, and a saw to get started. I love the feeling of giving old, discarded items a new life, and I’m sure you will too once you see the potential in them.
- 2. Next, we need to clean and disassemble the crates, removing any unnecessary parts like old hinges or rusty nails. This is where the fun begins, as we start to envision the possibilities for our storage shelves. Take your time, and be careful not to damage the wood, as we want to preserve as much of the original material as possible.
- 3. Now, let’s measure and cut the wood to the desired length for our shelves. Remember, the key to a successful DIY project is in the details, so double-check your measurements before making any cuts. If you’re new to woodworking, don’t worry; it’s all about practice, and this is a great opportunity to hone your skills.
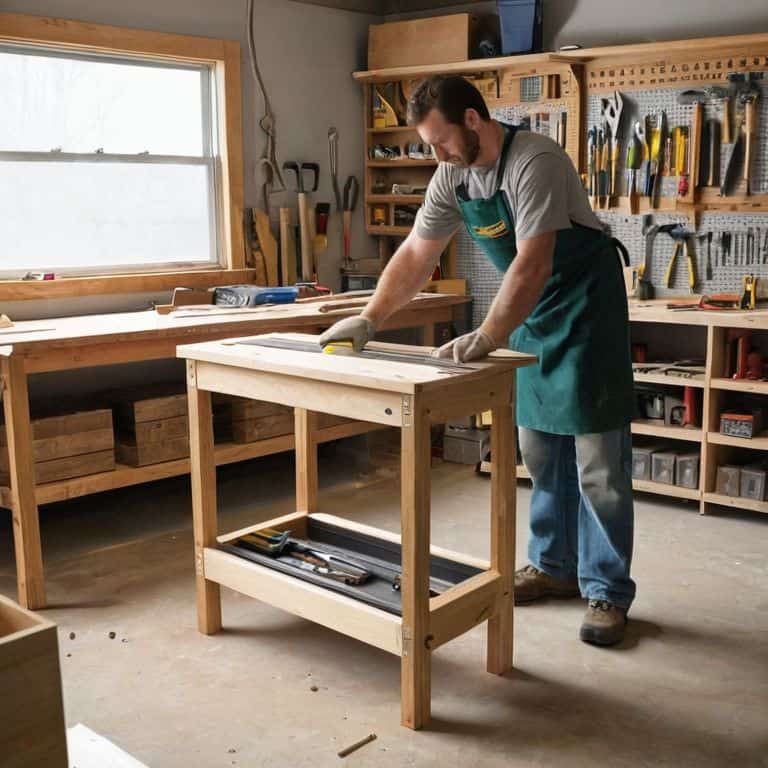
- 4. With our wood cut to size, it’s time to assemble the shelves. Start by creating the frame, using the nails and hammer to secure the pieces together. Make sure it’s sturdy, as we don’t want our shelves collapsing under the weight of our belongings. I find that listening to music or a podcast while working on a project like this really helps the time fly by.
- 5. Once the frame is ready, we can begin attaching the shelf boards. This is where our drill comes in handy, as we’ll be screwing the boards into place. Be mindful of the spacing between the shelves, as we want to ensure there’s enough room for all our items. I like to think of this step as the moment when our project starts to come to life, and we can really see the storage shelves taking shape.
- 6. Now that our shelves are built, it’s time to add some finishing touches. This could be anything from sanding down the wood to applying a coat of paint or varnish. Get creative and make it your own; after all, that’s what DIY is all about. Consider adding some decorative trim or carvings to give your shelves a unique, personal touch.
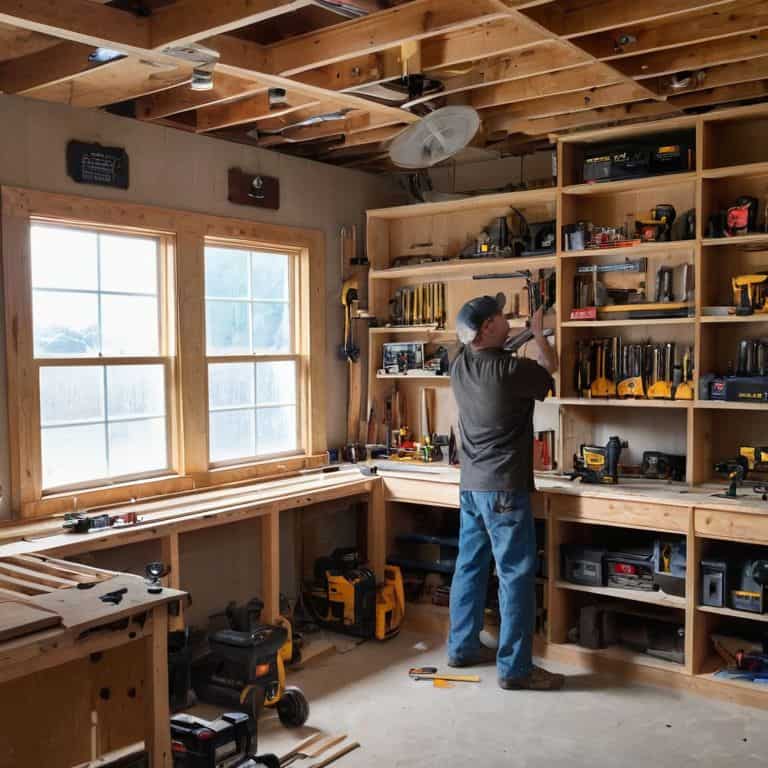
- 7. Finally, let’s install our shelves and start filling them up with all the items we’ve been wanting to organize. Whether it’s books, kitchen utensils, or crafting supplies, our new storage shelves are ready to serve. Take a step back and admire your handiwork – you should be proud of yourself for turning something old into something truly special and functional.
Unlocking Storage Secrets

As we dive deeper into the world of DIY storage, it’s essential to consider the custom shelving units that can be tailored to our specific needs. By thinking outside the box, we can create unique storage solutions that not only save space but also add a touch of personality to our homes. For instance, industrial storage solutions can be repurposed to create a one-of-a-kind shelving system that’s both functional and aesthetically pleasing.
When it comes to building shelves, heavy duty shelf design is crucial to ensure that our creations can withstand the weight of our belongings. This is especially important when working with materials like plywood, which can be prone to warping or sagging under heavy loads. By incorporating adjustable shelf systems, we can create a flexible storage solution that can be easily modified to accommodate our changing needs.
In small spaces, diy shelving for small spaces becomes an art form, requiring creative problem-solving and a keen eye for detail. By opting for building shelves with plywood, we can create a sturdy and versatile shelving system that can be easily customized to fit our unique needs. Whether we’re looking to maximize storage or simply add a decorative touch, the possibilities are endless, and with a little creativity, we can unlock the full potential of our space.
Crafting Custom Shelving Units for Small Spaces
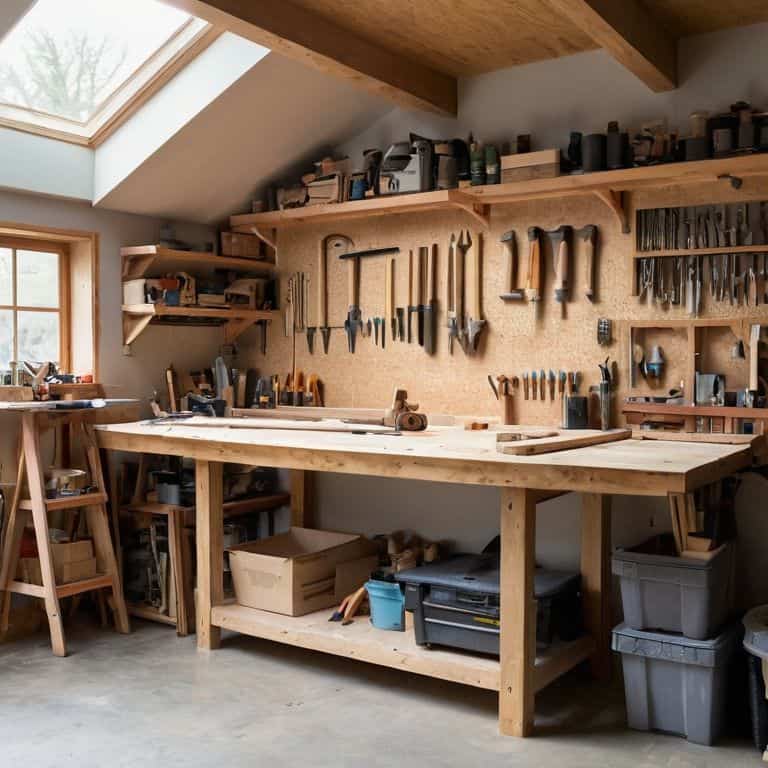
In compact areas, every inch counts, and custom shelving units can be a game-changer. I love experimenting with reclaimed wood and creative configurations to maximize space. For instance, you can use old ladder rungs as shelves or transform a vintage door into a room divider with built-in storage. By thinking outside the box, you can craft one-of-a-kind shelving units that not only solve storage dilemmas but also add a touch of personality to your space.
To get started, assess your small space and identify areas where custom shelving can make a big impact. Consider the items you need to store and the style you want to achieve. With a little ingenuity and some repurposed materials, you can create a functional and beautiful storage solution that makes the most of your compact space.
How to Build Storage Shelves With Plywood
Now that we’ve unlocked some storage secrets, let’s dive into a fantastic material for our shelves: plywood. I just love working with plywood – it’s like a blank canvas waiting for our creativity. For a plywood storage shelf, start by cutting your plywood sheets into the desired shelf sizes. You can use a circular saw or a jigsaw, depending on the curves you want to achieve. Remember, the key to a sturdy shelf is in the thickness of the plywood, so opt for at least 3/4 inch thick sheets for the shelves and 1/2 inch for the back panel.
As you assemble your plywood shelves, don’t forget to add some personal touches – maybe some decorative trim or a fresh coat of paint to match your room’s vibe. Plywood is incredibly versatile, and with a little imagination, you can turn it into a one-of-a-kind storage solution that’s both functional and beautiful.
Shelving Secrets: 5 Tips to Transform Your Space
- Harvest Old Materials: Repurpose wooden crates, pallets, or fencing to create one-of-a-kind storage shelves that tell a story
- Measure Twice, Cut Once: Ensure a perfect fit by carefully measuring your space and cutting your materials with precision, avoiding wasted wood and time
- Get Creative with Configurations: Experiment with different shelf layouts and designs to maximize storage and visual appeal, from zig-zag patterns to hidden compartments
- Add a Touch of Whimsy: Incorporate found objects, like vintage door knobs or reclaimed metal, to add personality and charm to your storage shelves
- Illuminate Your Space: Install LED strips, fairy lights, or other soft lighting under your shelves to create a warm ambiance and highlight your stored treasures
Three Essential Takeaways for Storage Shelf Mastery
Embracing the art of upcycling, you can transform discarded materials like old pallets or wooden crates into functional and unique storage shelves that add a touch of personality to any room
By applying creative problem-solving skills, such as measuring your space accurately and choosing the right materials, you can craft custom shelving units that not only maximize storage but also reflect your personal style
Whether you’re working with plywood or repurposed wood, the key to successful storage shelf construction lies in combining imagination with practical skills, allowing you to turn even the most mundane areas into organized and enchanting spaces
The Art of Shelf Creation
The true magic of building storage shelves lies not in the materials, but in the mindset: seeing the potential for order in chaos, and the beauty in the imperfectly perfect repurposed plank.
Stanley Truman
Embracing the Joy of DIY Storage Solutions
As we conclude our journey to mastering the art of building storage shelves, let’s take a moment to recap the key takeaways. We’ve explored the world of repurposed wood, delved into the step-by-step process of constructing storage shelves, and even touched upon the secrets of unlocking storage potential in small spaces. Whether you chose to work with plywood or craft custom shelving units, the goal remains the same: to transform your space into a haven of organization and efficiency. By embracing the DIY spirit, you’ve not only saved resources but also infused your home with a personal touch that reflects your unique character.
As you stand back to admire your handiwork, remember that the true beauty of DIY projects lies not just in their functionality, but in the story they tell. Every shelf, every beam, and every carefully placed nail is a testament to your creativity and resourcefulness. So, don’t be afraid to experiment, to try new things, and to turn the ordinary into the extraordinary. For in the world of DIY, it’s not just about building storage shelves – it’s about building a life that’s more sustainable, more meaningful, and more beautifully yours.
Frequently Asked Questions
What are some creative ways to repurpose old materials, like wooden crates or pallets, to build unique storage shelves?
Let’s breathe new life into old favorites! I love repurposing wooden crates and pallets into one-of-a-kind storage shelves. Simply disassemble, sand, and reassemble into your desired configuration, adding wheels or decorative trim for a personal touch. You can also combine crates with other materials like metal pipes or reclaimed wood for a truly eclectic look.
How can I ensure that my DIY storage shelves are sturdy and safe, especially if I'm planning to store heavy items on them?
To ensure my DIY storage shelves are sturdy and safe, I always double-check my design, use sturdy materials, and securely anchor them to the wall to prevent tipping, especially when storing heavy items.
Are there any specific design considerations or measurements I should keep in mind when building custom storage shelves for small or irregularly-shaped spaces?
When crafting custom shelves for small or irregular spaces, consider the power of triangles and curves. Think about the ‘golden ratio’ and how it can bring harmony to tight spots. Measure twice, cut once, and don’t be afraid to get creative with angled cuts or rounded edges to make the most of every nook and cranny.


