I still remember the first time I laid my hands on a bag of concrete mix – it was like holding a treasure chest of possibilities. My grandmother, a quilter extraordinaire, had tasked me with creating a sustainable garden bench for our community garden, and I was determined to use a guide to concrete projects to make it happen. As I mixed and molded the concrete, I realized that the process was not just about creating something functional, but also about unleashing the hidden potential of a humble material. Little did I know that this experience would spark a lifelong passion for exploring the creative possibilities of concrete, and I’m excited to share my journey with you through this guide to concrete projects.
As we embark on this journey together, I promise to share practical advice and creative inspiration to help you transform your spaces with concrete creations. In this article, we’ll delve into the world of concrete projects, exploring the basics of mixing and molding, as well as more advanced techniques for creating unique and functional pieces. Whether you’re a seasoned DIY enthusiast or just starting out, I’ll provide you with the honest, no-hype guidance you need to bring your concrete visions to life. So, let’s get started and discover the magic of concrete together!
Table of Contents
Guide Overview: What You'll Need

Total Time: 4 hours 30 minutes
Estimated Cost: $50 – $100
Difficulty Level: Intermediate
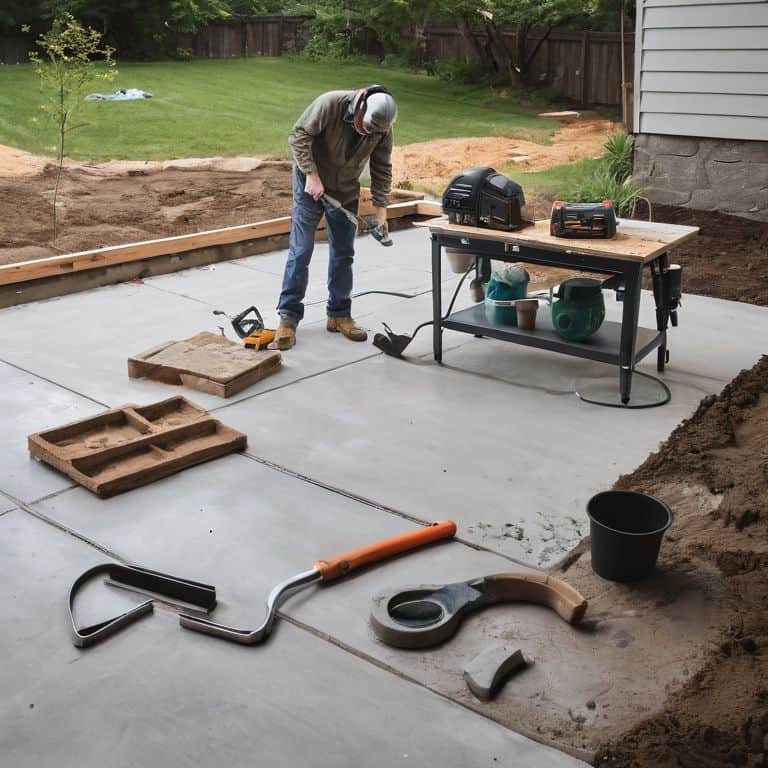
Tools Required
- Cement Mixer (or a large mixing bucket)
- Trowel (for smoothing and finishing)
- Level (to ensure even surfaces)
- Gloves (for protection from cement)
- Safety Goggles (for eye protection)
- Wheelbarrow (or a large container for mixing)
- Measuring Cups (for accurate measurements)
- 2-in x 4-in lumber (for forming and support)
- Saw (for cutting lumber to size)
- Drill (for mixing and aerating cement)
Supplies & Materials
- Concrete Mix (available in various strengths)
- Sand (for improved drainage and stability)
- Gravel (for added strength and durability)
- Water (for mixing with cement)
- Sealant (for protecting the finished project)
- Colorant (optional, for decorative purposes)
- Reinforcement Mesh (for added strength in large projects)
Step-by-Step Instructions
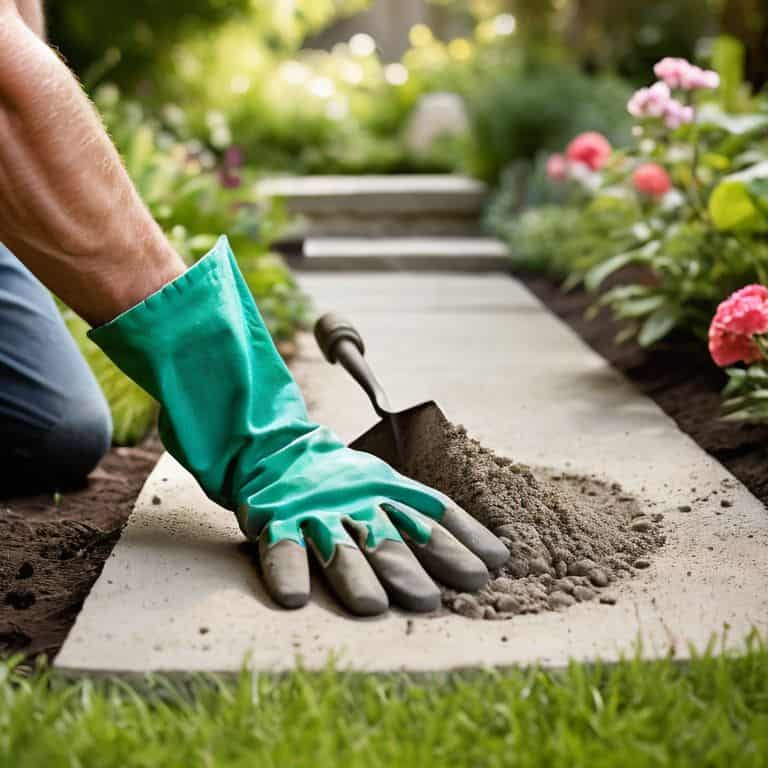
- 1. First, let’s start by preparing the workspace. Clear a flat area, either indoors or outdoors, depending on your project’s size and your personal preference. I like to work in my backyard, surrounded by nature, as it inspires me to think creatively about the potential of the materials I’m working with. Make sure the area is clean, dry, and free from any debris that could interfere with your concrete project.
- 2. Next, gather all the necessary materials, which typically include cement, sand, gravel, water, and any desired additives for color or texture. I’m a big fan of experimenting with natural additives, like leaves or small rocks, to give my projects a unique, earthy feel. Remember to wear protective gear, including gloves, safety glasses, and a mask, to ensure your safety while handling these materials.
- 3. Now, let’s move on to mixing the concrete. In a large bucket or mixer, combine the cement, sand, and gravel in the appropriate ratios, usually about 1 part cement to 2 parts sand to 4 parts gravel, but this can vary depending on the specific project and desired strength of the concrete. Add water gradually, mixing continuously, until you achieve a workable consistency that’s not too dry or too wet. It’s a bit like baking a cake; you need to find the right balance of ingredients.
- 4. With your concrete mix ready, it’s time to create the form or mold for your project. This could be a simple frame for a slab, a complex shape for a decorative piece, or even an old container like a boots or a bucket for a more whimsical approach. Ensure the form is clean, dry, and well-lubricated to prevent the concrete from sticking to it. I often use coconut oil or a non-stick spray for this purpose.
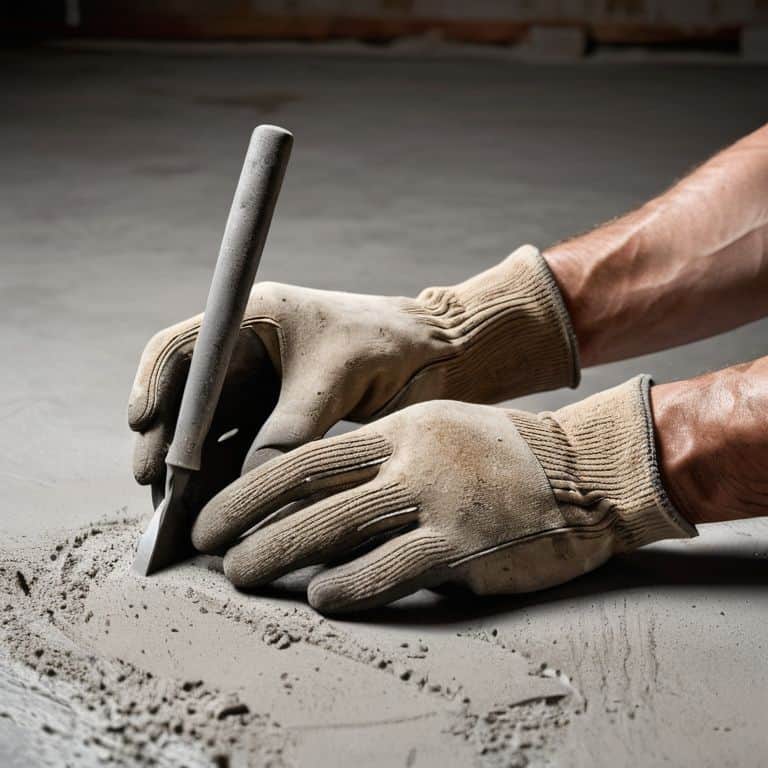
- 5. Pour the concrete mixture into the prepared form, filling it to the top. Use a level to ensure the surface is even and a trowel or similar tool to remove any air pockets that may form. For a decorative touch, you can add patterns or textures to the surface before it sets. I enjoy using leaves or branches to create natural impressions, giving each piece a unique character.
- 6. Allow the concrete to set according to the mixture’s instructions, which can range from a few hours to a couple of days, depending on the type of cement and environmental conditions. Keep the concrete moist during this time to promote proper curing. It’s a bit like nurturing a plant; you need to provide the right conditions for it to grow strong and healthy.
- 7. Once the concrete has fully set, carefully remove it from the mold. If necessary, use a gentle prying motion or run a knife around the edges to release it. Your concrete project is now taking shape, but it might need some finishing touches, such as sealing or painting, to protect it from the elements and enhance its appearance. I’m a fan of natural sealants like beeswax or linseed oil for a more eco-friendly approach.
- 8. Finally, place your finished concrete project in its intended location, whether that’s a garden bench, a decorative wall hanging, or a functional table. Stand back and admire your handiwork, knowing that you’ve not only created something useful or beautiful but have also embraced sustainable living by potentially repurposing materials and reducing waste. This sense of accomplishment is what makes DIY projects so rewarding.
A Guide to Concrete Projects
As I delve into the world of concrete creations, I’m reminded of the importance of concrete finishing techniques. The way you finish your project can make all the difference in its overall appearance and durability. From smooth, polished surfaces to textured, patterned designs, the possibilities are endless. I’ve found that experimenting with different finishing techniques can add a unique touch to each project, making it truly one-of-a-kind.
When working with concrete, it’s essential to consider the environmental factors that can impact your project’s success. Curing concrete in cold weather, for instance, requires special attention to ensure proper setting and strength development. By taking the necessary precautions and using the right materials, you can achieve professional-looking results even in less-than-ideal conditions. I’ve learned to be patient and flexible when working with concrete, as it can be unforgiving at times.
For those just starting out, I recommend exploring decorative concrete ideas for beginners. This can include simple projects like making small planters or coasters, which can help build confidence and skills. As you become more comfortable working with concrete, you can move on to more complex projects, like small scale concrete mold making. Remember to always follow proper concrete project safety precautions to ensure a fun and safe experience.
Safety First Curing in Cold Weather
When working with concrete in cold weather, it’s essential to prioritize proper curing techniques to ensure a strong and durable finish. I’ve learned from experience that a little extra care can make all the difference. To cure concrete effectively in chilly temperatures, I recommend using insulated blankets or heated enclosures to maintain a consistent temperature. This will help prevent cracking and promote a smooth, even finish. Additionally, applying a concrete sealer can provide extra protection against the elements.
By taking these precautions, you’ll be able to enjoy your concrete creations for years to come, even in the harshest of winters. I’ve seen it firsthand in my own community, where neighbors have transformed their outdoor spaces into vibrant oases, even in the dead of winter. With a little creativity and the right techniques, you can do the same, and I’m excited to see what you’ll create!
Unleashing Concrete Finishing Techniques
Now that we’ve covered the basics, let’s dive into the fun part – unleashing concrete finishing techniques. I love experimenting with different tools to achieve unique textures and patterns. From using a leaf blower to create a swirl effect, to incorporating natural materials like leaves or twigs into the design, the possibilities are endless. By embracing a little creativity, you can turn a plain concrete slab into a stunning work of art that reflects your personality.
As I always say, the key to mastering concrete finishing techniques is to think outside the box – or in this case, the mold. Don’t be afraid to try new things and make mistakes – they can often lead to unexpected and exciting results. With a little practice and patience, you’ll be well on your way to creating beautiful, one-of-a-kind concrete pieces that add a touch of magic to any space.
Concrete Wisdom: 5 Essential Tips for a Successful Project
- Start with a solid foundation: Ensure your subgrade is compact and level to prevent cracking and uneven settling
- Mix it up: Experiment with different concrete mixes and additives to achieve unique textures and colors
- Tool up: Invest in a good set of concrete finishing tools, including trowels, edgers, and floats, to achieve a professional finish
- Timing is everything: Pay attention to temperature and humidity when pouring and curing concrete, as extreme conditions can affect the final result
- Get creative: Don’t be afraid to add embellishments, such as aggregates, stains, or stamping, to give your concrete project a personal touch
Key Takeaways for a Successful Concrete Project
Embracing the versatility of concrete allows you to transform any space into a unique reflection of your creativity, from decorative planters to functional outdoor furniture
Mastering concrete finishing techniques, such as stamping, staining, and polishing, can elevate your DIY projects from ordinary to extraordinary, adding a touch of professional flair to your handmade creations
By prioritizing safety, particularly in challenging weather conditions, and adopting sustainable practices like recycling and repurposing materials, you can ensure your concrete projects not only beautify your surroundings but also contribute to a more environmentally conscious lifestyle
Embracing the Art of Transformation
As we embark on the journey of concrete creations, remember that every slab, every brick, and every grain of sand holds a story waiting to be told – and it’s up to us to uncover their hidden potential, to breathe life into the lifeless, and to craft beauty from the mundane.
Stanley Truman
Embracing the Art of Concrete Creation
As we conclude this journey through the world of concrete projects, let’s recap the essential steps we’ve covered, from preparing the perfect mix to applying the final touches with various finishing techniques. We’ve also delved into the importance of safety precautions, especially when working in challenging conditions like cold weather. By mastering these skills and considering the environmental impact of our creations, we can unlock a world of possibilities for transforming spaces and expressing our creativity. Whether you’re a seasoned DIY enthusiast or just starting out, the key to success lies in experimentation, patience, and a willingness to learn from your mistakes.
As you embark on your own concrete projects, remember that the true beauty of this medium lies in its versatility and the endless possibilities it offers. Don’t be afraid to push boundaries, try new things, and infuse your creations with personal touches that reflect your unique style and vision. By embracing the art of concrete creation, you’re not only crafting beautiful and functional pieces, but also contributing to a more sustainable and creative community. So, let’s get crafting, and turn the ordinary into the extraordinary, one concrete project at a time!
Frequently Asked Questions
What are some creative ways to add color and texture to a concrete project?
Let’s add some vibrancy to that concrete project. I love using natural materials like leaves, twigs, and even coffee grounds to create unique textures and colors. You can also experiment with pigments, aggregates, or etching to give your project some extra personality. The possibilities are endless, and I’m excited to see what you create!
How can I ensure that my concrete project is durable and long-lasting in extreme weather conditions?
To ensure durability, I always say, ‘cure with care’! Seal your concrete project with a waterproof coating and maintain it regularly. In extreme weather, a little extra TLC goes a long way – think regular cleaning and inspections to catch any cracks before they spread.
What are some common mistakes to avoid when working with concrete, and how can I troubleshoot them?
When working with concrete, I’ve found that common mistakes include improper mixing, inadequate curing, and insufficient reinforcement. To troubleshoot, check your mix ratios, ensure proper temperature and moisture control, and don’t be afraid to add extra support – a little creativity can go a long way in saving your project!


