I still remember the first time I set up my own workshop, eager to start creating and fixing things around the house. But as I began to gather my tools, I realized that choosing the right workbench vise was not as straightforward as I thought. In fact, I’ve found that many people struggle with this decision, often falling for the myth that the most expensive vise is always the best. However, as someone who’s passionate about sustainable living and making the most of what you have, I’ve learned that a good vise is not just about the price tag, but about finding the right fit for your specific needs. That’s why I’ve put together a guide to choosing a workbench vise that will help you make an informed decision.
As you read through this article, I promise to share my honest, no-hype advice on how to select the perfect workbench vise for your DIY projects. I’ll walk you through the key factors to consider, from the type of projects you’ll be working on to the amount of space you have available. By the end of this guide, you’ll be equipped with the knowledge to make a confident decision and start creating something amazing with your own two hands. Whether you’re a seasoned DIY enthusiast or just starting out, my goal is to empower you with the practical knowledge you need to choose a workbench vise that will become your trusted companion in the workshop.
Table of Contents
Guide Overview: What You'll Need

Total Time: 1 hour 15 minutes
Estimated Cost: $50 – $200
Difficulty Level: Intermediate
Tools Required
- Tape Measure (for measuring workbench and vise)
- Level (for ensuring workbench is level)
- Wrench (for tightening vise bolts)
- Drill (optional, for drilling mounting holes)
Supplies & Materials
- Workbench Vise (various types, e.g., bench vise, swivel vise, etc.)
- Mounting Hardware (e.g., bolts, screws, etc.)
- 2-in x 4-in Lumber (optional, for building custom mounting system)
- Wood Glue (optional, for securing vise to workbench)
Step-by-Step Instructions
- 1. First, let’s get started by assessing your workshop needs, considering the types of projects you’ll be working on and the space available for your workbench vise. Take a moment to think about the size and weight of the items you’ll be working with, as well as the frequency of use, to determine the right vise for your needs.
- 2. Next, research different types of vises, including bench vises, table vises, and even DIY vises made from reclaimed materials. Look into the various features, such as jaw width, throat depth, and swiveling capabilities, to understand what will work best for your specific requirements. I like to think of this step as gathering inspiration for your ideal workbench setup.
- 3. Now, measure your workbench to determine the optimal vise size and placement. Consider the height, width, and material of your workbench, as well as any obstructions or limitations that may affect the vise’s performance. Take precise measurements to ensure a secure and stable fit, and don’t hesitate to get creative with custom mounting solutions if needed.
- 4. The fourth step involves evaluating the vise’s construction, looking for durable materials, smooth operation, and a sturdy build that can withstand regular use. Check for any reviews or testimonials from fellow DIY enthusiasts to get a sense of the vise’s performance and reliability. I always say that a good vise is an investment in your DIY journey, so take your time to find the right one.
- 5. Once you’ve narrowed down your options, compare prices and features to find the best value for your money. Consider not only the initial cost but also any potential long-term savings or benefits, such as reduced waste or increased productivity. As someone who loves upcycling and repurposing, I appreciate the value of finding a vise that can adapt to various projects and tasks.
- 6. Before making a final decision, test the vise (if possible) or watch videos of it in action to get a feel for its performance and any potential limitations. Pay attention to the smoothness of the jaw movement and the overall ease of use, as these factors can greatly impact your DIY experience. If you’re unable to test the vise in person, look for detailed reviews or tutorials that can provide valuable insights.
- 7. Finally, install and calibrate your new vise, following the manufacturer’s instructions or seeking guidance from online tutorials or DIY communities. Take your time to ensure a secure and level installation, and don’t hesitate to reach out for help if you encounter any issues. With your new vise in place, you’ll be ready to bring your DIY dreams to life and create something truly amazing.
A Guide to Choosing a Workbench Vise
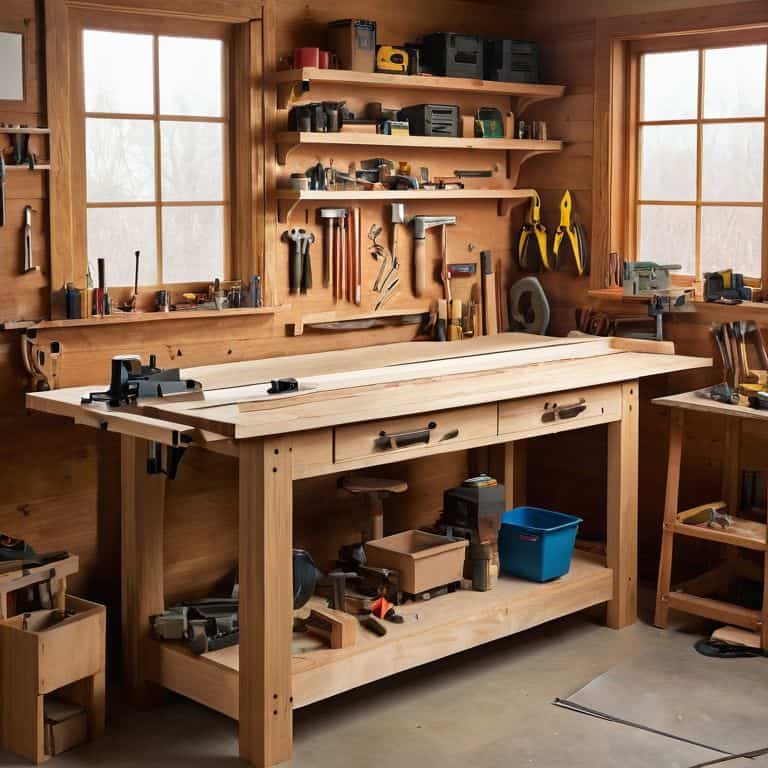
As I delve into the world of workbench vises, I’m reminded of the importance of types of workbench vises that cater to different projects and needs. When selecting a vise, consider the type of materials you’ll be working with and the level of precision required. For instance, a woodworking vise is ideal for holding wooden pieces in place, while a metalworking vise is better suited for heavier, more robust projects.
When exploring workbench vise reviews and ratings, look for feedback from users who have similar needs and projects as yours. This will give you a better understanding of the vise’s performance and any potential drawbacks. It’s also essential to consider the installation process, as some vises may require more effort and expertise to set up. A well-installed vise can make all the difference in your workshop’s efficiency and safety.
In my experience, a heavy duty workbench vise is a worthwhile investment for any serious DIY enthusiast or professional. Not only do they provide a sturdy hold, but they also offer flexibility and durability. When working with a new vise, always follow workbench vise safety precautions to avoid accidents and ensure a smooth workflow. By choosing the right vise and using it responsibly, you’ll be well on your way to creating amazing projects and bringing your DIY dreams to life.
Installing Vise for Heavy Duty Projects
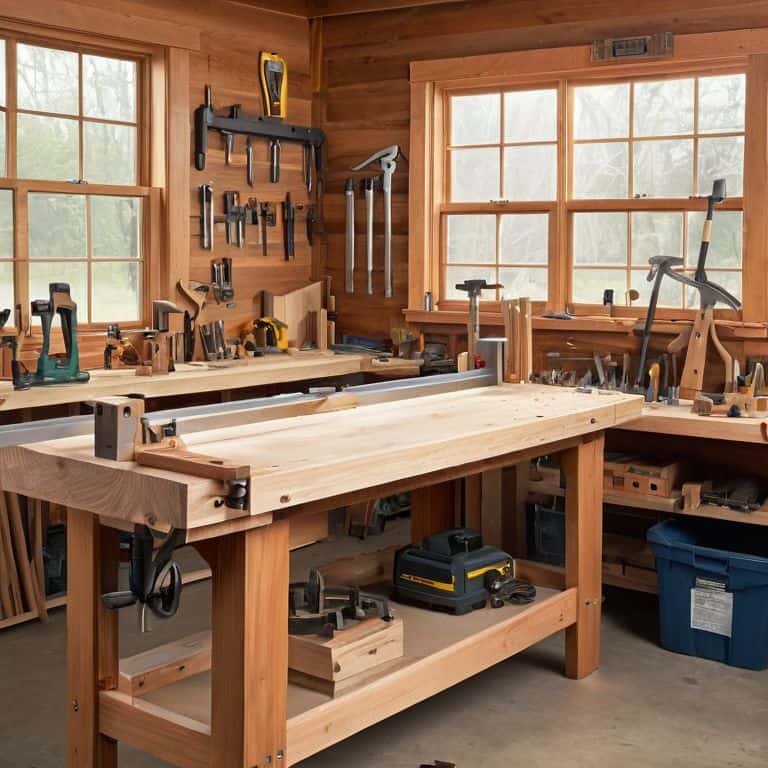
When tackling heavy-duty projects, a sturdy vise is essential. I recall a time when I was building a treehouse, and my trusty vise helped me secure a massive wooden beam in place. To install a vise for such projects, ensure your workbench is made of sturdy material, like solid wood or metal. Next, choose a location that allows for comfortable working heights and easy clamping.
For a secure installation, use lag screws or bolts to anchor the vise to the workbench. Make sure they’re tightly fastened to withstand heavy loads. I like to add a dash of creativity to my DIY projects, so consider adding a wooden or metal reinforcement plate under the vise for extra stability. With a solid installation, your vise will become an indispensable tool for all your heavy-duty woodworking adventures.
Types of Vises for Woodworking Dreams
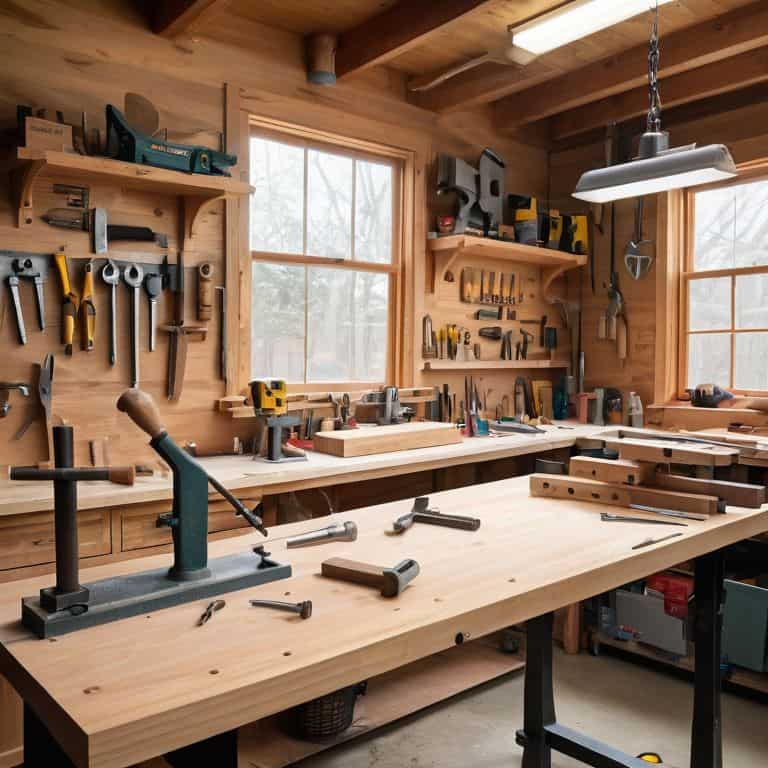
As I delve into the world of vises, I’m reminded of my urban foraging adventures, where every discovered treasure held a new possibility. Similarly, when it comes to woodworking, the right vise can be a game-changer. You’ve got your traditional screw vises, which offer a classic, reliable grip, and your quick-release vises, perfect for rapid adjustments and efficient workflow. And let’s not forget about the specialty vises, like the tail vise or the shoulder vise, each designed to tackle specific tasks with ease and precision.
These varied options can seem overwhelming, but trust me, the right choice will elevate your woodworking experience. I’ve seen it in my own projects, where a well-chosen vise turned a pile of reclaimed wood into a stunning piece of furniture. By understanding the unique strengths of each vise type, you’ll be empowered to make informed decisions and bring your woodworking dreams to life.
Vise Versa: 5 Essential Tips to Tighten Up Your Workbench
- Consider the Size of Your Projects: Choosing a vise that’s too small can limit your creative potential, while one that’s too large can be cumbersome – find the perfect balance for your woodworking wonders
- Material Matters: From cast iron to steel, the material of your vise can impact its durability and performance – think about what will withstand your most ambitious projects
- Jaw Style and Capacity: Think about the types of materials you’ll be working with and the thickness you need to accommodate – a vise with adjustable jaws can be a game-changer for versatile woodworking
- Mounting and Installation: Don’t forget to consider how you’ll secure your vise to the workbench – a sturdy mounting system is essential for heavy-duty projects and ensuring your safety
- Budget and Brand: While it’s tempting to opt for the cheapest option, remember that a high-quality vise is an investment in your woodworking journey – look for brands that offer a balance of affordability and durability to get the most bang for your buck
Bringing Your DIY Vision to Life: 3 Key Takeaways
Embracing the right workbench vise can transform your DIY experience, turning scraps into solid, functional pieces that reflect your creativity and skill
By understanding the different types of vises available, from bench vises to table vises, you can make informed decisions that cater to your specific woodworking needs and projects
Whether you’re a seasoned craftsman or an enthusiastic beginner, the art of choosing and installing the perfect workbench vise is a crucial step in unlocking your full potential for creative, self-sufficient, and sustainable living
Embracing the Art of Creation
The right workbench vise is not just a tool, but a trusted companion in the dance between imagination and reality, where scraps become masterpieces and every project tells a story of transformation and joy.
Stanley Truman
Bringing Your DIY Vision to Life
As we conclude this journey through the world of workbench vises, remember that choosing the right tool is just the beginning. You’ve learned about the different types of vises that can elevate your woodworking projects, from the simplicity of a basic bar clamp to the versatility of a heavy-duty vise. You’ve also discovered the importance of proper installation to ensure your vise becomes an indispensable ally in your workshop. By mastering these fundamentals, you’re not just building a workbench; you’re crafting a foundation for creativity that will serve as the backbone for countless DIY adventures to come.
Now, as you stand in your workshop, surrounded by the promise of raw materials and the potential of half-finished projects, remember that the true magic happens not in the tools themselves, but in the connections you make between them, between ideas, and between the people who inspire and are inspired by your creations. So, go forth and turn your visions into reality, one carefully chosen vise, one meticulously crafted joint, and one triumphant project at a time. For in the end, it’s not just about the workbench vise; it’s about the world of possibilities it helps you unlock.
Frequently Asked Questions
What are the key factors to consider when selecting a workbench vise for a small woodworking shop?
When selecting a workbench vise for your small woodworking shop, consider the type of projects you’ll be working on, the size of your workbench, and the materials you’ll be using. Think about the clamp force, jaw width, and mounting style that will best suit your needs. I like to think of it as finding the perfect dance partner for your woodworking adventures!
How do I determine the right size and type of vise for my specific woodworking projects?
To find your perfect match, consider the size and type of projects you’ll be tackling. Think about the thickness of the wood, the weight of the pieces, and the level of precision you need. For smaller, delicate projects, a compact vise might be ideal, while heavier tasks might require a beefier, industrial-style vise.
Are there any safety features I should look for when choosing a workbench vise to ensure injury-free use?
When selecting a workbench vise, safety is key. Look for features like a secure locking mechanism, a smooth handle, and a sturdy base to prevent accidents. Some vises also come with built-in safety stops or protective covers to prevent pinch points – these are total game-changers for injury-free DIY adventures!


