I still remember the day I decided to take on my home’s plumbing system – it was like uncovering a hidden world. As a sustainable living consultant, I’m always on the lookout for ways to make our daily lives more self-sufficient, and what’s more essential than water? I was working on a guide to home plumbing for my community, and let me tell you, it’s been a game-changer. The common myth that plumbing is a complex, mysterious art that only professionals can tackle is simply not true. With the right mindset and a few simple tools, anyone can become their own plumbing expert.
As you dive into this a guide to home plumbing, you can expect honest, straightforward advice on how to tackle common issues and even prevent them from arising in the first place. You’ll learn how to identify potential problems, use everyday items to fix leaks, and maintain your system for optimal performance. My goal is to empower you with the knowledge and confidence to take control of your home’s plumbing, saving you money and reducing your environmental footprint in the process. So, let’s get started on this journey to mastering the art of home plumbing, and discover the satisfaction of being able to say, “I fixed that myself!”
Table of Contents
Guide Overview: What You'll Need
Total Time: 3 hours 45 minutes
Estimated Cost: $50 – $100
Difficulty Level: Intermediate
Tools Required
- Adjustable Wrench for gripping and twisting pipes
- Pipe Cutter for cutting copper and plastic pipes
- Plumber’s Snake for clearing clogs
- Teflon Tape for sealing threaded pipes
- Basin Wrench for reaching and tightening faucet nuts
Supplies & Materials
- Copper Pipe 1/2 inch or 3/4 inch diameter
- PVC Pipe schedule 40, various lengths
- Pipe Fittings elbows, tees, couplers
- Faucet Mounting Nuts for securing faucet to sink
- Drain Trap for under-sink drain assembly
Step-by-Step Instructions
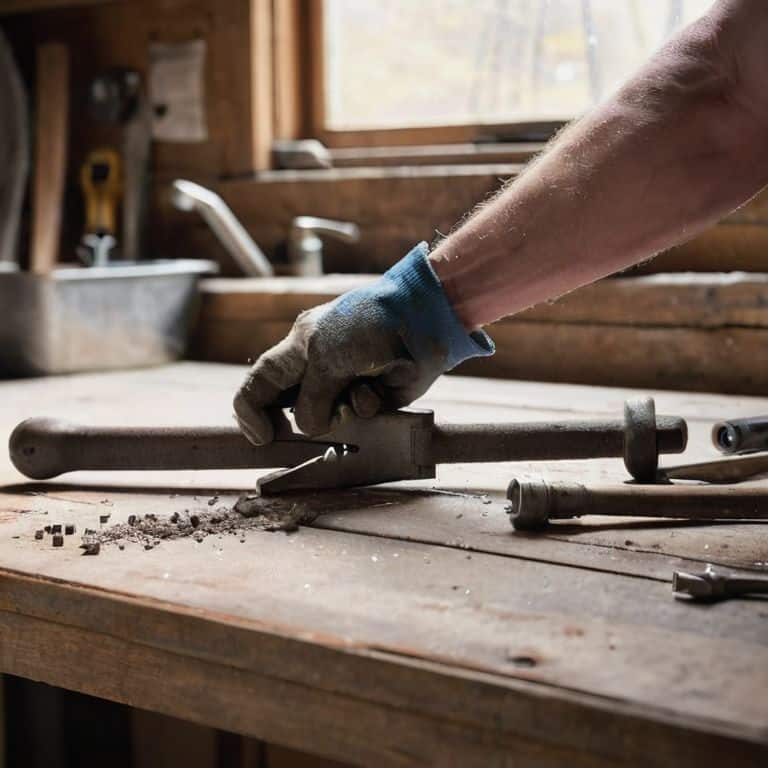
- 1. First, let’s start by gathering our tools and assessing the situation. We’ll need a few basic plumbing tools like a wrench, pliers, and a screwdriver. Make sure you have a bucket or a container to catch any water that might spill during the process. It’s also essential to turn off the main water supply to prevent any further damage or flooding.
- 2. Next, we need to identify the source of the leak. Check all the faucets, toilets, and pipes under the sinks to see where the water is coming from. If you have a leak under the sink, you might need to remove some of the items stored there to access the pipes. Be careful not to damage any surrounding surfaces or loosen any other connections.
- 3. Now that we’ve located the leak, it’s time to disassemble the affected area. If it’s a faucet leak, you might need to remove the handle or other parts to get to the source. Use your wrench or pliers to loosen any corroded or stuck parts, and be patient, as this can take some time.
- 4. With the affected area disassembled, we can now inspect and replace the damaged parts. Check the O-rings, gaskets, or valves for any signs of wear or damage. If you’re not sure what you’re looking for, it’s always a good idea to consult a plumbing diagram or ask for advice from a professional.
- 5. Once you’ve replaced the damaged parts, it’s time to reassemble everything. Make sure all the connections are secure, but avoid over-tightening, as this can cause further damage. Turn the water supply back on and check for any leaks.
- 6. If you’re dealing with a clogged drain, we’ll need to use a different approach. You can try using a plunger or a drain snake to remove any blockages. If the clog is further down the pipe, you might need to use a drain auger or call a professional for assistance.
- 7. Finally, let’s talk about preventative maintenance. To avoid common plumbing issues, it’s essential to check your pipes regularly for any signs of damage or wear. You can also use natural products like baking soda and vinegar to clean your drains and prevent clogs. By following these steps and being proactive, you’ll be well on your way to becoming a DIY plumbing master.
A Guide to Home Plumbing
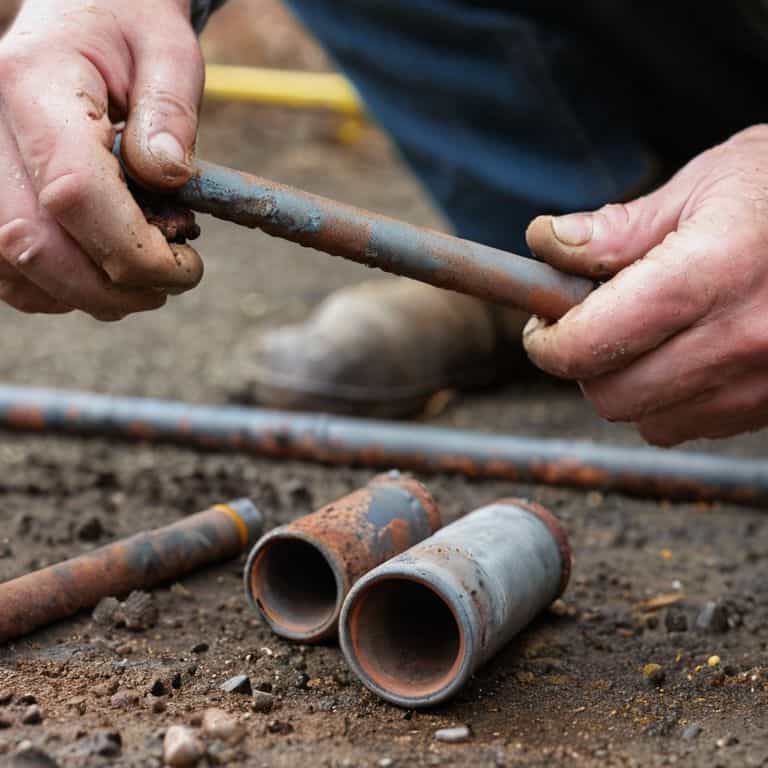
As I always say, preventing pipe bursts is key to avoiding those pesky plumbing problems. One of the common plumbing mistakes people make is not checking their pipes regularly for signs of wear and tear. By doing so, you can catch any potential issues before they become major headaches. For instance, I like to use a simple pipe inspection kit to check for leaks and corrosion.
When it comes to plumbing for beginners, it’s essential to have the right plumbing tools for homeowners on hand. This can include a plunger, wrench, and pipe cutter, among other things. Having these tools readily available can save you a lot of time and money in the long run, especially when it comes to diy plumbing repair costs. I’ve found that investing in a good set of tools can make all the difference in tackling those pesky plumbing issues.
In my experience, basic plumbing safety tips are often overlooked, but they’re crucial in ensuring your safety while working on plumbing projects. Always remember to turn off the water supply before starting any repairs, and consider wearing protective gear like gloves and goggles. By following these simple tips, you can avoid common hazards and ensure a smooth plumbing repair process.
Avoiding Common Plumbing Mistakes
As I always say, experience is the best teacher, and I’ve learned my fair share of plumbing lessons the hard way. One of the most common mistakes I see people make is over-tightening pipes, which can lead to cracks and even more costly repairs down the line. On the other hand, being too gentle can result in leaks and water damage. It’s all about finding that sweet spot and being mindful of the materials you’re working with.
I’ve also noticed that many DIY enthusiasts overlook the importance of regular maintenance, neglecting to check for worn-out washers or corroded pipes. By staying on top of these small tasks, you can avoid major headaches and keep your plumbing system running smoothly.
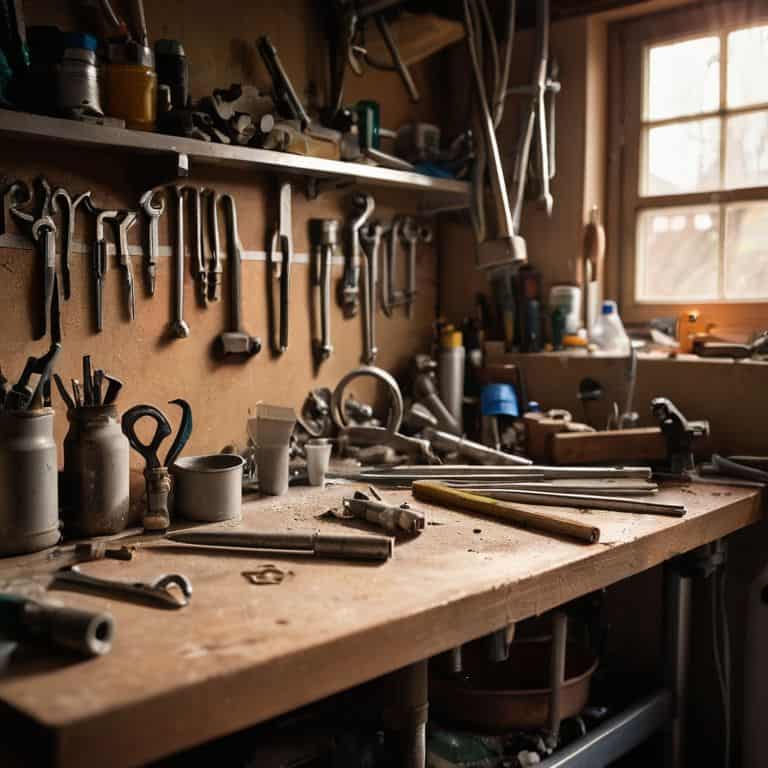
Essential Plumbing Tools for Beginners
As a DIY enthusiast, I’ve learned that having the right tools can make all the difference in tackling plumbing tasks. For beginners, it’s essential to start with the basics. A good plunger, an adjustable wrench, and a drain snake are must-haves in your plumbing toolkit. I like to think of these tools as my trusty sidekicks, always ready to help me save the day (or at least, the sink).
I’ve also found that a bucket, some Teflon tape, and a few pipe wrenches can come in handy when dealing with leaky faucets or clogged drains. Remember, the key to mastering home plumbing is to be prepared and have the right tools within reach. With these essentials, you’ll be well on your way to becoming a plumbing pro and tackling those pesky leaks with confidence.
Plumbing Hacks to Save Your Sanity (and Your Wallet)
- Tighten those loose faucets: A single dripping faucet can waste up to 20 gallons of water per day, so grab your trusty adjustable wrench and get to tightening
- Don’t be a stranger to your water meter: Keeping an eye on your water usage can help you catch hidden leaks before they turn into costly disasters
- Be kind to your drains: Avoid pouring grease, oil, and food scraps down the drain, and consider using a drain screen to catch hair and other debris
- Get familiar with your main shut-off valve: In case of a plumbing emergency, knowing how to turn off your main water supply can save you from a world of trouble
- Keep a plumbing emergency kit on hand: Stock up on essentials like pipe tape, pliers, and a bucket, so you’re ready to tackle any unexpected leaks or clogs that come your way
Key Takeaways for a Leak-Free Life
Embracing DIY plumbing repairs can save you money and empower you with the skills to tackle future issues with confidence
Having the right tools, such as a pipe wrench and pliers, can make all the difference in successfully fixing leaks and unclogging drains
By adopting preventative measures, like regularly checking for leaks and maintaining your pipes, you can avoid common plumbing mistakes and ensure a more sustainable, self-sufficient home
Tuning into the Rhythm of DIY Plumbing
Plumbing isn’t just about fixing pipes, it’s about tapping into the rhythm of self-sufficiency, where every drip, every leak, and every repair is an opportunity to harmonize with the heartbeat of your home.
Stanley Truman
Embracing DIY Plumbing with Confidence
As we conclude this journey through the world of home plumbing, it’s essential to reflect on the key takeaways. We’ve discussed the importance of understanding your plumbing system, avoiding common mistakes, and equipping yourself with the right tools for the job. By following the step-by-step guide and heeding the advice on essential tools, you’re well on your way to becoming a DIY plumbing enthusiast. Remember, every small fix is a step towards greater self-sufficiency and a more sustainable living space.
As you embark on your plumbing adventures, keep in mind that it’s not just about fixing leaks or unclogging drains – it’s about embracing a mindset of resourcefulness. By embracing DIY plumbing, you’re not only saving money and reducing waste but also unleashing your creative potential. So, don’t be afraid to get your hands dirty, and remember that every challenge is an opportunity to learn and grow. Happy plumbing, and let’s keep turning the ordinary into the extraordinary, one DIY project at a time!
Frequently Asked Questions
What are some common signs that I need to call a professional plumber, rather than trying to fix the issue myself?
If you notice water damage, hear strange noises, or smell gas, it’s time to call in the pros – your safety is worth it! Also, if you’re dealing with complex issues like sewer line backups or water heater malfunctions, don’t hesitate to seek professional help.
How can I prevent clogs and mineral buildup in my pipes to reduce the need for frequent plumbing repairs?
To prevent clogs and mineral buildup, I swear by regular pipe maintenance. Try pouring hot water down your drains once a week, and consider using a natural drain cleaner like baking soda and vinegar. You can also install a water filter to reduce mineral deposits – it’s a simple DIY project that’ll save you headaches in the long run!
Are there any eco-friendly or sustainable plumbing practices that I can incorporate into my home plumbing system?
I’m all about reducing waste, so I love sharing eco-friendly plumbing tips. Consider installing low-flow fixtures, greywater systems, or even using natural drain cleaners like baking soda and vinegar – it’s amazing how these small changes can make a big difference in reducing your water footprint and minimizing chemical use.


