I still remember the first time I had to check and replace my car’s fluids – my grandfather, a seasoned mechanic, walked me through the process in our small Midwestern town’s garage. He taught me that it’s not just about throwing in some new oil and calling it a day, but about understanding the intricacies of your vehicle. As I grew older, I realized that many people struggle with this simple yet crucial task, often because of misleading information or a lack of hands-on guidance. The truth is, how to check and replace your car’s fluids is not rocket science, but it does require some know-how and the right tools – like my trusty “Bertha” (that’s what I call my favorite socket wrench).
In this article, I promise to share my honest, no-hype advice on how to check and replace your car’s fluids, just like my grandfather taught me. You’ll learn the basics of fluid maintenance, from engine oil to coolant, and how to do it all safely and efficiently. I’ll walk you through the process step-by-step, using real-life examples and anecdotes from my own experiences in the garage. By the end of this guide, you’ll be equipped with the knowledge and confidence to tackle this essential task and keep your vehicle running smoothly for years to come. So, let’s get started and unleash your garage’s potential, one fluid check at a time!
Table of Contents
Guide Overview: What You'll Need
Total Time: 1 hour 30 minutes
Estimated Cost: $20 – $100
Difficulty Level: Intermediate
Tools Required
- Socket wrench (for oil drain plug)
- Funnel (for pouring in new fluids)
- Rag (for cleaning up spills)
- Measuring cups (for accurate fluid levels)
- Tire pressure gauge (for checking tire pressure)
- Fluid dipsticks (for checking fluid levels)
Supplies & Materials
- Motor oil (the correct type for your vehicle)
- Transmission fluid (the correct type for your vehicle)
- Brake fluid (the correct type for your vehicle)
- Coolant (the correct type for your vehicle)
- Power steering fluid (if applicable)
- Windshield washer fluid
Step-by-Step Instructions
- 1. First, get familiar with your car’s manual to understand the location of the fluid reservoirs and the type of fluids your vehicle requires – this is crucial for a smooth and successful fluid check and replacement process. Take a few minutes to read through the manual, and don’t hesitate to reach out to a professional if you’re unsure about any part of the process.
- 2. Next, gather your tools and supplies, including a socket wrench, a drain pan, new fluid filters, and the required type and amount of fluids for your vehicle – having everything you need within arm’s reach will save you time and reduce the risk of making a mess. I like to use my trusty “Bertha” (that’s what I call my socket wrench) for this kind of job.
- 3. Now it’s time to warm up your engine by taking your car for a short drive or letting it idle for a few minutes – this helps to circulate the fluids and makes them easier to drain. Just be sure to find a safe and level spot to park your car before starting the fluid check and replacement process.
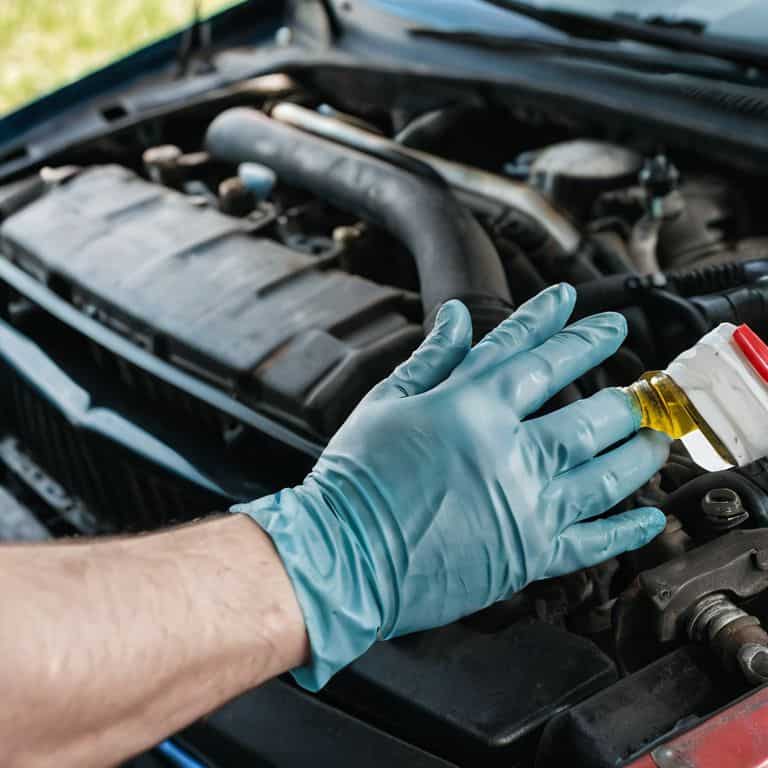
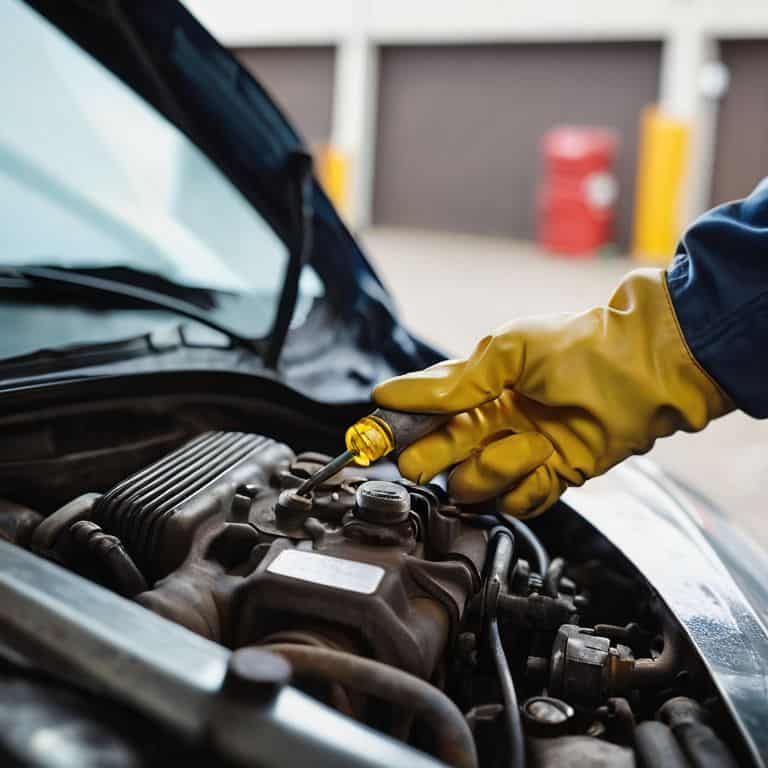
- 4. With your engine warmed up, locate the fluid reservoirs and take note of the current fluid levels – you’ll typically find the reservoirs for the engine oil, transmission fluid, coolant, and brake fluid under the hood. My “Mabel” (my favorite funnel) always comes in handy when checking these reservoirs.
- 5. For the oil change, remove the drain plug using your socket wrench (that’s where “Bertha” comes in again) and let the old oil drain into the pan – be careful not to spill any oil on the ground or your garage floor. I always make sure to have some rags and a drip pan handy to catch any spills.
- 6. Next, replace the oil filter with a new one – make sure to dispose of the old filter responsibly and apply a thin layer of new oil to the gasket on the new filter. My “Gerald” (my filter wrench) is perfect for this task, and I always feel a sense of satisfaction when I see the new filter in place.
- 7. After replacing the oil filter, refill the engine with new oil – be sure to use the type and amount of oil recommended by your car’s manufacturer. I like to use my “Doris” (my oil filler) to pour in the new oil, and I always double-check the level to make sure it’s just right.
- 8. Finally, check and top off the other fluids, including the transmission fluid, coolant, and brake fluid – this is a crucial step to ensure your car is running smoothly and safely. My “Hank” (my fluid level gauge) is always accurate, and I make sure to record the levels so I can keep track of any changes over time.
Fluids 101 Get Your Hands Dirty
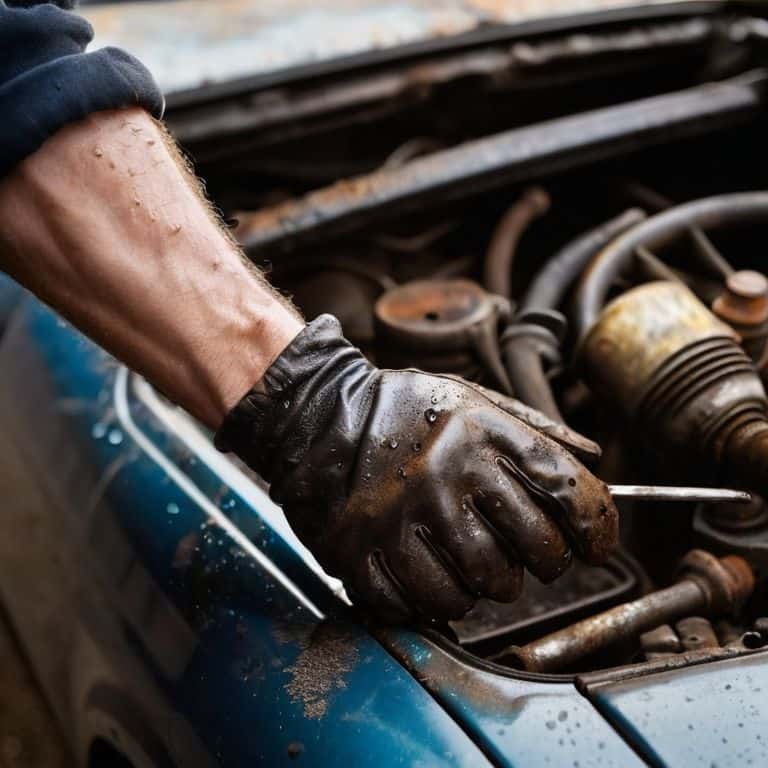
As I always say, getting your hands dirty is the best way to learn. When it comes to car fluid leak detection, it’s essential to be proactive. I like to think of it as giving my vehicle a regular check-up, just like my granddad used to do with his old truck. By doing so, you can catch any potential issues before they become major problems.
I’ve found that using synthetic oil vs conventional oil can make a significant difference in the longevity of your vehicle. It’s worth considering, especially if you’re looking to extend the life of your car. My experience with restoring vintage bicycles has taught me that the right lubricants can make all the difference.
Regular fluid checks are crucial, and I always refer to my trusty fluid change interval guide to ensure I’m on track. It’s also important to watch out for signs of low brake fluid, as this can be a serious safety issue. By following these tips and staying on top of your vehicle’s maintenance, you’ll be well on your way to becoming a DIY car expert.
Car Fluid Leak Detection Made Easy
Now that we’ve gotten our hands dirty with the basics, let’s talk about spotting leaks. I like to think of it as a treasure hunt, but instead of treasure, we’re looking for pesky puddles under the car. My trusty sidekick, a flashlight I’ve named “Lumi,” helps me shine a light on any potential problems. When inspecting for leaks, remember to check those hard-to-reach areas, like around the oil pan and transmission. A leaky seal or gasket can be a real headache, but catching it early can save you a world of trouble.
Synthetic Oil vs Conventional Whats Best
When it comes to choosing the right motor oil, I always think back to my grandfather’s advice: “Know your options, and choose what’s best for your ride.” For me, that means considering synthetic oil vs conventional oil. Synthetic oil is like the high-performance bike I’m currently restoring – it’s top-notch, provides better engine protection, and can handle extreme temperatures. Conventional oil, on the other hand, is like my trusty old toolbox – reliable, gets the job done, and easier on the wallet.
I’ve found that synthetic oil is worth the extra cost for its superior performance and longer oil change intervals. My friend, Bertha the socket wrench, would agree – she’s seen her fair share of engines, and synthetic oil keeps them running smoothly.
Fluid Frenzy: 5 Tips to Keep Your Ride Running Smoothly
- Check your owner’s manual to find out the specific types of fluids your car needs, just like I do for my vintage bike restorations
- Get familiar with the different types of fluids – engine oil, transmission fluid, brake fluid, coolant, and power steering fluid – and know when to change them
- Use a torque wrench, which I’ve lovingly named ‘Torquey’, to avoid over-tightening and damaging your car’s parts
- Keep a record of when you last changed your car’s fluids, and set reminders for future checks to ensure you stay on top of maintenance
- Dispose of used fluids responsibly, and consider recycling them – my grandfather always said, ‘a clean garage is a happy garage’
Key Takeaways to Keep Your Ride Running Smoothly
Regular fluid checks can save you from costly repairs down the road, and it’s easier than you think to make it a habit – just like I do with my vintage bicycle restorations
Choosing the right type of oil for your vehicle can significantly impact its performance and longevity, so don’t be afraid to get a little dirty and learn the difference between synthetic and conventional oil
By embracing a hands-on approach to car maintenance, you’ll not only keep your vehicle in top shape, but you’ll also unlock the full potential of your garage as a space for creativity, innovation, and maybe even some tool-naming fun – just like I do with my trusty sidekicks, ‘Tighty’ the torque wrench and ‘Loosy’ the lug wrench
Garage Wisdom
The key to a smooth-running engine isn’t just about checking the fluids, it’s about understanding their rhythm – when to change, when to top off, and when to let your car’s systems hum in perfect harmony, just like a well-tuned bicycle on a summer ride.
John Beeler
Getting Your Hands Dirty: A Job Well Done
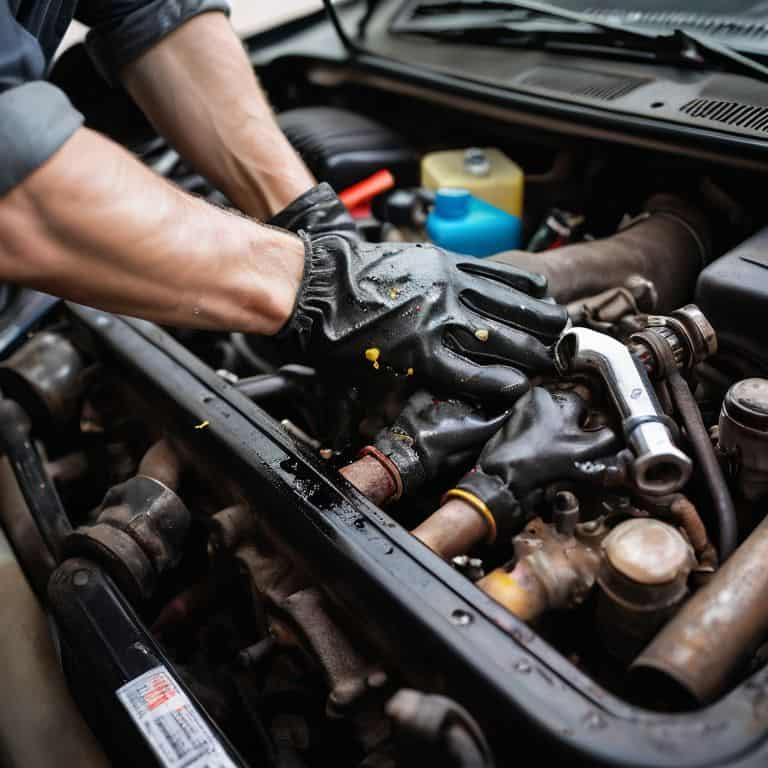
As we wrap up our journey under the hood, let’s take a moment to reflect on what we’ve learned. We’ve covered the basics of checking and replacing your car’s fluids, from the simple yet crucial steps of Fluids 101 to the more nuanced discussions around synthetic oil vs conventional. By now, you should be feeling more confident in your ability to tackle these tasks on your own, and that’s exactly what it’s all about – empowering you to take control of your garage and your vehicle. Whether you’re a seasoned mechanic or a DIY novice, the key is to remember that it’s okay to get a little messy and that practice makes perfect.
So, as you put the tools back in their named spots – yes, I still name every tool in my garage, it’s a quirk – take a step back and admire your handiwork. Remember, the garage is more than just a place to store your car; it’s a playground for creativity and innovation. Every project, no matter how small, is an opportunity to learn, to grow, and to push the boundaries of what you thought was possible. Keep tinkering, keep learning, and most importantly, keep getting your hands dirty – your garage, and your sense of pride, will thank you.
Frequently Asked Questions
What are the most common signs of low or dirty fluids in my car?
Ah, great question! I see it all the time in my garage – low or dirty fluids can sneak up on you. Common signs include overheating, strange noises, or decreased performance. You might also notice leaks, discolored fluids, or warning lights on your dashboard. Trust me, it’s better to catch these issues early, just like my trusty sidekick, ‘Tighty’ the torque wrench, always reminds me!
How often should I check and replace my car's fluids to prevent damage?
I like to think of checking fluids like tuning up my vintage bike – it’s all about regular maintenance. For most cars, I recommend checking fluids every 5,000 to 7,500 miles. As for replacement, it really depends on the type of fluid and your driving habits, but a good rule of thumb is to change your oil every 7,500 miles and other fluids like brake and transmission fluid every 30,000 miles.
Can I use universal fluids for all parts of my car or do I need specific types for each component?
Not so fast, my friend! While universal fluids might sound like a convenient solution, they’re not always the best choice. Different components in your car require specific types of fluids to run smoothly. For example, your brake system needs a specialized fluid that can handle high pressure and temperature. Using the wrong fluid can lead to damage or even safety issues. It’s best to stick with the recommended fluids for each component, just like I do with my vintage bike restorations – the right tool for the job, every time!


