I still remember the first time I tried to mix concrete by hand for a community garden project – it was a chaotic mess, with powdery cement everywhere and a mix that was more like wet sand than sturdy foundation. But, as I learned from my grandfather, a seasoned carpenter, the key to successful hand-mixed concrete lies not in the fancy equipment, but in understanding the simple, timeless principles of combining the right ingredients in the right way. This is the essence of how to mix concrete by hand, a skill that’s been passed down through generations, yet often shrouded in mystery or overly complicated by modern guides.
In this article, I promise to cut through the noise and share with you the honest, tried-and-true methods I’ve gathered from years of hands-on experience. You’ll learn how to prepare your site, choose the perfect mix of cement, sand, and aggregate, and blend it all together with minimal fuss and maximum strength. By the end of this guide, you’ll be equipped with the confidence and knowledge to tackle any small to medium-sized project that requires a strong, durable base – all by mixing concrete by hand like a pro. Whether you’re a seasoned DIY enthusiast or just starting out, I’m excited to share my passion for sustainable, self-sufficient living with you, one shovel at a time.
Table of Contents
Guide Overview: What You'll Need
Total Time: 1 hour 30 minutes
Estimated Cost: $20 – $50
Difficulty Level: Intermediate
Tools Required
- Shovel (for mixing)
- Hoe (for mixing and scraping)
- Wheelbarrow (or large mixing bucket)
- Gloves (for protection)
- Safety goggles (for protection)
- Trowel (for finishing and smoothing)
Supplies & Materials
- Cement (1 bag, 50 pounds)
- Sand (1 cubic foot)
- Gravel (1 cubic foot)
- Water (as needed, approximately 1 gallon)
Step-by-Step Instructions
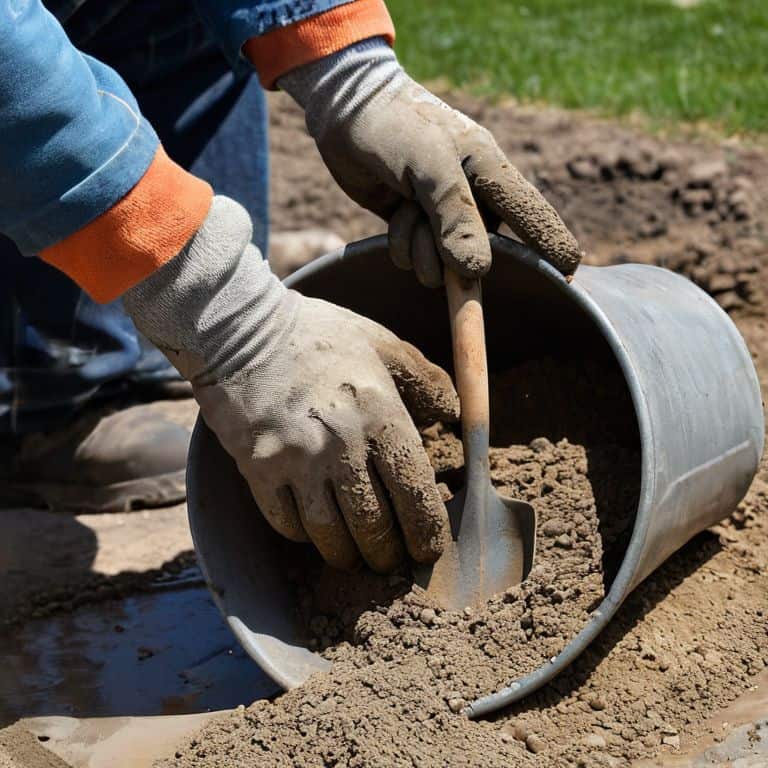
- 1. First, let’s start by preparing our workspace – we’ll need a clean, flat area to mix our concrete, and I always say, a well-organized workspace is a happy workspace. Begin by laying down a large tarp or a mix of old sheets to protect the ground from any spills or stains. This will make cleanup a breeze and save us from any potential headaches down the line. Now, gather all our materials within arm’s reach, including cement, aggregate (like gravel or sand), water, a shovel, a mixing bucket, and some gloves to keep our hands clean and protected.
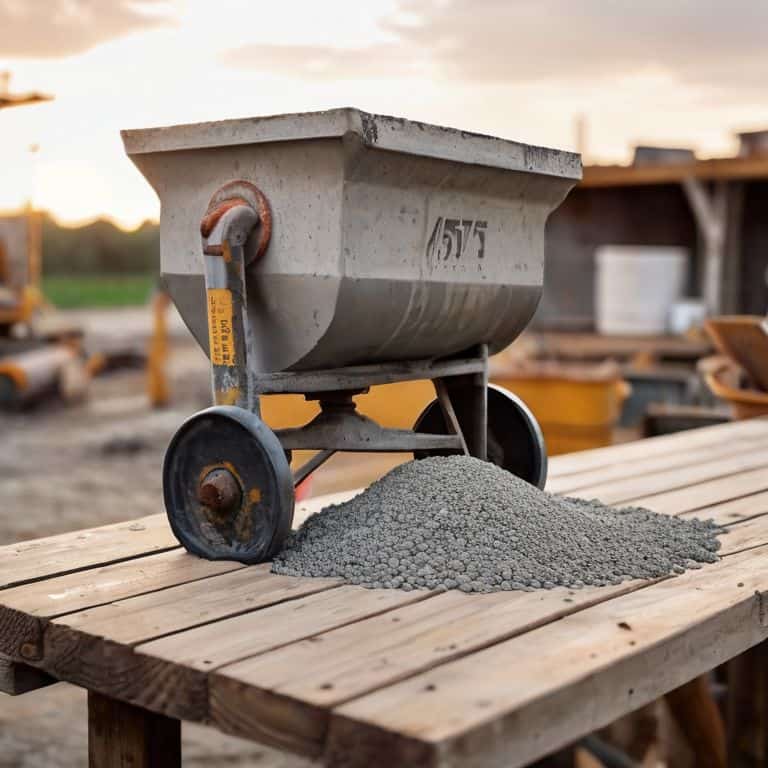
- 2. Next, we need to measure out the right amounts of cement and aggregate. The general ratio for a strong mix is one part cement to two parts aggregate, but this can vary depending on the specific project and the type of concrete we’re aiming for. I like to use a old, reliable wheelbarrow to mix and transport my concrete, and I’ve found that having a few measuring buckets on hand can be super helpful in getting the proportions just right. Remember, it’s all about finding that perfect balance.
- 3. Now it’s time to add water to the mix, and this is where things can get a little tricky. The amount of water we need will depend on the humidity and temperature of our workspace, as well as the specific type of cement we’re using. As a general rule, I like to start with a small amount of water and gradually add more as needed, stirring constantly to avoid creating a soupy consistency. We want our mix to be smooth and pliable, but still hold its shape when molded.
- 4. With our ingredients all measured out and our water added, it’s time to start mixing. I like to use a combination of a shovel and a trowel to get the job done, starting with the shovel to break up any clumps and then switching to the trowel to smooth out the mix. Be prepared to get a little messy – mixing concrete can be hard work, but it’s also incredibly rewarding. As we mix, pay attention to the color and texture of the concrete, adding more water or aggregate as needed to achieve the perfect consistency.
- 5. Once our mix is smooth and even, it’s time to test its strength. I like to use the old “squeeze test” – simply scoop up a small amount of the mix in my glove-covered hand and squeeze it tightly. If the mix holds its shape and doesn’t crumble or fall apart, we’re good to go. If it’s still too dry or too wet, we can make adjustments on the fly. This is also a great opportunity to add any additional ingredients, like reinforcing fibers or colorants, to give our concrete a unique twist.
- 6. With our concrete mix perfected, it’s time to start pouring it into our mold or form. I like to use a old, sturdy bucket or a specialized concrete mold, depending on the specific project and the shape we’re aiming for. As we pour, be sure to vibrate the mix gently to eliminate any air pockets or bubbles, using a vibrating tool or even just a old screwdriver to get the job done. This will help our concrete set evenly and prevent any weak spots from forming.
- 7. Finally, let our concrete set and cure. This can take anywhere from a few hours to several days, depending on the specific type of cement we’re using and the temperature and humidity of our workspace. I like to cover my concrete with a damp cloth or plastic sheeting to keep it moist and promote even curing, and then let it set at its own pace. With a little patience and TLC, our handmade concrete will be strong, durable, and ready for whatever project we have in mind.
Hand Mixing Magic
As I delve into the world of hand mixing concrete for small foundations, I’m reminded of the importance of patience and attention to detail. When working with small batches, it’s essential to ensure that every ingredient is precisely measured to achieve the perfect blend. I’ve found that using a manual concrete mixer can be a huge help, especially for beginners, as it allows for a more controlled and efficient mixing process.
One of the most critical factors in successful hand mixing is the type of cement used. I always recommend opting for a high-quality, general-purpose cement that’s suitable for manual mixing. This type of cement is typically more forgiving and easier to work with, especially in cold weather conditions. When mixing concrete in cold weather, it’s crucial to take extra precautions to prevent the mixture from setting too slowly or unevenly.
To make the mixing process even smoother, I swear by a few trusty concrete mixing tools for beginners, including a sturdy shovel, a mixing bucket, and a pair of gloves. These simple tools can make all the difference in achieving a consistent and strong mix. By combining the right tools with a bit of practice and patience, you’ll be well on your way to mastering the art of hand mixing concrete and creating a solid foundation for your next project.
Best Cement for Manual Mixing
When it comes to manual mixing, the type of cement you use can make all the difference. I’ve found that a general-purpose Portland cement works beautifully for most projects. It’s versatile, reliable, and easy to work with. For a more rustic, earthy look, you can also experiment with natural cement alternatives like lime or clay-based mixes. These not only add a unique texture but also provide a more sustainable option.
I’ve had great success with a locally sourced, eco-friendly cement that’s made from recycled materials. It’s a bit more expensive, but the reduced carbon footprint and unique character it adds to my projects make it well worth the extra cost.
Small Batch Concrete Secrets
When working with small batches, I’ve found that precision is key. Measuring out the right amount of water and cement can make all the difference in achieving that perfect mix. I like to think of it as baking a cake, but instead of flour and sugar, we’re working with sand and aggregate. By fine-tuning our measurements, we can create a custom blend that’s tailored to our specific project needs. This is especially useful when working on intricate details or repairs, where a smaller batch size allows for more control and accuracy.
I’ve developed a few tricks up my sleeve for small batch mixing, from using a makeshift measuring jug made from an old plastic bottle to creating a mini mixing station with a repurposed wooden pallet. These small tweaks can save time and reduce waste, making the entire process more efficient and enjoyable. By embracing the art of small batch concrete mixing, we can unlock a world of creative possibilities and bring our unique vision to life, one small pour at a time.
Mixing it Up: 5 Essential Tips for Hand-Mixed Concrete Magic
- Start with the right ratio: remember, it’s all about balance – typically, it’s 1 part cement to 2 parts sand to 4 parts aggregate, but don’t be afraid to experiment and find your perfect blend
- Get your hands on the best cement for the job: look for a type that’s specifically designed for manual mixing, and don’t be swayed by cheaper alternatives that might compromise on quality
- Moisture is key: make sure your mixing area is clean and dry, and have a bucket of water on hand to add as needed – you want the mix to be workable, but not too wet or too dry
- Mix in small batches: this will help you maintain control and ensure that each batch is consistent – plus, it’s less intimidating than tackling a huge mix all at once
- Don’t overmix: stop mixing as soon as the ingredients come together in a uniform consistency – overmixing can lead to a weak or crumbly finish, so know when to stop and let the magic happen
Cementing the Essentials: 3 Key Takeaways
Always remember to choose the right type of cement for your manual mixing project, considering factors like setting time, strength, and sustainability to ensure your DIY dreams become durable realities
Small batch concrete secrets lie in the precision of measuring ingredients and the gentle art of mixing, where every fold and stir brings you closer to a consistent, workable mix that’s as much about technique as it is about patience
Ultimately, the magic of hand-mixing concrete isn’t just about following steps, but about embracing the process as a form of creative expression, where every shovel, every mix, and every finished project tells a story of self-sufficiency and innovation
Mixing Wisdom
As we blend earthy elements with our own two hands, we’re not just mixing concrete, we’re weaving a narrative of self-sufficiency, one shovel at a time, where every imperfect mix tells a story of resilience and creativity.
Stanley Truman
Embracing the Art of Hand-Mixed Concrete

As we conclude our journey into the world of hand-mixed concrete, let’s summarize the key points that have made this experience so enriching. From understanding the importance of the right cement for manual mixing, to unraveling the secrets of small batch concrete, we’ve discovered that mixing concrete by hand is not just a practical skill, but an art form that requires patience, creativity, and a deep connection with the natural world. By embracing this process, we not only create something with our own hands, but we also contribute to a more sustainable future, one shovel at a time.
As you embark on your own hand-mixing adventures, remember that the true magic lies not in the end product, but in the journey itself. The process of transforming raw materials into something useful and beautiful is a powerful metaphor for life. So, let’s cherish these moments of creation, and through our crafting, inspire others to join us in this celebration of sustainable living. Together, we can build a world that is more thoughtful, more creative, and more connected to the earth that nourishes us.
Frequently Asked Questions
What is the ideal water-to-cement ratio when mixing concrete by hand to achieve the perfect consistency?
The sweet spot for water-to-cement ratio is around 0.5 to 0.6, but I like to think of it as a gentle waltz – you want just enough water to bring the mix to life, without drowning the dance. Start with a smaller amount and add as you go, feeling the mix come together in your hands.
How do I know if the concrete is fully mixed and ready to be poured, and what are the signs of under or over mixing?
The moment of truth! To check if your concrete is fully mixed, look for a uniform color and consistency – it should be smooth and free of lumps. Overmixing can lead to a dense, stiff mix, while undermixing might result in a watery or segregated mix. Trust your instincts, and don’t be afraid to get in there with your hands to feel it out!
Can I add any natural materials or additives to the concrete mix to improve its strength, durability, or aesthetic appeal?
I love experimenting with natural additives. You can try adding fibers like hemp or bamboo to boost strength, or crushed stone for extra durability. For a decorative twist, mix in some shimmering mica powder or crushed shells to give your concrete a unique texture and visual appeal. Just remember, when playing with new ingredients, a little testing goes a long way!