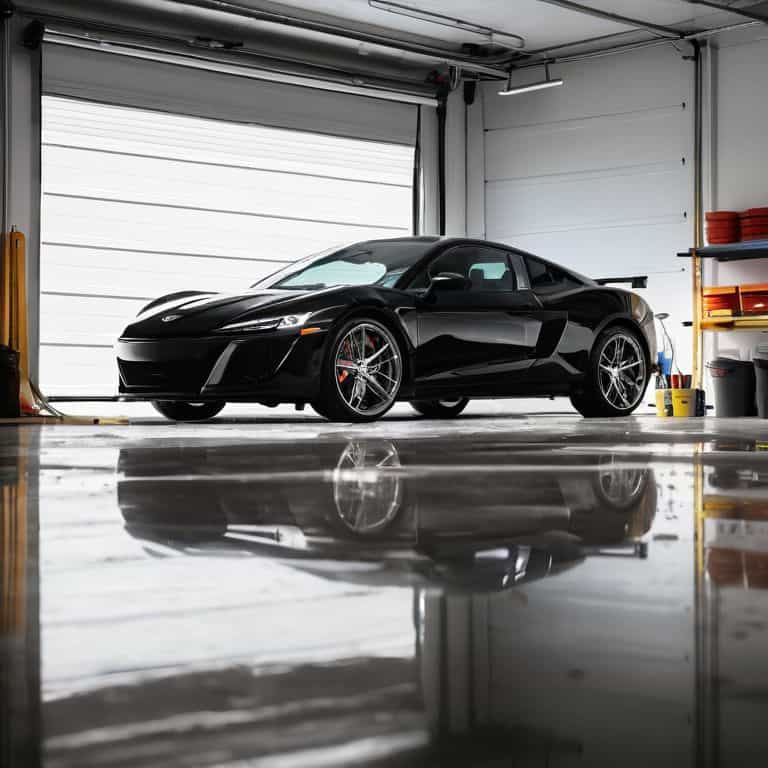
I still remember the first time my grandfather taught me how to detail a car – it was like a rite of passage. We spent hours in our small Midwestern town’s garage, meticulously cleaning and polishing every inch of his vintage Chevy. He’d always say, “A guide to car detailing isn’t just about making a car look good, it’s about restoring its soul.” I’ve carried that philosophy with me to this day, and I’m excited to share my own practical tips with you in this guide to car detailing.
As we dive into the world of car detailing, I want to assure you that this isn’t just another generic guide. You won’t find any fluff or jargon here – just honest, no-hype advice from someone who’s spent years getting their hands dirty. In this article, we’ll cover the essential steps to transform your vehicle from dull to dazzling, from the exterior wash to the interior detailing. Whether you’re a seasoned car enthusiast or a beginner, I’m confident that you’ll find something valuable in these pages to help you master the art of car detailing and make your ride shine like new.
Table of Contents
Guide Overview: What You'll Need
Total Time: 4 hours to 6 hours
Estimated Cost: $50 – $200
Difficulty Level: Intermediate
Tools Required
- Soft-bristle brush (for cleaning crevices)
- Microfiber cloths (several)
- Bucket with a 5-gallon capacity (for soapy water)
- Hose with a spray nozzle (for rinsing)
- Vacuum cleaner with a 6-foot hose (for interior cleaning)
- Tire pressure gauge (for checking tire pressure)
Supplies & Materials
- Car wash soap
- Tire cleaner
- Wheel cleaner
- Glass cleaner
- Interior cleaner
- Leather conditioner (if applicable)
- Polish and wax (for exterior paint protection)
Step-by-Step Instructions
- 1. First, gather all the necessary tools and supplies, including a soft-bristle brush, a microfiber cloth, a bucket, soap, and a hose. I like to keep all my tools organized in my garage, where I’ve named each one for easy access – there’s “Betsy” the brush, “Midge” the microfiber cloth, and “Bertha” the bucket.
- 2. Next, remove any loose debris from the car’s exterior, such as twigs or leaves, to prevent scratching the paint during the detailing process. This is a crucial step, and I always make sure to do it carefully, just like my grandfather taught me when we worked on restoring vintage bicycles together.
- 3. Now, mix the soap and water in “Bertha” the bucket to create a solution that’s not too harsh on the car’s paint. I like to use a mild soap that’s specifically designed for car detailing, and I always make sure to read the instructions carefully before mixing.
- 4. Using “Betsy” the soft-bristle brush, gently scrub away any tough stains or bug splatters on the car’s exterior. Be careful not to scrub too hard, as this can damage the paint – I like to think of it as “dancing” with the brush, moving it gently back and forth to loosen the dirt.
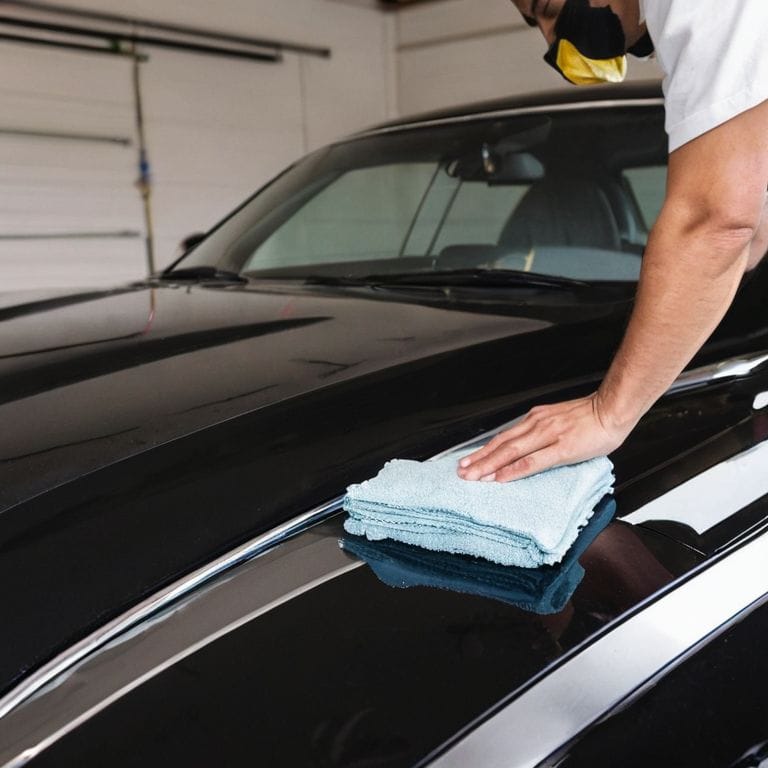
- 5. After scrubbing away any tough stains, use “Midge” the microfiber cloth to wipe down the entire car, removing any dirt, soap, or debris. This is my favorite part of the process, as it’s amazing to see the car transform from dirty to shiny and clean.
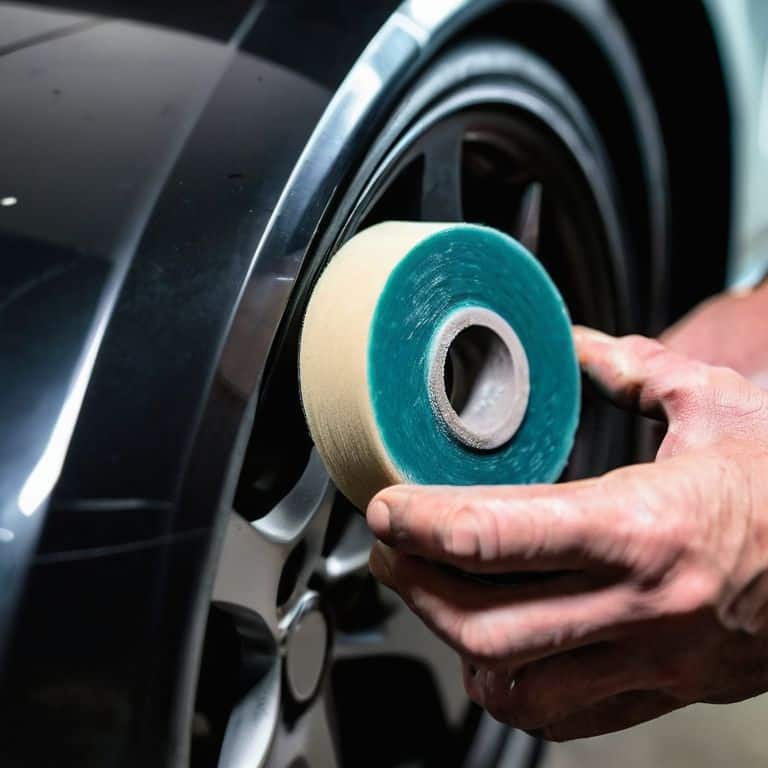
- 6. To clean the wheels and tires, use a separate bucket of soap and water, and a special brush designed just for this purpose – I’ve named this one “Wheelsy”. Make sure to scrub away any brake dust or grime, and then rinse the wheels and tires thoroughly with a hose.
- 7. Finally, apply a coat of wax to the car’s exterior to protect the paint and give it a shiny finish. I like to use a high-quality wax that’s easy to apply and provides long-lasting protection – and I always make sure to apply it in a circular motion, just like my grandfather taught me.
A Guide to Car Detailing
As I always say, detailing a car at home is all about the little things. It’s the extra touch that makes your ride stand out from the crowd. When it comes to car polishing techniques for scratches, I like to use a combination of elbow grease and the right tools for the job. My trusty sidekick, “Scrubby” the polishing wheel, always gets the job done.
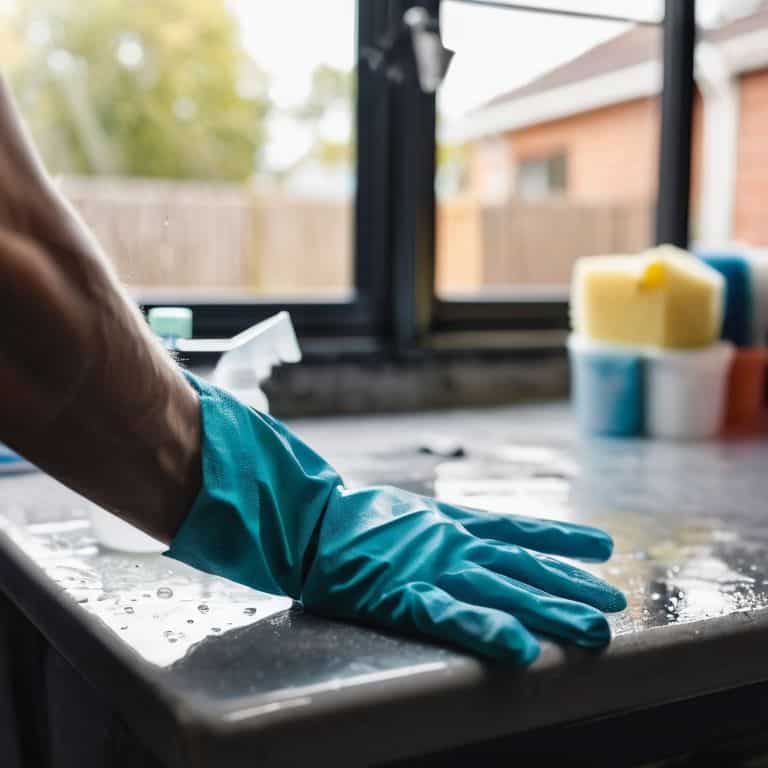
One of the most important things to keep in mind when detailing your car is the type of products you use. Car interior detailing checklist in hand, I always make sure to choose the best interior car cleaning products for the task at hand. From vacuuming and wiping down surfaces to conditioning the leather, every step counts. And don’t even get me started on the importance of a good car washing soap – it’s the foundation of a job well done.
For those just starting out, I recommend checking out some car detailing tips for beginners to get a feel for the process. And when it comes to protecting your car’s paint job, best car wax for protection is the way to go. I like to use a combination of traditional wax and modern sealants to give my ride a showroom shine. With a little practice and patience, you’ll be detailing like a pro in no time.
Best Car Wax for a Protective Shine
When it comes to giving your ride a protective shine, the right car wax makes all the difference. I’ve tried my fair share of waxes over the years, and I’ve got to say, some of them are real winners. My personal favorite is a good old-fashioned carnuba wax – it’s like the secret ingredient in your favorite recipe. It gives the paint a deep, rich glow and provides a barrier against the elements that’s hard to beat.
I’ve also had great luck with synthetic waxes, especially on my vintage bike restorations. They’re a bit easier to apply and can provide a bit more durability than traditional waxes. Either way, the key is to find a wax that you like and that works for your vehicle. Trust me, the end result is worth it – there’s nothing quite like the feeling of a job well done, with a shiny new coat of wax to show for it.
Car Detailing Tips for Beginners Start
So you’re just starting out with car detailing – that’s awesome! I remember when my granddad first taught me how to detail our old family sedan. He always said, “John, it’s all about the basics.” For beginners, it’s essential to start with the fundamentals: a good wash, dry, and wax. Don’t be afraid to get a little messy and experiment with different products until you find what works best for your ride.
I like to think of detailing as a process of discovery, kind of like restoring a vintage bicycle – you never know what hidden gem you might uncover. Begin with small, manageable tasks, like cleaning the wheels or conditioning the leather seats. As you get more comfortable, you can move on to more advanced techniques, like clay bar treatments or paint correction. Remember, practice makes perfect, so don’t be too hard on yourself if it doesn’t turn out exactly as you hoped at first.
Get Ready to Shine: 5 Key Tips for a Showroom Finish
- Exterior Prep is Key: Start by giving your ride a thorough wash and dry to remove any dirt or debris that might interfere with the detailing process
- Choose the Right Tools: Invest in a good quality clay bar, polishing compound, and microfiber towels to get the job done efficiently and effectively
- Don’t Forget the Wheels: Use a dedicated wheel cleaner and brush to get into all the nooks and crannies, and make sure to dry them thoroughly to prevent spotting
- Interior Detailing is Just as Important: Vacuum and condition the upholstery, and don’t forget to clean and dress the dashboard and trim with a good quality interior detailer
- Finishing Touches Matter: Apply a coat of your favorite car wax to protect the paint and give it a deep, rich shine – and don’t forget to dress the tires and trim for a complete look
Key Takeaways for a Showroom Shine
Always start with a thorough wash and dry to remove dirt and debris, making it easier to inspect and detail your vehicle
Choose the right car wax for your vehicle’s paint type, and apply it in a thin, even layer to achieve a protective shine that lasts
Remember, detailing is all about the details – don’t forget to clean and condition your vehicle’s interior, including the dashboard, seats, and floor mats, to create a cohesive and impressive finish
Detailing Wisdom
A clean car isn’t just a reflection of your pride, it’s a reflection of your character – every wipe, every wax, and every detail tells a story of love and dedication, just like the stories my granddad used to tell me in our small Midwestern garage.
John Beeler
Bringing it all Together: A Garage Full of Possibilities
As we wrap up this guide to car detailing, let’s take a moment to reflect on the journey. We’ve covered the basics, from preparing your vehicle to applying the perfect coat of wax. Remember, the key to a showroom shine is in the details, and with these steps, you’re well on your way to becoming a detailing pro. Whether you’re a seasoned enthusiast or just starting out, the most important thing is to have fun and enjoy the process of transforming your ride into a work of art.
So, the next time you step into your garage, I want you to see it as more than just a storage space – see it as a playground for creativity. With every tool at your disposal and a mind full of imagination, the possibilities are endless. As I always say, it’s not just about detailing your car, it’s about bringing your vision to life, one wrench turn at a time. Happy detailing, and I’ll see you in the garage!
Frequently Asked Questions
What are some common mistakes to avoid when detailing a car for the first time?
Hey there, rookie detailer! When it comes to avoiding common mistakes, I’ve got a few tips from my own experience. Don’t forget to clean those wheels and tires first, and avoid using household cleaners on your ride’s paint job. And, trust me, don’t skip the clay bar step – it’s a game-changer for a smooth finish. My granddad always said, ‘A clean car is a happy car!’
How often should I wax my car to maintain a protective shine?
Waxing frequency depends on how much your car’s exposed to the elements. For daily drivers, I recommend waxing every 2-3 months. But if you live near the coast or in areas with harsh winters, you might need to wax every 1-2 months to keep that protective shine going strong. Trust me, it’s worth it – my granddad’s old Chevy still looks brand new thanks to regular waxing!
What's the best way to remove stubborn scratches or swirl marks from my car's paint job?
For those pesky scratches or swirl marks, I swear by a combination of good ol’ elbow grease and the right tools. I’ve named my trusty scratch remover ‘Scratchy’ – it’s a gentle polish that works wonders. Apply it with a soft cloth, rub in a circular motion, and voila! Your ride’s paint job will be looking smooth again in no time.


