I still remember the first time I took my grandfather’s old motorcycle out for a spin – it was a beautiful summer day, and I was determined to get it running like new. But, as I soon learned, a guide to motorcycle maintenance is not just about tossing in some new spark plugs and hitting the open road. In fact, I’ve found that most people think motorcycle maintenance is a daunting task, reserved for the pros. But, I’m here to tell you that’s just not true – with the right tools and a bit of know-how, anyone can keep their bike purring like a contented beast.
As someone who’s spent years tinkering in the garage, I’ve learned that the key to successful motorcycle maintenance is to approach it with a mindset of curiosity and experimentation. In this article, I’ll share my top tips and tricks for keeping your motorcycle in top shape, from regular oil changes to diagnosing common issues. Whether you’re a seasoned pro or just starting out, I promise you’ll find something of value here. So, let’s get our hands dirty and dive into the world of motorcycle maintenance – I’m excited to share my knowledge with you, and I’m confident that by the end of this guide, you’ll be well on your way to becoming a motorcycle maintenance master.
Table of Contents
- Guide Overview: What You'll Need
- Step-by-Step Instructions
- A Guide to Motorcycle Maintenance
- Tuning Up Your Ride: 5 Key Tips for a Smooth Motorcycle Maintenance Experience
- Key Takeaways for a Well-Maintained Ride
- Tuning In To Your Bike
- Getting Your Hands Dirty: The Reward of Motorcycle Maintenance
- Frequently Asked Questions
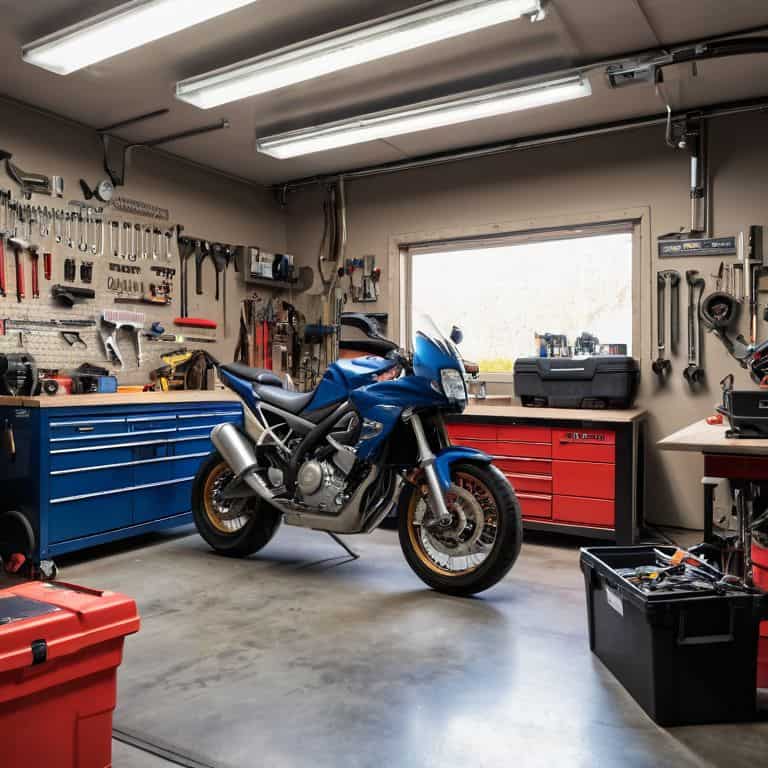
Guide Overview: What You'll Need
Total Time: 2 hours 30 minutes
Estimated Cost: $50 – $100
Difficulty Level: Intermediate
Tools Required
- Socket set (with various socket sizes)
- Tire pressure gauge (for accurate pressure readings)
- Multimeter (for electrical system testing)
- Wrench set (including Allen wrenches)
- Pliers and punch (for removing and installing parts)
Supplies & Materials
- Motor oil (the correct type for your motorcycle)
- Oil filter (compatible with your motorcycle’s engine)
- Air filter (to ensure proper air flow)
- Brake pads (if your motorcycle is due for brake replacement)
- Chain or belt (if your motorcycle’s drive system needs replacement)
Step-by-Step Instructions
- 1. First, gather all the necessary tools and equipment, which I like to call my “trusted sidekicks“, to get your motorcycle maintenance underway – this includes a socket set, torque wrench, oil filter wrench, and a drain pan, all of which I’ve carefully named and organized in my garage, from “Bertha” the socket set to “Manny” the torque wrench.
- 2. Next, warm up your motorcycle by taking it for a short ride or letting it idle for a few minutes to get the engine _nice and warm_, which helps the oil drain more easily and ensures a smoother maintenance process – I always think of this step as “waking up” my bike, just like my grandfather used to do with his old truck.
- 3. Now, locate the oil drain plug, usually found at the bottom of the engine, and use your _oil filter wrench_ to loosen the oil filter – be careful not to round the edges, and remember to have your drain pan in place to catch the old oil, which I like to think of as “giving my bike a new lease on life”.
- 4. Remove the oil drain plug and let the old oil flow into the drain pan – once the flow slows down, replace the plug and tighten it to the specified torque, making sure not to over-tighten, which can damage the threads – I’ve named my drain pan “Ol’ Reliable” for its ability to catch every last drop.
- 5. Move on to the oil filter, and use your oil filter wrench to remove it – be prepared for some residual oil to spill out, so keep your drain pan handy – take a moment to inspect the old filter, and then dispose of it responsibly, which I believe is an essential part of being a _responsible bike owner_.
- 6. Install a new oil filter, making sure it’s properly seated and hand-tightened – don’t over-tighten, as this can damage the filter or the engine, and remember to check your owner’s manual for the correct filter type and installation procedure – I always think of this step as “giving my bike a breath of fresh air”.
- 7. Refill the engine with the recommended type and amount of oil, using a _funnel_ to prevent spills – I’ve named my funnel “Finnley” for its ability to make this process mess-free, and take a moment to double-check the owner’s manual for any specific recommendations or guidelines.
- 8. Replace the oil filler cap, and start the engine, letting it run for a few minutes to circulate the new oil – take this opportunity to check for any leaks around the oil drain plug or filter, and make any necessary adjustments – I like to think of this step as “putting my bike through its paces”.
- 9. Finally, dispose of the used oil and filter responsibly, and take a moment to clean your tools and equipment – I always give my “trusted sidekicks” a good cleaning after a job well done, and store them away in their designated spots, ready for the next project.
A Guide to Motorcycle Maintenance
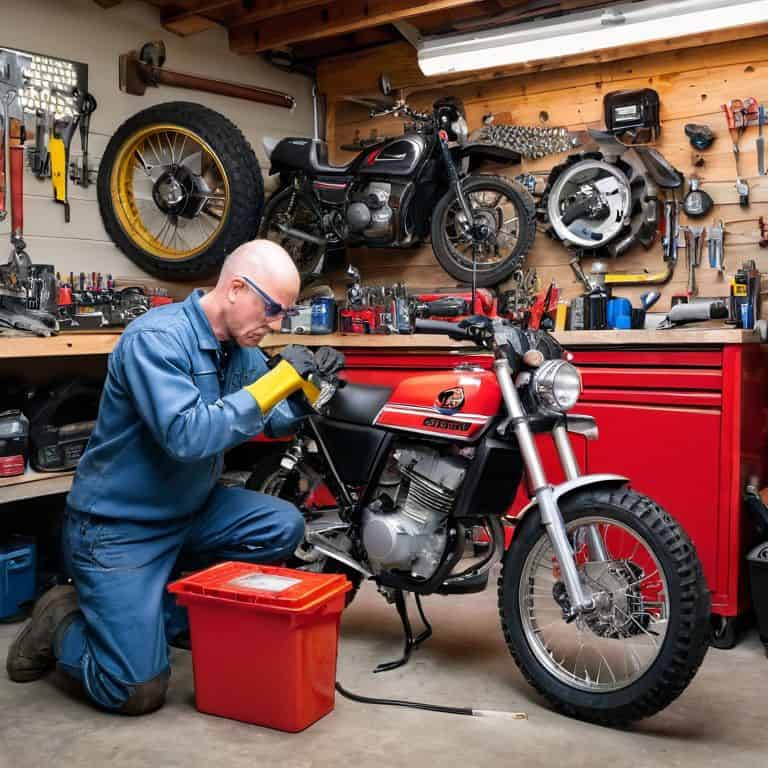
As I always say, regular motorcycle checkups are crucial to ensuring your bike runs smoothly and safely. I like to think of it as giving my motorcycle a little TLC – tender loving care. During these checkups, I make sure to inspect the brake pads, oil levels, and tire pressure. It’s also a good idea to keep an eye out for common motorcycle problems such as worn-out chains or faulty spark plugs.
When it comes to DIY repairs, having a well-stocked motorcycle tool kit is essential. I’ve named each of my tools, from “Bertha” the wrench to “Sparky” the spark plug socket. It may sound quirky, but it helps me stay organized and ensures I have everything I need to tackle any job. For beginners, I recommend starting with the basics: a socket set, pliers, and a multimeter.
Before storing your motorcycle for the winter, don’t forget to follow some motorcycle winterization tips. This includes draining the fuel tank, changing the oil, and covering the bike to protect it from the elements. By taking these extra steps, you’ll be able to hit the road again come springtime with a bike that’s purring like new. Remember, a little prevention goes a long way in maintaining your motorcycle’s health and performance.
Common Problems to Watch for
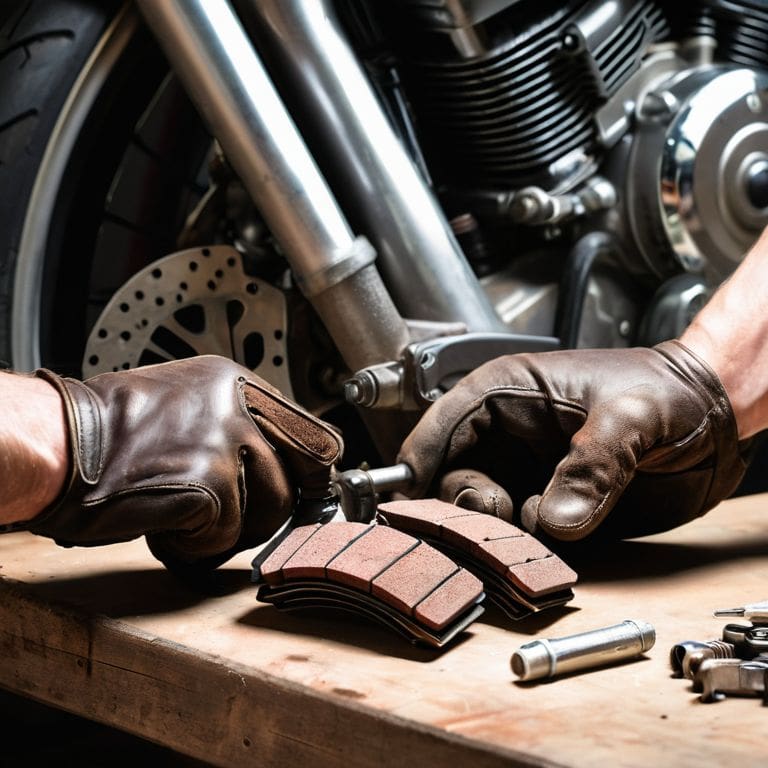
As I’ve learned from my own experiences and from my grandfather’s wisdom, regular maintenance can help you catch issues before they become major problems. One common issue to watch for is worn-out brake pads, which can lead to reduced stopping power and increased risk of accidents. I’ve seen it happen to some of my friends who neglected their bikes, and it’s a costly mistake to make.
Another problem area is the chain or belt drive, which can become misaligned or worn out over time, causing vibrations and uneven wear on other components. My trusty tool, “Bertha the wrench,” has helped me diagnose and fix many a misaligned chain. By keeping an eye out for these common problems, you can prevent more serious issues from arising and keep your motorcycle running smoothly.
Essential Tool Kit for Diy Repairs
My granddad always said, “A good mechanic is only as good as his tools.” I’ve found that to be true, especially when it comes to DIY motorcycle repairs. That’s why I’ve curated a list of essentials that’ll get you started. You’ll want a solid socket set, a torque wrench, and a multimeter for troubleshooting. I’ve named my trusty multimeter “Volty” – she’s been a lifesaver more times than I can count.
These basics will help you tackle most repairs, from oil changes to brake pads. Of course, the specific tools you need may vary depending on your bike, but these will give you a solid foundation. Now, I’m not saying you need to go out and buy every tool under the sun, but having these essentials on hand will make all the difference when you’re tweaking your ride.
Tuning Up Your Ride: 5 Key Tips for a Smooth Motorcycle Maintenance Experience
- Keep it Clean: Regularly washing your bike and cleaning hard-to-reach areas can prevent dirt and grime from building up and causing issues down the line
- Oil You Need: Changing your motorcycle’s oil regularly is crucial – I like to do it every 2,500 to 5,000 miles, depending on the type of oil and how I’ve been riding
- Brake for Safety: Check your brake pads and fluid levels often, and don’t hesitate to replace them if you notice any wear or damage – trust me, your safety is worth it
- Get a Grip: Proper tire pressure and tread depth can make all the difference in handling and safety – I always check mine before a long ride, just like my granddad taught me
- Listen to Your Bike: Pay attention to any unusual noises or vibrations – if something doesn’t sound right, it probably isn’t, so take the time to investigate and address the issue before it becomes a major problem
Key Takeaways for a Well-Maintained Ride
Regularly checking and maintaining your motorcycle’s tire pressure, oil, and brakes is crucial for optimal performance and safety, just like I learned from my granddad in our small Midwestern garage
Having an essential toolkit, including my trusty ‘Bertha’ wrench and ‘Maggie’ pliers, can help you tackle common problems and DIY repairs with confidence, whether you’re a seasoned mechanic or a beginner tinkerer
By following these guidelines and staying proactive, you’ll be able to identify and address potential issues before they become major problems, keeping your motorcycle purring like a contented beast and your garage a haven of creativity and innovation
Tuning In To Your Bike
A well-maintained motorcycle is not just a machine, it’s a trusted companion that needs regular tune-ups to hit all the right notes – and with the right guide, you can become the maestro of your garage!
John Beeler
Getting Your Hands Dirty: The Reward of Motorcycle Maintenance
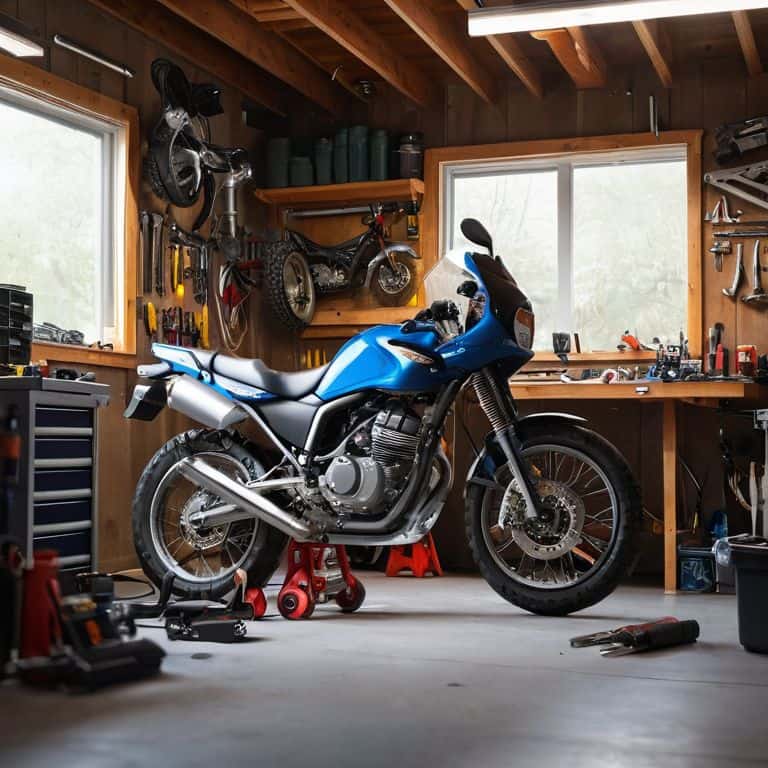
As we wrap up this guide to motorcycle maintenance, remember that the key to a smooth ride is regular upkeep. We’ve covered the main steps to keep your bike purring, from oil changes to tire checks, and dived into common problems to watch for, such as worn brake pads and faulty spark plugs. Having the right essential tool kit for DIY repairs can make all the difference, saving you time and money in the long run. By following these tips and staying on top of maintenance, you’ll not only ensure your motorcycle runs at its best but also build a deeper connection with your vehicle.
The real reward of motorcycle maintenance, though, isn’t just about keeping your bike in top shape – it’s about the sense of accomplishment you get from working with your hands. As someone who’s spent countless hours in the garage, tinkering with everything from vintage bicycles to modern motorcycles, I can tell you that there’s no feeling quite like the thrill of getting your hands dirty and bringing a machine back to life. So, the next time you’re tempted to leave the maintenance to someone else, remember that the journey is just as important as the destination, and that with every wrench turn, you’re not just fixing a bike – you’re creating a story.
Frequently Asked Questions
What are the most critical maintenance tasks to perform on my motorcycle to ensure it runs smoothly and safely?
Let’s get down to business! For a smooth and safe ride, I always say: check your tire pressure, oil, and brakes regularly. These are the lifeblood of your bike, and neglecting them can lead to big trouble. Trust me, I’ve seen it in my garage – a little TLC goes a long way in keeping your motorcycle purring like a contented beast!
How often should I check and replace the air filter in my motorcycle to maintain optimal performance?
Ah, great question! I check my air filter every 5,000 to 10,000 miles, depending on riding conditions. If it’s clogged or dirty, I swap it out with a new one – my trusty sidekick, ‘Suzie the Socket,’ helps me get the job done quickly. A clean air filter is key to keeping your bike running smoothly, just like my granddad taught me!
What are some common signs of wear and tear on motorcycle brakes that I should watch out for during regular maintenance checks?
Hey, keep an eye out for spongy brake levers, weird noises, and excessive wear on those pads – my trusty sidekick, Bertha the brake caliper wrench, has seen her fair share of worn-out brakes, and I’ve learned to recognize the signs, just like my granddad taught me back in the day!


