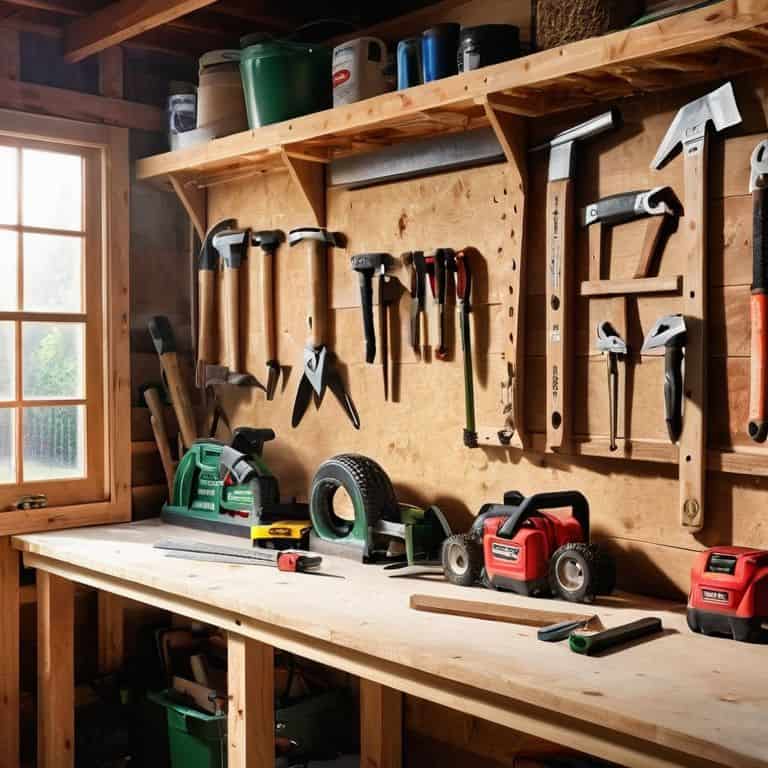
I still remember the day I stumbled upon a French cleat system in my grandfather’s garage, and it completely changed the way I thought about tool storage. At the time, I was struggling to keep my own tools organized, and the idea that I could create a customizable system to fit my specific needs was a total game-changer. As I delved deeper into the world of how to use a french cleat system for tool storage, I realized that many people believed it was only for large garages or professional workshops. But the truth is, this system can be adapted to fit any space, and it’s incredibly easy to set up.
In this article, I’ll share my personal experience and provide you with practical advice on how to implement a French cleat system in your own garage. You’ll learn how to assess your tool collection, design a layout that works for you, and install the system with ease. I’ll also cover some common pitfalls to avoid and offer tips on how to make the most of your new storage solution. By the end of this guide, you’ll be well on your way to creating a tool storage paradise that will make your garage the envy of all your friends. So, let’s get started and explore the world of French cleat systems together!
Table of Contents
Guide Overview: What You'll Need
Total Time: 2 hours 30 minutes
Estimated Cost: $50 – $100
Difficulty Level: Intermediate
Tools Required
- Drill (with screwdriver and drill bits)
- Level (to ensure proper alignment)
- Measuring Tape (for accurate measurements)
- Pencil (for marking walls and lumber)
- Saw (for cutting 2-in x 4-in lumber)
- Wrench (for tightening screws)
Supplies & Materials
- French Cleat Brackets (various sizes)
- 2-in x 4-in Lumber (for shelving and supports)
- Screws (1 inch and 2 inches long)
- Wall Anchors (for drywall or plaster walls)
- Wood Glue (for reinforcing joints)
Step-by-Step Instructions
- 1. First, let’s start by preparing the wall where we’ll be installing the French cleat system. This means clearing the area of any debris, dust, or old tool hooks that might be in the way. I like to use a level to ensure the wall is straight and a stud finder to locate the perfect spot for our cleats.
- 2. Next, we need to measure and mark the wall where we want to place our French cleats. I use a pencil to mark the spot, and then I double-check my measurements to make sure everything is even and accurate. It’s also a good idea to consider the weight and size of the tools you’ll be hanging, as this will affect the placement of your cleats.
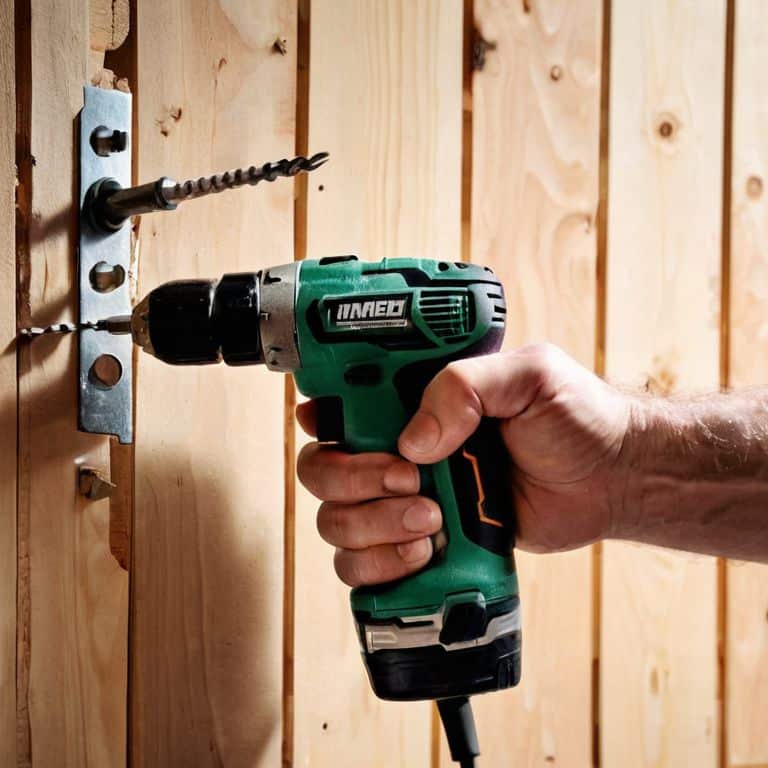
- 3. Now it’s time to drill pilot holes for our screws. I use a drill bit that’s slightly smaller than the screws themselves to avoid splitting the wood. Make sure to drill into the studs for maximum support, and use a level to keep your holes straight. This step is crucial for the stability of our French cleat system.
- 4. With our pilot holes drilled, we can now install the cleats. I use a screwdriver to drive the screws into the wall, making sure they’re snug but not over-tightened. It’s essential to leave a small gap between the cleat and the wall to allow for the hooks or bins that will hold our tools.
- 5. Once our cleats are in place, we can start adding the hooks and bins that will hold our tools. I like to use a variety of hooks and bins to accommodate different types of tools, from wrenches and pliers to screwdrivers and hammers. This is where the customization of our French cleat system really comes into play.
- 6. To make our tool storage system even more efficient, we can add labels to each hook or bin. I use a label maker to identify what tool goes where, making it easy to find what I need in a hurry. This step might seem minor, but it’s a game-changer for keeping our garage organized and clutter-free.
- 7. Finally, let’s test our system by hanging up our tools and making any necessary adjustments. I like to step back and admire my handiwork, making sure everything is level, secure, and easily accessible. This is also a good time to make any adjustments to the placement of our cleats or hooks to ensure they’re working as intended.
Garage Mastery With French Cleats
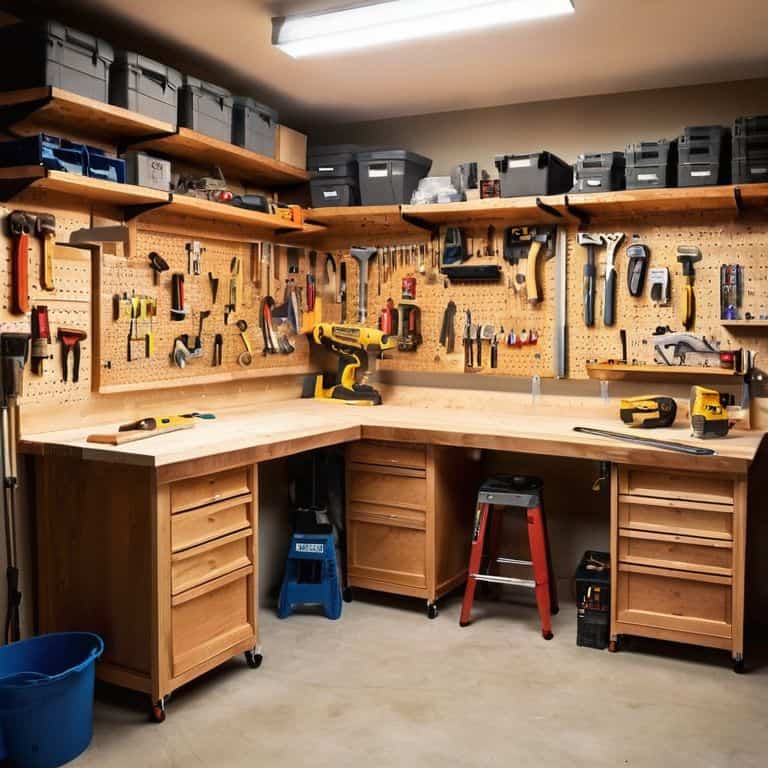
As I’ve delved deeper into the world of garage organization, I’ve come to realize that a french cleat system for garage organization is more than just a tool storage solution – it’s a gateway to a more efficient and enjoyable workshop experience. By providing a customizable framework for your tools, you can create a space that truly reflects your work style and preferences. I’ve found that maximizing storage with french cleats is all about striking a balance between accessibility and clutter reduction.
One of the most significant advantages of using french cleats is their ability to accommodate heavy tool storage. Unlike traditional pegboards, which can become cumbersome and even hazardous when overloaded, french cleat systems are designed to handle substantial weight with ease. This makes them an ideal choice for professionals and serious DIY enthusiasts alike. When it comes to diy french cleat installation tips, I always recommend taking the time to carefully plan your layout and consider the types of tools you’ll be storing.
By investing in an adjustable french cleat bracket system, you can create a truly flexible and adaptable storage solution that evolves with your needs. Whether you’re a woodworker, mechanic, or simply a hobbyist, the right french cleat system can help you unlock the full potential of your garage or workshop. As someone who’s passionate about customizable workshop storage solutions, I can attest to the fact that a well-designed french cleat system can be a total game-changer for your productivity and overall work experience.
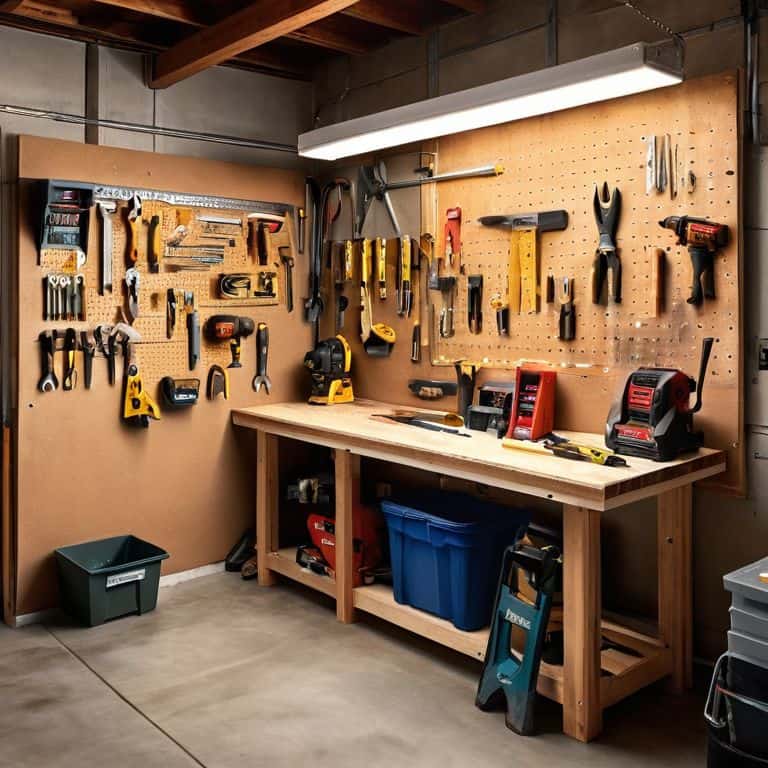
French Cleat vs Pegboard Which Reigns Supreme
When it comes to garage organization, two systems often come to mind: French cleats and pegboards. I’ve worked with both, and let me tell you, each has its strengths. Pegboards are great for quick tool access and versatility, but they can look cluttered and don’t always keep your tools as secure as you’d like. French cleats, on the other hand, offer a more customized and sleek approach to storage. With customizable brackets, you can create a tailored system that fits your specific tool set and keeps everything neatly in its place. For me, French cleats are the clear winner when it comes to creating a polished, professional-looking garage workspace.
Maximizing Storage With Customizable Brackets
Now that we’ve covered the basics of French cleat systems, let’s dive into one of my favorite ways to take garage organization to the next level: customizable brackets. I like to think of these as the secret ingredient in my garage’s tool storage recipe. By designing brackets that fit my specific tools, I can maximize every inch of wall space and keep my most-used gadgets within easy reach. My trusty sidekick, “Bertha the Band Saw,” has her own custom bracket, and let me tell you, it’s a real game-changer.
I’ve named each of my custom brackets after a notable figure in the world of mechanics – there’s “Newton’s Notch” for my level, “Archimedes’ Arm” for my wrench set, and “Da Vinci’s Dock” for my drill press. This not only adds a touch of personality to my garage but also helps me quickly identify where each tool goes. With customizable brackets, the possibilities are endless, and I love experimenting with new designs to fit my evolving tool collection.
5 Essential Tips to Supercharge Your French Cleat Tool Storage
- Measure Twice, Mount Once: Double-check your wall measurements and tool sizes to ensure a seamless installation
- Tool Tango: Pair Your French Cleat with Bins and Baskets for a clutter-free garage floor
- Level Up: Use a trusty level to guarantee your French cleat is perfectly horizontal, saving you headaches down the line
- Name That Tool: Label each tool and its corresponding hook or holder to maintain a tidy and organized workspace, just like I do with my trusty sidekicks, ‘Tighty’ the tape measure and ‘Wrenchy’ the adjustable wrench
- Evolve and Adapt: Don’t be afraid to adjust or add to your French cleat system as your tool collection grows – it’s all about flexibility and creativity in the garage
Key Takeaways for a French Cleat Tool Storage System
By implementing a French cleat system, you can significantly increase your garage’s storage capacity and keep your tools organized and within easy reach, making it a perfect solution for DIY enthusiasts and professionals alike.
Customizable brackets and a modular design allow for maximum flexibility, enabling you to tailor your storage to fit your specific needs and tool collection, whether you’re working on vintage bicycles or modern machinery.
Choosing a French cleat system over traditional pegboards can provide a more robust and adaptable storage solution, allowing you to efficiently manage your tools and focus on the projects that matter most, from restoring old bikes to inventing new gadgets.
Unlocking Garage Potential
A French cleat system is more than just a tool storage solution – it’s a key to unlocking your garage’s full potential, allowing you to transform a cluttered space into a workshop that sparks creativity and productivity.
John Beeler
Unleashing Garage Greatness
As we wrap up this journey into the world of French cleat systems, let’s take a moment to reflect on the key takeaways. We’ve covered the basics of how to use a French cleat system for tool storage, dived into the step-by-step process of setting it up, and even explored the garage mastery that can be achieved with customizable brackets. Whether you’re a seasoned DIY enthusiast or just starting to organize your garage, the French cleat system offers a versatile and efficient way to store your tools, keeping them within easy reach and making your workspace more productive.
So, as you embark on your own garage transformation journey, remember that it’s not just about the tools or the systems you put in place – it’s about unleashing your creativity and turning your garage into a haven of innovation. With a French cleat system as your foundation, the possibilities are endless, and I’m excited to see what you create. Happy building, and don’t forget to share your garage makeover stories – I’m always eager to see how others are turning their garages into playgrounds of creativity and innovation!
Frequently Asked Questions
What are the most common types of tools that can be stored using a French cleat system?
You know, I’ve found that a French cleat system is super versatile – I use it to hang everything from my trusty socket set, Bernie, to my level, Larry. It’s also great for storing wrenches, pliers, and even my granddad’s old workshop lights, Lola and Leo. Really, any tool with a suitable hook or bracket can find a home on my French cleat wall!
How do I determine the optimal spacing between French cleats for my specific tool collection?
To determine the optimal spacing, I lay out my tools on a workbench, grouping similar items together. Then, I measure the width of each group and add a bit of extra space for easy access. My trusty tape measure, ‘Bertha,’ helps me get the exact measurements. This approach ensures my French cleats are spaced just right for my unique tool collection.
Can a French cleat system be used in conjunction with other storage solutions, such as cabinets or shelving, for a hybrid garage organization approach?
Absolutely, I’m a big fan of mixing and matching storage solutions. In my own garage, I use French cleats alongside cabinets and shelving to create a hybrid system that’s tailored to my needs. It’s all about finding the right balance and making the most of your space – my trusty level, ‘Bertha’, helps me ensure everything is perfectly aligned!


