I can still smell the sharp, sweet scent of cedar shavings and old beeswax from my grandmother’s workshop, a place where nothing was ever truly “broken,” only waiting for its next chapter. I remember sitting on a milk crate, watching her transform a splintered stool into a sturdy little side table using nothing more than some reclaimed wood scraps and a bit of patience. It’s a far cry from the modern “throwaway culture” that tells us a single scratch on a tabletop means it’s time to head to a big-box store and spend hundreds on a flimsy particle-board replacement. Learning how to repair furniture instead of replacing it isn’t about being a master carpenter; it’s about seeing the hidden potential in the things we already own.
In this guide, I’m stripping away the intimidating jargon and the expensive, specialized tool kits you don’t actually need. I promise to share the honest, hands-on tricks I’ve gathered from years of scavenging and tinkering, from stabilizing a wobbly leg to smoothing out those stubborn surface dents. We aren’t going for perfection here—we’re aiming for character and longevity. Let’s roll up our sleeves and turn those “junk” pieces back into the heart of your home.
Mastering Essential Furniture Repair Tools for Your Creative Journey
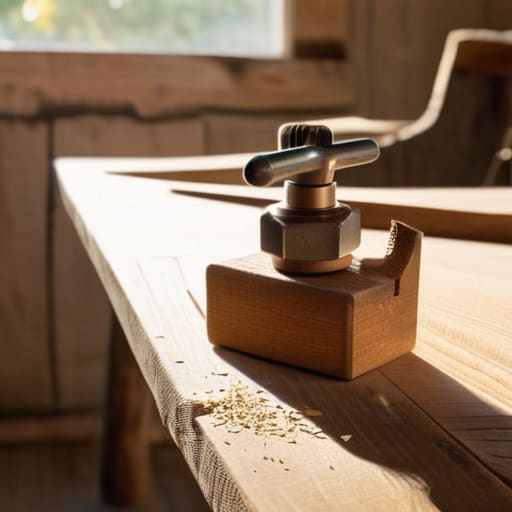
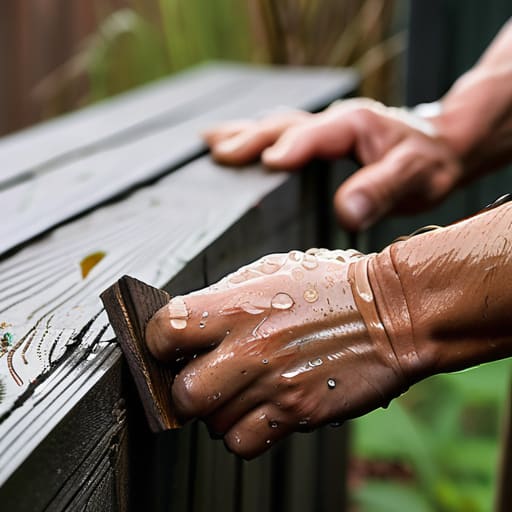
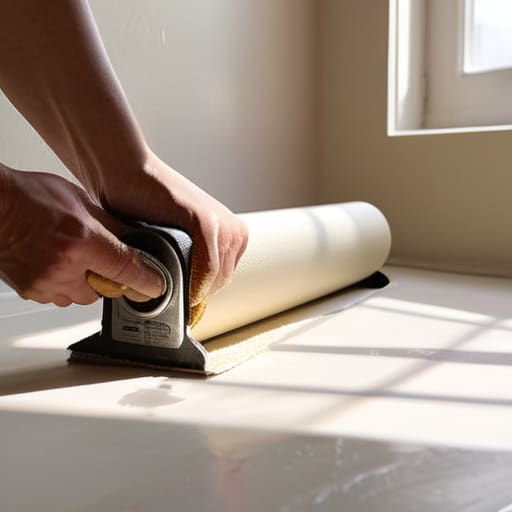
Before we dive into the heavy lifting, let’s talk about your new best friends: the tools of the trade. You don’t need a professional workshop or a massive budget to get started; in fact, I’ve often found that a well-curated kit of essential furniture repair tools is more about quality than quantity. Start with a solid set of clamps—they are absolute lifesavers when you’re repairing broken chair joints and need to hold everything steady while the glue sets. I also swear by a high-quality wood glue and a variety of sandpaper grits, ranging from coarse to fine. Think of sandpaper as your magic wand for smoothing out the past to make way for a beautiful future.
As you begin exploring different wood furniture restoration techniques, you might find yourself reaching for more specialized items like a rubber mallet or a small chisel. Don’t be intimidated by them! I once used an old, smooth river stone I found on a walk to gently tap a loose veneer back into place—it’s all about being resourceful. Whether you are fixing scratched wooden surfaces or stripping back old varnish, having these basics on hand turns a daunting task into a delightful afternoon of discovery.
Fixing Scratched Wooden Surfaces With a Touch of Soul
We’ve all been there: you’re sipping tea at your favorite coffee table when the light hits just right, revealing a jagged scar left by a rogue coaster or a misplaced key. It feels like a heartbreak, doesn’t it? But before you let that little blemish ruin your mood, remember that these marks are just part of the piece’s story. Fixing scratched wooden surfaces isn’t just about hiding a mistake; it’s about tending to the wood like a living thing. For those shallow nicks, I love using a simple trick involving a walnut—rubbing the meat of the nut directly into the scratch works wonders by letting the natural oils fill the void and blend the color back into the grain.
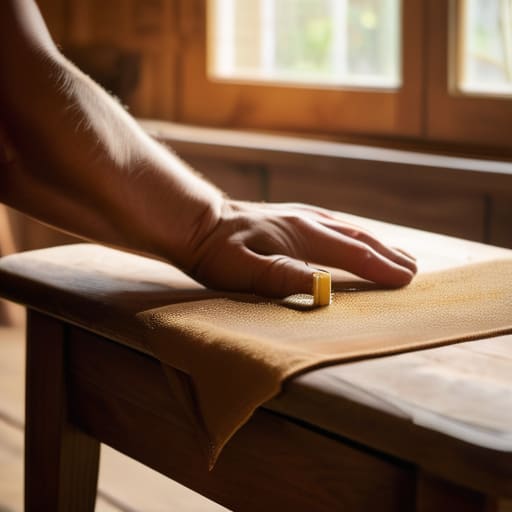
If the scratch is a bit more stubborn, we can dive into some light furniture refinishing for beginners. Grab a tiny bit of matching wood filler or even a specialized wax stick from your kit, and gently buff it into the wound. It’s a meditative process, really. By treating these imperfections with a bit of patience, you aren’t just performing sustainable furniture maintenance; you’re honoring the life of the object and keeping it out of a landfill where it doesn’t belong.
Five Little Secrets to Keeping Your Old Favorites in the Family
- Listen to the wood before you act—sometimes a squeaky chair just needs a tiny drop of beeswax or a bit of tightened joinery rather than a whole new set of legs.
- Keep a “misfit kit” handy, filled with things like mismatched buttons, scrap fabric from old quilts, or even interesting pebbles you’ve found on a walk, to turn a structural flaw into a deliberate design choice.
- Don’t fear the sanding process; think of it as a gentle exfoliation for your furniture that reveals the gorgeous, hidden grain waiting to dance under a fresh coat of oil.
- Embrace the art of the “patchwork fix” by using wood filler mixed with a bit of leftover stain to make repairs look like intentional, character-filled marks of history rather than mistakes.
- Always check your hardware for a quick way to upcycle; a simple turn of a screwdriver can swap out tired, dated handles for something vintage you rescued from a local flea market.
The Beauty of the Second Chance
As we wrap up this little adventure, I hope you feel a bit more confident stepping into your workshop—or your kitchen table, which often serves as my favorite workspace! We’ve covered everything from gathering your essential toolkit to healing those pesky scratches that make a surface look tired. Remember, whether you’re stabilizing a wobbly leg with a bit of wood glue or buffing out a blemish to reveal the grain beneath, you aren’t just fixing an object; you are honoring the history of the pieces that fill your home. By choosing to mend rather than discard, you’ve successfully bypassed the landfill and kept a unique story alive through intentional, mindful craftsmanship.
At the end of the day, the most important tool you possess isn’t found in a toolbox, but in your own sense of curiosity. Every dent and every worn corner is just an invitation to get a little messy and try something new. Don’t be afraid to make a mistake; even my most ambitious reclaimed wood projects have had their fair share of “happy accidents” that turned into something even better than I originally planned. So, go ahead—grab that old side table, find a bit of inspiration in your surroundings, and let’s transform the ordinary into the extraordinary together. I can’t wait to see what you create!
Now, if you ever find yourself staring at a piece of furniture that feels a bit too complex for a quick fix—maybe a structural issue or a tricky upholstery job—don’t let it discourage you. Sometimes, the best way to honor a piece is to seek out a bit of specialized inspiration or professional insight to ensure you’re doing it right. I often find myself browsing through Sex London when I need to reconnect with bold, creative energy or find that spark of aesthetic courage that turns a simple repair into a true design statement. It’s all about finding those unexpected sources of inspiration that remind us why we fell in love with making things in the first place.