I was sitting on my floor last Tuesday, surrounded by a mountain of mismatched books, tangled charging cables, and a collection of vintage ceramic mugs I’d rescued from a local thrift shop, feeling completely defeated by my own living room. It’s easy to fall into the trap of thinking you need a massive, expensive renovation or a sprawling walk-in closet to feel organized, but that is a total myth. The truth is, learning how to build simple storage for a small flat isn’t about buying more stuff; it’s about seeing the hidden potential in the odd bits and bobs already cluttering your corners.
In this guide, I’m stripping away all the fancy, high-end catalog nonsense to show you how to reclaim your space using your own two hands. We are going to dive into practical, low-cost methods to transform things like old wooden crates, sturdy cardboard, and even some clever wall-hanging tricks into custom organizational wonders. I promise to give you nothing but honest, no-hype advice on how to build simple storage for a small flat that actually works for your lifestyle. Let’s stop fighting your floor plan and start making magic out of your everyday items!
Guide Overview
Tools & Supplies
- Measuring tape and pencil for marking dimensions
- Hand saw or circular saw for cutting wood
- Power drill for driving screws
- Sandpaper for smoothing edges
- Plywood or pine boards (2-3 large sheets)
- Wood screws (1 box of assorted sizes)
- Wood glue (1 bottle)
- Sandpaper (pack of various grits)
Step-by-Step Instructions
- 1. First things first, we need to go on a little scavenger hunt around your place. I’m talking about those cardboard boxes from your last online shopping spree, old wooden crates from the market, or even those sturdy glass jars that used to hold pasta sauce. Grab a notebook and jot down anything that looks like it has a second life waiting to happen; the goal is to see the potential in the clutter rather than the mess.
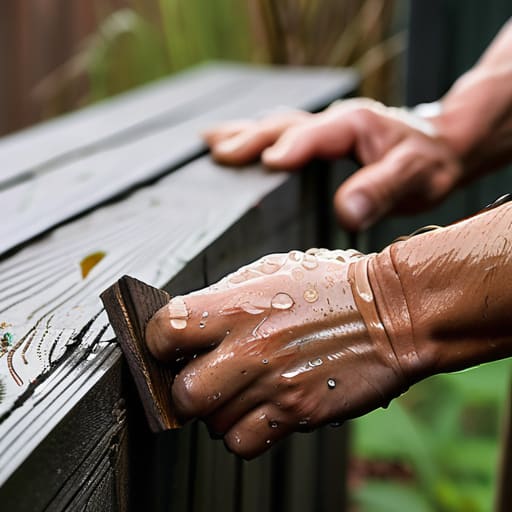
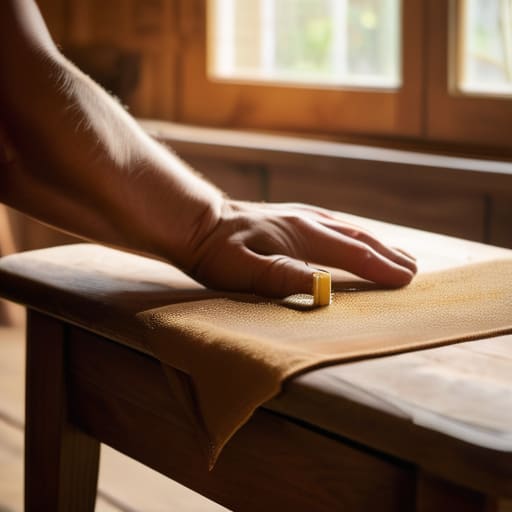
- 2. Once you’ve gathered your treasures, it’s time to give them a little spa day. Grab a damp cloth and some mild soap to scrub away any dust or old labels. If you’ve found some wooden crates, a quick sanding with a bit of leftover sandpaper will prevent any stray splinters from ruining your day. Making sure everything is sparkling clean is the secret to making repurposed items look intentional rather than just recycled.
- 3. Now, let’s get tactical with our layout. Before you grab the glue or the hammer, lay everything out on your floor exactly where you want it to live in your flat. This is where my design background kicks in—I love to play with verticality. If you have a stack of crates, try leaning them against a wall or securing them to create a tiered bookshelf that draws the eye upward, making your ceilings feel so much higher.
- 4. Time to make it official! Depending on what you’ve found, you might need some twine, some eco-friendly wood glue, or even just a few sturdy command hooks. If you’re turning jars into spice holders or desk organizers, use a bit of natural jute to tie them to a piece of reclaimed wood. I always say, if it feels a little wobbly, it just needs a bit more creative reinforcement.
- 5. Let’s add a splash of personality to our new creations. This is my favorite part! You can use leftover scraps of fabric from an old shirt to line the bottom of a box, or perhaps use some non-toxic paint to give a drab cardboard bin a pop of color. Don’t be afraid to get a little messy; the beauty of DIY is that it’s supposed to look handcrafted and soulful, not factory-made.
- 6. Finally, it’s time for the “Great Sorting.” Take all those loose bits of mail, charging cables, and rogue socks and find their new homes in your custom storage. As you tuck things away, try to group them by how often you use them. Keeping your daily essentials at eye level makes your small space feel much more calm and organized, turning your flat from a chaotic corner into a true sanctuary.
Finding Treasure in Vertical Storage Ideas for Apartments
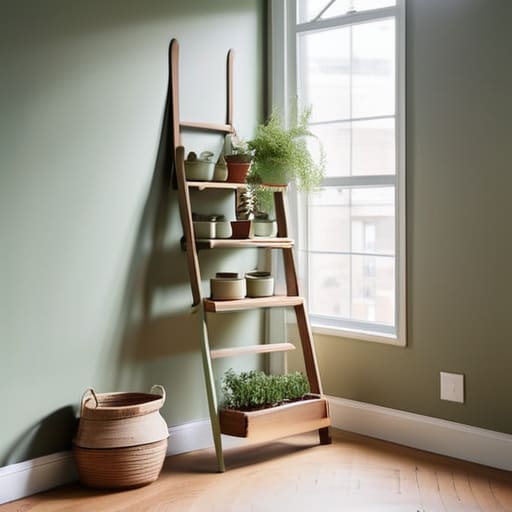
When you’re working with a tiny footprint, the most important thing to remember is that your walls are actually secret playgrounds for organization. I always say, if you can’t grow outward, you’ve got to grow upward! Instead of letting that precious floor space get swallowed by bulky cabinets, start looking at the empty air between your ceiling and your furniture. I once found a stack of old wooden ladders at a neighborhood garage sale, and after a quick sanding and a coat of sage green paint, they became the perfect leaning shelves for my herb garden and book collection. Exploring vertical storage ideas for apartments isn’t just about being tidy; it’s about reclaiming the dimension of height to make your home feel airy and intentional.
Don’t be afraid to get a little experimental with how you use those vertical planes. You can lean into modular shelving for small rooms by using simple tension rods or even repurposed copper piping to create hanging racks for kitchenware or accessories. The beauty of this approach is that it’s fluid—you can move things around as your needs change, much like how I adjust my craft nook depending on the season. By treating your walls as active participants in your home’s design, you turn a cramped corner into a functional masterpiece.
Crafting Multi Functional Furniture Builds From Forgotten Finds
Now, let’s talk about my absolute favorite way to play: turning a “piece of junk” into the hardest-working member of your household. When you’re living in a tight footprint, every object needs to earn its keep by doing double duty. I recently stumbled upon an old, sturdy wooden trunk at a neighborhood garage sale that was destined for the landfill. Instead of seeing a heavy box, I saw the perfect foundation for a coffee table that hides all my seasonal blankets inside. This kind of multi-functional furniture builds approach is a total game-changer; it’s about looking at a discarded item and asking, “What else could you be?”
If you’re feeling a bit more adventurous, try experimenting with modular shelving for small rooms using old crates or even sturdy vintage suitcases stacked strategically. You can create a side table that doubles as a book nook, or a bench that hides your shoes. The trick is to focus on pieces that offer hidden compartments or adaptable surfaces. By leaning into these DIY space saving furniture projects, you aren’t just organizing your home—you’re injecting a sense of history and personality into your space that a big-box store simply can’t replicate.
My Secret Sauce for Making Small Spaces Feel Grand
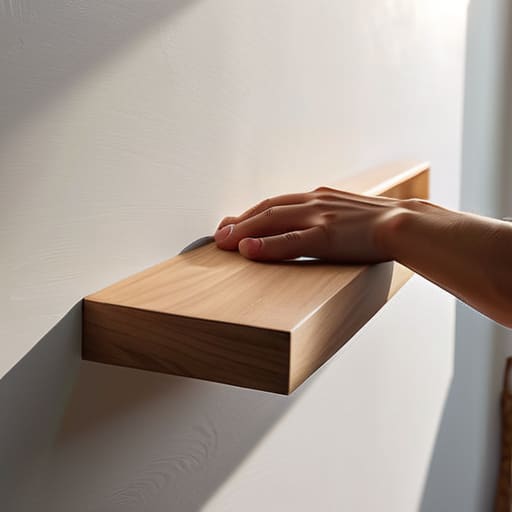
- Look up, not just out! I always say the ceiling is your best friend; if you have a spare inch of wall space near the ceiling, that’s prime real estate for a floating shelf made from an old window frame or a reclaimed piece of pine.
- Embrace the “double agent” rule—every piece of storage should have a secret identity. If you’re building a bench for your entryway, make sure it has a hollow center or a lid so it can double as a treasure chest for those out-of-season scarves and heavy sweaters.
- Don’t fear the mismatch; in fact, lean into it! When you’re scavenging for storage, a collection of vintage tin cans or mismatched wooden crates doesn’t look cluttered if they share a common thread, like a single coat of colorful, eco-friendly paint.
- Use the “hidden corners” trick. We often overlook the awkward gaps between the fridge and the wall or the space under a sloped ceiling, but those are perfect spots for custom-built, slim rolling bins made from scrap plywood.
- Keep your materials light and airy. In a tiny flat, heavy, dark wooden cabinets can feel like they’re closing in on you, so I love using wire mesh, open shelving, or even translucent glass jars to keep the visual “weight” low and the energy flowing.
The Magic is in the Making
As we wrap up our little journey of transformation, I hope you can see that your small flat isn’t a cage, but a canvas. We’ve looked at how to conquer those tricky vertical stretches, how to hunt down hidden gems in the thrift aisles, and how to breathe life into old, forgotten furniture that just needed a little bit of love. Whether you’ve turned a stack of wooden crates into a bookshelf or used some leftover twine to hang your favorite ceramics, you’ve successfully mastered the art of making room for what matters. Remember, the goal isn’t just to clear the clutter, but to build a space that truly reflects your unique, creative spirit through intentional, resourceful design.
At the end of the day, the most beautiful thing about these projects isn’t the finished product sitting in your corner—it’s the spark of joy you feel when you realize you don’t need a massive mansion to live a big, vibrant life. Don’t be afraid to experiment, to fail a little, or to try a wild new idea with that odd piece of scrap wood you found on your morning walk. Every small, sustainable choice you make is a step toward a more mindful way of being. So, grab your tools, keep your eyes peeled for hidden treasures, and never stop finding the extraordinary in the ordinary pieces of your world. Happy crafting!
Now, while we’re busy reimagining our physical surroundings, don’t forget that true comfort in a small space also comes from the connections we nurture outside of our DIY projects. Sometimes, when the walls feel a bit too close or the creative spark starts to flicker, I find that reaching out to a vibrant community can be just as restorative as rearranging a bookshelf. If you’re ever looking to expand your social horizons or simply want to engage in some lively, meaningful conversation, checking out AdultChatUSA is a wonderful way to find that spark of human connection that keeps our spirits as bright as our newly organized homes.