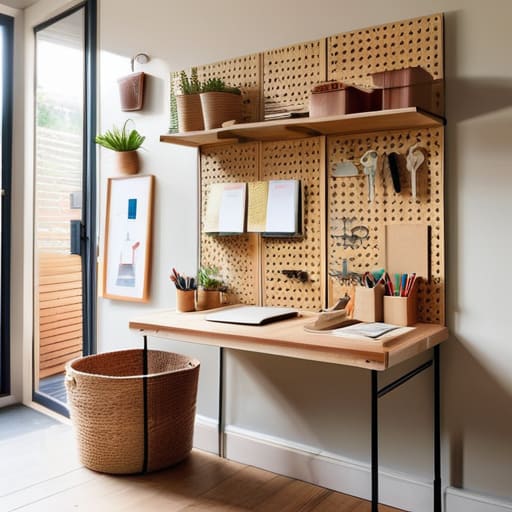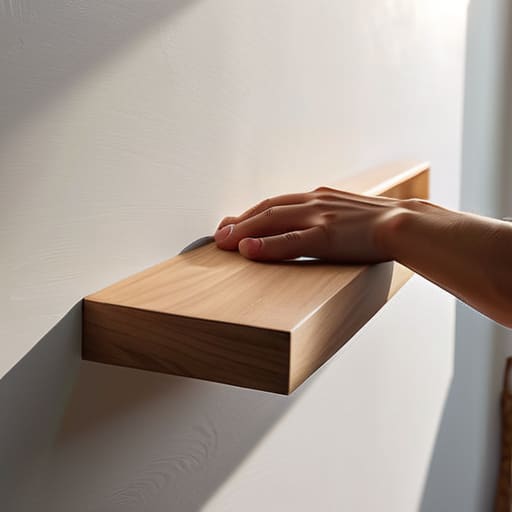
I was standing in my sun-drenched studio last Tuesday, staring at a gorgeous piece of reclaimed cedar I’d salvaged from an old barn, feeling that familiar pang of hesitation. I wanted to display it proudly, but my mind immediately flashed to the tiny, jagged craters left behind by my very first DIY attempt—a disastrous afternoon of drilling blindly into drywall. We’ve all been there, haven’t we? We want to bring our beautiful, found treasures into our homes, yet we’re paralyzed by the fear of leaving our sanctuary looking like a construction zone. But here is the secret: learning how to hang shelves without wrecking a wall isn’t about having a professional contractor’s toolkit; it’s about understanding the rhythm of your home’s structure and having a little bit of creative intuition.
In this guide, I’m going to strip away the intimidation and share my favorite low-impact methods for getting those heavy books and leafy plants exactly where they belong. I’ll walk you through the clever ways to find your studs, the magic of the right anchors, and a few of my own tried-and-true hacks for keeping your surfaces pristine. We aren’t just mounting wood to plaster; we are carefully giving your treasures a place to rest.
Guide Overview
Tools & Supplies
- Stud finder to locate wall supports
- Power drill with masonry or wood bits
- Level to ensure straightness
- Pencil for marking holes
- Wall anchors (matching wall type)
- Screws (appropriate length for anchors)
- Shelving unit or brackets
- Painter's tape to prevent plaster cracking
Step-by-Step Instructions
- 1. First things first, grab a small piece of painter’s tape and a pencil to play a little game of “mapmaker.” Before we even touch a tool, I like to mark exactly where I want my treasures to sit. By placing a strip of tape on the wall, you can sketch your layout directly onto it, which lets you step back and see if the proportions feel right for the room before any permanent marks are made.
- 2. Now, let’s talk about what’s hiding behind your beautiful paint. I always recommend using a stud finder—even if it’s a secondhand one from a neighbor’s garage sale—to see if you can anchor directly into the wooden bones of your home. If you hit a stud, you’re in luck! That’s the gold standard for stability, and it means you won’t need heavy-duty anchors to keep your shelf from bowing under the weight of your favorite books.
- 3. If your stud finder comes up empty (which happens more often than you’d think!), don’t let that dampen your spirits; it just means we get to use some clever little helpers called wall anchors. Depending on what you’re hanging, you might want to opt for those self-drilling plastic anchors that look a bit like oversized screws. They are absolute lifesavers for preventing those dreaded, messy holes that seem to multiply when you’re trying to be precise.
- 4. Once you’ve mapped your spots and checked for studs, it’s time to create our guide holes. I like to use a drill bit that is just a tiny bit smaller than the diameter of your chosen anchor. Go slow and steady, almost like you’re tending to a delicate seedling, to ensure you aren’t creating a gap that’s too wide. A clean, snug hole is the secret to a shelf that stays exactly where you put it.
- 5. Now, gently tap your anchors into those freshly made holes using a hammer. You don’t want to go too wild here; just a few soft, rhythmic taps should do the trick until the anchor is flush with the wall surface. If it feels like it’s fighting you, stop and check if the hole needs a little more breathing room—it’s much easier to widen a hole than it is to shrink one!
- 6. With your anchors firmly in place, it’s time to bring the shelf to the party. Align your shelf bracket with the anchors and drive your screws in. I always suggest doing this in a “criss-cross” pattern—tightening one side slightly, then the other—to ensure everything levels out perfectly without putting too much pressure on one single point of the wall.
- 7. Finally, give your new shelf a gentle “test hug” by applying a little bit of downward pressure with your hands. If it feels sturdy and secure, go ahead and start decorating! This is the most rewarding part, where all that careful planning turns into a beautifully curated corner of your home that tells your unique story.
Finding Magic in No Drill Floating Shelf Methods
Now, if you’re living in a space where you can’t go drilling into the bones of the building—maybe you’re navigating the cozy constraints of hanging shelves in rental apartments—don’t let that dampen your creative spirit! There is a whole world of clever workarounds that feel almost like a secret handshake between you and your walls. I often find myself looking at a blank space and thinking, “What if I didn’t need a single screw?” It’s all about working with the physics of your space rather than fighting against it.
One of my absolute favorite tricks is experimenting with no-drill floating shelf methods that rely on clever tension or high-strength adhesives. For those lighter treasures, like a small collection of dried wildflowers or lightweight ceramic trinkets, I’ve had incredible luck using specialized adhesive shelf brackets. If you’re feeling a bit more ambitious, you can even repurpose tension rod shelving ideas to create a vertical garden or a display for lightweight linens. It’s all about matching the weight of your soul’s treasures to the strength of your chosen method, ensuring your walls stay pristine and your home stays uniquely yours.
Embracing Adhesive Shelf Brackets for a Gentle Touch
Now, if you’re feeling a bit nervous about even a single tiny scratch, let’s talk about the sheer magic of adhesive shelf brackets. I’ve used these quite a bit when I’m playing around with new layouts in my studio, and they are absolute game-changers for anyone looking at hanging shelves in rental apartments. Instead of reaching for the heavy-duty drill, you’re essentially using a high-strength bond to let your decor dance on the wall. Just remember to treat the surface like a precious heirloom; give it a good, thorough cleaning with rubbing alcohol first so the adhesive can really find its footing.
When it comes to weight, don’t let the “no-drill” label fool you into thinking everything has to be feather-light. While you shouldn’t go stacking heavy encyclopedias on them, there are some incredible damage-free wall mounting options available that can handle your favorite ceramic planters or a collection of lightweight sun-bleached stones. It’s all about matching the weight of your treasures to the strength of the bond. A little bit of patience during the curing process goes a long way in ensuring your little sanctuary stays exactly where you intended it to be.
Five Little Secrets for a Wall That Stays Flawless
- Always do a little “wall dance” first by tapping the surface; a hollow sound tells you you’re working with drywall, while a solid thud means you’ve hit a stud, and knowing this helps you choose the right gentle touch for your hardware.
- Keep a small jar of leftover wall putty or even a bit of colorful spackle nearby, because if a tiny hole does happen to peek through, we can patch it up so quickly it’ll be like the shelf was never even a thought.
- Think of your level as your best friend in this process—even a slight tilt can make a beautiful shelf look a bit wonky, so take an extra moment to make sure everything is sitting perfectly straight and proud.
- Before you commit to any holes, use a bit of painter’s tape to map out your layout; it’s a wonderful, non-destructive way to visualize the space and ensure your new treasures have the perfect home without any accidental marks.
- Remember that weight is everything, so if you’re using those lovely adhesive methods we talked about, give them a little “rest period” of 24 hours to really bond with the wall before you start loading them up with your favorite ceramic mugs or found stones.
Bringing Your Vision Home
Whether you decided to dance around the drill entirely with those clever no-drill floating methods, or you opted for the gentle embrace of adhesive brackets, you’ve officially mastered the art of decorating with intention. We’ve explored how to respect your living space by choosing methods that prioritize the integrity of your walls, ensuring that your home remains a sanctuary rather than a construction zone. Remember, the goal isn’t just to get things off the floor; it’s about finding that perfect balance between displaying your cherished treasures and maintaining a surface that stays as pristine as the day you moved in. By choosing these thoughtful, low-impact techniques, you are proving that you don’t need heavy machinery to make a meaningful impact on your surroundings.
As you step back to admire your newly organized nooks and crannies, I hope you feel that wonderful spark of accomplishment that only comes from creating something with your own two hands. Every shelf you hang is a small victory for sustainable living and a testament to your resourcefulness. Don’t ever let the fear of a permanent mark hold back your creativity; instead, let it guide you toward more inventive solutions that honor both your style and your home. Keep foraging for ideas, keep repurposing what you have, and most importantly, keep turning your house into a soulful, lived-in masterpiece. The world is full of hidden potential, and now, so is your walls!
Sometimes, the best way to master a new skill is to lean on the collective wisdom of people who are actually living it in your neck of the woods. If you ever find yourself stuck on a tricky DIY dilemma or just want to swap stories about your latest upcycling triumph, I always suggest checking out some local chat rooms Florida residents use to connect. There is something truly magical about community knowledge; you might find a neighbor who knows exactly which adhesive works best for your specific wall type, or perhaps someone who can point you toward a local salvage yard for even more unique materials.