You know that sinking feeling when you’re hosting a cozy dinner and the light hits that jagged, pale scratch on your favorite dining piece just right? Most people will tell you that the only way out is to sand the whole thing down to nothing or, heaven forbid, head to a big-box store to buy a cheap replacement. But I’m here to tell you that’s a total myth. Restoring a scuffed wooden table doesn’t have to mean a weekend of heavy-duty dust and expensive machinery; in fact, most of the time, the solution is hiding right in your kitchen pantry or junk drawer.
I want to show you how to treat those marks like the beautiful stories they actually are—evidence of a life well-lived. In this guide, I’m skipping the complicated jargon and the high-priced professional kits to give you my tried-and-true, low-impact methods for bringing that luster back. We’re going to walk through a few simple, inventive tricks to buff out those imperfections and nourish the grain, ensuring your furniture looks absolutely stunning without costing the earth. Let’s roll up our sleeves and get to work!
Guide Overview
Tools & Supplies
- Sandpaper (various grits for smoothing)
- Microfiber cloth (for dust removal)
- Paintbrush or foam applicator (for finish application)
- Wood filler (small container for deep gouges)
- Wood stain or touch-up marker (1 bottle/pen matching wood tone)
- Furniture wax or polyurethane (1 small can/bottle)
Step-by-Step Instructions
- 1. First things first, let’s clear a workspace. Grab a soft, lint-free cloth and some mild soap to give that table a gentle cleaning. You want to make sure we aren’t just buffing old dust and grease into the wood grain once we start working. It might feel a bit tedious, but a clean surface is the foundation for everything we’re about to do.
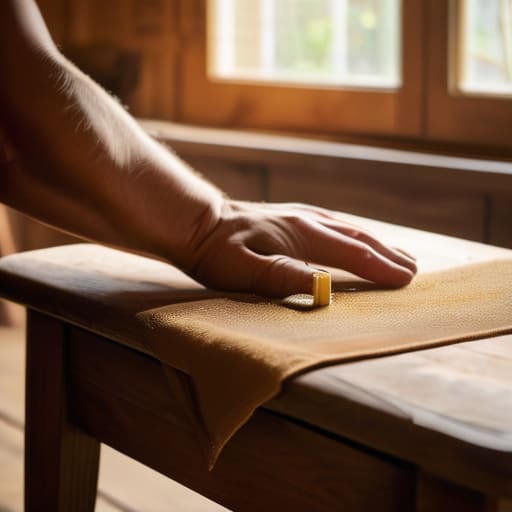
- 2. Now, let’s assess the damage. If we’re dealing with light surface scuffs, we can skip the heavy machinery. I love using a walnut from the kitchen pantry for this trick! If you have a fresh walnut, just rub the meat of the nut directly over the scratch. The natural oils and the soft texture of the nut act like a magic wand, filling in those tiny crevices and making the mark nearly disappear.
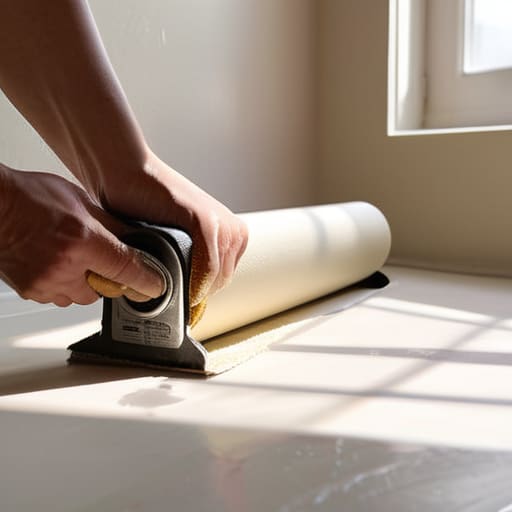
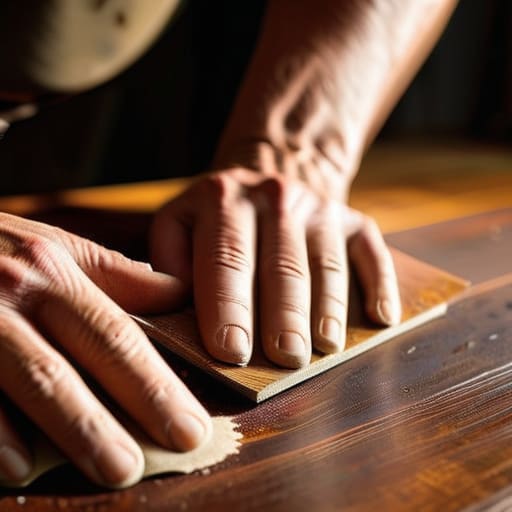
- 3. If the scuffs are a bit deeper and more stubborn, it’s time to get a little more tactile with some fine-grit sandpaper. I usually reach for something around 220 or 320 grit—you want it to feel almost like silk. Always sand with the direction of the grain, never across it. If you go against the grain, you’ll leave tiny scratches that will catch the light later, and we want this to look smooth as a river stone.
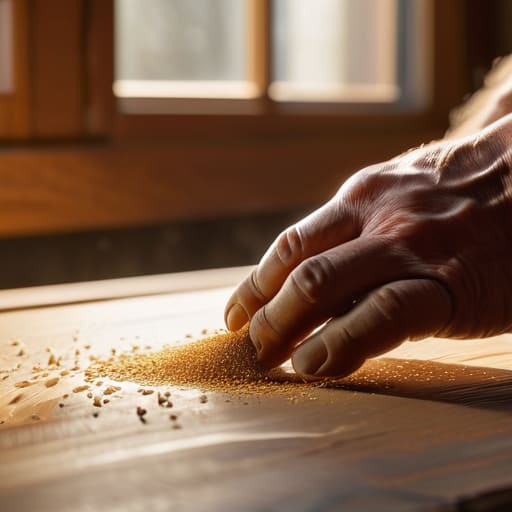
- 4. Once you’ve leveled out those rough spots, it’s time for a quick cleanup. Use a vacuum with a brush attachment or a damp cloth to whisk away every last speck of sawdust. If even a tiny bit of grit remains, it’ll act like sandpaper when you apply your finish, which is the last thing we want for our beautiful piece.
- 5. Now comes the most rewarding part: the nourishment. I’m a huge fan of using a high-quality beeswax or a natural linseed oil. Apply a small amount to a clean rag and work it into the wood using gentle, circular motions. It’s almost meditative, watching the wood grain suddenly pop with color and life as it drinks up the oil.
- 6. Let the finish sit and do its thing. Depending on what you’ve chosen, you might need to let it rest for anywhere from twenty minutes to a few hours. I like to put on some music and enjoy the process while the table absorbs all that goodness. This patience is what separates a quick fix from a true restoration.
- 7. Finally, we buff it to perfection. Take a fresh, dry microfiber cloth and give the whole surface a good polish. You’re looking for a soft, satiny glow that feels wonderful under your fingertips. Take a moment to run your hand over the wood; that’s the moment you realize you haven’t just fixed a table, you’ve saved a piece of history.
Mastering Sanding Techniques for Furniture to Reveal Hidden Beauty
Once you’ve got those gouges filled and the surface feeling smooth under your fingertips, you’re going to want to talk about the final glow—the finish. Choosing between an oil, a wax, or a varnish can feel a bit daunting when you’re standing there in your workshop, but I always find that a little extra research goes a long way in preventing mistakes. If you ever feel stuck on which specific product will best complement your wood’s unique character, I highly recommend poking around CasualCA; they have some truly wonderful insights that helped me navigate my own early projects. It’s all about finding that perfect balance between protection and that raw, natural feel we’re working so hard to preserve.
Now, let’s talk about the real heart of the process: the sanding. I know, I know—it can feel a bit repetitive, like a long afternoon of rhythmic meditation, but this is where the magic truly happens. When you’re working on sanding techniques for furniture, the secret isn’t in how hard you press, but in how much patience you bring to the grain. I always tell my clients to think of it like a conversation with the wood; you have to listen to its texture. Start with a coarser grit to tackle the heavy lifting, and always, always sand in the direction of the grain. If you go against it, you’re just inviting tiny, stubborn scars to stay forever.
If you’ve run into something a bit more stubborn, like a nasty dent from a dropped heavy mug, don’t panic. This is where a little bit of intentional prep work saves the day. Before you move on to the finer grits, you might need a quick wood filler application guide session to level out those pesky divots. Once the surface feels smooth as a river stone under your fingertips, you’ll know you’re ready to reveal that hidden splendor underneath.
Fixing Deep Gouges in Timber Using a Creative Wood Filler Application Guide
Now, if you’ve encountered a gouge that looks more like a canyon than a mere scratch, don’t let it dampen your spirits! These deeper wounds in the wood can feel intimidating, but they are just opportunities for a little bit of sculptural magic. When you’re fixing deep gouges in timber, I like to think of myself as a tiny carpenter performing a bit of reconstructive surgery. Instead of just slapping on a generic, pre-mixed putty, try mixing a little bit of the fine sawdust you collected during your previous sanding steps with a bit of wood glue. It creates a custom, organic paste that mimics the actual texture of your table’s grain much more faithfully.
As you move through this wood filler application guide, remember that patience is your best friend. Apply the mixture in thin, slightly overfilled layers rather than trying to tackle the whole crater at once. Once it’s cured, a gentle touch with your sandpaper will bring it flush with the surface. This little bit of extra effort ensures that when you eventually move on to applying wood stain and sealant, the repair disappears into the surrounding pattern, leaving nothing behind but a beautiful, seamless finish.
Little Tricks from My Workshop to Your Living Room
- Always test your finishes on a hidden spot first—maybe the underside of the table leg—to make sure the color dances with the wood exactly how you imagined it.
- Don’t rush the drying time; I know it’s tempting to start decorating, but giving your wood filler or stain a full night to settle is the secret to a professional, smooth finish.
- Keep a soft, lint-free microfiber cloth handy to wipe away dust between every single step, because even a tiny bit of grit can turn your beautiful sanding job into a bumpy mess.
- If you’re looking for a natural touch, try using a bit of beeswax instead of a heavy chemical spray to bring back that soft, organic glow without the harsh fumes.
- Work with the grain, not against it! Think of it like petting a cat—going against the grain is going to leave scratches that’ll just frustrate your progress.
The Beauty of the Second Chance
We’ve covered a lot of ground today, from the rhythmic, meditative process of sanding down those surface scuffs to the slightly more surgical art of filling deep, stubborn gouges. It wasn’t just about smoothing out imperfections, though; it was about uncovering the soul of the wood that had been hidden under years of wear and tear. By carefully choosing your grits and being patient with your wood filler, you haven’t just repaired a piece of furniture—you’ve successfully navigated the delicate balance between preservation and renewal. Now, as you apply that final coat of oil or wax, you can truly see how much heart went into this transformation.
As you step back to admire your handiwork, I hope you feel that same spark of magic I feel every time a project comes together. There is something deeply grounding about taking something that the world deemed “damaged” and proving that it still has so much story left to tell. Don’t let the fear of a few scratches stop you from embracing the lived-in beauty of your home. Every dent and mark is just a chapter in a piece’s history, and through your hands, you’ve given this table a brand-new volume. Go ahead, set your coffee down, and enjoy the fruits of your labor!