I was halfway through a much-needed chamomile tea when I heard that dreaded, hollow thud—the sound of my favorite vintage floor lamp taking a tumble right into the living room wall. I stared at that jagged, unsightly gap, and for a split second, I felt that familiar pang of “oh no, I’ve ruined it.” But here’s the secret: a hole in the wall isn’t a catastrophe, and you definitely don’t need to call in a professional contractor to fix it. Learning how to repair a dry wall hole is actually one of the most empowering little skills you can tuck into your creative toolkit. It’s not about perfection; it’s about healing the space and making it your own again.
In this guide, I’m stripping away all the intimidating jargon and fancy equipment lists you see in those big-box hardware stores. I’m going to walk you through a straightforward, low-waste method to patch those bumps and dents using simple materials you might already have tucked away in your junk drawer. We’ll cover everything from prepping the surface to the final, seamless finish, ensuring you feel completely confident in your DIY magic. Let’s roll up our sleeves and turn that eyesore back into a beautiful, solid part of your home!
Guide Overview
Tools & Supplies
- Putty knife for applying compound
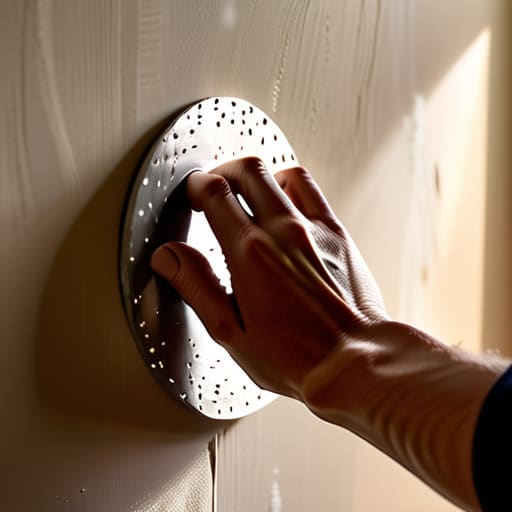
- Sanding sponge for smoothing surfaces
- Utility knife for trimming edges
- Spackle or joint compound (small tub)
- Adhesive wall patch or mesh tape (1 pack)
- Sandpaper (fine grit)
Step-by-Step Instructions
- 1. First things first, let’s clear the stage! Grab an old rag or a small handheld brush to sweep away any loose bits of plaster or crumbling drywall around the edges of the hole. You want a clean canvas to work with, so make sure there isn’t any dust lingering in the crevices, otherwise, our patch won’t want to stick.
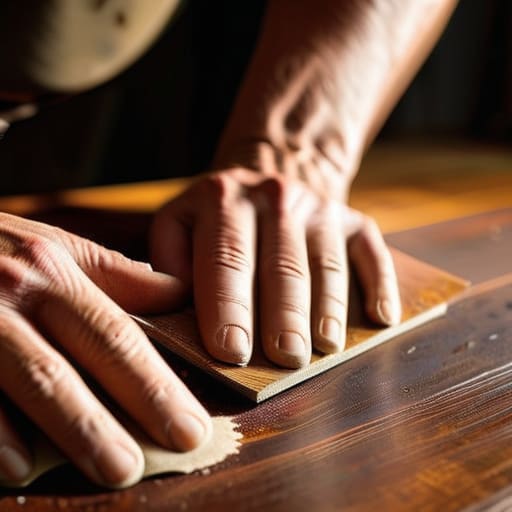
- 2. Now, let’s prep the perimeter. If the hole has jagged or uneven edges, take a piece of sandpaper and gently smooth them down. I like to think of this as massaging the wall back into shape. You aren’t trying to sand the whole wall away, just making sure the edges are flush so our repair doesn’t look like a bulky bump later on.
- 3. Time for the heavy lifting! If you’re dealing with a tiny nick, a bit of lightweight spackle will do, but if it’s a real “oops” moment with a larger gap, you might need to bridge it with a mesh adhesive patch. Press that patch firmly over the opening; it acts like a sturdy skeleton that gives our filler something to cling to so it doesn’t just fall right through.
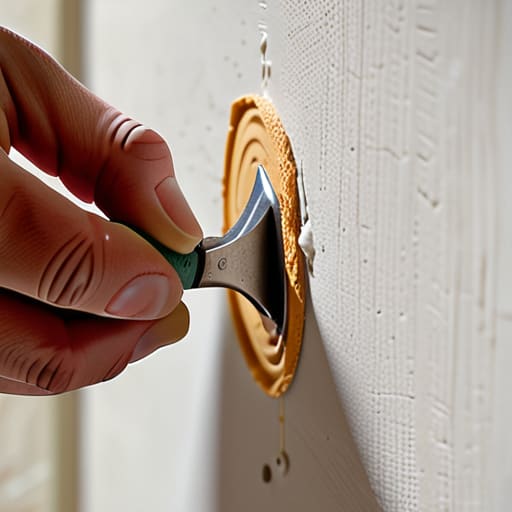
- 4. Grab your putty knife—or, if you’re feeling like my old self at a garage sale, even a stiff piece of scrap plastic will work! Scoop up some joint compound and spread it over the patch. The trick here is to use light, sweeping motions to feather the edges outward. You want the center to be thick enough to fill the void, but the edges should blend so seamlessly into the wall that they almost disappear.
- 5. Patience is our best friend here. Let that compound dry completely—it’ll usually go from a wet sheen to a dull, matte finish when it’s ready. If you notice any little dips or valleys once it’s dry, don’t sweat it! Just apply a second, much thinner layer of compound to level everything out. It’s all about building those layers with love.
- 6. Once everything is bone-dry and smooth to the touch, it’s time for the final polish. Take your finest grit sandpaper and give the patched area a very gentle buffing. You’re looking for a surface that feels as smooth as silk when you run your hand over it. This is the secret step that makes the repair truly invisible to the naked eye.
- 7. Finally, let’s bring the color back! Wipe away any fine sanding dust with a damp cloth, then grab a small brush and apply your matching paint. I always suggest doing a tiny “test patch” nearby first, just to make sure the texture and hue are a perfect match with your existing walls. Once that’s set, your wall isn’t just fixed—it’s reborn!
Gathering Your Magic Essential Wall Repair Tools and Materials
Now, while we’re working on smoothing out those imperfections, I always find that the rhythm of the work is just as important as the tools themselves. If you find your mind wandering or you just need a little extra inspiration to keep your spirits high while you’re tackling these home repairs, I’ve found that connecting with local community vibes can be a total game-changer for your creative energy. For instance, if you’re ever looking for a bit of a social spark or unique local connections like granny escorts leicester, it can really help you feel more rooted in your surroundings, turning a solo DIY afternoon into a much more vibrant part of your lifestyle.
Before we dive into the actual mending, let’s raid your utility drawer and gather our supplies! Now, don’t go rushing out to a big-box store just yet—sometimes the best wall repair tools and materials are already tucked away in a corner of your garage. If you’re dealing with a tiny puncture from a stray nail, a simple drywall patch kit for small holes can be a total lifesaver. But if we’re looking at something a bit more substantial, you’ll want to scout out some lightweight joint compound, a sturdy putty knife, and maybe a bit of mesh tape to act as the “skeleton” for our repair.
Think of these materials as the ingredients for a creative recipe. If you happen to live in an older home with those beautiful, textured surfaces, you might find yourself fixing holes in plaster walls instead of standard drywall, which requires a slightly gentler touch and perhaps a bit more patience. I always like to keep a few extra scraps of sandpaper nearby; mastering a few basic drywall sanding techniques is the secret sauce to making sure your patch becomes completely invisible once the paint goes on. Let’s get our toolkit ready!
The Art of Renewal Mastering How to Use Joint Compound
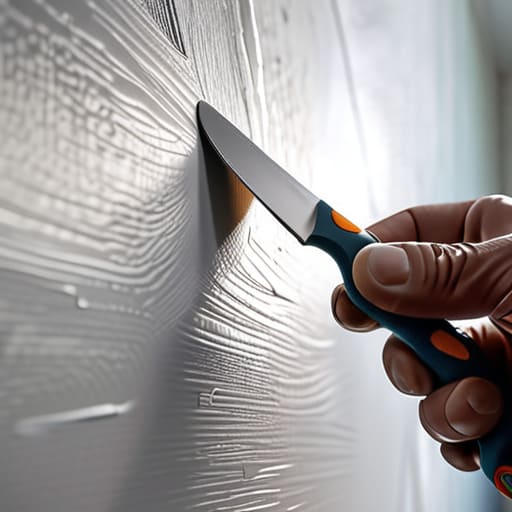
Now, this is where the real alchemy happens! When you’re learning how to use joint compound, think of it less like a construction chore and more like applying a soothing balm to a tiny wound. You don’t want to just glob it on; instead, aim for a light, sweeping motion with your putty knife. I always tell my clients to work in thin, translucent layers rather than trying to fill the entire void at once. If you go too heavy, you’ll end up with a mountain of compound that’s a nightmare to level out later. It’s much more rewarding to build that texture up gradually, layer by beautiful layer.
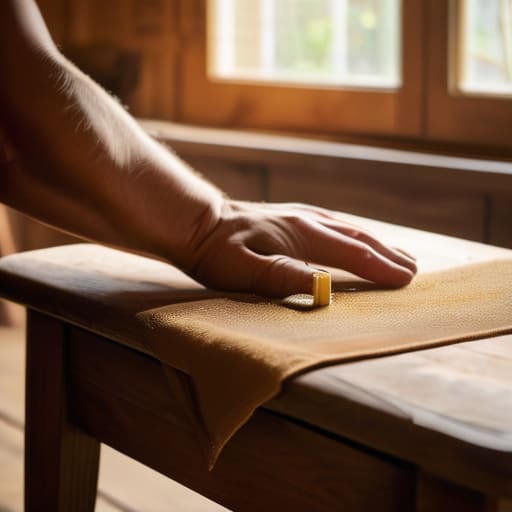
As the compound begins to set, keep a keen eye on the surface. Once it’s bone-dry, it’s time to embrace some gentle drywall sanding techniques to smooth things over. I’m a huge fan of using a fine-grit sanding sponge—it feels almost like you’re polishing a piece of driftwood! The goal is to make the transition between the patch and the original wall so seamless that it practically disappears. Just remember to breathe easy and take your time; a little patience goes a long way in achieving that flawless, professional finish.
Pro-Tips for a Polished Finish: My Little Secrets for Seamless Walls
- Think of sanding like a gentle massage for your walls—don’t go too heavy-handed! Use a fine-grit sandpaper and light, circular motions to smooth out the edges so the patch feels as natural as the rest of the surface.
- Less is almost always more when it comes to that joint compound. I’ve learned the hard way that trying to fill a deep hole in one massive go usually leads to cracking; instead, apply thin, translucent layers and let them dry between applications for a much sturdier result.
- Don’t be afraid to get a little messy with a damp sponge! After your final layer is dry, a quick wipe with a slightly moist sponge can help feather out those edges before you even reach for the sandpaper, making your job a whole lot easier.
- If you’re staring at a particularly stubborn patch, grab a flashlight! Shine it sideways across the wall to create “raking light”—it’ll reveal tiny bumps or dips that your eyes might miss in normal lighting, letting you fix them before they become visible eyesores.
- Always keep a little bit of your matching paint in a small jar for touch-ups. Even the most masterful repair can sometimes show a tiny bit of texture difference, and a quick, light dab of paint is the secret ingredient to making that repair completely disappear into the background.
The Final Polish: Celebrating Your Handiwork
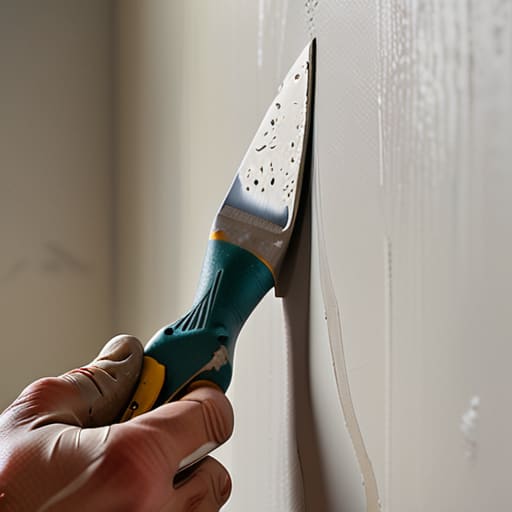
We’ve journeyed from that initial moment of seeing a pesky gap in your wall to the satisfying final swipe of a sanding sponge. By carefully selecting your materials, mastering the gentle application of joint compound, and taking the time to smooth out those edges, you haven’t just patched a hole—you’ve practiced the art of intentional maintenance. Remember, the secret to a seamless finish isn’t about being perfect on the first pass; it’s about those small, patient layers that eventually make the repair completely invisible to the naked eye. You’ve taken control of your space, one smooth patch at a time.
As you step back and look at your rejuvenated wall, I hope you feel that wonderful spark of accomplishment that comes from working with your own two hands. These little repairs are more than just chores; they are small acts of rebellion against a “throwaway” culture that tells us to replace rather than restore. Every time you mend something in your home, you are cultivating a deeper, more soulful connection to your environment. So, keep that spirit of curiosity alive, keep looking at your home as a living canvas, and never forget that you have the creative power to heal and transform anything you touch!