I still remember the day I realized that best lighting for a workshop or garage wasn’t just about slapping some fluorescent tubes on the ceiling. I was in my grandfather’s garage, trying to restore a vintage bicycle, and the poor lighting was making it impossible to see the intricate details. My grandfather, a seasoned mechanic, chuckled and said, “John, good lighting is what separates a hobbyist from a craftsman.” He then proceeded to show me his secret to illuminating the garage, and it was like a whole new world opened up.
In this article, I’ll share with you the practical advice I’ve gathered over the years on how to set up the best lighting for a workshop or garage. You won’t find any fancy, expensive solutions here, just honest, no-hype tips on how to create a well-lit space that will make your projects shine. From LED strips to task lighting, I’ll cover it all, so you can turn your garage into a haven of creativity and productivity. Whether you’re a seasoned mechanic or a DIY enthusiast, this guide will help you illuminate your workspace and take your projects to the next level.
Table of Contents
Guide Overview: What You'll Need

Total Time: 2 hours 30 minutes
Estimated Cost: $50 – $100
Difficulty Level: Intermediate
Tools Required
- Drill (with screwdriver and drill bits)
- Level (laser or bubble)
- Measuring Tape (25 feet long)
- Pliers (needle-nose)
- Screwdriver (flathead and Phillips)
- Wrench (adjustable)
- Ladder (6 feet tall)
Supplies & Materials
- LED Strip Lights (waterproof, 16 feet long)
- Fluorescent Light Fixtures (2 x 4 feet long)
- Incandescent Bulbs (100 watts, 4-pack)
- Wire (14-gauge, 25 feet long)
- Wire Nuts (assorted sizes)
- Switches (single-pole, 2-pack)
- Outlet Boxes (4-inch, 2-pack)
- Mounting Hardware (screws, anchors, etc.)
Step-by-Step Instructions
- 1. First, assess your garage’s lighting needs by taking stock of the types of projects you typically work on and the areas where you spend most of your time. Consider the size of your garage, the number of workstations, and the location of any obstructions that might affect lighting. For me, it’s all about creating a well-lit space that feels like a warm workshop, where I can tinker with my vintage bicycles without straining my eyes.
- 2. Next, evaluate your current lighting setup and identify any areas that are poorly lit or prone to shadows. I like to use a combination of overhead lighting and task lighting to create a layered lighting effect that helps me see every nook and cranny of my projects. Take note of any existing light fixtures, including their type, wattage, and condition, to determine if they can be repurposed or replaced.
- 3. Now it’s time to choose the right light fixtures for your garage. I’m a big fan of LED lighting, which is energy-efficient, durable, and produces minimal heat. Consider using LED strip lights or LED panel lights to provide overall illumination, and supplement them with task lights or work lamps to focus light exactly where you need it. When selecting fixtures, think about the color temperature and CRI (color rendering index) to ensure they provide the best possible light for your projects.
- 4. To create a flexible lighting system, consider installing track lighting or monorail lighting, which allows you to easily move and adjust light fixtures as needed. This is especially useful if you have multiple workstations or like to work on different types of projects. I also like to use magnetic lights or clip-on lights to provide temporary lighting for specific tasks or areas, such as under the hood of a car or inside a bike frame.
- 5. Once you’ve selected your light fixtures, it’s time to install them safely and securely. Make sure to follow all local electrical codes and regulations, and consider hiring a licensed electrician if you’re not comfortable with the installation process. I always use GFCI-protected outlets and arc-fault circuit interrupters to protect my garage from electrical shocks and fires. Take your time, and don’t be afraid to double-check your work to ensure everything is properly connected and functional.
- 6. With your lighting system in place, test and adjust the fixtures to ensure they’re providing the right amount and type of light for your needs. I like to use a light meter to measure the foot-candles and color temperature of my lighting setup, and make adjustments as needed to achieve the perfect balance of bright, even light. Don’t be afraid to experiment and try out different lighting configurations to find what works best for you and your projects.
- 7. Finally, maintain your lighting system regularly to ensure it continues to provide optimal performance and safety. This includes cleaning light fixtures, replacing bulbs as needed, and checking for any signs of wear or damage. I also like to label my light switches and create a lighting map to help me quickly identify and adjust the different light fixtures in my garage. By following these steps and staying on top of maintenance, you’ll be able to enjoy a well-lit, productive workspace for years to come.
Best Lighting for Workshop
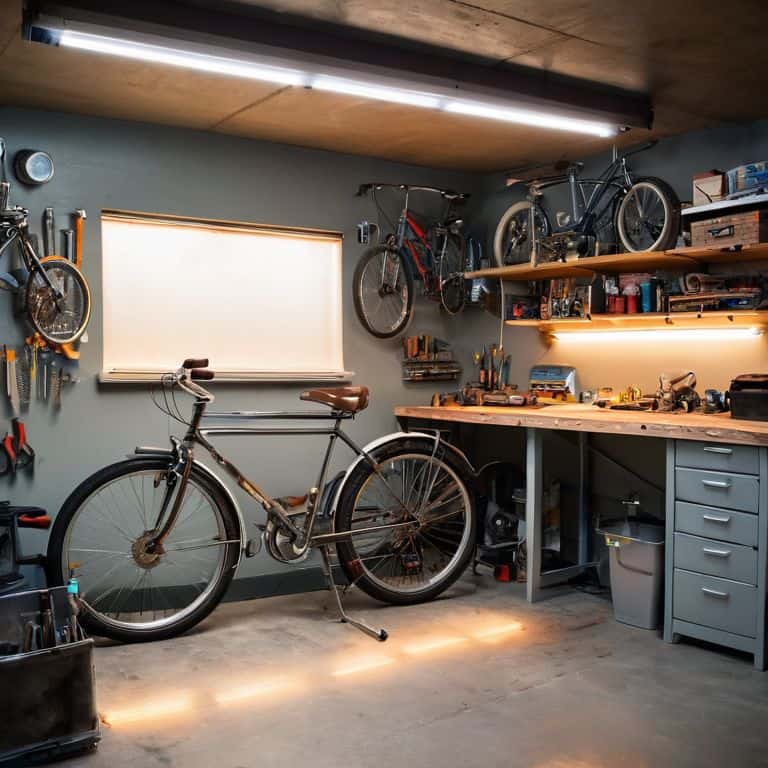
When it comes to setting up a workshop, proper lighting is crucial for both safety and productivity. I’ve found that energy efficient garage lighting is the way to go, not only to save on electricity bills but also to reduce heat emission, which can be a blessing during those long summer projects. By installing LED strips or high bay LED lighting solutions, you can create a well-lit environment that’s perfect for tinkering with your latest vintage bicycle restoration project.
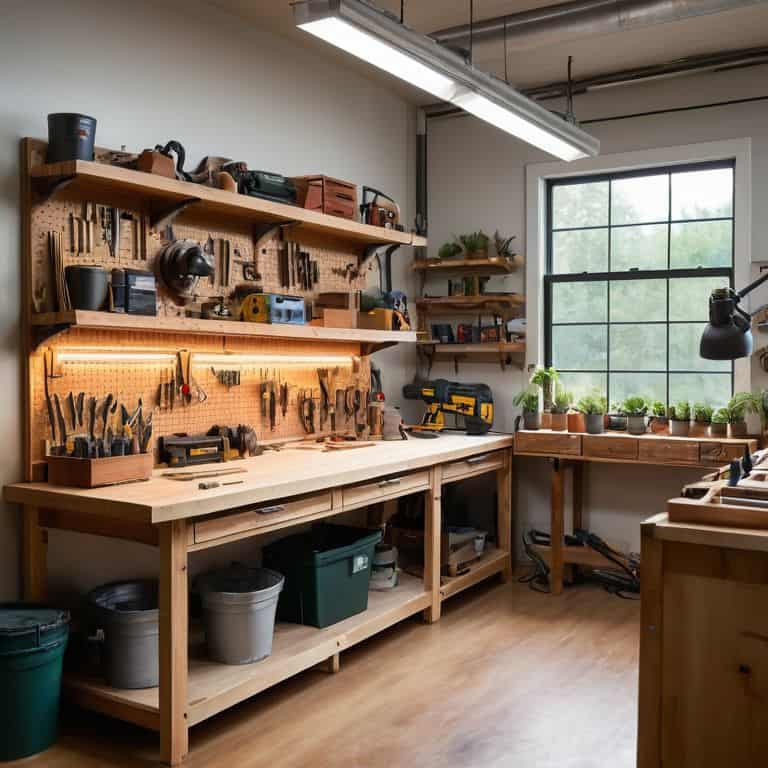
In my own workshop, I’ve experimented with different task lighting for woodworking setups, and I can attest that it makes a huge difference in precision and accuracy. For instance, using LED strip lighting for workbenches can help illuminate specific areas, reducing eye strain and allowing you to focus on the task at hand. It’s amazing how a simple lighting adjustment can elevate your work experience.
To take your workshop to the next level, consider garage lighting layout tips that prioritize functionality and flexibility. By strategically placing lights around your workstations and storage areas, you can create a seamless workflow that minimizes tripping hazards and maximizes your creative potential. Remember, a well-designed lighting plan is just as important as the tools you use, so don’t be afraid to experiment and find the perfect balance for your workshop haven.
Shine on Energy Efficient Solutions
When it comes to illuminating my own workshop, I’m all about striking a balance between brightness and energy efficiency. That’s why I’ve made the switch to LED lighting – it’s like a breath of fresh air for my garage. Not only do LEDs use significantly less energy than their incandescent counterparts, but they also last longer, reducing waste and the need for frequent replacements. I’ve named my trusty LED work light “Lumi” and it’s been a game-changer for my projects.
I’ve also started experimenting with smart lighting solutions that can be controlled remotely, allowing me to adjust the ambiance and brightness of my workshop with ease. It’s amazing how a well-lit space can boost your mood and productivity – and with energy-efficient options, you can feel good about it too. Whether I’m tinkering with my vintage bicycle or working on a new project, the right lighting makes all the difference.
Task Lighting for Woodworking Bliss
When it comes to woodworking, task lighting is where the magic happens. I’ve found that a good LED lamp can make all the difference in precision cutting and sanding. I’ve named my trusty LED lamp “Lumi” and it’s been a game-changer for my projects. By directing light exactly where I need it, I can work with greater accuracy and attention to detail. Whether I’m crafting a handmade wooden bike rack or restoring a vintage bicycle wheel, Lumi is always by my side.
I recommend placing task lighting at a 45-degree angle to your work surface to minimize shadows and glare. This simple trick has improved my workflow and reduced eye strain. With the right task lighting, you’ll be able to focus on the finer details of your woodworking projects and bring your creations to life.
Illuminating Insights: 5 Tips to Brighten Up Your Garage
- Consider the Color Temperature: Warm white lighting (2700K-3000K) is perfect for ambient lighting, while cool white (3500K-5000K) is ideal for task-oriented areas like workbenches
- Invest in Layered Lighting: Combine overhead lighting, task lighting, and accent lighting to create a well-rounded and versatile lighting system
- Don’t Forget About Shadows: Ensure your lighting setup minimizes harsh shadows, which can make it difficult to see small parts or intricate details
- LEDs are Your Friend: Not only are LEDs energy-efficient, but they also produce minimal heat, reducing the risk of fires or damage to sensitive equipment
- Get Creative with Placement: Experiment with different lighting placements, such as under-cabinet lighting or magnetic strips, to add flexibility and visual interest to your garage workspace
Illuminating Insights: 3 Key Takeaways for Your Garage Haven
Choose the right lighting for the task at hand, whether it’s bright overheads for general work or focused task lighting for detailed projects like woodworking or restoring my beloved vintage bicycles
Energy-efficient solutions like LEDs can not only save you money but also provide a cleaner, cooler lighting experience that won’t interfere with your projects or make your garage feel like an oven
Experiment with layering different light sources, including natural light, to create a workspace that’s not just functional but also inviting, making you want to spend more time tinkering and turning wrenches in your garage sanctuary
Illuminating Insights
A well-lit garage is not just about seeing what you’re doing, it’s about sparking the creativity to dream up what’s possible – and that’s where the real magic happens, one perfectly placed lumens at a time.
John Beeler
Illuminating Your Path to Creativity
As we’ve explored the world of lighting for your workshop or garage, it’s clear that the right setup can make all the difference in transforming your space into a haven of creativity and productivity. From energy-efficient solutions to task lighting for specific projects like woodworking, the key is finding the perfect balance for your needs. Whether you’re a seasoned pro or just starting out, remember that your garage is a playground for innovation, and the right lighting is the first step to unlocking its full potential.
So, as you embark on this journey to illuminate your workshop or garage, keep in mind that it’s not just about installing lights – it’s about unleashing your inner creativity. With the right lighting, you’ll be inspired to take on new projects, like restoring that vintage bicycle you’ve always wanted to tackle. Trust me, the sense of accomplishment you’ll feel when you’re working in a well-lit, well-loved garage is unbeatable. Happy building, and remember to always keep your workspace shining bright!
Frequently Asked Questions
What are the most energy-efficient lighting options for a garage or workshop?
When it comes to energy-efficient lighting, I swear by LEDs – my trusty sidekick, “Lumi,” is an LED work light that’s been a game-changer in my garage. They’re bright, eco-friendly, and cost-effective, making them perfect for illuminating your workspace without breaking the bank or the environment.
How can I determine the optimal lighting layout for my specific workshop or garage space?
For me, it’s all about mapping out your workspace and identifying the tasks you’ll be tackling most often. I like to call it ‘lighting by location’ – where will you be welding, woodworking, or wrenching? That’s where you’ll want to focus your lighting, and I’ve got some favorite techniques to share, like using a ‘tool trail’ to guide your lighting layout.
Are there any specific lighting considerations I should keep in mind for tasks like woodworking, welding, or automotive repair?
Absolutely, my friend! For tasks like woodworking, welding, or automotive repair, you’ll want to focus on task lighting that’s bright, focused, and shadows-free. I like to use my trusty ‘Bertha’ LED lamp for welding and ‘Sparky’ fluorescent light for woodworking – they’re game-changers for precision work. Let me tell you more about how to set them up for maximum visibility and safety!