I still remember the first time I tried to install a garbage disposal in my tiny kitchen – it was a daunting task that left me questioning my DIY skills. But, as I soon discovered, the process is not as complicated as it seems. In fact, learning how to install a garbage disposal can be a liberating experience, freeing you from the hassle of food waste and empowering you to take control of your kitchen’s sustainability. The myth that you need to be a seasoned plumber to tackle this project is simply not true – with the right guidance, anyone can breathe new life into their kitchen.
As you embark on this journey, I promise to guide you through the practical steps and honest advice you need to successfully install a garbage disposal. You’ll learn how to choose the right model, prepare your kitchen, and navigate the installation process with ease. My goal is to make this experience as enjoyable as a Sunday afternoon spent urban foraging for wild herbs – relaxing and rewarding. By the end of this article, you’ll be equipped with the knowledge and confidence to tackle this project and start enjoying the benefits of a garbage disposal in your own home.
Table of Contents
- Guide Overview: What You'll Need
- Step-by-Step Instructions
- Installing a Garbage Disposal
- 5 Handy Tips to Ensure a Seamless Garbage Disposal Installation
- Empowering Your DIY Journey: 3 Key Takeaways
- Embracing the Art of DIY
- Embracing the Joy of DIY: A Garbage Disposal Installation Success
- Frequently Asked Questions
Guide Overview: What You'll Need
Total Time: 1 hour 30 minutes
Estimated Cost: $50 – $100
Difficulty Level: Intermediate
Tools Required
- Adjustable Wrench (for tightening and loosening mounting nuts)
- Channel-Type Pliers (for gripping and bending)
- Needle-Nose Pliers (for reaching into tight spaces)
- Putty Knife (for applying plumber’s putty)
- Screwdriver (flathead and Phillips)
- Tubing Cutter (for cutting copper or plastic water supply lines)
- Wire Cutters (for cutting electrical wires)
Supplies & Materials
- Garbage Disposal Unit
- Mounting Hardware (including screws, nuts, and washers)
- Plumber’s Putty
- Copper or Plastic Water Supply Lines (measuring 6 inches to 12 inches in length)
- Electrical Connectors
- Teflon Tape (for threading pipes)
Step-by-Step Instructions
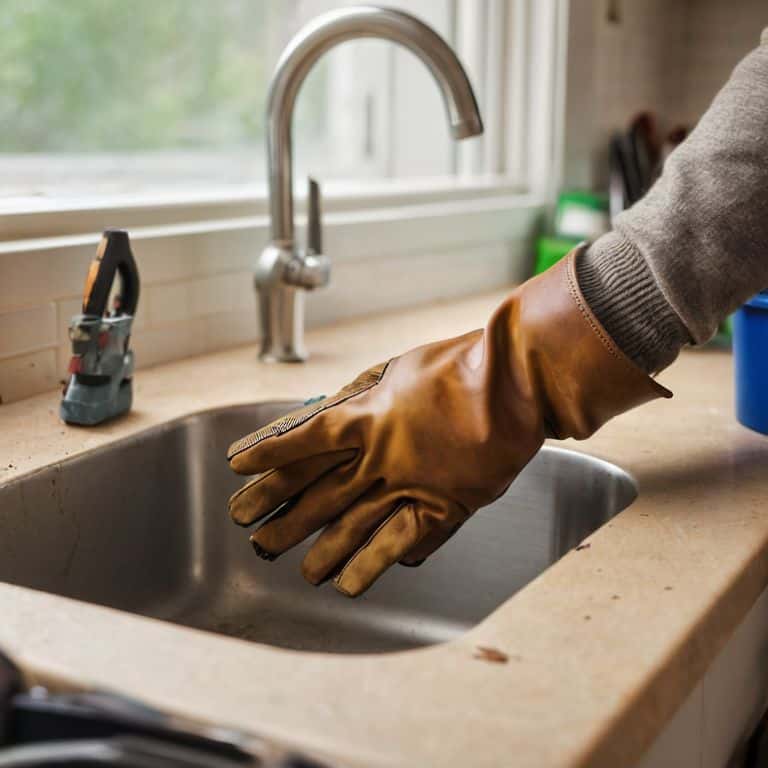
- 1. First, let’s get prepared by gathering all the necessary tools and materials, including a new garbage disposal, a wrench, pliers, and a screwdriver. Make sure you have a bucket or container to catch any water that may spill during the installation process. It’s also a good idea to turn off the power to your kitchen at the circuit breaker to avoid any accidents.
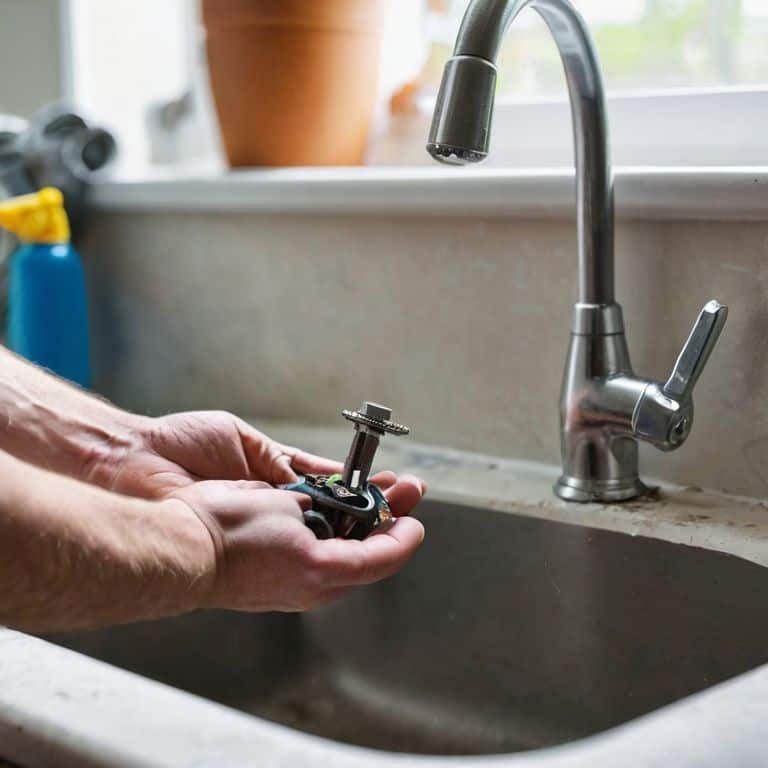
- 2. Next, we need to disconnect the old disposal by first disconnecting the drain trap and then removing the old disposal from the sink mounting. You may need to use a wrench to loosen the slip nuts that hold the disposal in place. Be careful not to spill any remaining water or debris from the old disposal.
- 3. Now it’s time to install the new mounting hardware. Take the new disposal and insert the sink mounting into the sink drain, making sure it’s securely seated. Use your wrench to tighten the slip nuts, but be careful not to overtighten, as this can damage the sink or the disposal.
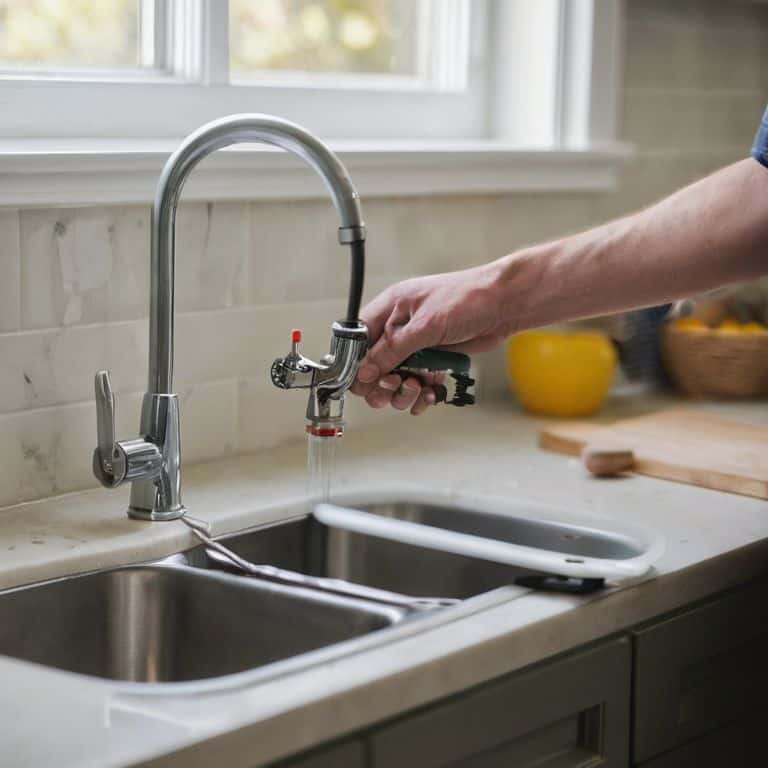
- 4. The next step is to connect the discharge tube to the disposal and the drain trap. Make sure all connections are secure and not leaking. You may need to use some plumber’s putty to seal any gaps or connections. It’s also a good idea to check the disposal’s instructions for any specific recommendations on connecting the discharge tube.
- 5. With the disposal installed, it’s time to connect the power. Locate the electrical connections on the disposal and connect them to the power source. Make sure all connections are secure and meet local electrical codes. If you’re not comfortable with electrical work, it’s always a good idea to consult a licensed electrician.
- 6. Now that everything is connected, it’s time to test the disposal. Turn on the power and run some water through the disposal to test its functionality. Check for any leaks or unusual noises, and make sure the disposal is grinding food waste efficiently. If you notice any issues, you may need to adjust the disposal’s alignment or check the connections.
- 7. Finally, let’s clean up and finish the installation by checking all connections one last time and making sure the sink area is clean and free of debris. Take a step back and admire your handiwork – you’ve successfully installed a new garbage disposal and taken a big step towards a more efficient and sustainable kitchen.
Installing a Garbage Disposal
As I always say, the devil is in the details, and installing a garbage disposal with existing plumbing can be a bit tricky. You’ll want to make sure you have the right garbage disposal installation tools needed to get the job done efficiently. A good quality disposal can make all the difference in your kitchen’s functionality, and I recommend considering the best garbage disposal for home use that fits your budget and needs.
When it comes to the actual installation, it’s essential to be mindful of the garbage disposal electrical requirements to avoid any safety hazards. Make sure to follow the manufacturer’s instructions carefully, and don’t hesitate to reach out to a professional if you’re unsure about any aspect of the process. I’ve seen many a DIY enthusiast fall into the trap of common mistakes when installing a garbage disposal, only to end up with a hefty repair bill.
By being thorough and meticulous in your approach, you can ensure a successful installation that will serve you well for years to come. And, as an added bonus, you’ll be able to enjoy the satisfaction of having completed the project yourself, all while keeping your garbage disposal installation cost to a minimum.
Avoiding Common Mistakes in Installation
As I always say, a little creativity and caution can go a long way in avoiding those pesky installation mishaps. When it comes to installing a garbage disposal, it’s essential to remember that improper alignment or loose mounting can lead to leaks, vibrations, and even damage to your sink. To steer clear of these common pitfalls, take your time to ensure the disposal is properly secured and aligned with the sink’s drain.
By double-checking your connections and taking a few extra minutes to tighten those mounting screws, you’ll be well on your way to a successful installation. And remember, it’s all about embracing that DIY spirit and having fun with the process – after all, transforming your kitchen into a sustainable haven is what it’s all about!
Garbage Disposal Installation Cost Savings
As I always say, getting creative with DIY projects isn’t just about saving the planet, it’s also about saving your wallet. When it comes to installing a garbage disposal, one of the most significant advantages is the cost savings. By tackling this project yourself, you can avoid labor costs associated with hiring a professional plumber. Plus, you might even find some hidden treasures at your local hardware store or salvage yard to repurpose as DIY tools, adding a touch of whimsy to your installation process.
I’ve seen friends and neighbors save up to half the cost of traditional installation by taking the reins themselves. And let’s not forget the long-term benefits – a well-installed garbage disposal can lead to reduced waste disposal costs and even lower your water bill. It’s a win-win for your budget and the environment.
5 Handy Tips to Ensure a Seamless Garbage Disposal Installation
- Measure Twice, Drill Once: Before you start drilling holes for your garbage disposal, double-check your measurements to avoid any costly mistakes or unnecessary repairs
- Choose the Right Tools: Having the right tools for the job can make all the difference – invest in a quality drain wrench and pliers to ensure a secure and leak-free installation
- Be Mindful of Electrical Connections: When connecting your garbage disposal to a power source, make sure to follow the manufacturer’s instructions and take necessary safety precautions to avoid any electrical shocks or hazards
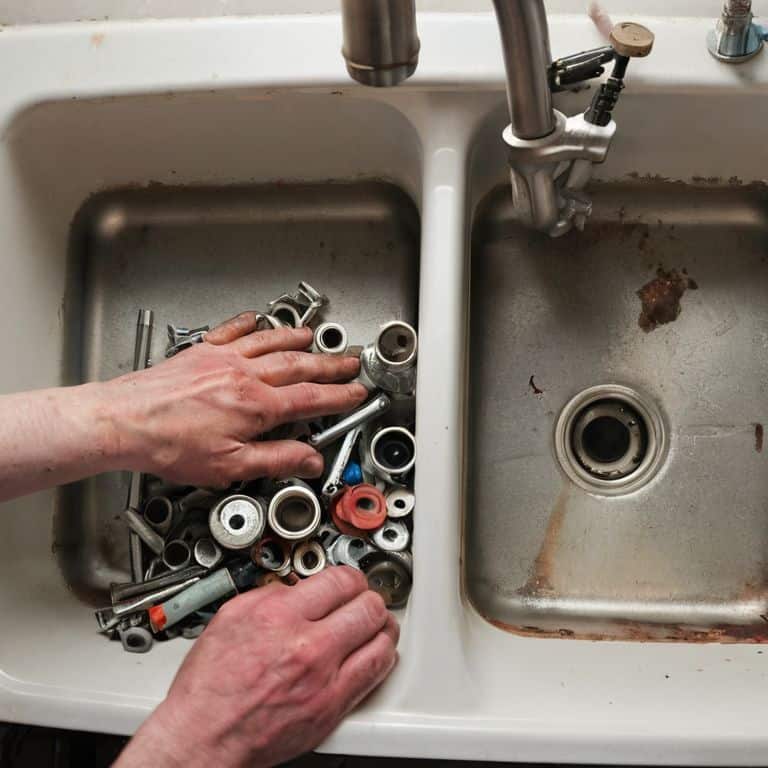
- Don’t Forget the Mounting Hardware: Ensure you have all the necessary mounting hardware, including screws, clips, and gaskets, to securely fasten your garbage disposal to the sink and prevent any vibrations or leaks
- Test and Inspect: After completing the installation, run a few tests to ensure your garbage disposal is working efficiently and quietly, and inspect all connections for any signs of leaks or damage
Empowering Your DIY Journey: 3 Key Takeaways
By embracing the creative challenge of installing a garbage disposal yourself, you not only save on installation costs but also develop a sense of self-sufficiency that extends beyond the kitchen
Remember, the journey to a more sustainable living space is paved with small, achievable victories – like turning a would-be waste product into a functional part of your home, reflecting the broader philosophy of urban foraging and repurposing that I’ve grown to love
Whether you’re a seasoned DIY enthusiast or just starting to explore the world of sustainable living, the experience of bringing new life to your kitchen through a simple yet impactful project like this can be a powerful catalyst for further creativity and innovation in your daily life
Embracing the Art of DIY
As we embark on the journey of installing a garbage disposal, remember that it’s not just about connecting pipes and wires, but about breathing new life into the heart of our homes – the kitchen – where every DIY triumph is a testament to our capacity for creative self-sufficiency.
Stanley Truman
Embracing the Joy of DIY: A Garbage Disposal Installation Success
As we wrap up this journey of installing a garbage disposal, let’s take a moment to reflect on the key takeaways: understanding your plumbing system, preparing the right tools, and avoiding common mistakes. By following these steps and considering the garbage disposal installation cost savings, you’ve not only upgraded your kitchen but also developed a sense of self-sufficiency. This project is more than just a home improvement task; it’s an exercise in creative problem-solving and sustainability.
Now that you’ve successfully installed your garbage disposal, remember that every small DIY victory counts towards a larger goal of living more sustainably. As you continue to embark on similar projects, keep in mind the value of repurposing, the joy of creating something with your own hands, and the impact it has on our environment. Let this be the start of your journey towards a more inventive and eco-conscious lifestyle, where every challenge is an opportunity to grow and every object holds the potential for new life.
Frequently Asked Questions
What are the most common types of garbage disposals and which one is best suited for my kitchen?
My friend, let’s dive into the wonderful world of garbage disposals! You’ve got your continuous feed, batch feed, and septic-safe models. For most kitchens, I recommend a continuous feed disposal – they’re easy to use and efficient. But, if you’ve got a septic system, a septic-safe model is the way to go.
How do I properly measure and prepare the sink area for a garbage disposal installation to ensure a secure fit?
To ensure a secure fit, measure the sink’s drain opening and compare it to the disposal’s specifications. Clear the area around the sink, removing any clutter or debris. Take note of the disposal’s mounting system and sink thickness to determine the correct amount of putty or seals needed for a watertight installation.
Are there any specific plumbing or electrical considerations I should be aware of before attempting to install a garbage disposal myself?
When tackling a DIY garbage disposal installation, keep in mind that proper plumbing and electrical connections are crucial. Ensure you’ve turned off the water supply and power to the circuit before starting. Also, be aware of your local plumbing codes and consider hiring a pro if you’re unsure about anything – safety always comes first in my book!


