
I still remember the first time I stumbled upon a simple welding project for beginners at a quirky flea market in a coastal town. The vendor, a seasoned welder, was showcasing his handmade creations, and I was fascinated by the process. He told me that many people believe welding is a complex, intimidating skill, but he countered that with the right guidance, anyone can create something amazing. This sparked my curiosity, and I began to explore the world of welding, discovering that with patience and practice, even the most novice crafters can produce stunning pieces.
As I delved deeper into welding, I realized that the key to mastering a simple welding project for beginners lies in understanding the fundamentals and having a clear, step-by-step guide. In this article, I’ll share my personal experience and practical tips on how to get started with welding, covering the essential tools, safety precautions, and techniques needed to complete a project. My goal is to provide you with honest, no-hype advice, empowering you to unleash your creativity and bring your welding ideas to life. Whether you’re a DIY enthusiast or just looking for a new hobby, this guide will walk you through the process, helping you to create something truly unique and meaningful.
Table of Contents
- Guide Overview: What You'll Need
- Step-by-Step Instructions
- Coastal Creations Unleashed
- Igniting the Spark: 5 Essential Tips for Beginners to Tackle a Simple Welding Project
- Spark to Sea: 3 Treasure Trove Takeaways
- Igniting the Flame of Creativity
- Embracing the Spark of Creativity
- Frequently Asked Questions
Guide Overview: What You'll Need
Total Time: 2 hours 30 minutes
Estimated Cost: $50 – $100
Difficulty Level: Easy
Tools Required
- MIG Welder (with shielding gas)
- Welding Helmet (with shade 10 lens)
- Steel Brush (for cleaning metal)
- Clamp (for holding pieces in place)
- Measuring Tape (for measuring 6 inches by 6 inches metal pieces)
Supplies & Materials
- Mild Steel Plate (1/4 inch thick, 6 inches by 6 inches)
- Welding Wire (0.025 inch diameter, ER70S-6)
- Welding Gloves (heat resistant, size large)
- Fire Extinguisher (rated for electrical and metal fires)
Step-by-Step Instructions
- 1. First, let’s get started with gathering our materials, which is the most exciting part of any project for me – I love the thrill of the hunt for unique pieces at flea markets. We’ll need a few basic tools like a welding helmet, gloves, and a welder, as well as some metal scraps to practice on. I always try to find materials that have a story behind them, like an old gate or a piece of machinery from a bygone era.
- 2. Next, we need to safety check our equipment and make sure we’re wearing the proper gear. This includes our welding helmet, gloves, and a fire-resistant jacket. I remember my first welding project, I was so eager to start that I almost forgot to put on my helmet – thankfully, my dad was there to remind me. Now, I always make sure to double-check my safety gear before starting any project.
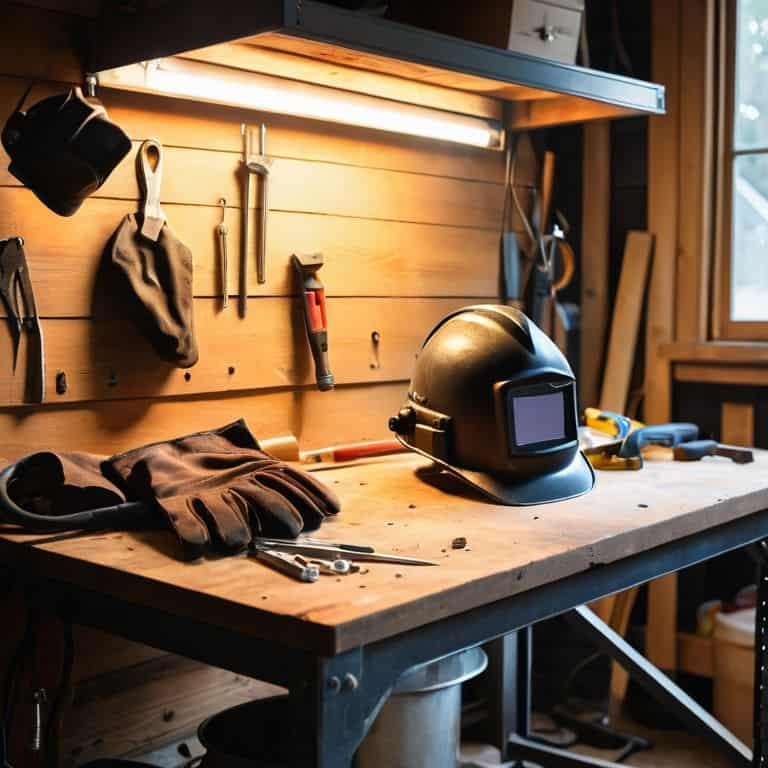
- 3. Now it’s time to set up our workspace, which should be well-ventilated and clear of any flammable materials. I like to work in a spacious area with good lighting, where I can move around freely and see what I’m doing. My dad’s old workshop is my favorite place to work on projects like this – it’s full of character and has a great view of the ocean.
- 4. With our workspace ready, we can start by cleaning and preparing our metal scraps. This involves removing any dirt, oil, or rust that might be on the surface, and then wiping them down with a wire brush. I find this part of the process to be very therapeutic – it’s almost like preparing a canvas for a painting.
- 5. Next, we’ll need to assemble our project, which for this example, will be a simple metal bracket. We’ll use our welder to attach the different pieces of metal together, making sure to follow a consistent pattern and apply even pressure. I love the feeling of watching my project come together, piece by piece – it’s like solving a puzzle.
- 6. Once we’ve assembled our bracket, we can start welding it together. This involves applying a small amount of weld to each joint, and then using our welder to melt and fuse the metal together. I always try to focus on making smooth, consistent welds – it’s all about the technique and the feel of the welder in your hands.
- 7. After we’ve finished welding, we’ll need to inspect and clean up our project. This involves checking for any defects or weak spots in the welds, and then using a wire brush to remove any excess weld or debris. I like to take my time with this step, making sure everything is just right – it’s the final touch on our project, after all.
- 8. Finally, we can add a finish to our project, which can be anything from a coat of paint to a clear sealant. I like to add a personal touch to my projects, like a small engraving or a unique design element – it makes them truly one-of-a-kind. And that’s it – our simple welding project is complete, and we can proudly display our handmade metal bracket.
Coastal Creations Unleashed
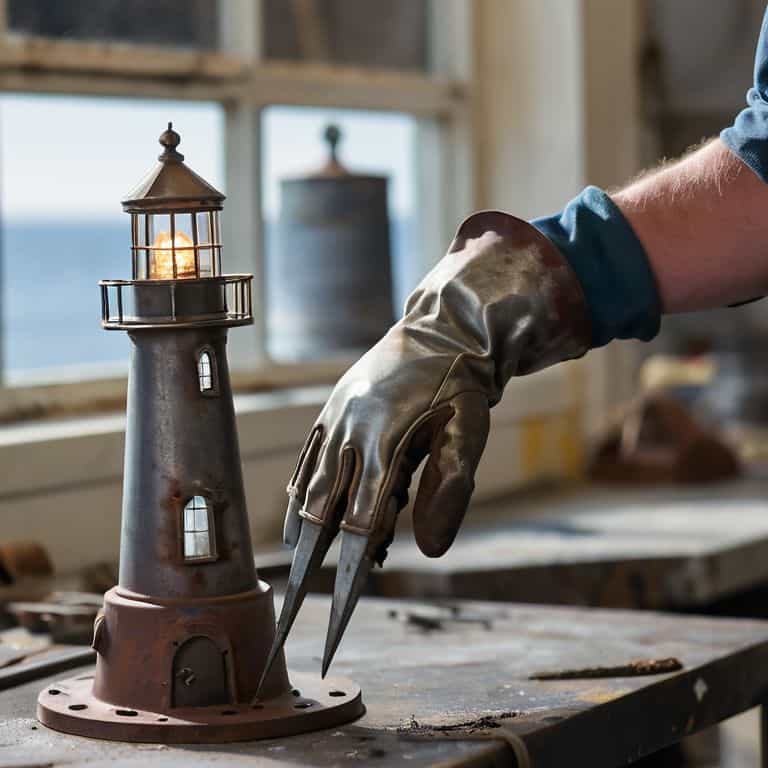
As I delved deeper into the world of welding, I discovered that beginner friendly welding tools can make all the difference in creating truly unique pieces. One of my favorite projects is crafting coastal-inspired decorations, such as seashell wind chimes or driftwood sculptures. I find that welding safety for newcomers is crucial, especially when working with metal and heat. By taking the necessary precautions, I can focus on unleashing my creativity and bringing my vision to life.
I’ve also experimented with metalworking techniques for beginners, which has allowed me to create intricate designs and patterns on my pieces. For instance, I’ve used basic welding joint types to craft a beautiful metal sea turtle that now adorns my backyard. It’s amazing how a simple welding project can evolve into a stunning work of art. I’ve even started sharing my creations with friends and family, who have been impressed by the detail and craftsmanship.
As I continue to explore the world of welding, I’m excited to try out new projects and techniques. I’ve been eyeing diy welding cart plans to organize my workspace and make it more efficient. With a little patience and practice, I’m confident that anyone can create their own coastal creations and add a personal touch to their home decor. Whether it’s a simple welding project or a more complex design, the possibilities are endless, and I’m eager to see what other treasures I can create.
Discovering Beginner Friendly Welding Tools
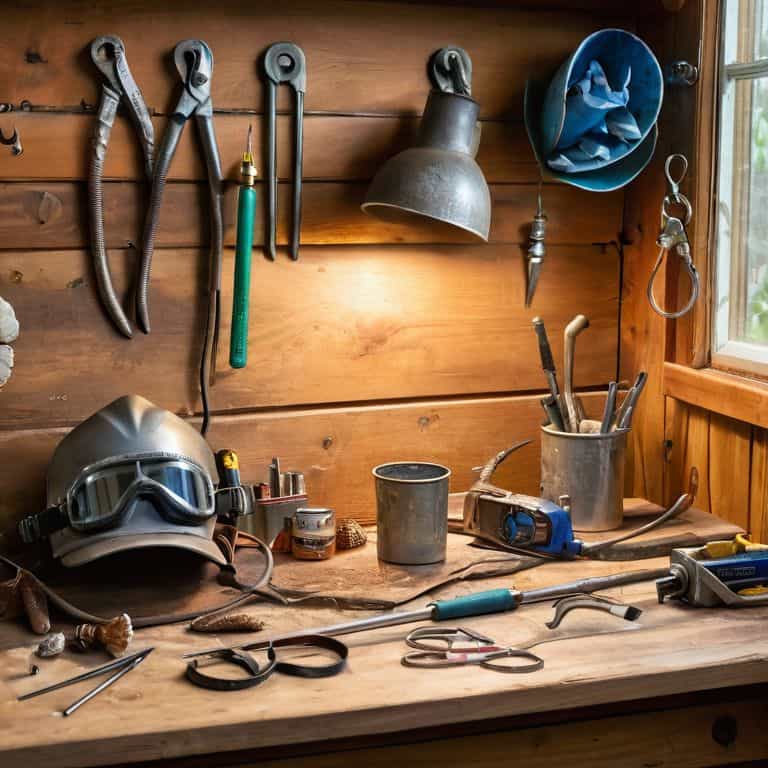
As I dove into the world of welding, I found that having the right tools made all the difference. For beginners, it’s essential to start with the basics. I recommend investing in a good quality MIG welder, some sturdy welding gloves, and a reliable wire brush. These tools will help you achieve clean, precise welds and make the learning process much more enjoyable. Plus, they’re perfect for crafting those unique coastal creations I love, like decorative sea glass pieces or rustic metal driftwood sculptures.
I’ve had my fair share of trial and error, but with these beginner-friendly tools, you’ll be well on your way to creating your own treasured coastal pieces. Remember, the key is to keep it simple and have fun experimenting with different materials and techniques. Happy welding, and don’t forget to share your creations with me – I’d love to see what you come up with!
Mastering Simple Welding Projects for Home Charm
As I delve into the world of simple welding projects, I find myself enchanted by the endless possibilities for home charm. With a few basic tools and some creativity, you can transform your living space into a reflection of your unique style. I’ve discovered that welding isn’t just about functionality, but also about adding personal touches that make a house feel like home. From intricate metal decorations to custom furniture pieces, the options are vast and exciting.
I’ve started experimenting with welding my own decorative items, like candle holders and wall art, using materials I’ve found at local flea markets. It’s amazing how a simple welding project can add a touch of warmth and character to any room. As I continue to explore this creative outlet, I’m inspired to share my findings with you, and I hope you’ll join me on this journey of discovering the beauty of simple welding projects for home charm.
Igniting the Spark: 5 Essential Tips for Beginners to Tackle a Simple Welding Project
- Start with the right equipment: invest in a beginner-friendly welding machine and safety gear to ensure a smooth and safe experience
- Choose the perfect project: opt for a simple welding project that sparks your creativity, such as a coastal-themed decorative item or a functional piece for your home
- Prepare your workspace: clear a well-ventilated area, gather your tools, and get ready to unleash your creativity and bring your project to life
- Practice, practice, practice: don’t be discouraged if your first welds aren’t perfect – keep trying, and you’ll soon be creating like a pro and discovering the joy of welding
- Join the community: share your projects, ask for advice, and learn from others in online forums or local welding groups to stay inspired and motivated on your welding journey
Spark to Sea: 3 Treasure Trove Takeaways
I’ve found that starting with a simple welding project can be a great way to develop your skills and unlock a world of coastal creations, from decorative sea glass mobiles to custom outdoor furniture
Discovering beginner-friendly welding tools is key to mastering simple welding projects, and I’m excited to share my favorite finds with you, from easy-to-use MIG welders to essential safety gear
By following these steps and embracing your creativity, you can unleash your own coastal charm and turn your home into a unique treasure trove that reflects your personality and style, with welding projects that add a touch of adventure and whimsy to every room
Igniting the Flame of Creativity
As I always say, a simple welding project for beginners is not just about sparking metal, it’s about igniting a sense of adventure and creativity within ourselves, where every weld is a brushstroke of imagination on the canvas of our lives.
Vera Kump
Embracing the Spark of Creativity
As we conclude our journey through this simple welding project for beginners, let’s take a moment to reflect on the key takeaways. We’ve covered the essential steps, from preparation to completion, and explored the world of coastal creations unleashed. By mastering simple welding projects, you’ve not only developed a new skill but also opened the door to a world of creative possibilities. Remember, the tools and techniques you’ve learned are just the beginning – it’s the spark of imagination and the joy of creating something with your own hands that will truly set your projects ablaze.
As you put down your welding torch and step back to admire your handiwork, I hope you feel an overwhelming sense of pride and accomplishment. The world of DIY and welding is full of hidden gems waiting to be discovered, and I encourage you to continue exploring, learning, and pushing the boundaries of what’s possible. Whether you’re a seasoned maker or just starting out, never lose sight of the thrill of creation and the joy of bringing your ideas to life – and always keep in mind that the next great project is just a spark away.
Frequently Asked Questions
What safety precautions should I take when starting my first welding project?
As I always say, safety first, especially when sparking your first welding project! Make sure to wear a welding helmet, gloves, and protective clothing to shield yourself from those fiery sparks and harmful UV rays. It’s also a great idea to work in a well-ventilated area, away from any flammable materials – trust me, I’ve learned from my own coastal workshop experiences!
How do I choose the right type of metal for a simple welding project?
Choosing the right metal for your project is like finding the perfect treasure at a flea market – it’s all about the hunt. For beginners, I recommend starting with mild steel or aluminum, as they’re easy to work with and forgiving. Think of it as selecting the perfect postcard to inspire your story – you want a foundation that sparks creativity!
What are some common mistakes beginners make in welding and how can I avoid them?
As I’ve learned from my own welding adventures, beginners often make mistakes like improper safety gear, incorrect electrode selection, and inadequate material preparation. To avoid these, always wear proper gear, choose the right electrode for your project, and clean your materials thoroughly before welding – trust me, it’s worth the extra prep time!


