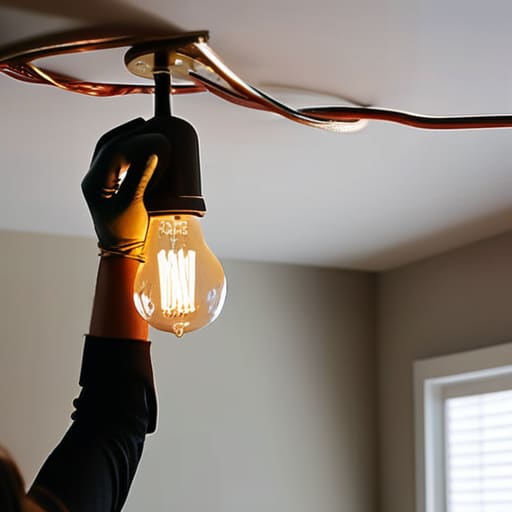
I was standing on a wobbly kitchen chair last Tuesday, squinting at a dusty, outdated brass fixture that had been draining the soul out of my breakfast nook for years, when I realized something: most people think you need a degree in electrical engineering or a massive budget to upgrade your home’s vibe. They see a tangled mess of wires and think, “I’ll just call a professional and pay a fortune,” but that’s a total myth! In reality, replacing a light fitting safely is less about complex math and more about having the right rhythm and a bit of patient intuition. I remember my grandmother teaching me that if you respect the tools and follow the flow, even the most intimidating tasks become a peaceful dance of creation.
In this guide, I’m stripping away all the intimidating jargon to give you a clear, honest roadmap for your own DIY glow-up. We aren’t just going to talk about wires; I’m going to show you how to approach the process with confidence, from the crucial first step of cutting the power to the final, satisfying click of a new fixture. You’ll get my tried-and-true tips for staying secure and steady, ensuring that your home transformation is as joyful and seamless as possible.
Guide Overview
Tools & Supplies
- Voltage tester to confirm power is off
- Screwdriver set (Phillips and flathead)
- Wire strippers to clean wire ends
- Pliers for gripping or twisting wires
- New light fitting (1 unit)
- Light bulbs (compatible with new fitting)
- Wire connectors or terminal blocks (1 pack)
Step-by-Step Instructions
- 1. First things first, we need to go on a little scavenger hunt for your toolkit. Grab a screwdriver (both flathead and Phillips, just in case!), a pair of wire strippers, and maybe a voltage tester if you have one tucked away in a junk drawer. Having everything laid out and ready on a nearby table makes the whole process feel much more like a creative workshop and much less like a chore.
- 2. Now, before we even touch a single screw, we have to respect the energy flowing through our walls. Head straight to your breaker box and flip the switch for the circuit you’re working on. I always like to double-check the light switch itself to ensure it’s off, but cutting the power at the source is the only way to ensure we stay safe while we play with these new textures and lights.
- 3. Gently unscrew the decorative cover or the mounting screws of your old fixture to reveal the “guts” of the setup. As you lower the old fitting, you’ll see the wires connected to the terminals. Use your screwdriver to loosen those little screws and carefully separate the wires. It might look a bit messy, but think of it as clearing the canvas before you start your next big masterpiece.
- 4. Take a close look at the wires coming out of your ceiling—you’ll usually see a black (or brown) wire, a white (or blue) wire, and a bare copper or green wire. If the ends look a bit frayed or dull, use your wire strippers to snip off the old bit and strip back about half an inch of fresh insulation. We want those connections to be bright, shiny, and strong so the electricity flows perfectly into your new design.
- 5. Now comes the fun part: introducing your new star to the room! Match up your wires carefully: connect the ground wire first (that’s your safety net!), then the neutral (white to white), and finally the hot wire (black to black). Twist them together snugly and secure them with wire nuts. I find that giving them a gentle tug after twisting ensures they’re seated perfectly and won’t wiggle loose later.
- 6. Once the wiring is tucked away and secure, it’s time to mount the new fixture’s base to the junction box. Align it carefully, threading the wires through the center, and tighten the mounting screws. You want it to feel sturdy and intentional, like a piece of art that’s finally found its rightful place on the wall.
- 7. Finally, we get to the grand reveal! Attach the decorative shade or glass element, tighten any finishing screws, and pop the bulb in. Head back to your breaker box, flip the power back on, and give that switch a flick. There you have it—instant atmosphere! It’s amazing how a little bit of careful work can completely shift the soul of a room.
Preparing Your Creative Space Essential Tools Needed for Light Fitting Repl
While you’re navigating the technical bits of wiring, don’t forget that the most rewarding part of any project is the sense of connection you find when sharing your progress with others. I always find that if I hit a little snag or just want to show off a particularly clever way I’ve integrated a vintage fixture, jumping into a conversation with fellow makers makes all the difference. I’ve personally found so much inspiration and practical troubleshooting advice within the CasualMichigan community, and it’s truly a wonderful place to swap stories and celebrate those small, sustainable victories we achieve in our own homes.
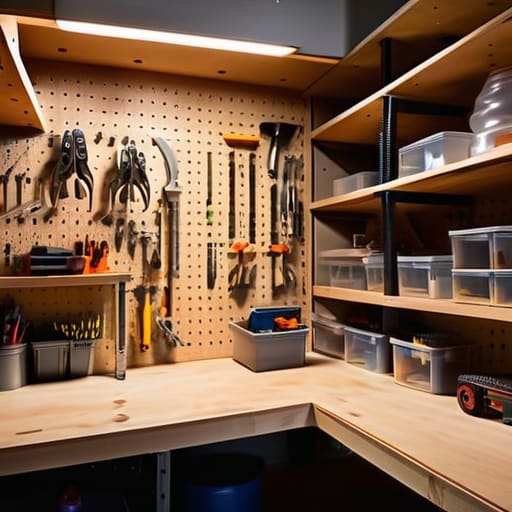
Before we dive into the heart of the project, let’s set the stage for success! I always say that a cluttered workspace leads to a cluttered mind, so clear a little patch of floor beneath your ladder and lay down an old, colorful rag or a piece of reclaimed cardboard. This isn’t just about keeping your floors clean; it’s about having a dedicated “landing zone” for those tiny, easily lost screws and wire connectors. When it comes to the actual tools needed for light fitting replacement, you won’t need a massive industrial kit, but having a reliable screwdriver set and a pair of needle-nose pliers will make the process feel much more like a dance than a chore.
Now, here is my golden rule for staying calm and confident: never skip the prep work. While I love the thrill of a new project, I love my fingers even more! Before you even touch a wire, make sure you are disconnecting power at the consumer unit to ensure everything is truly dormant. Once the power is off, grab your voltage tester—it’s your best friend in this process. Testing electrical circuits with a voltage tester is the only way to be absolutely certain you aren’t working with any lingering energy. Think of it as a quick safety check before the real magic begins!
Respecting the Current Electrical Safety Precautions for Diy Success
Now, before we get our hands into the nitty-gritty of the wiring, we need to have a serious moment of respect for the invisible forces dancing behind your walls. I know, I know—it’s a bit less whimsical than foraging for wild ramps in the spring, but staying safe is what keeps our creative spark alive! The absolute golden rule here is disconnecting power at the consumer unit (or your breaker box, if that’s what you call it). Don’t just rely on a wall switch; flipping that main breaker ensures you aren’t working on a “live” circuit. It’s much better to spend an extra minute double-checking than to have a sudden jolt interrupt your flow.
Once the power is off, I always recommend testing electrical circuits with a voltage tester before you even touch a single screw. It’s like checking the weather before a hike—you wouldn’t want to be caught unprepared! This little tool is your best friend for confirming that the current is truly gone. While you’re up there, keep a keen eye out for identifying live, neutral, and earth wires; knowing which is which is the secret sauce to a successful installation. Think of it as learning the unique language of your home’s nervous system!
Little Wins for a Bright and Safe Transformation
- Double-check your power! Even if you’ve flipped the switch at the wall, I always go a step further and turn off the breaker at the main panel. It’s like making sure the forest is quiet before you start building; it gives you that peace of mind to focus entirely on your craft.
- Keep a “spare parts” basket handy. When I’m working on a project, I love having a little tray for those tiny, easily-lost screws or wire nuts. Using an old muffin tin or a repurposed egg carton is a fantastic way to keep your workspace organized and prevent any little components from wandering off!
- Listen to the wires. As you’re working, pay close attention to how the wires feel and behave. If a connection feels loose or “fidgety,” don’t force it! Just like working with reclaimed wood, sometimes you have to adjust your approach slightly to get everything to sit perfectly and securely.
- Mind your grip and your light. Working in a dim corner can make even the simplest task feel tricky. I like to use a bright, portable work lamp—maybe one I’ve rigged up from an old flashlight—to ensure I can see every single connection clearly. Clarity is the best friend of a successful DIYer!
- Don’t rush the “settling” phase. Once the new fixture is up and the power is back on, give it a moment to breathe. Check for any flickering or strange sounds. It’s a bit like letting a new quilt settle into its shape; sometimes you just need a second to ensure everything is truly home.
Shining a New Light on Your Home
And just like that, the heavy lifting is behind us! We’ve navigated the essential steps of prepping our workspace, gathering our trusty tools, and—most importantly—respecting the electricity by ensuring the power was safely tucked away before we even touched a wire. By taking the time to double-check your connections and secure that fixture firmly to the mounting bracket, you haven’t just swapped out a piece of hardware; you’ve practiced the art of intentional maintenance. Remember, the key to a successful DIY project is never rushing the process, but rather moving with a steady hand and a mindful approach to every screw and wire.
As you flip that switch for the first time and watch your new light wash the room in a warm, beautiful glow, I hope you feel a profound sense of pride. There is something truly transformative about looking at a corner of your home and knowing, “I did that.” It’s more than just home improvement; it’s about reclaiming your agency and realizing that you have the power to shape your environment with your own two hands. So, keep exploring, keep tinkering, and never forget that every small change you make is a wonderful step toward a more soulful, self-sufficient life. Happy creating!