I was sitting in my makeshift studio last Tuesday, trying to record a voiceover, when my neighbor’s leaf blower decided to stage a full-scale protest right outside my window. I stared at my bank account, then at the stack of heavy, old wool blankets my grandmother had gifted me, and realized something: you don’t need a massive construction budget to reclaim your peace. Most people think you need to line your walls with expensive, professional acoustic foam to get results, but that’s a total myth. Learning how to soundproof a room on a budget is actually more about creative intuition and understanding how sound travels through the gaps in our everyday lives.
In this guide, I’m stripping away the high-priced jargon and showing you how to use what you already have tucked away in your closets and garage. We’re going to dive into practical, hands-on ways to dampen noise using everything from repurposed textiles to clever furniture arrangements. I promise to give you nothing but honest, no-nonsense tactics that turn your living space into a quiet sanctuary without breaking the bank. Let’s roll up our sleeves and start turning that unwanted noise into beautiful, intentional silence.
Guide Overview
Tools & Supplies
- Measuring tape for door and window dimensions
- Utility knife for cutting foam or weatherstripping
- Screwdriver for mounting hardware
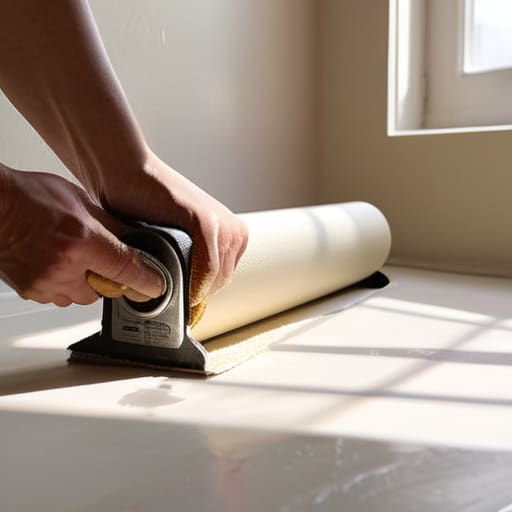
- Weatherstripping rolls for door and window seals
- Heavy blackout curtains for window coverage
- Door draft stopper for bottom gap sealing
- Acoustic foam panels or thick moving blankets for wall dampening
Step-by-Step Instructions
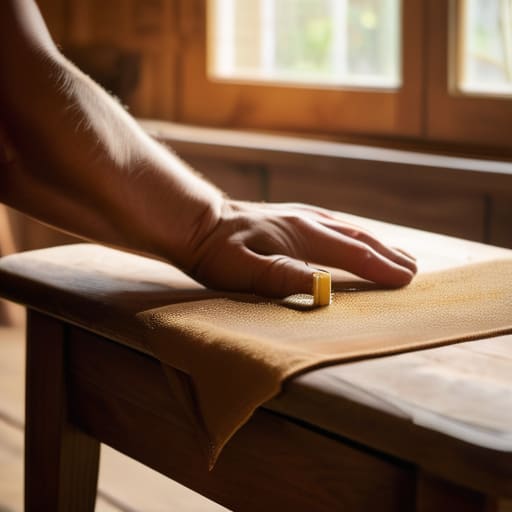
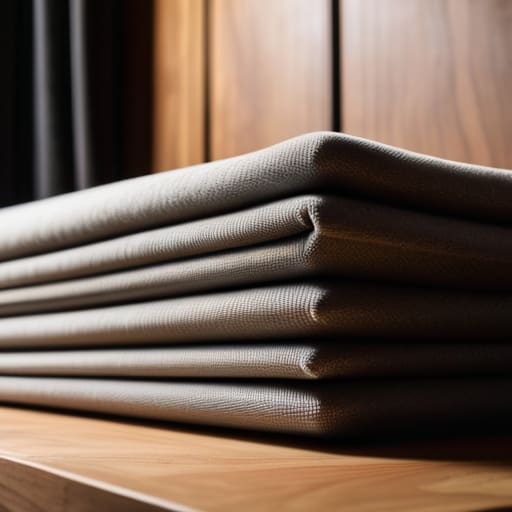
- 1. First things first, let’s go on a little scavenger hunt around your home to find your “soft goods.” Sound is basically just energy bouncing off hard surfaces like walls and floors, so we need to give that energy something to get lost in. Dig through your linen closet or that stack of extra blankets in the guest room; you’re looking for anything heavy, thick, and textured. The denser the fabric, the better it will perform at soaking up those pesky vibrations.
- 2. Next, let’s tackle the windows, which are often the biggest culprits for letting the outside world crash into your sanctuary. If you have any old, heavy velvet curtains or even those thick wool blankets my grandmother used to use for winter, let’s hang them up. I like to use a simple tension rod or even some sturdy twine to drape the fabric so it’s pleated and bunched rather than pulled tight; those extra folds create more surface area to trap sound waves before they hit the glass.
- 3. Now, let’s look at your floors. If you’re dealing with hardwood or tile, the sound is likely bouncing around like a pinball. Instead of running to a big-box store for expensive acoustic tiling, let’s layer up what we already have. Grab those area rugs you’ve been meaning to move around, and don’t be afraid to double or triple layer them. If you have any old yoga mats gathering dust in the corner, slide them underneath the rugs—they act as a fantastic makeshift acoustic underlayment.
- 4. Don’t forget about the “gaps and cracks,” especially around your door frame. A tiny sliver of space under a door can let in a surprising amount of noise. This is where my love for repurposing really shines: take an old pair of thick leggings or a long tube sock, stuff it tightly with fabric scraps or even dried beans, and sew (or even just tie!) the ends shut. You’ve just crafted a customized draft stopper that will block sound from creeping in under the door.
- 5. Let’s get a bit more creative with your walls by turning them into a soft gallery. If you have any large canvases or even empty wooden picture frames, we can turn them into DIY acoustic panels. Take some old towels, fold them until they are quite thick, and staple or glue them to the back of the frame, then cover the whole thing with a beautiful piece of scrap fabric or a vintage scarf. It’s a wonderful way to add personality to your room while simultaneously dampening the echo.
- 6. Finally, let’s use the power of “mass” to block sound from coming through shared walls. If you have a heavy bookshelf, move it against the wall that faces the noisy neighbor or the hallway. Fill those shelves completely—not just with books, but with decorative baskets, folded textiles, or even potted plants. The more irregular and dense the surface of the bookshelf is, the more it will disrupt and diffuse the incoming sound waves.
Crafting Diy Acoustic Panels for Home Studio Magic

Now, if you’re looking to level up your recording space without breaking the bank, let’s talk about crafting your own DIY acoustic panels for home studio magic. I always tell my clients that you don’t need expensive professional foam to get a crisp, clean sound. Instead, I like to raid my local thrift stores for thick, old wooden picture frames or even sturdy cardboard boxes. Stuff them tight with reclaimed cotton batting, old denim scraps, or even those leftover towels from your linen closet. Once you wrap them in a breathable, colorful fabric—maybe an old patterned quilt from my grandmother’s collection—you’ve got a beautiful, functional piece of art that eats up echoes for breakfast.
When you’re working with these, remember that density is your best friend. If you’re struggling with affordable sound dampening techniques, focus on layering your materials; a thicker “sandwich” of fabric and fiber will do much more work than a thin layer. I love hanging these panels at “first reflection points” where the sound bounces most aggressively. It turns a hollow-sounding room into a cozy, professional-grade sanctuary, all while giving a second life to materials that were headed for the landfill.
Rescuing Walls With Cheap Soundproofing Materials for Walls
If you’re staring at those bare, echoing walls and feeling a bit overwhelmed, don’t fret! You don’t need a massive construction budget to tame the sound bouncing around your space. One of my favorite tricks for reducing noise transfer in apartments is to think about mass and texture. If you have some old, thick rugs or even those heavy, decorative tapestries tucked away in a storage bin, hang them up! They act as a wonderful buffer, absorbing those pesky high-frequency vibrations before they can bounce back at you.
For those of us looking for even more affordable sound dampening techniques, let’s look toward your bookshelves. A floor-to-ceiling bookshelf packed tightly with books of varying sizes is essentially a DIY diffuser. It breaks up sound waves beautifully, turning a flat, reflective surface into a complex landscape of texture. If you’re feeling particularly crafty, you can even tuck some scrap fabric or leftover foam behind the books for an extra layer of stealthy insulation. It’s all about using what you already have to turn your walls into functional, beautiful sound absorbers.
The Little Wonders: Five Tiny Fixes for Big Quiet
- Don’t overlook the gaps under your doors! I like to take an old, colorful cotton sweater that’s seen better days, roll it up tight, and secure it with some twine to create a custom draft stopper. It’s a simple way to plug those sneaky air gaps where sound loves to sneak through.
- Think about your windows as the most vulnerable spots for noise. Instead of buying heavy-duty acoustic curtains, go hunting through your linen closet for those thick, velvet-style blankets or heavy quilts your grandmother made. Hanging them over the window frame can act like a soft, heavy shield against the street noise.
- If you have a bookshelf that’s looking a bit lonely, fill it up! A bookshelf packed with books of varying sizes is actually a fantastic, accidental sound diffuser. The different depths and paper textures help break up sound waves so they don’t just bounce straight back at you.
- Hard floors are like drumheads for sound, so let’s soften them up. Layering whatever rugs you can find—even if they don’t perfectly match—creates a cozy, textured landscape that soaks up echoes. I love mixing a vintage jute rug with a plush scrap of carpet for a layered, bohemian look that works wonders for acoustics.
- Check your electrical outlets and light switches; sometimes they act like little tunnels for sound. If you’re feeling particularly crafty, you can find inexpensive foam gaskets at the hardware store to tuck behind the faceplates, adding a tiny layer of insulation right where it’s needed most.
Turning Silence into a Personal Sanctuary
We’ve covered a lot of ground today, from raiding your linen closet for those heavy, forgotten blankets to crafting your very own acoustic panels from repurposed scraps. By focusing on adding mass to your walls and dampening those pesky echoes with soft, textured materials, you’ve effectively turned a hollow, noisy box into a controlled, intentional space. Remember, soundproofing doesn’t require a massive renovation budget or high-end industrial foam; it just requires a bit of tactical thinking and a willingness to look at your existing belongings through a new lens. Whether you’re shielding your neighbors from your late-night music sessions or creating a quiet nook for reading, you’ve successfully mastered the art of budget-friendly acoustic control.
As you step back to admire your handiwork, I hope you realize that this project was about much more than just blocking out noise. It was about reclaiming your environment and proving that you don’t need to buy your way into comfort. Every heavy curtain you hung and every DIY panel you stitched is a testament to your own resourceful spirit. So, keep your eyes peeled for the next “useless” object that might just hold the key to your next big transformation. Let’s keep finding the magic in the mundane and building a life that is as quiet, cozy, and uniquely ours as possible.
While we’re busy layering fabrics and repurposing old cushions, don’t forget that true peace and quiet often come down to how we manage the energy and vibrations within our immediate surroundings. I’ve found that sometimes the best way to refine your space isn’t just about the physical barriers, but about understanding the subtle nuances of the environment you’re trying to curate. If you’re looking to dive a bit deeper into finding that perfect balance of comfort and connection, I always suggest checking out DirtyChat USA for some really inspired perspectives on lifestyle and space that can help spark your next big idea.