I still remember the first time I stumbled upon an old, worn-out wooden table at a flea market – it was love at first sight. As a travel blogger with a passion for treasure hunting, I’ve always been drawn to unique pieces with a story to tell. Refinishing a wooden table is not just about restoring its appearance, but about uncovering its hidden beauty and giving it a new life. That’s why I’m excited to share with you a guide to refinishing a wooden table, where you’ll learn the secrets to transforming your vintage finds into stunning pieces of art.
As you dive into this guide, you can expect practical tips and tricks on how to sand, stain, and seal your wooden table to perfection. I’ll walk you through the process, sharing my own experiences and mistakes, so you can avoid common pitfalls and achieve professional-looking results. Whether you’re a seasoned DIY enthusiast or a beginner looking to try your hand at refinishing, this guide is designed to empower you with the knowledge and confidence to tackle your next project. So, let’s get started and uncover the hidden beauty in your wooden table together!
Table of Contents
Guide Overview: What You'll Need
Total Time: 4 hours 30 minutes
Estimated Cost: $50 – $100
Difficulty Level: Intermediate
Tools Required
- Sandpaper (various grits)
- Paintbrushes (different sizes)
- Roller Extension Pole (for large surfaces)
- Clamps (for holding table top in place)
- Safety Goggles (for protecting eyes from chemicals)
- Drop Cloths (for protecting floor from stains)
- Orbital Sander (optional, but recommended for large tables)
Supplies & Materials
- Wood Stain (choose your desired color)
- Polyurethane (for protecting the finish)
- Wood Filler (for filling any holes or gaps)
- 2-in x 4-in lumber (for reinforcing table legs or frame)
- Steel Wool (for smoothing out the finish)
- Rags (for applying stain and polyurethane)
- Masking Tape (for creating a seal around edges)
Step-by-Step Instructions
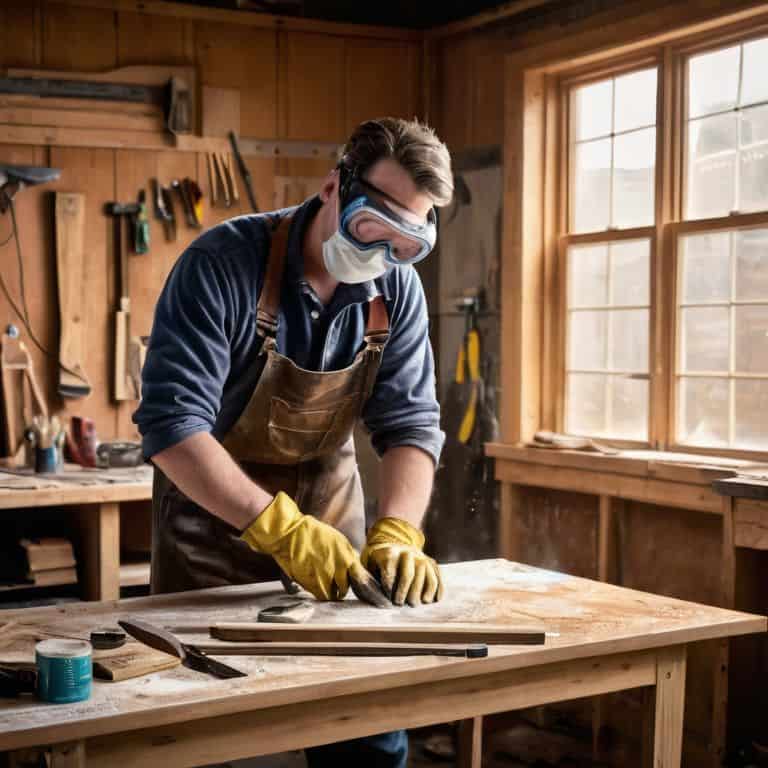
- 1. First, gather your tools and materials, because having everything you need within arm’s reach will make the process so much smoother – trust me, I’ve been there. You’ll need a variety of sandpapers (from coarse to fine), a sanding block, a dust mask, safety glasses, a refinishing stain or paint, a polyurethane coat, and of course, your trusty wooden table. I like to lay out all my tools on an old blanket or sheet to keep them organized and to protect the floor from any potential spills or scratches.
- 2. Next, clear the area around your table to give yourself plenty of room to work. This might involve moving other furniture away or covering the floor and any nearby items with drop cloths. Remember, refinishing a wooden table can be a bit messy, so it’s better to be safe than sorry. I always take a moment to appreciate the table in its current state, imagining all the stories it could tell and the memories it has witnessed.
- 3. Now, remove any hardware from the table, such as knobs, handles, or leaves. Set these aside carefully, making sure not to misplace any screws or other small parts. This step is crucial because you want to ensure that your refinishing process doesn’t damage any of the table’s functional components. I find it helpful to use a small container or bag to keep all the hardware organized and easy to find when it’s time to put everything back together.
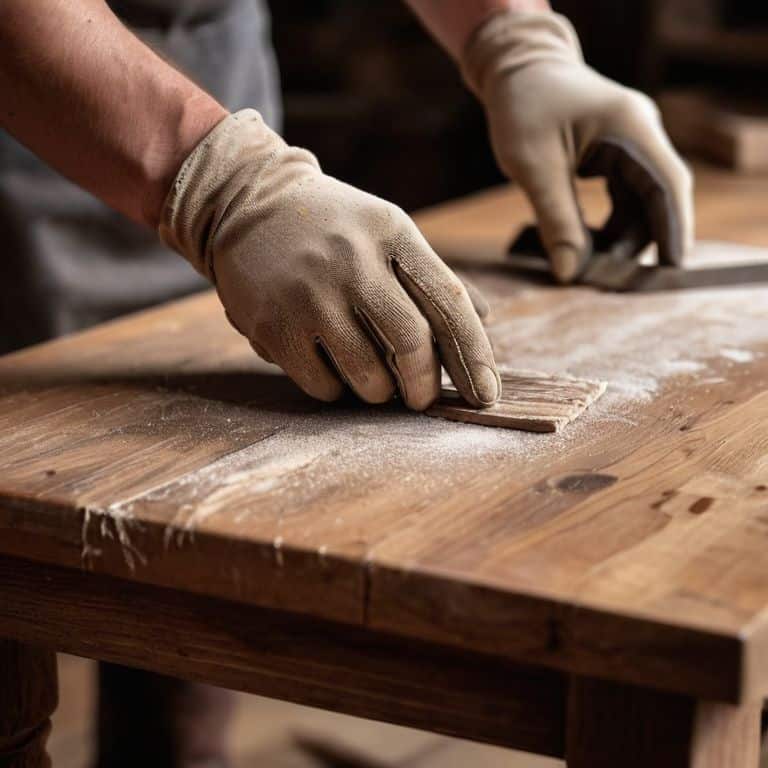
- 4. The sanding process is where the magic begins. Start with a coarse sandpaper (about 80-100 grit) and work your way up to finer grits (120-150) for a smoother finish. Always sand in the direction of the wood grain to avoid scratching the surface. I like to think of sanding as uncovering the layers of history on the table, revealing its true beauty beneath. Be patient, as this step can take some time, especially if you’re working with a particularly worn or damaged piece.
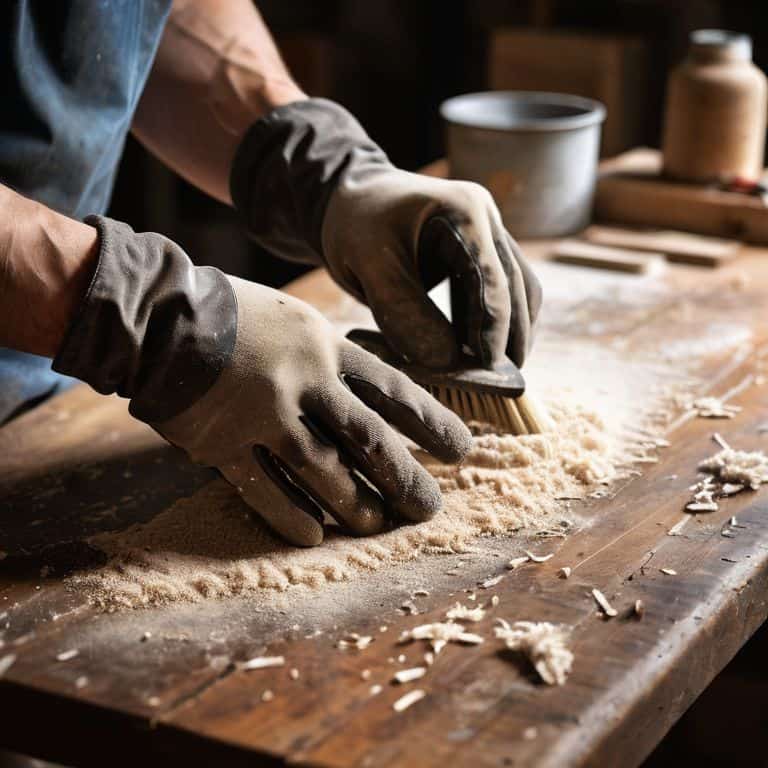
- 5. After sanding, use a damp cloth to wipe down the entire table, removing any dust or debris. This step is essential for ensuring a smooth, even finish when you apply your stain or paint. I often take a short break after this step, stepping back to admire the table’s progress and envision how it will look once it’s fully refinished.
- 6. Now it’s time to apply your refinishing stain or paint. Follow the manufacturer’s instructions for application and drying times, and make sure to work in a well-ventilated area. I love this part of the process because it’s where you get to see the table transform before your eyes. Whether you’re going for a bold new color or a classic stain, this is where your vision starts to come to life.
- 7. Once your stain or paint is fully dry, it’s time to apply a polyurethane coat. This protective layer will help seal your finish and ensure the table withstands the wear and tear of daily use. I always apply multiple thin coats, allowing each to dry according to the manufacturer’s instructions before adding the next. This might seem like a tedious step, but trust me, it’s worth the extra effort for a durable, long-lasting finish.
- 8. Finally, reattach any hardware you removed earlier, and your table is ready to use. Take a step back and admire your handiwork – there’s a sense of pride and accomplishment that comes with refinishing a piece of furniture yourself. I like to celebrate each project’s completion by writing a short story inspired by the piece, imagining the countless meals, conversations, and laughter it will be a part of in its new life.
A Guide to Refinishing a Wooden Table
As I delve into the world of wooden table restoration, I’ve discovered that sanding wood surfaces smoothly is an art that requires patience and attention to detail. It’s essential to remove old finishes carefully to avoid damaging the wood, and I’ve found that using a combination of manual sanders and chemical strippers can yield the best results. When applying a new finish, it’s crucial to consider the best wood finish for tables, taking into account factors like durability, color, and texture.
When it comes to refinishing old furniture tips, I’ve learned that it’s all about layering. Applying polyurethane coats in thin, even layers can help achieve a stunning, high-gloss finish. However, it’s vital to allow each layer to dry completely before adding the next, as this will prevent unevenness and ensure a smooth, consistent finish. I’ve also found that using a high-quality brush or foam applicator can make a significant difference in the final result.
To maintain your beautifully restored wooden table, I recommend following some simple wooden table maintenance tips. Regularly dusting and polishing the surface can help prevent scratches and spills from becoming stubborn stains. Additionally, using a wood conditioner can help keep the wood hydrated and healthy, preventing it from drying out or cracking over time. By following these tips and techniques, you’ll be able to enjoy your refinished wooden table for years to come.
Applying Polyurethane With Love
As I carefully apply the polyurethane, I feel like I’m giving my vintage table a warm hug. It’s all about patience and love at this stage. I make sure to follow the instructions, applying thin, even coats, and allowing each layer to dry before adding the next. The smell of polyurethane fills the air, transporting me back to my grandfather’s workshop, where I first learned the art of refinishing.
With each coat, the wood grain begins to pop, and the table starts to radiate a rich, warm glow. I step back to admire my handiwork, feeling a sense of pride and satisfaction. The polyurethane is not just a protective layer; it’s a way to enhance the natural beauty of the wood, to bring out the unique characteristics that make this table truly special.
Sanding Down to Perfection
As I delve into the world of refinishing, I’ve come to realize that sanding is an art form in itself. It’s where the true magic happens, and the old, worn-out surface begins to reveal its hidden beauty. I remember the first time I sanded down my grandmother’s vintage table – the way the wood grain started to shine through, like a treasure uncovered from the sands of time. With each pass of the sandpaper, the layers of old finish and dirt disappeared, leaving behind a smooth, silky surface that begged to be stained and sealed.
For me, sanding is a therapeutic process – a chance to connect with the wood and uncover its unique character. I use a combination of coarse and fine grit sandpaper to achieve the perfect finish, working my way up to a high grit for a silky smooth surface. The sound of the sandpaper gliding across the wood, the feel of the dust particles flying away, and the sight of the wood transforming before my eyes – it’s a sensory experience like no other.
Polishing Your Skills: 5 Essential Tips for Refinishing a Wooden Table
- Always prepare your workspace by laying down a drop cloth or old sheets to protect your floor from stains and dust
- Choose the right sandpaper grit for each stage of the process, starting with coarse grit to remove old finishes and progressing to finer grit for a smooth finish
- Apply polyurethane in thin, even coats, allowing each layer to dry completely before adding the next to prevent a sticky or uneven surface
- Use a water-based polyurethane for a clearer finish and easier cleanup, or an oil-based polyurethane for a richer, more traditional color
- Test your refinishing techniques on a small, inconspicuous area of the table first to ensure the stain or polyurethane you’ve chosen doesn’t affect the wood in an unexpected way
Bringing Your Table Back to Life: 3 Key Takeaways
I’ve learned that refinishing a wooden table is not just about restoring its appearance, but also about uncovering the stories and memories it holds – just like my grandmother’s old table that I refinished years ago, which now sits proudly in my living room as a testament to the power of love and restoration
With the right tools and a bit of patience, you can transform your vintage wooden table into a stunning piece of furniture that becomes the centerpiece of any room, and I should know, I’ve spent countless hours scouring flea markets for unique pieces to refinish and share with my followers
From sanding down to perfection to applying polyurethane with love, the process of refinishing a wooden table is a journey of discovery and creativity – one that I’m excited to share with you through my travel blog, where I’ll be posting more guides, stories, and postcards from my adventures around the world, so be sure to stay tuned for more inspiration and tips on how to uncover the hidden gems in your own home
Refinishing Wisdom
As I sand down the layers of an old wooden table, I’m reminded that restoration is not just about revealing the beauty of the past, but also about breathing new life into the stories that will be made around it.
Vera Kump
Bringing Your Vision to Life
As I reflect on our journey through refinishing a wooden table, I want to emphasize the importance of patience and dedication. From sanding down to perfection to applying the final coat of polyurethane, each step requires attention to detail and a willingness to get your hands dirty. By following these steps and staying committed to your vision, you’ll be able to transform an old, worn-out table into a stunning piece of furniture that tells a story. Remember, the process is just as valuable as the end result, and the sense of accomplishment you’ll feel when it’s all done is truly priceless.
As you put the final touches on your refinished table, I hope you feel a sense of pride and fulfillment. Refinishing a wooden table is not just about restoring a piece of furniture; it’s about breathing new life into something that was once forgotten. It’s about creating a space that’s truly yours, filled with stories and memories that will be passed down for generations. So, go ahead, take a step back, and admire your handiwork – you’ve not only refinished a table, you’ve created a timeless treasure.
Frequently Asked Questions
What are the most common mistakes to avoid when refinishing a wooden table?
When refinishing a wooden table, I’ve found that common mistakes to avoid include uneven sanding, inadequate drying time between coats, and applying too much polyurethane at once – all of which can lead to a finish that’s more flawed than fabulous!
How do I choose the right polyurethane finish for my table's specific wood type?
When it comes to choosing the right polyurethane finish, I always consider the wood type. For example, if your table is made of oak or pine, a water-based polyurethane works beautifully, while a oil-based one suits walnut or mahogany perfectly. I like to think of it as finding the perfect companion for my treasure – it enhances its natural beauty!
Can I refinish a wooden table that has been previously painted or stained?
Absolutely, I’ve refinished plenty of previously painted or stained tables in my treasure hunting adventures. Just be sure to thoroughly sand off the old finish before applying a new stain or paint, and consider using a primer if the previous color is still visible. It’s all about uncovering the hidden beauty beneath!