I still remember the first time I upgraded my old truck’s headlights to LED – it was like a whole new world opened up on the road. I was working on a project in my garage, tinkering with my grandfather’s old toolbox, when I realized that the dim old headlights were holding me back. That’s when I decided to write a guide to upgrading your car’s headlights to led, to help others who were struggling with the same issue. I mean, who needs a pair of headlights that are only slightly brighter than a couple of candles, right? It’s time to shine on and make the switch to LED.
In this article, I’ll walk you through the practical steps to upgrade your car’s headlights to LED, just like I did with my trusty ride. You’ll get honest, no-hype advice on what to expect, how to choose the right LEDs, and how to install them without breaking the bank. I’ll share my personal experience, including the common pitfalls to avoid and the best tools to use for the job. By the end of this guide, you’ll be well on your way to supercharging your ride with LED headlights, and you’ll be wondering how you ever managed with those old dim bulbs.
Table of Contents
Guide Overview: What You'll Need

Total Time: 2 hours 30 minutes
Estimated Cost: $50 – $100
Difficulty Level: Intermediate
Tools Required
- Torx screwdriver (for removing headlight assembly)
- Phillips screwdriver (for removing headlight bezel)
- Wire strippers (for stripping wire insulation)
- Electrical tape (for securing wiring)
- Multimeter (for testing voltage and continuity)
Supplies & Materials
- LED headlight bulbs (compatible with your vehicle’s make and model)
- Headlight wiring harness (if your vehicle does not have one)
- Heat sink or thermal tape (for heat dissipation)
- Gloves (for protecting your hands from cuts and electrical shock)
- Safety glasses (for protecting your eyes from debris)
Step-by-Step Instructions
- 1. First, gather your tools and materials, which should include the new LED headlights, a screwdriver set (I’ve named mine “The Twisty Trio”), a wrench set (my “Torque Titans”), and some electrical tape. Make sure you’ve got a clean and comfortable workspace to avoid any slip-ups.
- 2. Next, disconnect the battery to prevent any accidental starts or electrical shocks. This is a crucial step, and I always say, “A safe garage is a happy garage.” Locate the battery and unhook the negative terminal – it’s usually marked with a negative sign or a black color code.
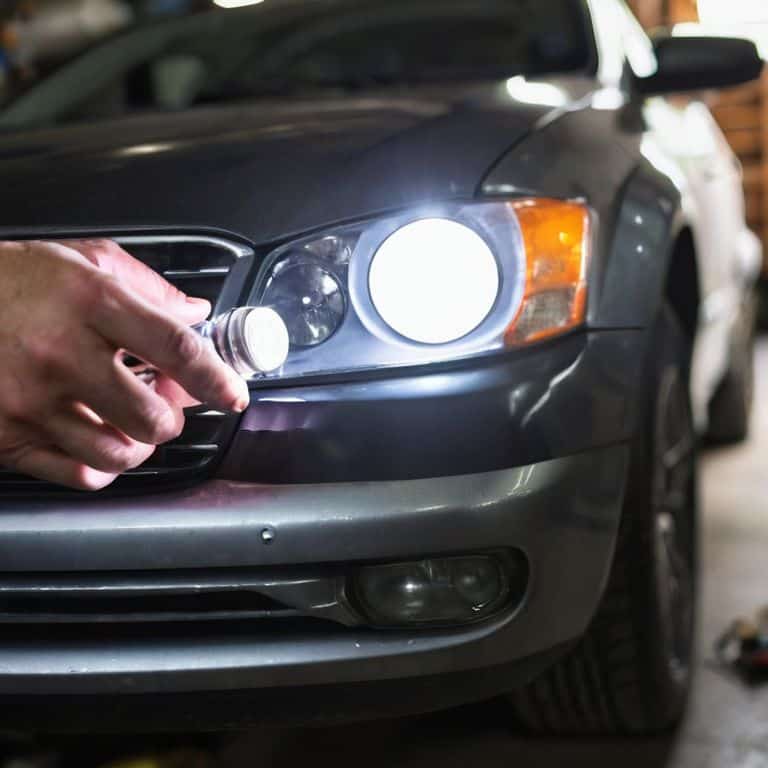
- 3. Now, remove the old headlights, which will typically involve removing some screws or clips. My trusty “Screw-Loosening Sam” (that’s what I call my favorite screwdriver) will come in handy here. Gently pull the headlight assembly away from the car, taking care not to damage any surrounding components.
- 4. With the old headlights out, it’s time to inspect and prepare the headlight housing. Clean out any dirt or debris that may have accumulated, and check for any damage or wear on the housing itself. If you find any issues, now’s the time to address them before installing the new LEDs.
- 5. Carefully install the new LED headlights, making sure they’re properly seated and secured. You may need to consult your car’s manual or the manufacturer’s instructions for specific guidance on this step. My “Torque Titans” will help you get the job done, and don’t forget to tighten those screws in a star pattern to avoid any uneven pressure.
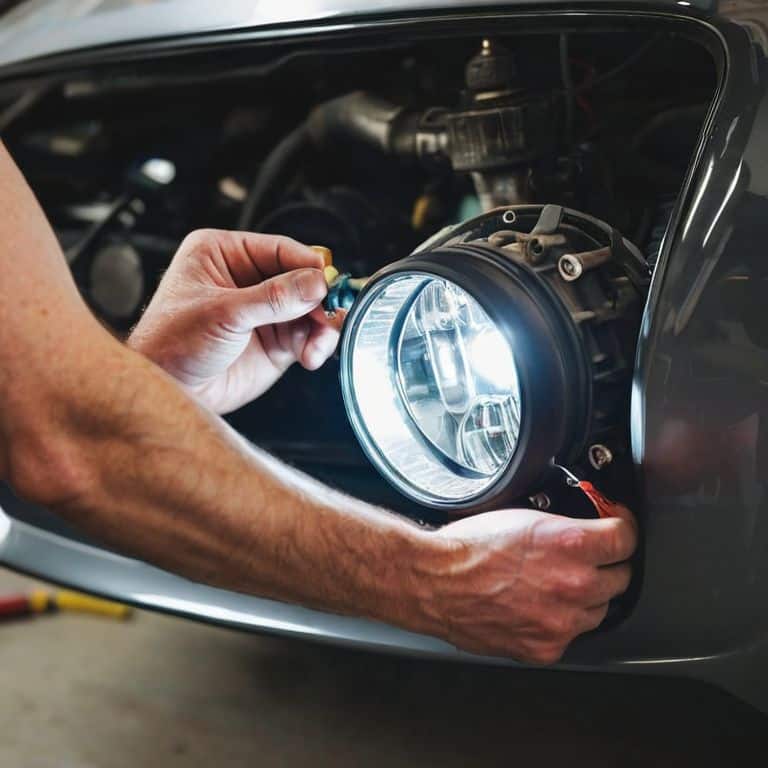
- 6. Once the new headlights are in place, reconnect the electrical connectors, making sure they’re secure and not loose. You don’t want any faulty connections causing issues down the line. Use some electrical tape to keep everything tidy and organized.
- 7. Finally, test the new headlights to ensure they’re working properly. Turn on the low beams, high beams, and fog lights (if your car is equipped with them), and check for any unusual behavior or uneven light distribution. If everything looks good, congratulations – you’ve just successfully upgraded your car’s headlights to LED! Now, go out there and shine on, my friends!
Led Headlight Upgrade Guide
When it comes to upgrading your ride’s headlights to LED, there are a few key considerations to keep in mind. First, you’ll want to think about the led headlight conversion benefits, such as improved visibility and safety on the road. I’ve seen it firsthand – my grandfather used to say that a good set of headlights can make all the difference on a dark country road.
Another important factor is choosing the right brand for your vehicle. I’ve had great luck with some of the best led headlight brands for cars, and I always recommend doing your research before making a decision. It’s also crucial to follow proper installation procedures to ensure a safe and secure fit.
In terms of maintenance, car led headlight maintenance tips are relatively straightforward. Regularly cleaning the lenses and checking the bulbs can go a long way in maintaining their performance. Additionally, it’s worth noting that led headlight bulb replacement cost can vary depending on the brand and quality of the bulb.
Safe Install Best Led Brands
When it comes to installing LEDs, safety is paramount. I always recommend opting for reputable brands that prioritize both performance and protection. In my garage, I swear by brands like Philips and Osram – they’re the real deal. I’ve named my trusty Philips LED installation kit “Phil” and it’s been a game-changer for my own projects. These brands offer top-notch quality and reliability, giving you peace of mind as you upgrade your ride. Plus, they’re designed with safety features like thermal management and waterproofing, so you can drive confidently.
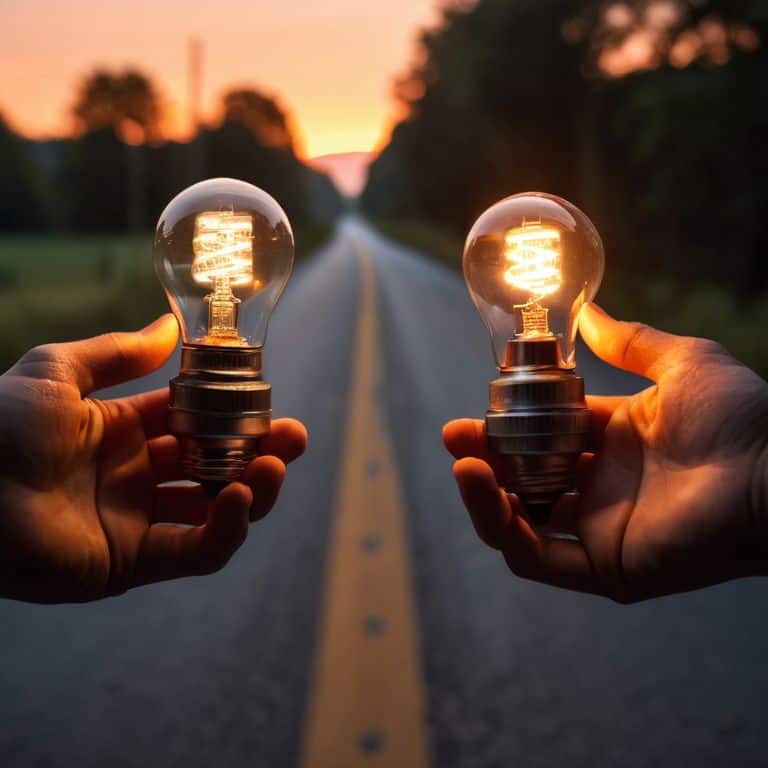
Shine on Led Conversion Benefits
So, what’s the big deal about LED headlights? For me, it’s all about the benefits – and trust me, there are plenty. Not only do LEDs shine brighter, but they also last longer and use less energy than traditional headlights. That means you’ll be seeing more of the road ahead, and your car’s battery will thank you. Plus, with a lifespan of up to 50,000 hours, you can forget about swapping them out anytime soon.
I’ve seen it firsthand on my own vintage bike restorations – LEDs just make everything better. They’re like a breath of fresh air for your car’s lighting system. And let’s not forget about safety: with clearer visibility, you’ll be able to react faster to whatever the road throws your way. It’s a no-brainer, if you ask me.
Bright Ideas: 5 Key Tips for a Seamless LED Headlight Upgrade
- Measure Twice, Order Once: Double-check your car’s make, model, and year to ensure you’re getting the right LED headlights for the job
- Don’t Get Left in the Dark: Invest in a high-quality LED conversion kit that includes everything you need for a straightforward install
- Tool Time: Gather your trusty sidekicks, like my ‘Bertha’ bolt wrench and ‘Sparky’ screwdriver, to make the installation process a breeze
- Shine On, Safely: Always follow proper safety protocols when working with electrical systems, and consider consulting a pro if you’re not comfortable with the process
- Test Drive to Success: Once you’ve completed the upgrade, take your ride for a spin to ensure the new LEDs are aligned properly and shining bright
Key Takeaways to Brighten Your Ride
Upgrading to LED headlights can significantly improve your vehicle’s visibility and safety, making it a worthwhile investment for any car owner
Choosing the right LED brand is crucial for a safe and successful installation, with top brands offering durable and high-quality products that meet or exceed industry standards
By following a simple step-by-step guide and selecting the right materials, you can easily upgrade your car’s headlights to LED and experience the benefits of brighter, more efficient lighting on the road
Illuminating the Way
Upgrading to LED headlights isn’t just about seeing the road ahead, it’s about shedding light on the possibilities of what your vehicle can become – a reflection of your personality, a statement of innovation, and a beacon of safety on the open road.
John Beeler
Wrapping Up Your LED Headlight Upgrade
As we’ve gone through this guide, you’ve seen how upgrading your car’s headlights to LED can be a game-changer for both safety and style. From the step-by-step instructions to choosing the best LED brands for a safe install, we’ve covered it all. The benefits of LED conversion are clear: improved visibility, reduced energy consumption, and a sleeker look for your vehicle. Whether you’re a seasoned mechanic or a DIY novice, this project is definitely within your reach. Just remember to take your time, follow the instructions carefully, and don’t hesitate to reach out if you have any questions.
So, as you put the finishing touches on your LED headlight upgrade, take a step back and admire your handiwork. You’ve not only improved your car’s performance and appearance, but you’ve also unleashed your inner mechanic. This project is just the beginning – who knows what other garage adventures await you? Maybe it’s time to dust off that old bicycle and give it a restore, or perhaps you’ll tackle an even more ambitious project. Whatever it is, remember to have fun and enjoy the process of creating something with your own two hands. Happy tinkering!
Frequently Asked Questions
Will upgrading to LED headlights void my car's warranty?
Don’t worry, upgrading to LEDs won’t automatically void your warranty. Just make sure to use OEM-approved or compatible LEDs, and follow the manufacturer’s installation guidelines. I’ve done it with my own ride, and I can walk you through it – your warranty should remain intact, no sweat!
How do I determine which LED headlight kit is compatible with my vehicle's make and model?
Ah, compatibility conundrum! Don’t worry, I’ve got you covered. To find the perfect LED headlight kit for your ride, check your vehicle’s manual or manufacturer’s website for specs. You can also use online tools like BulbFit or LED Bulb Finder, which match your make and model with compatible kits – my trusty sidekick, ‘Betsy the Browser,’ loves those resources!
Are there any special precautions I should take when handling and installing LED headlights to avoid damaging them?
Absolutely, when handling LEDs, I always say ‘gentle as a grease monkey with a vintage bike.’ Avoid touching the bulbs themselves, as oils from your skin can damage the LEDs. Use gloves or a soft cloth, and keep them away from static electricity. My trusty sidekick, ‘Sparky’ the voltmeter, reminds me to ground myself before handling sensitive electronics.


