I still remember the first time I tried to bleed my brakes on my old bike in grandpa’s garage. I was a teenager, and my grandfather, a seasoned mechanic, was guiding me through the process. He told me, “John, people often think that bleeding brakes is a complicated task that requires professional help, but trust me, it’s easier than you think.” And you know what? He was right. With a few simple tools and some patience, I was able to get the job done. This experience has stuck with me, and I’ve found that many people struggle with how to bleed your brakes due to misinformation or a lack of confidence.
In this article, I’ll share my honest, no-hype advice on how to bleed your brakes like a pro. You’ll learn the essential steps and tricks of the trade that I’ve gathered from my years of experience as an automotive technician. I’ll walk you through the process, from preparing your vehicle to testing the brakes, and provide you with practical tips to make the job smoother and less frustrating. By the end of this guide, you’ll be equipped with the knowledge and confidence to tackle brake bleeding like a seasoned mechanic, and you’ll be back on the road in no time, with safe and reliable brakes.
Table of Contents
Guide Overview: What You'll Need

Total Time: 1 hour 30 minutes
Estimated Cost: $20 – $50
Difficulty Level: Intermediate
Tools Required
- Tire pressure gauge for checking brake fluid pressure
- Brake bleeding kit including hoses and adapters
- Socket wrench or ratchet for loosening brake bleed valves
- Torx screwdriver for removing caliper bleed ports
- Container for brake fluid for catching old brake fluid
Supplies & Materials
- Brake fluid compatible with vehicle type
- Brake cleaner for cleaning brake components
- Rags for wiping up spills
- New brake bleed valve caps if old ones are damaged
Step-by-Step Instructions
- 1. First, gather all the necessary tools and materials, which include a brake bleeding kit, a wrench or pliers to loosen the brake bleed valve, and some rags to clean up any spills. Make sure you have a clear workspace and a pair of gloves to keep your hands clean and protected.
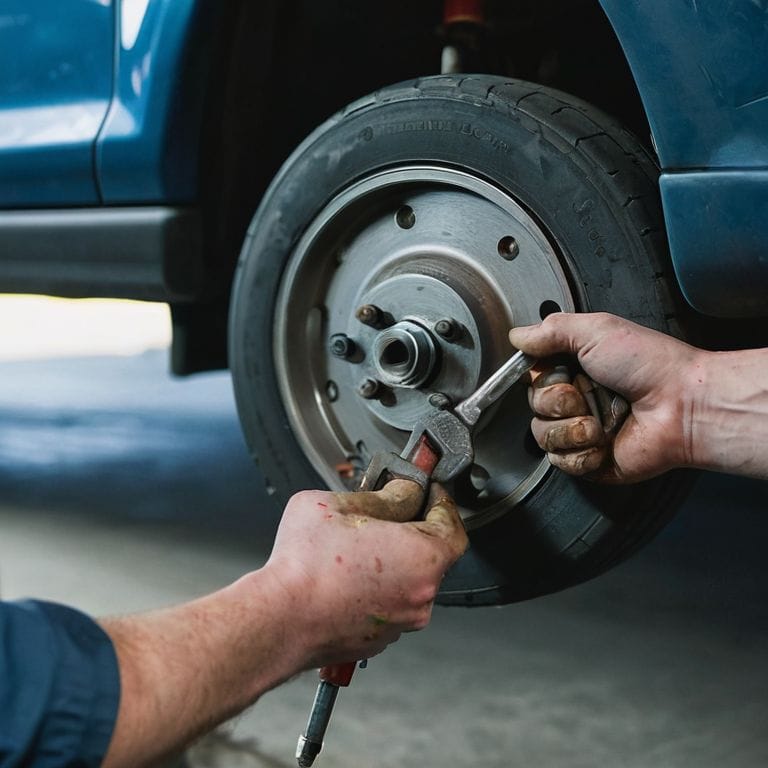
- 2. Next, locate the brake bleed valve on your vehicle, usually found on the brake caliper or wheel cylinder. You’ll need to consult your vehicle’s manual to determine the exact location, as it can vary depending on the make and model of your car. Once you’ve found it, use your wrench or pliers to loosen the valve, but don’t remove it yet.
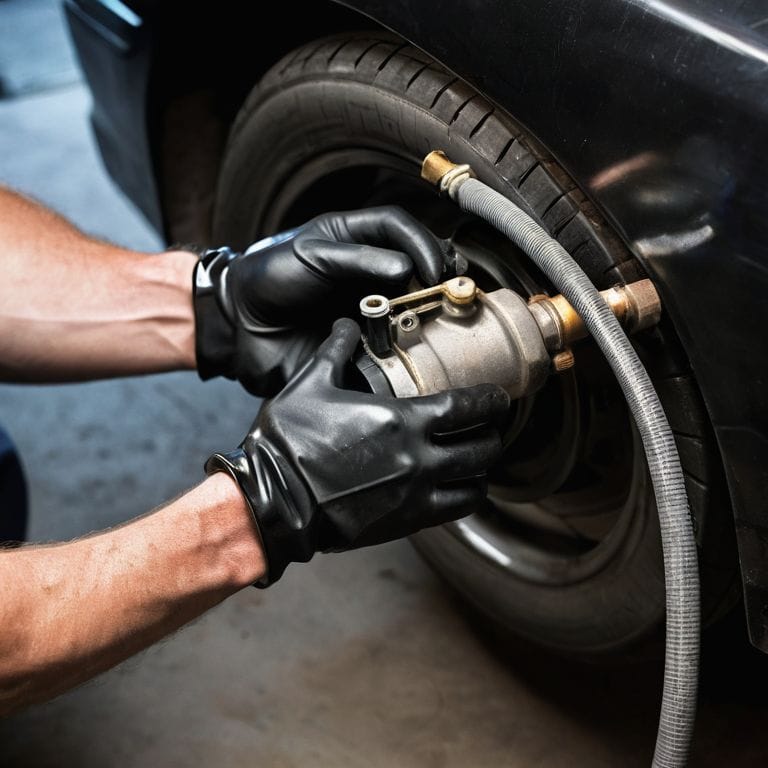
- 3. Now it’s time to attach the brake bleeding kit to the valve. This usually involves screwing a small hose onto the valve and attaching the other end to a reservoir of brake fluid. Make sure all connections are secure and tight to prevent any leaks or air from entering the system.
- 4. With the kit in place, use your wrench or pliers to fully open the brake bleed valve. You’ll start to see brake fluid flowing out of the hose and into the reservoir. This is where the magic happens, and you’ll begin to release any air pockets that have formed in the brake system.
- 5. As the fluid flows, you’ll need to pump the brake pedal several times to help prime the system and remove any air bubbles. You may feel some resistance at first, but this should decrease as the air is bled out. Keep pumping until the pedal feels firm and the fluid flow slows to a trickle.
- 6. Once you’ve finished bleeding the brakes, close the valve and remove the bleeding kit. Use your rags to clean up any spills or drips, and make sure the area around the brake caliper is free from debris. Take a step back and admire your handiwork – you’ve just successfully bled your brakes.
- 7. Finally, take your vehicle for a test drive to ensure the brakes are functioning properly. Pay attention to any spongy or soft feelings in the brake pedal, as this could indicate that there’s still air in the system. If everything feels good, congratulations – you’ve just saved yourself a trip to the mechanic and can now apply your newfound skills to other projects, like restoring that vintage bicycle I’m always tinkering with.
Mastering Brake Bleed
As I always say, mastering the art of brake bleeding is all about attention to detail and having the right tools for the job. I recall my grandfather teaching me how to bleed brakes in his garage, and he’d always emphasize the importance of using the correct brake fluid types for our vintage bikes. It’s no different when it comes to cars – using the wrong fluid can lead to all sorts of issues, including common brake bleeding problems like air pockets and soft brake pedals.
When it comes to bleeding brakes, I’m a big fan of using a vacuum pump to get the job done quickly and efficiently. Not only does it make the process easier, but it also helps to prevent any air from entering the system, which can cause brake pedal softness causes that are a real pain to diagnose. By using a vacuum pump, you can ensure that your brake lines are properly flushed and that your master cylinder is functioning as it should.
In my experience, brake line flushing techniques are just as important as the bleeding process itself. That’s why I always make sure to flush my lines thoroughly after bleeding, using a combination of brake fluid and compressed air to get the job done. It’s a simple step that can make all the difference in the performance and safety of your vehicle, and it’s something that I wish more people would take the time to do properly.
Bleeding Brakes With a Vacuum Pump No Sweat
Now that we’ve covered the basics of brake bleeding, let’s talk about taking it to the next level with a vacuum pump. I remember my grandfather using one of these to bleed the brakes on his old Chevy truck, and it made the process a whole lot easier. With a vacuum pump, you can remove air from the brake system more efficiently, making it less likely that you’ll introduce new air bubbles into the lines.
I’ve named my trusty vacuum pump “Suck Norris” – it’s a real game-changer. By applying a vacuum to the brake bleeders, you can draw out the old brake fluid and air pockets with ease, making the bleeding process much faster and more effective. Just be sure to use the right adapters and follow the manufacturer’s instructions for your specific vacuum pump.
Grandpas Secret Brake Fluid Types Matter
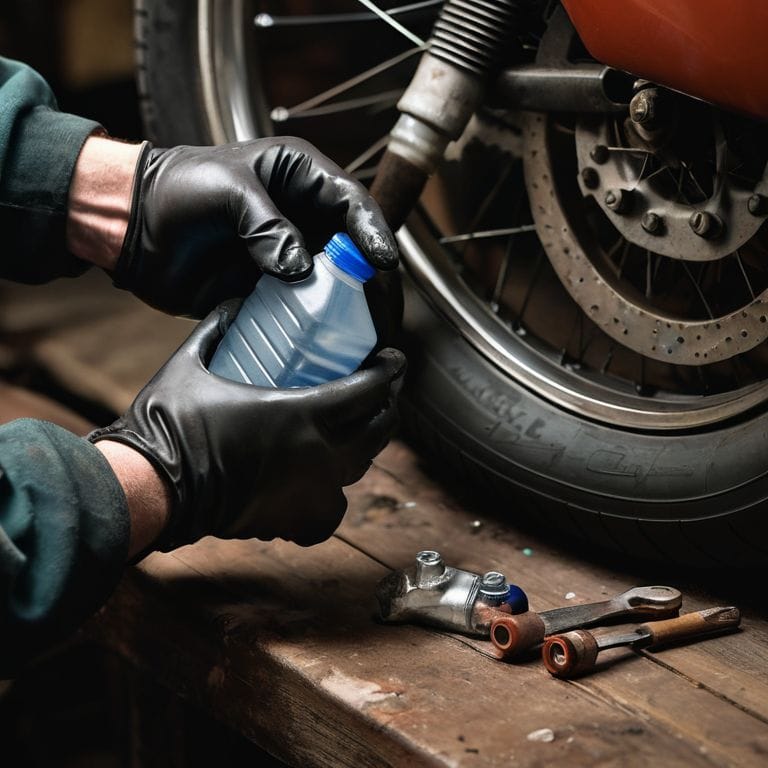
Now that we’ve got the basics of brake bleeding down, let’s talk about a crucial detail that’ll make all the difference: brake fluid types. My grandpa always said, “The right fluid is like the right grease for your bike chain – it keeps everything running smooth.” And boy, was he right! You see, there are several types of brake fluid, each with its own set of characteristics. DOT 3, DOT 4, and DOT 5 are the most common, and using the wrong one can lead to brake failure or damage.
I remember restoring my vintage bike in grandpa’s garage, and he’d always stress the importance of using the correct brake fluid. He’d say, “John, it’s like using the right tool for the job – it’s all about precision and care.” So, take a minute to check your vehicle’s manual and ensure you’re using the recommended brake fluid type. Trust me, your brakes (and your grandpa) will thank you!
Brake Bleeding Like a Pro: 5 Tips to Get You Rolling
- Always refer to your vehicle’s manual for specific brake bleeding instructions, just like I do when restoring my vintage bicycles
- Use the right brake fluid for your vehicle, as I learned from Grandpa – the wrong type can lead to brake failure
- Invest in a good vacuum pump, it’s a game-changer for bleeding brakes and makes the process much cleaner
- Never bleed your brakes alone, have a buddy to help you pump the brakes and monitor the fluid flow, trust me, it’s safer and more fun
- Keep your work area clean and organized, I name all my tools, including my trusty brake bleeding kit, to ensure I can find what I need in a snap, just like in my grandfather’s garage
Key Takeaways to Get You Rolling
Always remember to choose the right brake fluid for your vehicle, just like Grandpa taught me – it makes all the difference in the world
Bleeding brakes doesn’t have to be a daunting task, especially with the help of a vacuum pump – it’s a game-changer, trust me
Practice makes perfect, so don’t be afraid to get your hands dirty and try bleeding your brakes again – you’ll be a pro in no time, just like restoring a vintage bike to its former glory
The Brake Bleeding Wisdom
Bleeding your brakes isn’t just about fixing a problem, it’s about understanding the rhythm of your vehicle – when you take the time to listen, you’ll find that every brake line and piston has a story to tell, and that’s where the real magic happens.
John Beeler
Bringing It All Together: A Job Well Done
As we wrap up this journey into the world of brake bleeding, it’s essential to remember a few key takeaways. We’ve covered the basics of mastering brake bleed, delved into the importance of selecting the right brake fluid type, and even explored the efficiency of using a vacuum pump for a no-sweat experience. By following these steps and tips, you’ve not only learned how to bleed your brakes effectively but also gained a deeper understanding of your vehicle’s mechanics. This knowledge is powerful, as it allows you to tackle more projects in your garage with confidence.
Now, as you put your tools away and admire your handiwork, remember that the real reward is in the process, not just the outcome. The garage is more than just a place to park your car or store your tools; it’s a playground for innovation and a space where you can bring your ideas to life. So, don’t be afraid to experiment, to try new things, and to push the boundaries of what you thought was possible. With every project, you’re not just fixing or creating something; you’re unleashing your potential.
Frequently Asked Questions
What are the most common mistakes to avoid when bleeding brakes to ensure a safe and successful process?
Hey, don’t let common mistakes put the brakes on your project! I’ve seen folks forget to loosen the bleeder valve, or use the wrong type of brake fluid – my grandfather used to say, ‘use the right juice, or you’ll be in for a squeeze!’ Avoid air pockets and always bleed in the right order, or you’ll be chasing your tail, just like I did with my vintage bike restoration.
How often should I bleed my brakes to maintain optimal performance and prevent damage to the brake system?
Ah, great question! I recommend bleeding your brakes every 10,000 to 15,000 miles, or if you notice any spongy pedal feel. My grandpa used to say, ‘A clean brake system is a happy brake system!’ Regular bleeding keeps air and moisture out, ensuring your brakes stay responsive and reliable. Trust me, it’s worth the effort – just like tuning up my vintage bike, it’s all about maintenance!
Can I use a brake bleeding kit with a vacuum pump on any type of vehicle, or are there specific models or years that require special consideration?
Not all vehicles are created equal, my friend. While a brake bleeding kit with a vacuum pump is versatile, some older models or high-performance vehicles might require special adapters or procedures. Always consult your trusty owner’s manual or a repair guide specific to your ride, like my old ’68 Mustang, to ensure a smooth bleed.


