I still remember the first time I tried to sharpen tools on my own – it was a disaster. I had watched countless YouTube videos and read numerous blogs on how to sharpen tools, but nothing seemed to work for me. The problem was, I was following generic instructions that didn’t account for the unique characteristics of each tool. It wasn’t until I stumbled upon an old, seasoned carpenter at a flea market, who shared with me the secrets of how to sharpen tools with precision and care, that I finally understood the process. He told me that the key to sharpening tools lies not in the technique, but in understanding the tool itself.
As I delved deeper into the world of tool sharpening, I realized that there’s a lot of misinformation out there. That’s why I’m excited to share my personal experience and knowledge with you in this article on how to sharpen tools. You can expect practical advice and honest tips on how to sharpen your tools effectively, without breaking the bank or wasting hours on trial and error. I’ll take you through the process step-by-step, sharing my own stories of trial and error, and the lessons I’ve learned along the way. By the end of this article, you’ll be equipped with the knowledge and confidence to sharpen tools like a pro, and unlock their full potential.
Table of Contents
Guide Overview: What You'll Need
Total Time: 1 hour 15 minutes
Estimated Cost: $10 – $30
Difficulty Level: Intermediate
Tools Required
- Whetstone (6 inches long)
- Diamond Stone (for harder tools)
- File (flat and round files)
- Sharpening Steel (also known as honing steel)
Supplies & Materials
- Water (for whetstone lubrication)
- Oil (for sharpening steel and other tools)
- Norton Sharpening Stone (optional, for advanced sharpening)
Step-by-Step Instructions
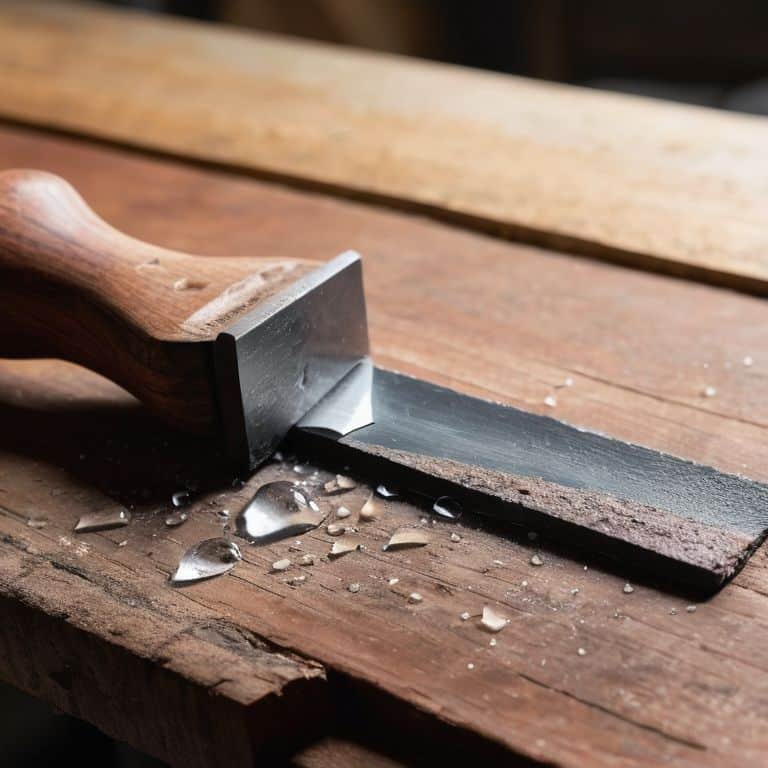
- 1. First, gather your tools and prepare a clean, dry workspace – I like to sharpen my tools on a wooden bench in my backyard, where I can feel the sun on my face and hear the birds singing. This not only helps me focus but also reminds me of my grandfather’s workshop, where I first learned the art of sharpening.
- 2. Next, inspect the tool’s edge to determine the best approach for sharpening – some tools, like my grandfather’s old pocket knife, have a straight edge, while others, like gardening shears, have a curved one. Understanding the edge type will help you choose the right sharpening stone or file.
- 3. Now, select the right sharpening stone – I have a collection of stones in different grits, from coarse to fine, each suited for a specific type of tool or level of sharpness desired. For most tasks, I start with a medium-grit stone to remove any nicks or burrs, then progress to a finer grit for polishing the edge.
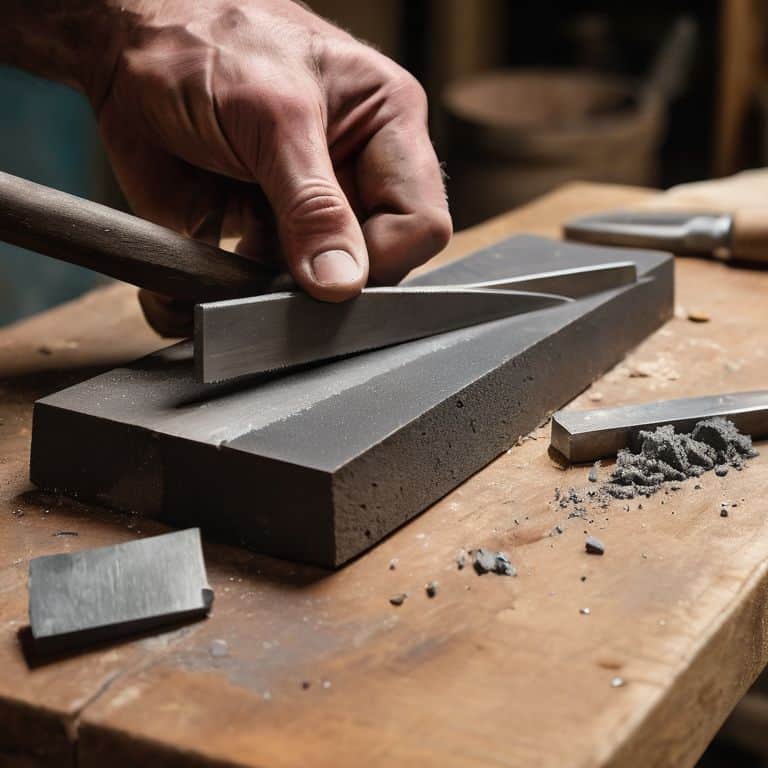
- 4. To begin sharpening, position the tool at the correct angle – this can vary depending on the tool and the type of cut you want to achieve, but a general rule of thumb is to start with a 20-degree angle for most knives and blades. I find it helpful to use a sharpening guide or clamp to maintain a consistent angle, especially for more delicate tools.
- 5. With your tool positioned, start sharpening with light, smooth strokes – apply gentle pressure, moving the tool across the stone in the direction of the edge. Repeat this process several times, checking the edge periodically to see how sharp it’s becoming. Remember, the goal is to sharpen, not to apply brute force – patience is key in this process.
- 6. As you sharpen, check the edge frequently to avoid over-sharpening – a common mistake, especially for beginners. I use a combination of visual inspection and a simple thumb test (gently running my thumb over the edge to feel for sharpness) to gauge the tool’s readiness. When it starts to feel sharp, it’s time to move to a finer grit stone for polishing.
- 7. Finally, polish the edge with a fine-grit stone or leather strop – this step is all about refining the edge to a razor-sharp finish. Apply a small amount of sharpening compound or oil to the stone or strop, then draw the tool across it with very light pressure, repeating the motion several times. The result should be a tool that’s not only sharp but also has a satisfying gleam to it, ready for whatever task you have in mind.
Unlocking Sharpness
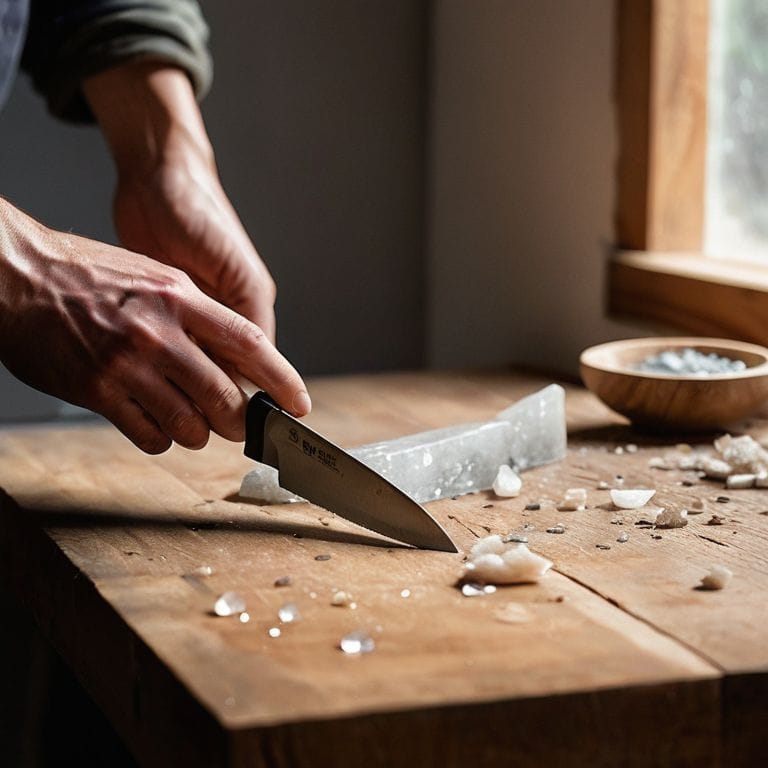
As I delve deeper into the world of sharpening, I’ve discovered that mastering the right techniques is crucial for achieving razor-sharp edges. For beginners, it’s essential to start with simple sharpening techniques for beginners, such as using a whetstone or a diamond stone. I’ve found that the best angle for sharpening knives is around 20 degrees, but this can vary depending on the type of knife and the material it’s made of.
When it comes to sharpening axes, I’ve had great success using a file to hone the edge. It’s a bit more labor-intensive, but the results are well worth the effort. On the other hand, electric sharpening systems can be a great option for those who want a more convenient and efficient way to sharpen their tools. In my experience, these systems are particularly useful for maintaining sharpness on chisels, which can be tricky to sharpen by hand.
One of the most important things I’ve learned about sharpening is the importance of consistent maintenance. A dull tool is not only less effective, but it can also be dangerous to use. By regularly sharpening and maintaining my tools, I’ve been able to extend their lifespan and ensure they continue to perform at their best. Whether you’re using a diamond stone vs water stone, the key is to find a sharpening method that works for you and stick to it.
Diamond Stone vs Water Stone
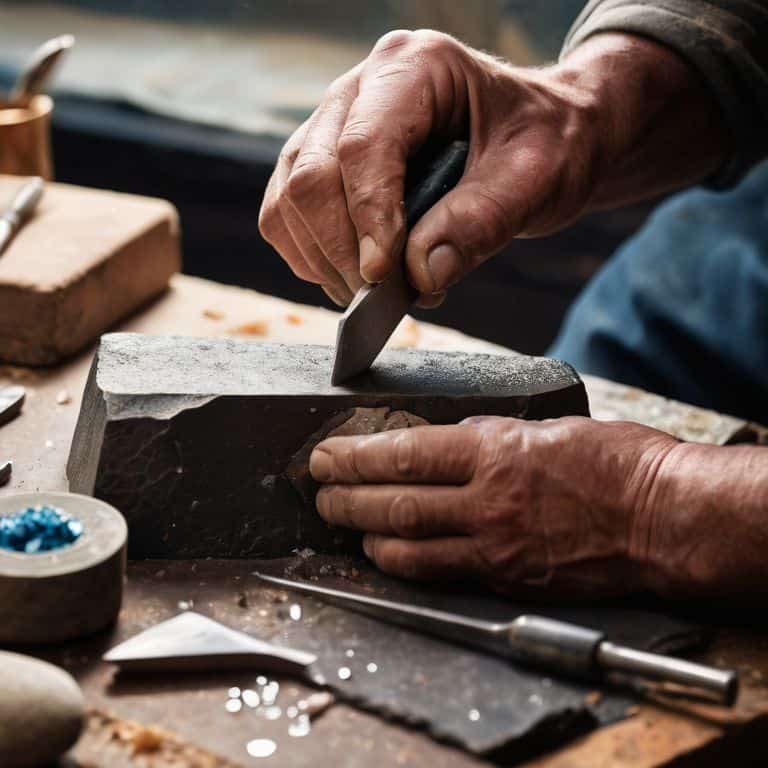
As I delve deeper into the world of sharpening, I find myself drawn to the age-old debate: diamond stone vs water stone. My grandfather, a seasoned craftsman, swore by his diamond stone, citing its durability and speed. I recall watching him effortlessly sharpen his pocket knife, the diamond stone glinting in the sunlight as it coaxed a razor-sharp edge from the metal. On the other hand, I’ve met fellow travelers who pledge allegiance to the water stone, praising its ability to hone an edge with nuanced precision.
In my own experience, I’ve found that both have their merits. The diamond stone is indeed faster, but the water stone offers a level of finesse that’s hard to beat. As I continue to explore the art of sharpening, I’m excited to experiment with both and uncover the secrets they hold. Whether you’re a seasoned pro or a curious beginner, the choice between diamond stone and water stone ultimately comes down to personal preference and the type of tool you’re working with.
Unveiling Sharpening Techniques
As I delved deeper into the world of sharpening, I discovered a variety of techniques that can make all the difference. From the gentle touch of water stones to the precise grind of electric sharpeners, each method has its own unique character. I’ve found that understanding the nuances of these techniques is key to unlocking the full potential of my tools. Whether I’m sharpening a pocket knife or a gardening shear, the right technique can turn a dull edge into a razor-sharp blade.
I’ve had my fair share of trial and error, but with practice, I’ve developed a keen sense of when to use each technique. The thrill of sharpening lies not just in the end result, but in the process itself – the sound of steel on stone, the smell of metal and oil, and the satisfaction of watching a dull edge transform into a sharp one.
Sharpening Secrets: 5 Tips to Unlock Your Tool's Potential
- I always make sure to choose the right sharpening stone for the job, whether it’s a diamond stone or a water stone, each has its own unique benefits
- Keeping my tools clean and dry before sharpening is crucial, it’s amazing how much of a difference it makes in achieving that perfect edge
- My grandfather taught me to sharpen tools in a consistent, light touch pattern, it’s a technique that’s stuck with me and yields great results
- I’ve found that using a sharpening steel after sharpening my tools helps to realign the edge and remove any micro-serrations, giving me a razor-sharp finish
- Practicing patience and taking my time when sharpening is key, it’s easy to get impatient but the end result is well worth the extra effort and attention to detail
Key Takeaways for Sharpening Enthusiasts
I’ve learned that sharpening tools is not just about maintaining their effectiveness, but also about understanding the unique characteristics of each tool and the sharpening method that suits it best
Through my journey, I’ve come to appreciate the importance of patience and practice in sharpening tools – it’s a skill that takes time to develop, but the rewards are well worth the effort
Whether you’re a DIY enthusiast, a professional, or simply a curious adventurer like myself, I hope my story and the techniques I’ve shared will inspire you to unlock the full potential of your tools and discover the joy of sharpening as an art form
Sharpening Wisdom
The art of sharpening tools is not just about revealing their edge, but about uncovering the stories they hold and the possibilities they bring – with every stroke, a new tale unfolds, and a new adventure awaits.
Vera Kump
Sharpening Your Edge: A Journey of Discovery
As I reflect on my journey to master the art of sharpening tools, I’m reminded of the importance of patience and dedication. From the initial steps of preparing your tool to the final touches of honing its edge, each process is a crucial part of unlocking your tool’s full potential. Whether you’re a seasoned craftsman or a curious beginner, the key to sharpening tools lies in understanding the interplay between technique and material, as well as being willing to experiment with different methods, such as using a diamond stone versus a water stone.
As you embark on your own sharpening journey, I encourage you to view it not just as a practical skill, but as a metaphor for personal growth. Just as a dull tool can be transformed into a sharp, reliable companion, we too can refine ourselves through persistence and practice. So, take a deep breath, pick up that tool, and start sharpening – not just the edge, but your own potential for growth and discovery.
Frequently Asked Questions
What is the best way to determine the optimal sharpening angle for a specific tool?
For me, finding the optimal sharpening angle is all about feel and experimentation. I like to start with the manufacturer’s recommendation, then adjust based on the tool’s performance – a good rule of thumb is to begin with a 20-degree angle and fine-tune from there, always keeping in mind the tool’s intended use.
How often should I sharpen my tools to maintain their effectiveness?
I sharpen my tools after every few uses, depending on the project. For me, it’s all about feel – if a blade starts to drag or requires more pressure, it’s time for a touch-up. Regular sharpening not only maintains effectiveness but also helps prevent damage and extends the tool’s lifespan.
Can I use a sharpening steel instead of a stone to sharpen my tools?
I’ve experimented with sharpening steels, and while they’re great for quick touch-ups, I find they don’t offer the same level of sharpness as stones for a full sharpening. That being said, they’re perfect for maintaining a tool’s edge between stone sharpenings, and I always carry one in my backpack for on-the-go tune-ups.


