As I sit amidst my collection of vintage botanical illustrations, surrounded by the earthy scent of freshly cut wood, I’m reminded of the countless times I’ve heard people say that getting started with woodworking is a daunting task, reserved for those with years of experience and a garage full of expensive tools. But I’m here to tell you that’s just not true. I still recall the first time I tried my hand at woodworking – it was a humble attempt at crafting a wooden planter box for my tiny urban garden, and it was a journey that sparked a sense of wonder and connection to the natural world.
In this article, I’ll share with you my personal journey of how to get started with woodworking, from the initial spark of curiosity to the hands-on process of creating something beautiful and functional. You’ll learn about the essential tools you need to get started, how to choose the right type of wood for your project, and some practical tips for overcoming common obstacles. My goal is to inspire you to take the first step into the wonderful world of woodworking, and to show you that with a little patience and practice, you can create something truly special. Whether you’re a seasoned crafty person or a complete beginner, I invite you to join me on this journey and discover the joy of working with wood.
Table of Contents
- Guide Overview: What You'll Need
- Step-by-Step Instructions
- Natures Craft
- Seedling Projects Small Woodworking Ideas to Nurture
- Whittling Away Essential Woodworking Hand Tools
- Sowing the Seeds of Woodworking Wisdom: 5 Tips to Nurture Your Craft
- Sowing the Seeds of Woodworking Wisdom
- Sowing the Seeds of Creativity
- Embracing the Journey of Woodworking
- Frequently Asked Questions
Guide Overview: What You'll Need
Total Time: 2 hours 30 minutes
Estimated Cost: $100 – $300
Difficulty Level: Intermediate
Tools Required
- Table Saw (for making straight cuts in wood)
- Miter Saw (for making precise angled cuts)
- Drill Press (for drilling precise holes)
- Hand Saw (for making curved or fine cuts)
- Sander (for smoothing out wood surfaces)
- Tape Measure (for measuring wood pieces)
- Square (for ensuring accurate corners)
- Clamps (for holding wood pieces in place)
- Marking Gauge (for making consistent measurements)
- Safety Glasses (for protecting your eyes from debris)
Supplies & Materials
- 2-in x 4-in lumber (for framing and support)
- 3/4-in plywood (for shelving and paneling)
- Wood Glue (for bonding wood pieces together)
- 2 1/4-in wood screws (for assembling wood pieces)
- 1 1/4-in wood screws (for assembling smaller wood pieces)
- Wood Filler (for filling holes and gaps)
- Sandpaper (for smoothing out wood surfaces)
- Paint or Stain (for finishing and protecting the wood)
Step-by-Step Instructions
- 1. First, let’s start by gathering our tools and materials, which is an essential step in getting started with woodworking. We’ll need a few basic tools like a hammer, tape measure, square, and a pencil, as well as some safety gear like safety glasses and a dust mask. I like to think of this step as preparing the soil for our creative journey, where we lay the foundation for a project that will bloom into something beautiful.
- 2. Next, we’ll need to choose our wood, which can be a daunting task for beginners. I recommend starting with a softwood like pine or cedar, as they are easier to work with and more forgiving. When selecting our wood, we should look for any defects or imperfections that might affect the overall quality of our project. I find that working with natural materials helps me connect with the world around me and appreciate the unique character of each piece of wood.
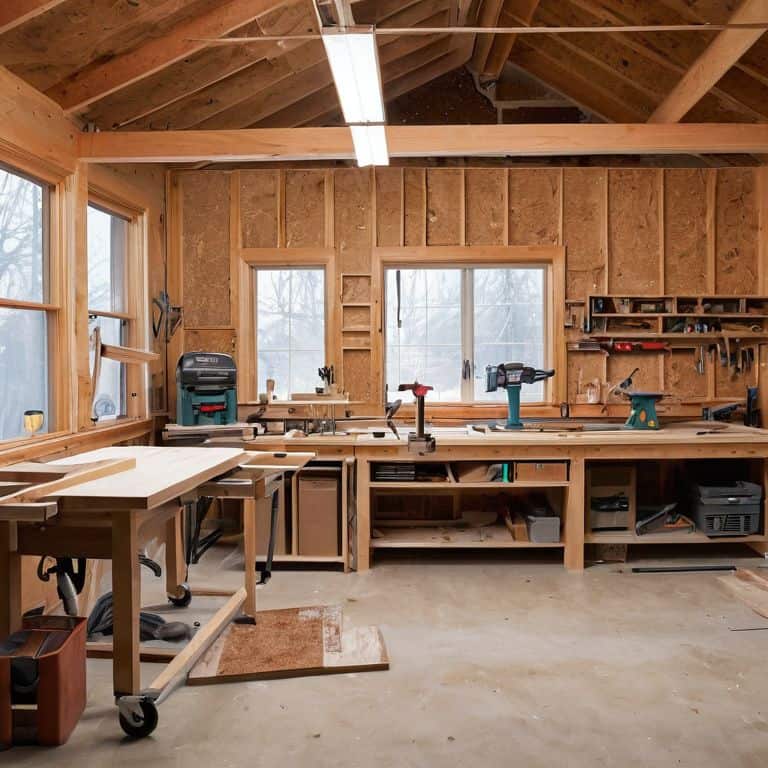
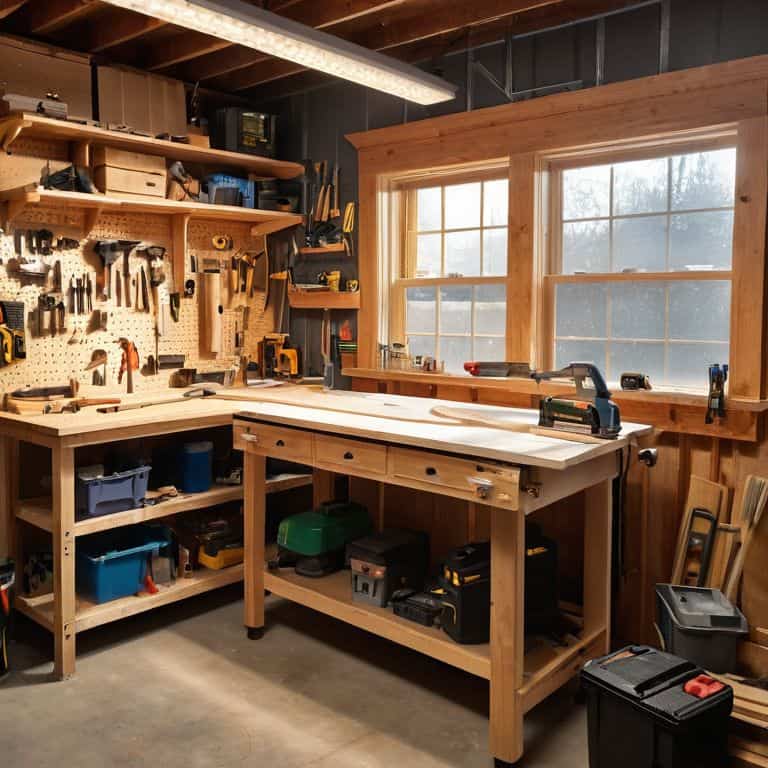
- 3. Now that we have our tools and materials, it’s time to set up our workspace. This can be as simple as a corner of our garage or a dedicated workshop, but it’s essential to have a clean and clutter-free area to work in. I like to think of my workspace as a creative sanctuary, where I can escape the distractions of everyday life and focus on bringing my ideas to life. A good workspace should have good lighting, a comfortable working height, and plenty of storage for our tools and materials.
- 4. With our workspace set up, we can start planning our project. This can be as simple as building a birdhouse or as complex as creating a piece of furniture. I find that sketching out my ideas helps me visualize the end result and make any necessary adjustments before we start cutting and assembling our wood. We should consider the size, shape, and purpose of our project, as well as any specific features or details we want to include.
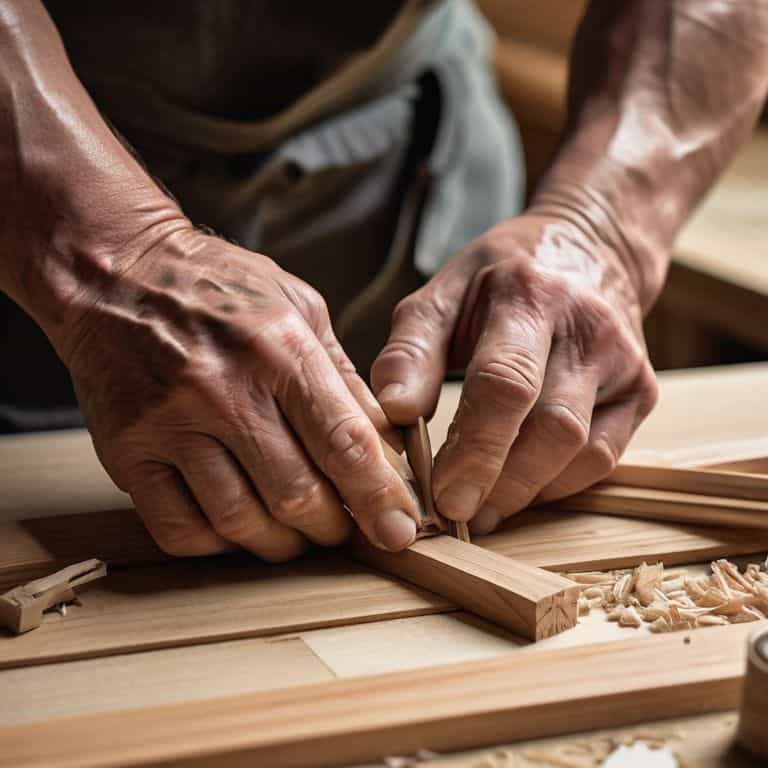
- 5. Once we have a plan in place, it’s time to start cutting our wood. This can be a bit intimidating for beginners, but with a few simple safety precautions and some practice, we’ll be cutting like pros in no time. I recommend starting with simple cuts and gradually moving on to more complex ones as we gain confidence and experience. Remember to always use proper safety equipment, such as safety glasses and a dust mask, when working with power tools.
- 6. After cutting our wood, we’ll need to assemble our project. This can be a fun and rewarding step, as we start to see our creation take shape. I like to think of this step as bringing our vision to life, where we use our tools and materials to create something truly unique and special. We should use a combination of nails, screws, and glue to hold our project together, and make sure it is sturdy and secure.
- 7. Finally, we can add the finishing touches to our project. This can include sanding, staining, or painting, depending on the desired look and feel. I find that adding a personal touch to our project, such as a handmade handle or a decorative trim, can make it truly special and meaningful. We should take our time and enjoy the process of bringing our creation to life, and be proud of the fact that we made something with our own hands.
Natures Craft
As I sit amidst my collection of vintage botanical illustrations, I find myself drawn to the organic shapes and textures that inspire my woodworking projects. Nature’s craft is all about embracing the unique characteristics of each piece of wood, and I’ve discovered that essential woodworking hand tools can make all the difference in bringing out the natural beauty of the material. By choosing the right tools, you can create intricate designs and patterns that reflect the organic world around us.
In my own woodworking journey, I’ve learned to appreciate the value of small woodworking project ideas that allow me to experiment with different techniques and materials. From crafting wooden coasters to building a wooden planter, these projects have helped me develop my skills and gain confidence in my abilities. As I work on each project, I’m reminded of the importance of attention to detail, whether it’s sanding down a rough edge or applying a finish that enhances the natural grain of the wood.
As a beginner, it’s also crucial to prioritize woodworking safety equipment checklist to ensure a safe and enjoyable experience. By taking the time to invest in the right safety gear and following basic guidelines, you can focus on the creative process and enjoy the therapeutic benefits of working with wood. Whether you’re taking woodworking for beginners classes or working on your own, remember to stay curious, be patient, and let the natural beauty of the wood guide your craft.
Seedling Projects Small Woodworking Ideas to Nurture
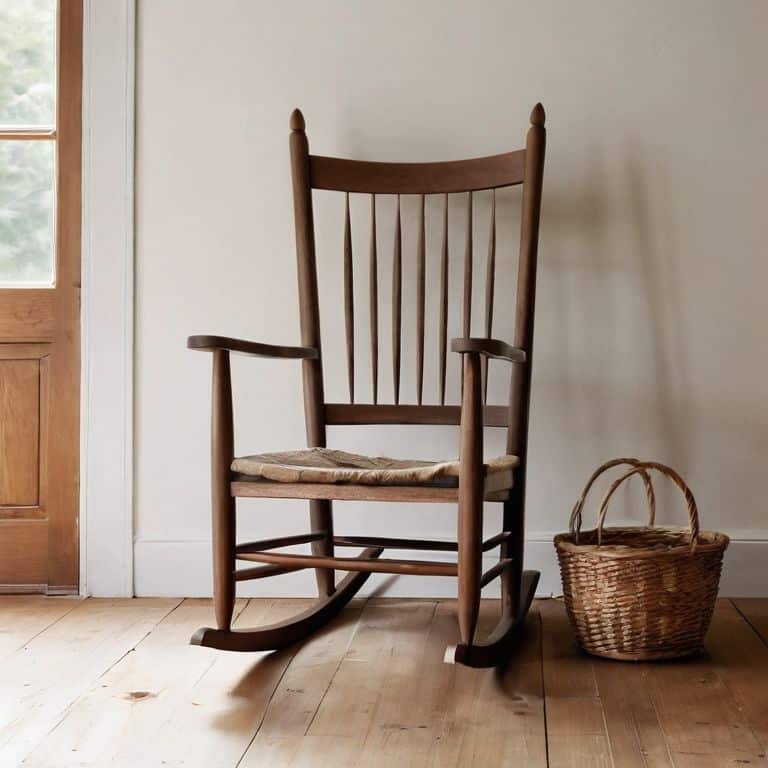
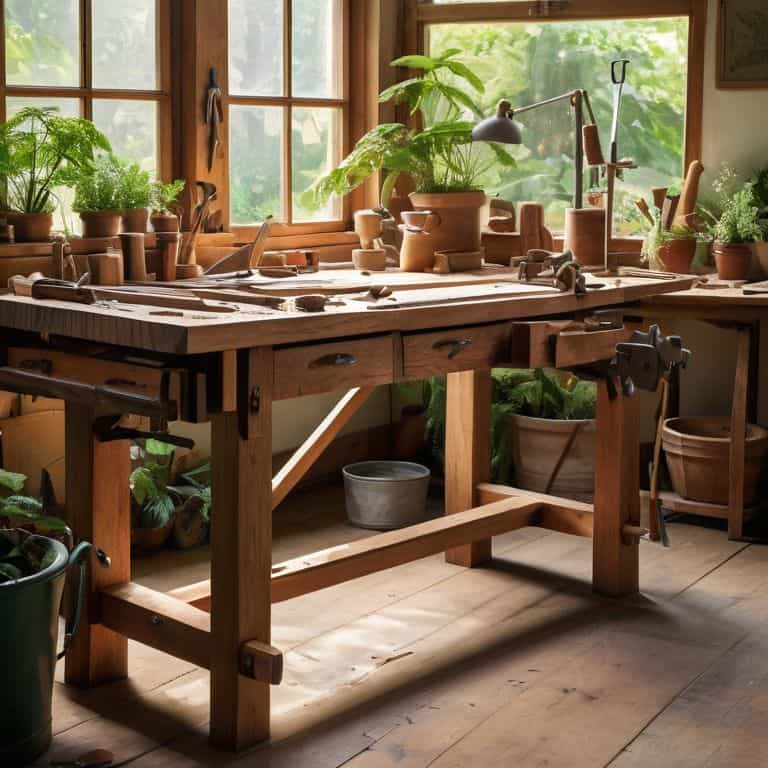
As I sit amidst my collection of vintage botanical illustrations, I find inspiration in the delicate lines and curves of the natural world. Seedling projects, to me, are about nurturing that spark of creativity, allowing it to grow into something beautiful. They’re the perfect way to practice your newfound woodworking skills, and they make great gifts or decorative pieces for your home. Consider crafting a small wooden planter, adorned with intricate carvings of leaves or flowers, or a delicate wooden mobile, its pieces shaped like seeds or feathers.
These tiny projects not only help you hone your skills but also bring a touch of whimsy to your space, reminding you of the beauty in the smallest details of nature.
Whittling Away Essential Woodworking Hand Tools
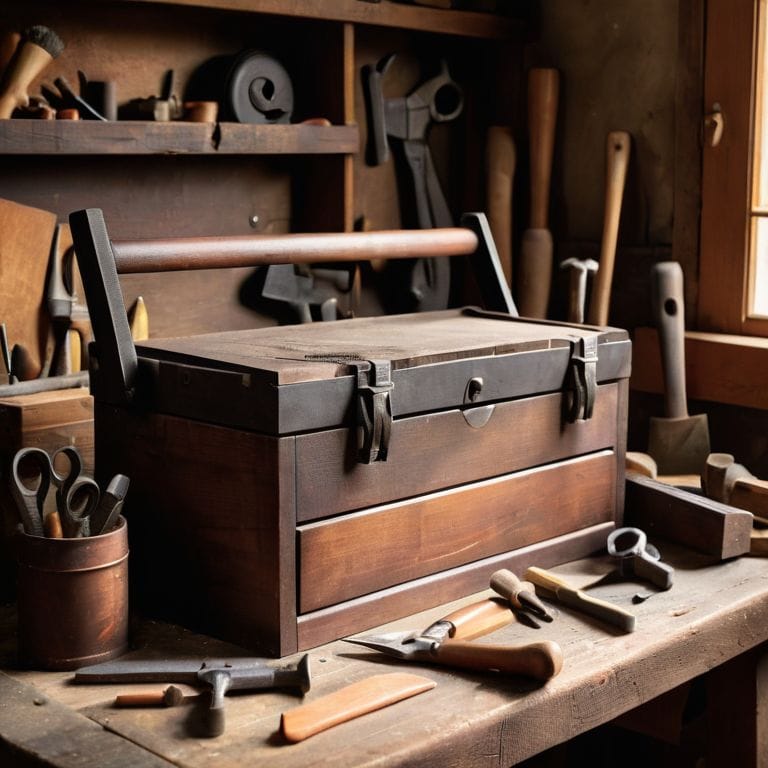
As I delve into the world of woodworking, I find myself enchanted by the simple, tactile joy of working with hand tools. There’s something poetic about using a tool that’s been crafted with care, its wooden handle worn smooth by the touch of countless hands. For me, the essential woodworking hand tools are those that echo the natural world – a well-balanced axe, its blade curved like a leaf, or a hand plane, its surface etched with the gentle lines of a river rock. These tools invite me to slow down, to listen to the rhythm of the wood, and to coax forth its hidden beauty.
My own collection of hand tools is a treasured gathering of stories and textures, each one imbued with the spirit of the forest. A wooden mallet, its surface adorned with the swirling patterns of a vintage botanical illustration, sits alongside a set of precision-carved chisels, their blades glinting like the first light of dawn on a summer morning. As I work with these tools, I feel the boundaries between nature and craft dissolving, and the wood itself becoming a canvas for the stories I want to tell.
Sowing the Seeds of Woodworking Wisdom: 5 Tips to Nurture Your Craft
- Start with the basics: invest in a good quality marking gauge, a reliable tape measure, and a set of sharp chisels to lay the foundation for your woodworking journey
- Choose the right wood for your project, considering factors like grain pattern, texture, and sustainability to ensure your creation is not only beautiful but also eco-friendly
- Practice patience and don’t be too hard on yourself – woodworking is a skill that takes time to develop, and it’s okay to make mistakes as you learn and grow
- Experiment with different types of wood and techniques to discover your unique style and voice, whether it’s through carving, whittling, or building
- Join a community of woodworkers, either online or in-person, to connect with like-minded individuals, share knowledge, and draw inspiration from the collective creativity and passion for the craft
Sowing the Seeds of Woodworking Wisdom
Embracing the natural world as a source of inspiration can guide your woodworking journey, from selecting sustainable materials to crafting pieces that reflect the beauty of the earth
Starting small with seedling projects allows you to nurture your skills, experiment with different techniques, and develop a sense of accomplishment that will encourage you to continue exploring the world of woodworking
By combining traditional craftsmanship with a modern, eco-conscious approach, you can create unique, functional pieces that not only bring joy to your daily life but also contribute to a more sustainable future for our planet
Sowing the Seeds of Creativity
As we embark on the journey of woodworking, remember that the beauty of craft lies not in the perfection of the end result, but in the gentle patience and curiosity with which we approach the natural world, allowing the grain of the wood to guide our hands and the rhythm of nature to inspire our souls.
Harper Willow
Embracing the Journey of Woodworking
As we conclude this journey into the world of woodworking, remember that the key to getting started lies in embracing the process with curiosity and patience. We’ve covered the essential hand tools, from chisels to sandpaper, and explored small projects like birdhouses and picture frames that allow you to nurture your skills. The world of woodworking is vast and rewarding, offering a unique blend of creativity, physical activity, and connection to nature. By starting small and being consistent, you can develop a deep appreciation for the craft and the natural world it often celebrates.
As you embark on your woodworking path, recall that it’s not just about creating something with your hands, but about fostering a deeper connection to the environment and the stories that wooden objects tell. Whether you’re whittling a piece of driftwood found on a coastal walk or crafting a piece of furniture from sustainably sourced timber, every project is an opportunity to weave together nature, culture, and creativity. So, let the joy of woodworking be your guide, inspiring you to find beauty in the everyday and to live a life that is more attuned to the rhythms of the earth.
Frequently Asked Questions
What are some essential safety precautions I should take when working with woodworking tools?
As I work with woodworking tools, I always prioritize safety – it’s like tending to a delicate seedling. I wear protective goggles, keep loose clothing tied back, and ensure my workspace is well-ventilated and clear of clutter, allowing me to focus on the gentle dance of wood and tool.
How do I choose the right type of wood for my first woodworking project?
For my first projects, I fell in love with working with reclaimed cedar and pine – they’re softwoods that are forgiving and easy to shape. Consider the look and feel you want to achieve, and think about sustainability too. You might also explore local, responsibly-sourced woods that tell a story and connect you to your community.
What are some common mistakes beginners make when getting started with woodworking, and how can I avoid them?
As I reflect on my own woodworking journey, I’ve found that beginners often overlook the importance of proper tool maintenance and measuring twice, cutting once. To avoid these pitfalls, take your time, and don’t be afraid to make mistakes – they’re an opportunity to learn and grow, just like the natural world that inspires my craft.