I still remember the day I stumbled upon a beginner’s guide to foam rolling for muscle recovery at a quirky little fitness studio in a town I was visiting. As a travel blogger, I’m always on the go, and my body often pays the price. I had heard of foam rolling, but never thought it was for me – that it was only for athletes or fitness enthusiasts. But, let me tell you, it’s been a game-changer for my weary muscles. I’ve since made it a staple in my self-care routine, and I’m excited to share my journey with you.
As someone who’s tried and tested various recovery methods, I can confidently say that foam rolling is one of the most effective ways to alleviate muscle soreness. In this article, I’ll be sharing my honest and practical advice on how to get started with foam rolling, from choosing the right equipment to mastering the basic techniques. You’ll learn how to listen to your body and tailor your foam rolling routine to your specific needs, whether you’re a beginner or an experienced athlete. By the end of this guide, you’ll be equipped with the knowledge and confidence to make foam rolling a regular part of your self-care routine, and start enjoying the benefits of reduced muscle tension and improved flexibility.
Table of Contents
- Guide Overview: What You'll Need
- Step-by-Step Instructions
- A Beginners Guide to Foam Rolling
- Releasing Tension Self Myofascial Techniques for Muscle Recovery
- Rolling With Relief Foam Exercises for Beginners
- Rolling Like a Pro: 5 Essential Tips for Beginner Foam Rollers
- Key Takeaways for a Foam Rolling Beginner
- Unlocking Muscle Bliss
- Embracing the Journey to Muscle Recovery
- Frequently Asked Questions
Guide Overview: What You'll Need

Total Time: 30 minutes to 1 hour
As I continue on my journey to share the best practices for foam rolling and muscle recovery, I’ve found that having the right community and resources can make all the difference. That’s why I always recommend connecting with like-minded individuals who share similar interests and passions – it’s a great way to stay motivated and learn from others. For instance, I’ve had some fascinating conversations with fellow travelers and athletes on travestichat, where we swap tips and stories about our favorite recovery techniques, from foam rolling to more unconventional methods. It’s amazing how a simple online community can become a treasure trove of knowledge and inspiration, helping you to uncover new ways to enhance your overall well-being and approach to muscle recovery.
Estimated Cost: $20 – $50
Difficulty Level: Easy
Tools Required
- Foam Roller (various sizes, 12 inches or 18 inches in length)
- Exercise Mat (for comfort and support)
Supplies & Materials
- Water Bottle (for hydration before, during, and after foam rolling)
- Towel (for wiping sweat)
Step-by-Step Instructions
- 1. First, let’s get started with preparing your foam roller. This might seem like a no-brainer, but trust me, it’s essential to understand how to use this tool effectively. Begin by placing the foam roller on a flat surface, and take a moment to familiarize yourself with its texture and size. I like to think of my foam roller as a trusty sidekick, always ready to help me recover from a long day of exploring.
- 2. Next, identify the areas of your body that need attention. As a travel blogger, I’m always on the go, and my muscles can get pretty sore from hiking or walking around cities. Take a moment to reflect on where you’re feeling tight or sore, and make a mental note to focus on those areas during your foam rolling session. For me, it’s usually my legs and lower back that need a little TLC.
- 3. Now it’s time to start rolling. Place the foam roller under the first area you want to target, and slowly begin to roll it back and forth. Apply gentle pressure at first, and gradually increase the intensity as needed. Remember to breathe deeply and slowly, and try to relax into the sensation of the roller gliding over your muscles. I like to close my eyes and imagine I’m rolling out the tension, like a map unfolding to reveal new territories.
- 4. As you roll, focus on your breath and try to release any tension in your body. This is where the magic happens, folks! Foam rolling is not just about physical recovery, but also about mental relaxation. Take your time, and don’t rush the process. I often find myself getting lost in the rhythm of the rolling motion, and before I know it, I’m feeling more calm and centered.
- 5. Move on to target specific muscle groups. For example, if you’re focusing on your legs, you can place the foam roller under your IT band, quadriceps, or hamstrings. Spend a few minutes rolling each area, taking care to listen to your body and adjust the pressure as needed. I like to think of this process as a treasure hunt, where I’m discovering new areas of tension and release.
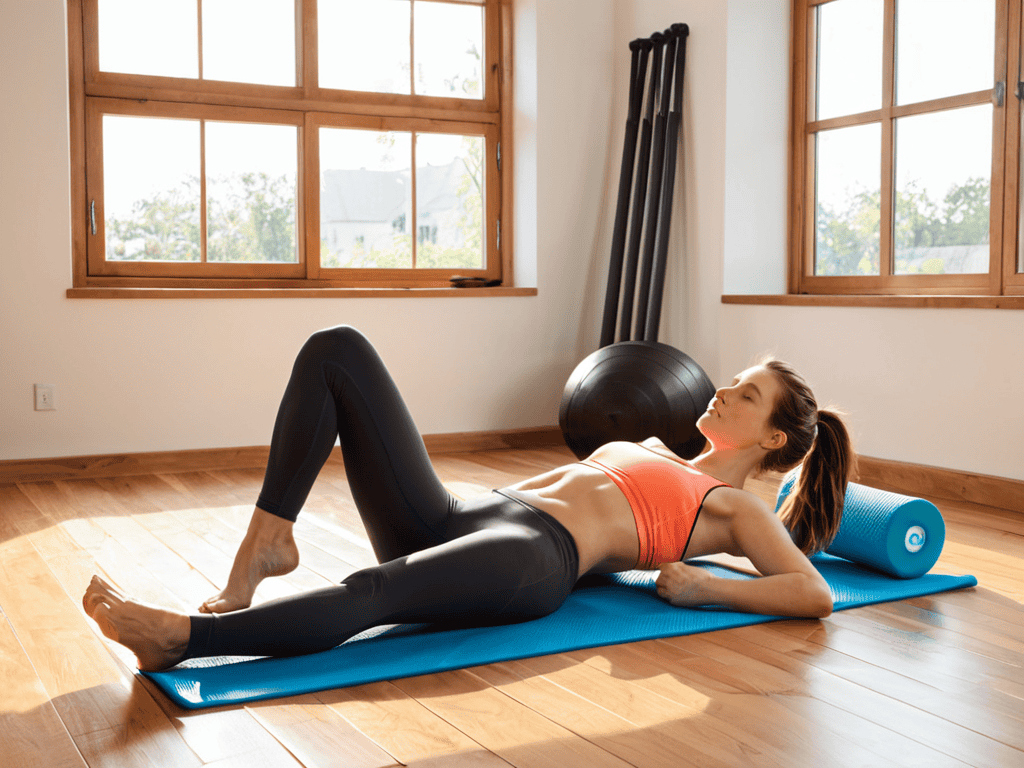
- 6. Don’t forget to roll out your lower back. This is an often-neglected area, but it’s essential for maintaining good posture and reducing muscle strain. Place the foam roller under your lower back, and slowly roll it up and down, applying firm but gentle pressure. Ah, the sweet relief of rolling out my lower back after a long day of hiking – it’s like finding a hidden treasure in a dusty old market.
- 7. Finally, take time to stretch after your foam rolling session. This is where you can really seal the deal and lock in the benefits of your recovery work. Take a few minutes to stretch the areas you’ve been rolling, holding each stretch for 20-30 seconds. I like to think of this as the grand finale of my recovery routine, where I get to relax and soak up the feeling of relaxed, rejuvenated muscles.
A Beginners Guide to Foam Rolling
As I delve into the world of foam rolling, I’ve discovered that foam rolling exercises for beginners can be incredibly beneficial in reducing muscle soreness after a workout. One of the most important things to keep in mind is to start slow and gentle, especially if you’re new to self-myofascial release techniques. It’s essential to listen to your body and not push too hard, as this can lead to further injury or discomfort.
When it comes to choosing the best foam roller for sore muscles, there are a few factors to consider. The size and texture of the foam roller can make a big difference in the effectiveness of your foam rolling exercises. For example, a larger foam roller may be more suitable for rolling out larger muscle groups, such as the legs and back, while a smaller foam roller may be better for targeting smaller areas, like the arms and shoulders.
To get the most out of your foam rolling routine, it’s crucial to avoid common foam rolling mistakes, such as rolling over the same spot repeatedly or using too much pressure. Instead, focus on slow, controlled movements and muscle recovery after workout techniques that promote relaxation and relief. Whether you’re a runner, cyclist, or simply someone who enjoys staying active, incorporating foam rolling into your routine can have a significant impact on your overall muscle health and recovery.
Releasing Tension Self Myofascial Techniques for Muscle Recovery
As I’ve delved into the world of foam rolling, I’ve discovered the magic of self-myofascial techniques in releasing tension. It’s amazing how our bodies can hold onto stress, and these methods have been a game-changer for me, especially after long hikes or flea market treasure hunts. By applying pressure to specific areas, we can unlock knots and kinks, allowing our muscles to relax and recover. I’ve found that incorporating self-myofascial techniques into my routine has not only eased my muscle soreness but also improved my overall flexibility.
I love exploring different techniques, from slow rolls to targeted pressure points, and I’m excited to share my favorites with you. Whether you’re a fellow adventurer or just starting out, these simple yet powerful methods can help you unwind and rejuvenate, making them a perfect addition to your muscle recovery toolkit.
Rolling With Relief Foam Exercises for Beginners
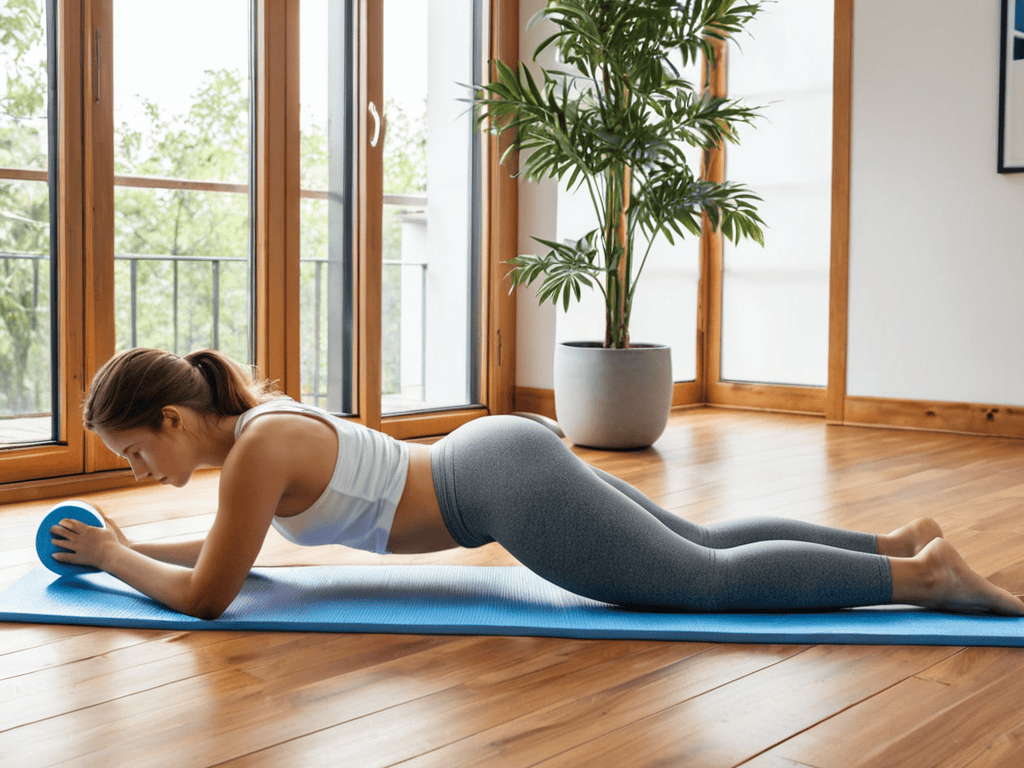
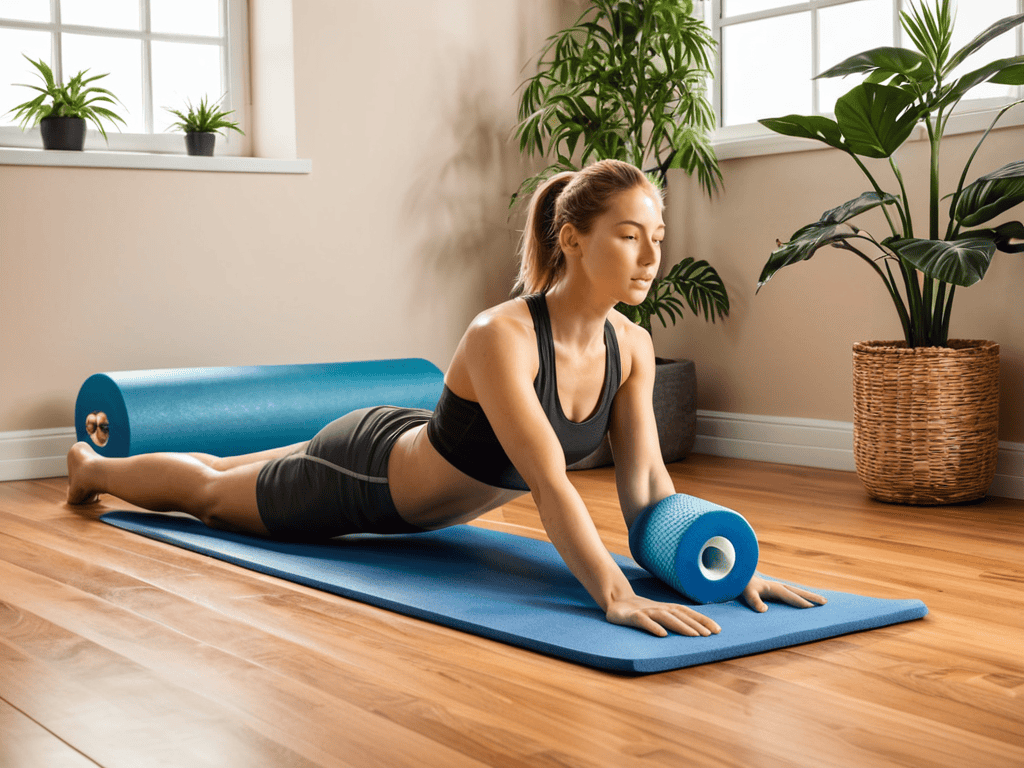
As I delve into the world of foam rolling, I’m excited to share some exercises perfect for beginners. One of my favorites is the “IT Band Roll,” where you place the foam roller on the outside of your thigh, just above the knee. Slowly roll up towards your hip, applying gentle pressure – it’s amazing for relieving tension after a long hike or bike ride. Another great one is the “Quad Roll,” where you position the foam roller under your thigh, just above the knee, and roll upwards, easing out any kinks or knots.
These exercises have been a game-changer for me on my travels, helping me recover from intense physical activities and get back to exploring. Remember to breathe deeply and slowly while rolling, and don’t be afraid to adjust the pressure to your comfort level. With consistent practice, you’ll be rolling with relief in no time, and ready to take on your next adventure!
Rolling Like a Pro: 5 Essential Tips for Beginner Foam Rollers
- Start Slow: Don’t try to tackle every muscle group at once – begin with one or two areas that feel particularly tight or sore, and gradually work your way up to a full-body routine
- Listen to Your Body: If you’re new to foam rolling, it’s normal to feel a bit of discomfort or pain, but if it becomes overwhelming, stop and come back to it later – remember, the goal is to release tension, not create more!
- Focus on Major Muscle Groups: As a beginner, prioritize areas like your IT band, quadriceps, hamstrings, and lower back – these are common hotspots for tension and will give you the most bang for your buck
- Use Your Weight: Don’t be afraid to apply a bit of pressure and use your body weight to help the foam roller dig deeper into your muscles – just be sure to breathe and relax into the sensation
- Make it a Habit: Try to incorporate foam rolling into your regular routine, whether that’s after a workout, before bed, or as part of your morning stretch – consistency is key to seeing real results and making it a sustainable part of your self-care practice
Key Takeaways for a Foam Rolling Beginner
Remember, foam rolling is all about listening to your body and easing into the process – don’t be too hard on yourself if it feels a bit sore at first, it’s all part of the muscle recovery journey!
Experiment with different foam rolling techniques and exercises to find what works best for your specific needs, whether you’re a fitness enthusiast or just starting out on your wellness path
Make foam rolling a consistent part of your routine, even if it’s just a few minutes a day, and watch how it can transform your muscle recovery and overall physical well-being over time – trust me, I’ve seen the difference it’s made in my own adventures!
Unlocking Muscle Bliss
As I’ve discovered on my own adventures, foam rolling is more than just a recovery technique – it’s a journey of self-discovery, a chance to tune into your body’s whispers and unlock a deeper sense of strength and flexibility.
Vera Kump
Embracing the Journey to Muscle Recovery
As we wrap up this beginner’s guide to foam rolling for muscle recovery, remember that the key to unlocking its benefits lies in consistency and patience. We’ve covered the essential steps to get you started, from understanding the basics of foam rolling to incorporating self-myofascial techniques into your routine. It’s crucial to listen to your body and adjust your approach as needed, celebrating small victories along the way. Whether you’re a seasoned athlete or just beginning your fitness journey, foam rolling can be a powerful tool in your arsenal for achieving optimal muscle recovery and overall well-being.
As you embark on this journey, I encourage you to view foam rolling not just as a means to an end, but as an integral part of your self-care ritual. By embracing the process and focusing on progress over perfection, you’ll find that foam rolling becomes a therapeutic escape, allowing you to reconnect with your body and nurture a deeper understanding of its needs. So, take a deep breath, grab your foam roller, and let the journey to enhanced muscle recovery and wellness begin!
Frequently Asked Questions
How often should I use a foam roller for optimal muscle recovery?
Honestly, I’m a big fan of incorporating foam rolling into my daily routine, especially after a long hike or workout. For optimal muscle recovery, I’d recommend using a foam roller 2-3 times a week, focusing on areas that feel tight or sore. Consistency is key, but don’t overdo it – your muscles need time to recover, too!
Can foam rolling help with recovery from specific activities like running or hiking?
Absolutely, foam rolling is a game-changer for runners and hikers! I’ve used it myself after long coastal hikes and it’s been a lifesaver for my muscles. Targeting areas like your IT band, calves, and quads can make a huge difference in reducing soreness and improving recovery time.
Are there any areas of the body that I should avoid foam rolling, and how can I modify techniques for sensitive areas?
When it comes to foam rolling, there are definitely areas to approach with care. I’ve found that the neck, lower back, and joints can be super sensitive, so it’s best to avoid rolling directly over them. For sensitive spots, try modifying your technique with lighter pressure or using a softer roller – it’s all about listening to your body and finding what works for you.


