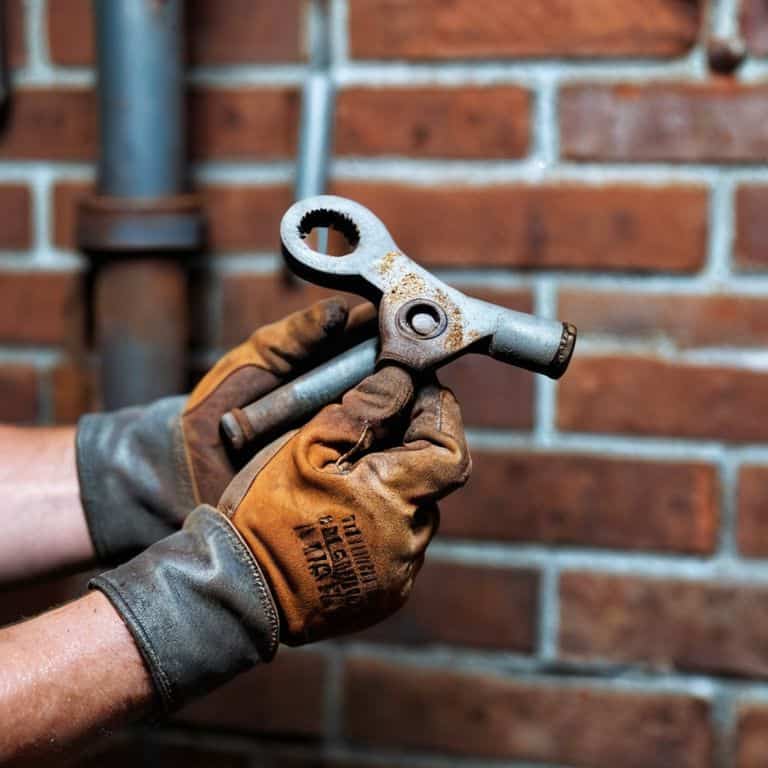
I still remember the time I had to fix a leaky pipe in my tiny coastal cottage – it was a mess, but I learned that a trusty pipe wrench can be a total lifesaver when attempting to learn how to fix a leaky pipe. The sound of dripping water had become a constant companion, and I was determined to put an end to it. As I navigated the process, I realized that many of the online guides and tutorials made the task seem more daunting than it needed to be. They often recommended calling a professional, but I was determined to tackle it on my own.
As someone who’s been in your shoes, I want to assure you that fixing a leaky pipe is easier than you think. In this article, I’ll share my personal experience and provide you with practical, no-nonsense advice on how to fix a leaky pipe. You’ll learn how to identify the source of the leak, gather the necessary tools, and make the necessary repairs. My goal is to empower you with the knowledge and confidence to take on this task, and I promise that by the end of this guide, you’ll be equipped with the skills to fix that pesky leak and save yourself from unnecessary stress and expense.
Table of Contents
Guide Overview: What You'll Need
Total Time: 1 hour 30 minutes
Estimated Cost: $20 – $40
Difficulty Level: Intermediate
Tools Required
- Adjustable Wrench for turning pipe fittings
- Pipe Cutter for cutting pipes to size
- Teflon Tape for sealing threaded connections
- Plumber’s Snake for clearing clogs
Supplies & Materials
- Replacement Pipe copper or PVC, 1/2 inch or 1 inch diameter
- Pipe Fittings elbows, tees, and couplers
- Pipe Glue and Primer for PVC pipes
- Silicone Sealant for sealing gaps and joints
Step-by-Step Instructions
- 1. First, gather your tools and materials, which should include a pipe wrench, a bucket, a screwdriver, and some Teflon tape. I remember the time I had to fix a leaky pipe in my tiny coastal cottage – it was a mess, but having the right tools made all the difference. Make sure you have a pipe wrench that fits your pipe size, as this will give you the leverage you need to loosen any corroded or stuck parts.
- 2. Next, turn off the water supply to the pipe you’re working on. This is crucial, as you don’t want water spraying everywhere while you’re trying to fix the leak. Locate the shut-off valves and turn them clockwise to shut off the water supply. If you’re not sure where the shut-off valves are, you can always check your home’s plumbing diagram or consult with a professional.
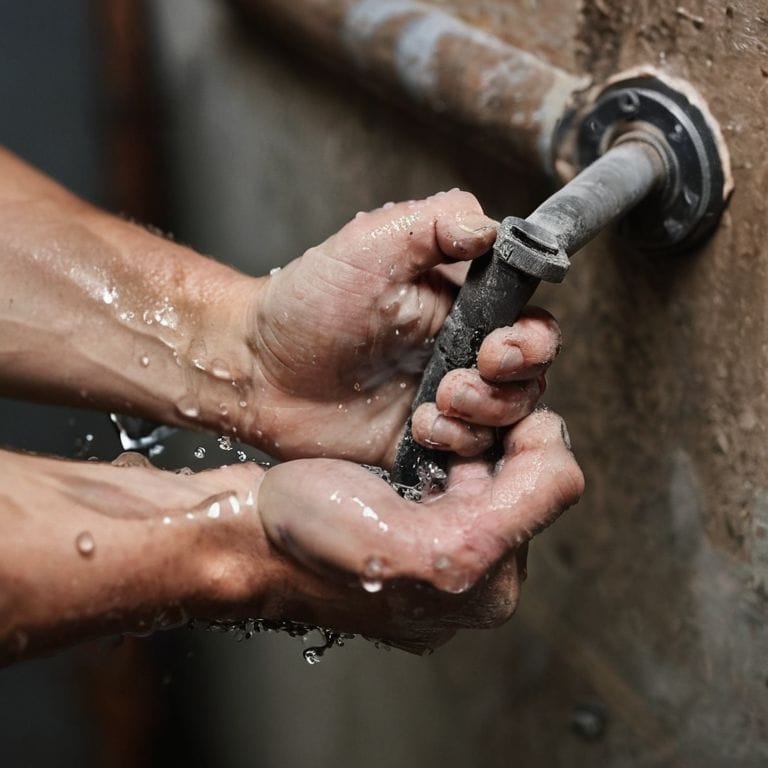
- 3. Now, drain the water from the pipe by opening the faucet or valve that the pipe leads to. This will help prevent any more water from flowing into the pipe while you’re working on it. Be sure to have a bucket or container ready to catch any remaining water that might spill out. I recall a time when I forgot to do this, and let’s just say it was a real mess – so don’t make the same mistake I did.
- 4. Using your trustworthy pipe wrench, loosen any fittings or connections that are leaking. Be careful not to round the edges of the fitting, as this can make it even harder to fix the leak. If the fitting is corroded or stuck, you may need to use a bit of elbow grease to get it loose.
- 5. Once you’ve loosened the fitting, inspect the area around the leak to see what’s causing the problem. Is the pipe cracked or damaged? Is the fitting loose or corroded? Identifying the root cause of the leak will help you determine the best course of action to fix it. I always make sure to take a closer look at the pipe and its surroundings to get a better understanding of what’s going on.
- 6. If the pipe is damaged, you may need to replace the damaged section. Cut out the damaged part using a pipe cutter, and then use a pipe cutter and some Teflon tape to connect the new piece of pipe. Make sure the new connection is secure and watertight to prevent any future leaks.
- 7. Finally, test the pipe to make sure the leak is fixed. Turn the water supply back on and check the pipe for any signs of leakage. If the leak is still present, you may need to go back and re-check your work to make sure everything is secure and tightened properly. I always feel a sense of accomplishment when I’ve successfully fixed a leaky pipe, and I’m sure you will too.
Fixing Leaks Like a Local
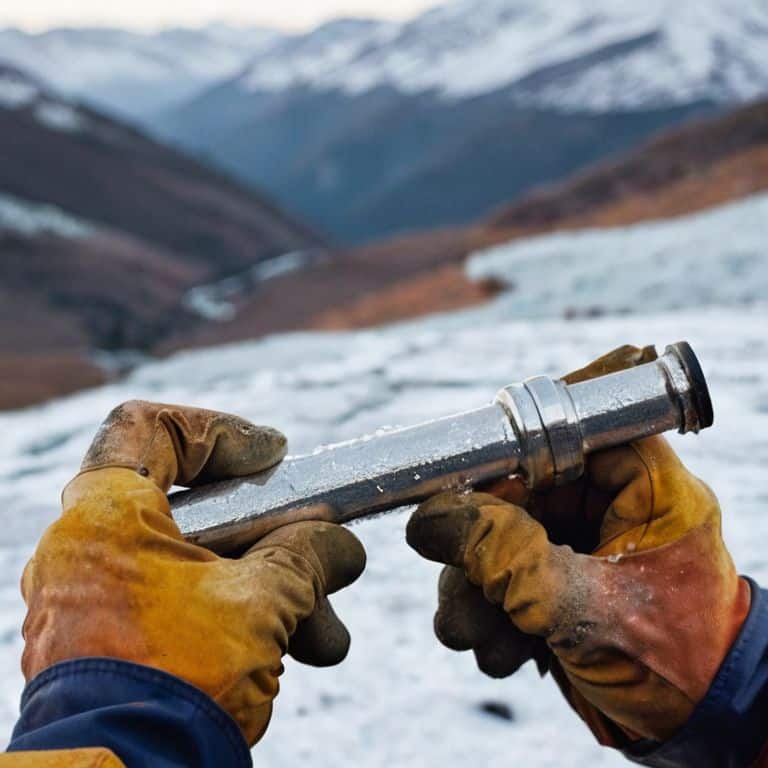
As I traveled to different parts of the world, I noticed that common pipe leak causes can vary greatly depending on the region and climate. From frozen pipes in the mountains to corroded ones in coastal areas, each place has its unique set of challenges. I recall a particularly interesting encounter with a local plumber in a small town, who showed me the importance of using emergency pipe repair kits to fix leaks quickly and prevent further damage.
During my treasure hunting adventures at flea markets, I stumbled upon an old plumbing manual that compared copper pipe vs pex in terms of durability and maintenance. It was fascinating to learn about the different materials used in piping and how they can affect the overall plumbing system. When it comes to fixing leaks, understanding the type of pipe you’re dealing with is crucial, as it can impact the pipe clamp installation process and the overall effectiveness of the repair.
In my experience, water damage prevention tips are just as important as the repair itself. I’ve seen how a small leak can quickly turn into a major issue if left unattended. That’s why I always recommend using plumber’s tape to secure loose connections and prevent future leaks. By taking these extra precautions, you can ensure that your plumbing system remains in good condition and avoid costly repairs down the line.
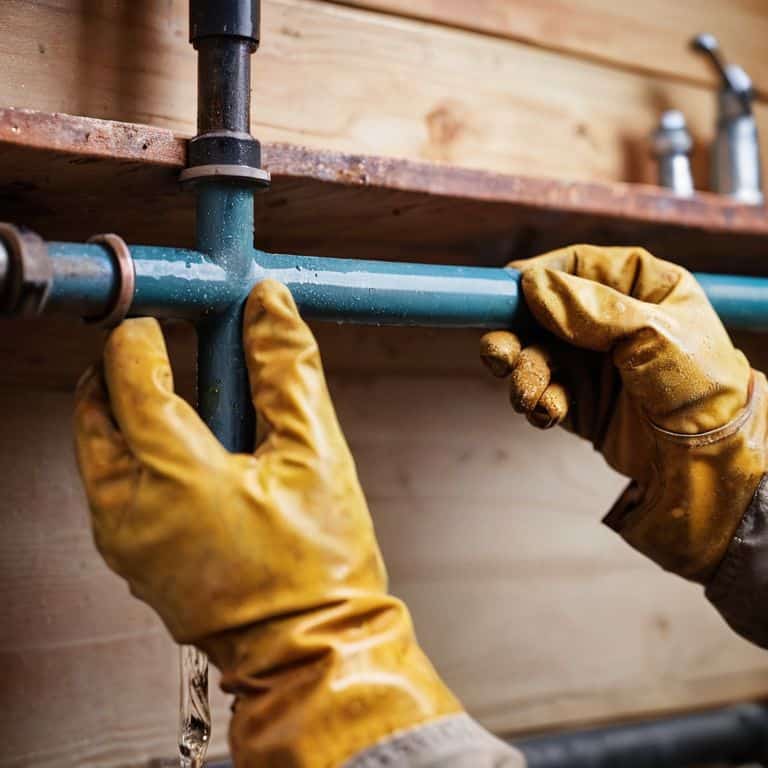
Installing Pipe Clamps With Plumbers Tape
As I delved into the world of pipe repair, I discovered the secret to securing those pesky leaks – pipe clamps and plumber’s tape. It’s amazing how a simple strip of tape can make all the difference. I recall a particularly stubborn leak in my coastal cottage, where the plumber’s tape saved the day. When installing pipe clamps, it’s essential to wrap the tape around the threads in a clockwise direction to create a watertight seal.
With the tape in place, I gently tightened the clamp, feeling a sense of satisfaction as the leak began to disappear. It’s moments like these that remind me of the treasures I’ve found at flea markets – unique, hidden gems that tell a story. In this case, the plumber’s tape is my treasure, a humble hero that helps me fix leaks like a local, and I’m excited to share its story with you through a postcard I found on my last trip, which inspired a short tale of a plumber who traveled the world, fixing pipes and collecting stories.
Uncovering Common Pipe Leak Causes
As I reflect on my own experiences with leaky pipes in my coastal cottage, I’ve come to realize that understanding the root cause of the issue is key to preventing future headaches. For me, it often starts with a worn-out washer or a loose connection, but I’ve also learned that high water pressure, corrosion, and even clogged pipes can be culprits. I recall a particularly pesky leak that turned out to be caused by a buildup of mineral deposits – it was a real challenge to diagnose, but ultimately, I was able to fix it with some patience and the right tools.
By being aware of these common causes, you can take proactive steps to maintain your pipes and avoid the frustration of dealing with a leak. Whether you’re a seasoned homeowner or a newcomer to the world of DIY repairs, taking the time to understand what might be causing the leak can save you time and trouble in the long run.
Tightening Up: 5 Essential Tips for a Leak-Free Life
- Dive into your DIY adventure with the right tools – a pipe wrench is your new best friend, trust me on this one!
- Before you start tinkering, turn off that main water supply to avoid a flood of epic proportions – been there, done that, got the t-shirt!
- Get familiar with your pipe layout, it’s like navigating a treasure map, and you don’t want to hit any dead ends or hidden traps!
- Choose the right pipe clamps and don’t be shy with the plumber’s tape – it’s all about creating a snug, leak-free seal, just like a warm hug for your pipes!
- Test your handiwork, don’t just assume it’s fixed – run some water through and keep a watchful eye out for any sneaky leaks trying to ruin your victory dance!
Key Takeaways for a Leak-Free Life
I’ve learned that fixing a leaky pipe is not just about tightening loose connections, but also about understanding the common causes of leaks and being prepared with the right tools, like a trusty pipe wrench
From my own experiences and those of the locals I’ve met, I’ve found that installing pipe clamps with plumber’s tape can be a game-changer in preventing future leaks and saving you from the hassle of repeated repairs
Whether you’re a seasoned DIY enthusiast or a beginner, remembering to always turn off the water supply before starting any pipe repair and to test your pipes thoroughly after fixing a leak can make all the difference in avoiding further damage and ensuring a successful fix
A Leak's Lesson
The art of fixing a leaky pipe isn’t just about tightening loose connections, it’s about understanding the story behind the drip – where it comes from, why it persists, and how it can lead you to a deeper appreciation of the hidden narratives within the walls of your home.
Vera Kump
Sealing the Deal: A Leak-Free Tomorrow
As I reflect on our journey to fix that pesky leaky pipe, I’m reminded of the importance of patience and attention to detail. We’ve uncovered common causes, learned how to install pipe clamps with plumber’s tape, and even picked up some local tips and tricks along the way. By following these steps and maintaining a curious mindset, you’ll be well on your way to becoming a pipe-fixing pro, ready to tackle any leak that comes your way. Whether you’re a seasoned DIY enthusiast or a novice navigator of home repairs, the sense of accomplishment you’ll feel after fixing your first leak is truly unbeatable.
So, the next time you’re faced with the daunting task of fixing a leaky pipe, remember that it’s not just about tightening loose connections – it’s about embracing the process and uncovering the story behind the leak. As a travel blogger and treasure hunter at heart, I can attest that the greatest adventures often arise from the unexpected, and fixing a leaky pipe can be a surprisingly rewarding experience. So, go ahead, grab your trusty pipe wrench, and get ready to uncover the hidden gems of DIY home repair – your sense of adventure (and your dry floors) will thank you!
Frequently Asked Questions
What are some common signs that I have a leaky pipe in my home?
I’ve seen my fair share of leaky pipes in old coastal cottages, and there are a few telltale signs to watch out for – like water spots on the ceiling, a sudden spike in your water bill, or a faint sound of dripping water when everything is turned off.
How often should I inspect my pipes to prevent leaks from forming?
I like to think of pipe inspection as a treasure hunt – you never know what hidden gems (or issues) you might uncover. I recommend checking your pipes every 6-12 months, or whenever you notice a change in water pressure or temperature. Trust me, it’s better to catch those potential leaks early, just like spotting a rare find at a flea market!
Are there any special considerations I should keep in mind when fixing a leaky pipe in an older home?
When fixing a leaky pipe in an older home, I always consider the pipes’ age and material – they might be more brittle or corroded, requiring extra care. Be gentle, and don’t overtighten, as this can cause more damage.


