I still remember the first time I helped my dad install roofing on a shed in our backyard – it was a total game-changer for our little coastal town bed-and-breakfast. The shed, which housed all our gardening tools and treasures from my flea market adventures, needed a sturdy roof to withstand the salty sea breeze and occasional storms. As I began to learn the ins and outs of how to install roofing on a shed, I realized that it’s not as daunting as it seems. In fact, with the right guidance, anyone can tackle this project and give their shed a brand new look.
As someone who’s passionate about storytelling and sharing practical advice, I’m excited to share my experience with you. In this article, I’ll walk you through the step-by-step process of how to install roofing on a shed, from preparing the site to adding the final touches. You’ll get honest, no-hype, and practical advice on choosing the right materials, measuring your shed, and avoiding common mistakes. Whether you’re a seasoned DIY enthusiast or a beginner looking to tackle your first project, this guide is designed to help you achieve professional-looking results and give your shed the protection it needs to withstand the elements.
Table of Contents
Guide Overview: What You'll Need
Total Time: 4 hours 30 minutes
Estimated Cost: $100 – $300
Difficulty Level: Intermediate
Tools Required
- Tape measure for accurate measurements
- Square for ensuring corners are square
- Level for ensuring roof is level
- Utility Knife (with extra blades)
- Drill with screwdriver and drill bits
- Hammer for tapping roofing nails into place
- Ladder for safe access to the roof
- Safety glasses for protecting eyes from debris
Supplies & Materials
- 2-in x 6-in lumber for roof rafters
- 2-in x 4-in lumber for roof supports
- Asphalt shingles for roofing material
- Roofing nails 1 1/2 inches long
- Roofing felt for underlayment
- Drip edge for protecting edges from water
- Ridge cap shingles for finishing the roof peak
Step-by-Step Instructions
- 1. First, gather your materials, which should include roofing felt, shingles, nails, a hammer, a tape measure, and a utility knife. I like to lay everything out in front of me to ensure I have all the necessary tools before starting the project. It’s also a good idea to double-check your measurements to avoid any mistakes.
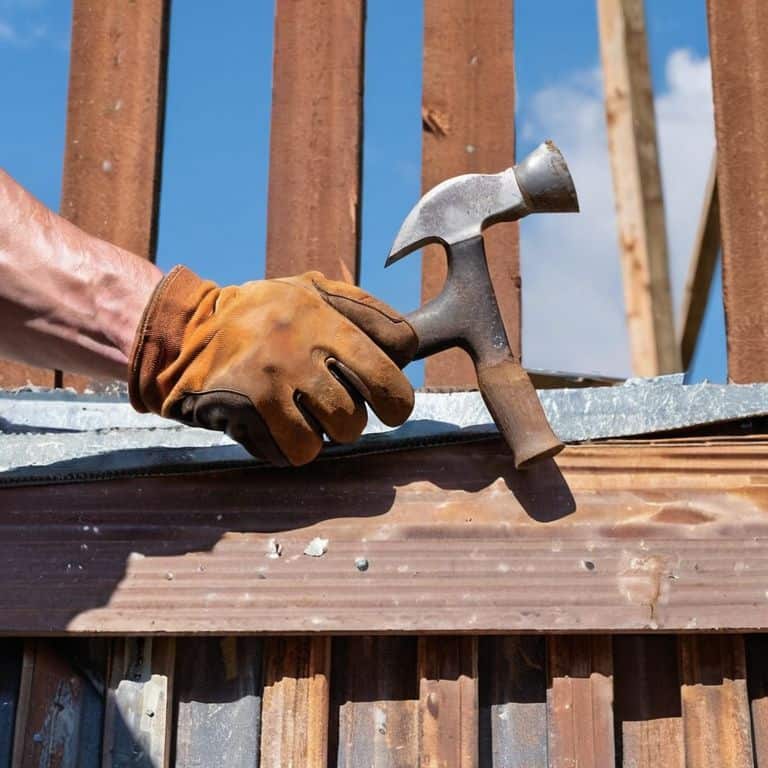
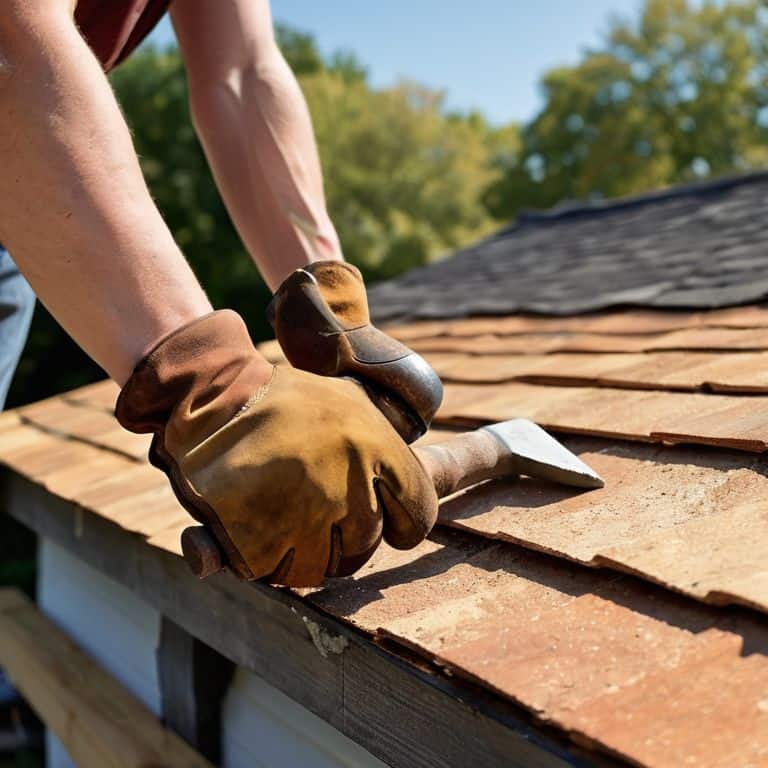
- 2. Next, prepare the roof surface by cleaning it thoroughly and removing any debris or old roofing materials. This step is crucial in ensuring a smooth installation process. Use a broom or a brush to sweep away any dirt or leaves, and then inspect the surface for any damage or rotting wood that may need to be replaced.
- 3. Now, it’s time to install the roofing felt, which acts as a protective barrier between the roof deck and the shingles. Start by unrolling the felt and cutting it to the appropriate size using your utility knife. Apply a thin layer of roofing cement to the back of the felt and press it firmly onto the roof surface, starting from the bottom edge and working your way up.
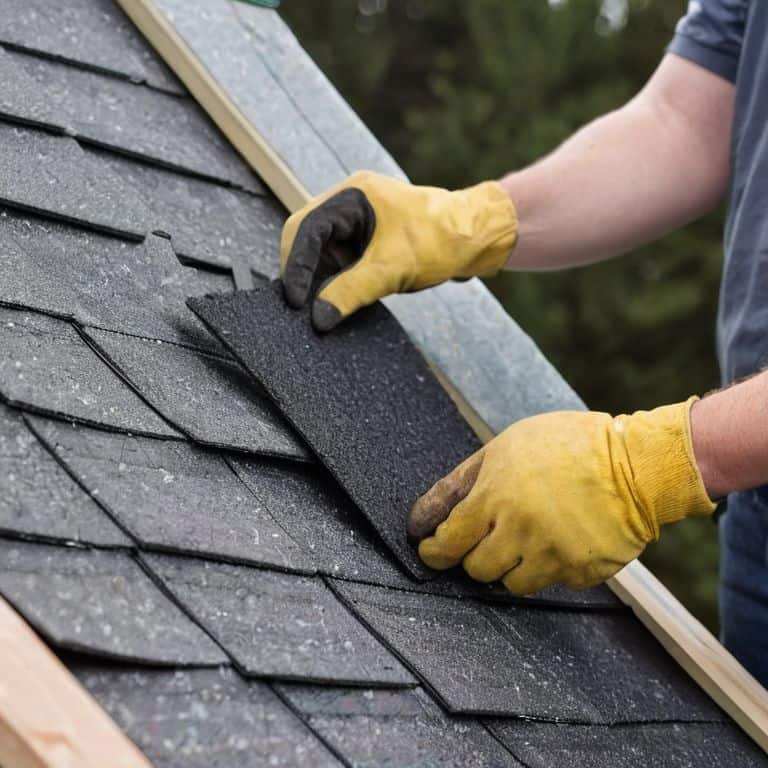
- 4. With the roofing felt in place, you can begin installing the shingles. Start by applying a small amount of roofing cement to the back of the first shingle and pressing it firmly onto the felt, aligning it with the edge of the roof. Use your nails to secure the shingle, spacing them about 6 inches apart. Continue installing the shingles in an overlapping pattern, making sure to align each row carefully.
- 5. As you work your way up the roof, you’ll need to cut shingles to fit around vents or skylights. Use your utility knife to cut the shingles to the correct size, and then apply a small amount of roofing cement to the back of the cut shingle before pressing it into place. Make sure the cut shingles are securely fastened to the roof to prevent any leaks.
- 6. Once you’ve installed all the shingles, it’s time to add the ridge cap, which runs along the peak of the roof. Cut the ridge cap shingles to the correct size and apply a small amount of roofing cement to the back of each one before pressing it into place. Use your nails to secure the ridge cap, making sure it’s tightly sealed to prevent any water from seeping in.
- 7. Finally, inspect your handiwork to ensure everything is properly installed and there are no gaps or leaks. Check the roof surface for any loose or missing shingles, and make any necessary repairs before finishing the project. Stand back and admire your hard work – you’ve successfully installed roofing on your shed!
Uncovering Shed Roofing Secrets
As I reflect on my own experiences with shed roofing, I’ve come to realize the importance of shed roof pitch calculation. It’s a crucial step that can make or break the entire project. I recall a time when I helped my dad install roofing on our backyard shed, and we had to redo the entire thing because the pitch was off. It was a valuable lesson learned, and now I always make sure to double-check my calculations before proceeding.
When it comes to choosing the right materials, I’m a big fan of asphalt shingles for sheds. They’re durable, easy to install, and come in a variety of styles to suit any shed design. However, it’s essential to consider the pros and cons of each material, including metal roofing installation tips, to ensure you’re making the best decision for your project. A little research can go a long way in saving you time and money in the long run.
One often overlooked aspect of shed roofing is ventilation. Proper shed roof ventilation options can help prevent moisture buildup and extend the lifespan of your roof. I’ve seen firsthand the damage that poor ventilation can cause, and it’s not a pretty sight. By taking the time to consider your ventilation options, you can avoid common diy shed roofing mistakes and enjoy a sturdy, well-functioning roof for years to come.
Asphalt Shingles for Shed Charm
I’m a huge fan of asphalt shingles for adding a touch of charm to my shed. Not only are they easy to install, but they also come in a variety of colors to match my coastal town’s quaint vibe. I’ve found that the key to making them work is to choose a shade that complements the surrounding environment. For instance, a soft gray or weathered wood tone can blend seamlessly with the outdoor scenery, creating a sense of harmony. Plus, asphalt shingles are relatively low-maintenance, which is a bonus for a busy travel blogger like myself.
Shed Roof Pitch Calculation Mysteries
As I delved deeper into the world of shed roofing, I found myself entwined in the mysteries of shed roof pitch calculation. It’s amazing how a simple mathematical formula can make or break the entire structure. I recall spending hours with my dad, measuring and recalculating the pitch to ensure our shed’s roof was just right. The general rule of thumb is to have a minimum pitch of 3:12, but it’s not just about the numbers – it’s about understanding how the pitch affects the overall aesthetic and functionality of your shed.
I’ve seen some beautiful sheds with steep pitches, resembling miniature houses, while others with more gradual slopes blend seamlessly into the surroundings. The key is to find the perfect balance between form and function, and that’s where the calculation comes in. By taking into account the size and style of your shed, as well as the local climate and weather conditions, you can determine the ideal pitch to ensure your shed remains safe and sturdy for years to come.
Nailing It: 5 Essential Tips for a Shed Roofing Success
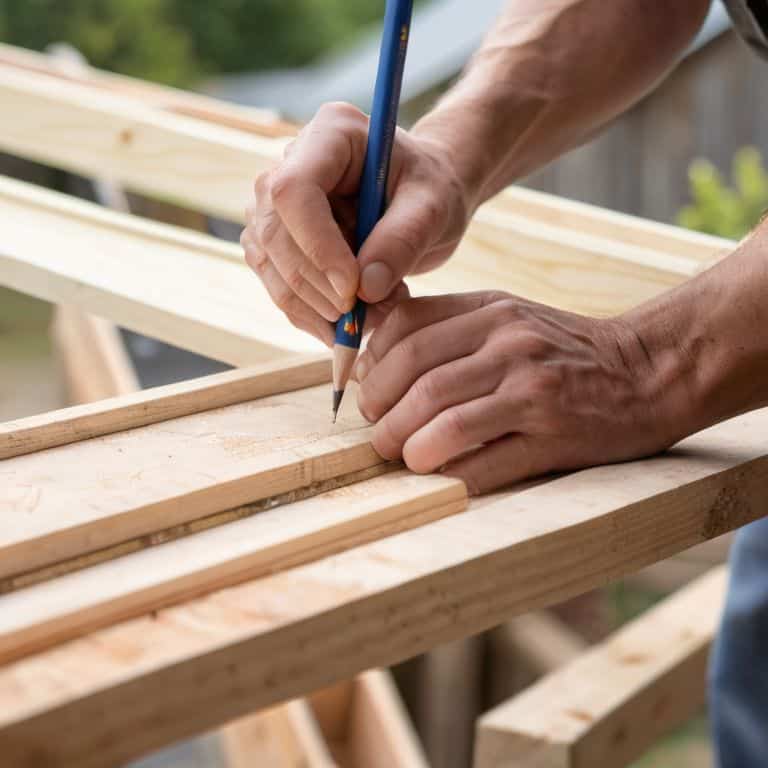
- Measure Twice, Cut Once: Double-check your shed’s dimensions and roofing material requirements to avoid costly mistakes and ensure a seamless installation process
- Choose the Right Underlayment: Select a durable and waterproof underlayment to protect your shed from the elements and prevent future leaks and damage
- Align Those Shingles: Properly aligning your shingles is crucial for a watertight seal and a professional-looking finish – take your time and get it just right
- Ventilation is Key: Ensure your shed has adequate ventilation to prevent moisture buildup and reduce the risk of roof damage, rot, and pest infestations
- Seal the Deal: Apply a waterproof sealant around vents, skylights, and other roof penetrations to guarantee a leak-free shed roof that will withstand the test of time and weather
Hammering Home the Essentials: 3 Key Takeaways
I’ve learned that installing roofing on a shed is all about balance – between form and function, durability and aesthetics, and most importantly, between careful planning and enthusiastic execution, just like the time I found that vintage hammer at a flea market that now hangs proudly in my dad’s workshop
From calculating the perfect roof pitch to selecting the ideal asphalt shingles, every detail matters in creating a charming, watertight haven that not only protects your belongings but also adds a touch of personality to your backyard, much like the unique postcards I collect from my travels, each telling a story of its own
Whether you’re a seasoned DIY pro or a curious beginner, the journey to shed roofing bliss is just as important as the destination – so don’t be afraid to get creative, ask questions, and enjoy the process of transforming your outdoor space into a reflection of your own adventures and style, just as I do with every new story I uncover and share on my travel blog
Hammering Home the Truth
Installing roofing on a shed is not just about hammering nails, it’s about crafting a haven that shields your dreams and treasures from the storm, one carefully chosen shingle at a time.
Vera Kump
Hammering Out a Haven: The Final Touches
As I reflect on our journey to install roofing on a shed, I’m reminded of the importance of patience and attention to detail. From calculating the perfect shed roof pitch to selecting the right asphalt shingles, each step has been a crucial part of creating a charming and functional outdoor space. By following these steps and uncovering the secrets of shed roofing, you’ll be well on your way to crafting a haven that’s both beautiful and durable. Whether you’re a seasoned DIY enthusiast or a beginner, the sense of accomplishment that comes with completing this project is truly rewarding.
So, as you put down your hammer and step back to admire your handiwork, remember that the true magic of DIY projects lies not just in the end result, but in the journey itself. The process of creating something with your own hands, of overcoming obstacles and learning new skills, is a transformative experience that can inspire you to tackle even more ambitious projects and pursue your passions with confidence and creativity. Happy building, and don’t forget to share your shed roofing stories with me!
Frequently Asked Questions
What are the most common mistakes to avoid when installing roofing on a shed?
When installing roofing on a shed, I’ve found that common mistakes to avoid include incorrect measurements, insufficient underlayment, and poor shingle alignment – all of which can lead to leaks and a shortened roof lifespan. Trust me, I’ve learned from my dad’s DIY disasters!
How do I determine the best type of roofing material for my shed based on my climate and budget?
For me, choosing the right roofing material is all about harmony with nature and budget. I consider climate, durability, and cost. In sunny spots, asphalt shingles or metal roofs shine, while in rainy areas, waterproof options like corrugated metal or plastic roofing are best. Budget-wise, asphalt shingles are a great balance of affordability and quality.
Can I install roofing on my shed myself, or do I need to hire a professional?
I’m a firm believer that with the right guidance, you can totally tackle shed roofing on your own. If you’re comfortable with heights and basic DIY tools, go for it! However, if you’re unsure or have a complex roof design, it’s best to hire a pro to ensure safety and a watertight seal.


