I still remember the first time I stumbled upon a vintage whetstone at a flea market – it was like uncovering a hidden treasure. As a travel blogger, I’ve had my fair share of culinary adventures, and I’ve learned that a sharp knife can make all the difference. That’s why I’m excited to share with you a guide to using a whetstone to sharpen knives, a skill that’s often shrouded in mystery, but is actually quite simple once you get the hang of it. I’ve found that many people believe that sharpening a knife with a whetstone is a tedious and time-consuming process, but trust me, it’s worth the effort.
As you read through this article, you can expect to get practical advice on how to choose the right whetstone, prepare your knife for sharpening, and master the technique of sharpening like a pro. You’ll learn how to hold the knife at the right angle, apply the right amount of pressure, and inspect the edge for sharpness. By the end of this guide, you’ll be equipped with the knowledge and confidence to sharpen your knives like a seasoned chef, and take your cooking to the next level. Whether you’re a seasoned cook or a culinary newbie, this guide is designed to help you unlock the secrets of whetstone sharpening and make the most of your kitchen adventures.
Table of Contents
Guide Overview: What You'll Need
Total Time: 30 minutes to 1 hour
Estimated Cost: $20 – $50
Difficulty Level: Intermediate
Tools Required
- Whetstone (preferably with two grit sides: coarse and fine)
- Knife (dull knife to be sharpened)
- Sharpening Steel (optional, for honing)
- Water (for soaking the whetstone)
- Towel (for drying the knife and whetstone)
Supplies & Materials
- Whetstone Oil (if your whetstone requires oil instead of water)
- Cleaning Cloth (for cleaning the whetstone and knife)
Step-by-Step Instructions
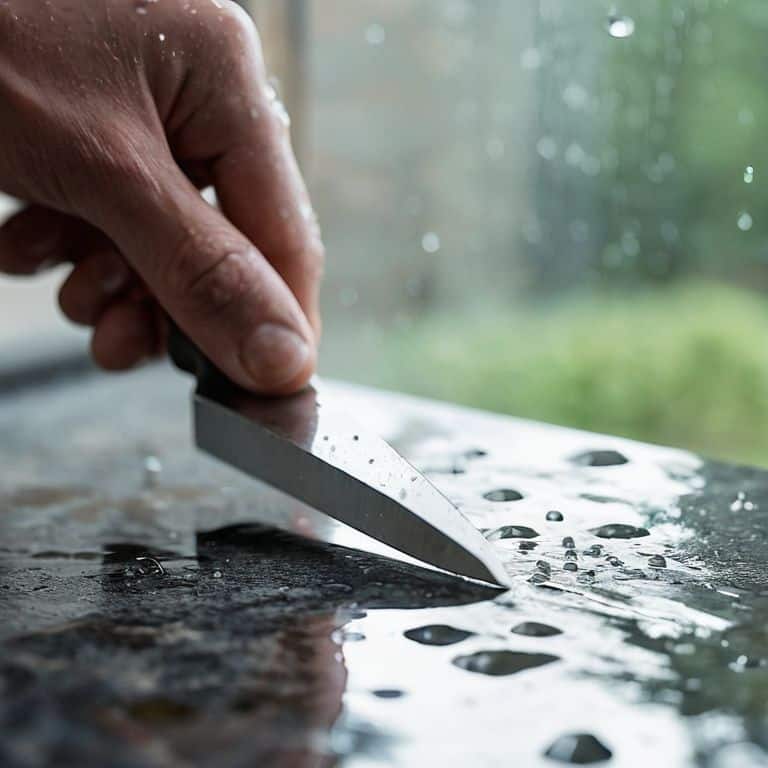
- 1. First, let’s start with the basics – preparing your whetstone. I like to think of this step as setting the stage for a culinary adventure. You’ll want to choose a flat, stable surface to work on, and make sure your whetstone is clean and dry. I’ve found that a dry whetstone works best for sharpening knives, as it allows for a more precise edge.
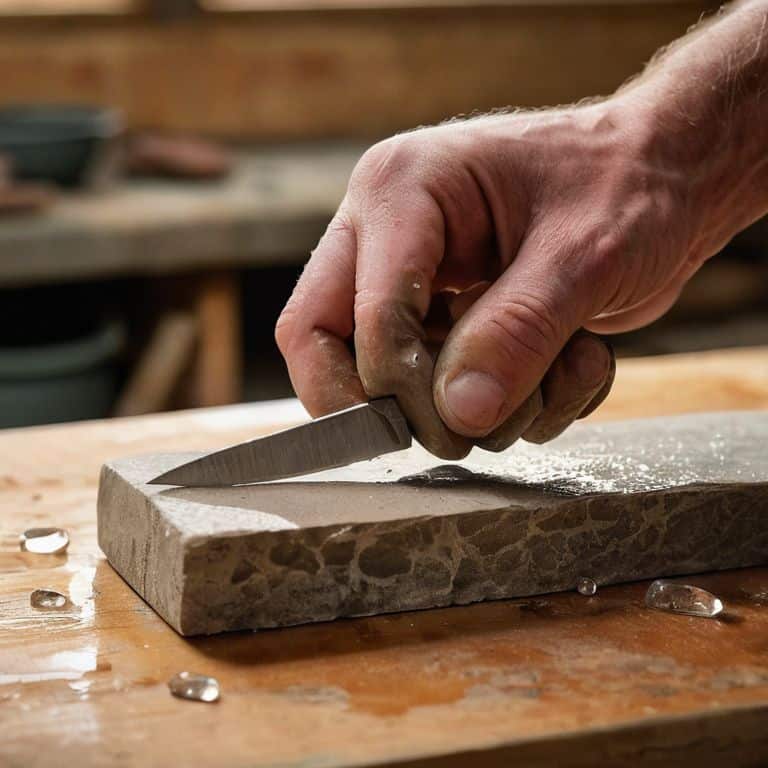
- 2. Next, you’ll need to position your knife at the correct angle. This is where things can get a bit tricky, but don’t worry, with a little practice, you’ll get the hang of it. Hold the knife at a 20-degree angle, with the bevel (the flat side of the blade) facing the whetstone. I like to think of this step as finding the sweet spot, where the knife and whetstone meet in perfect harmony.
- 3. Now it’s time to start sharpening – draw the knife across the stone. Slowly and smoothly, draw the knife across the whetstone, moving from the heel (the back of the blade) to the tip. Apply gentle pressure, increasing it as needed, but be careful not to apply too much pressure, which can damage the blade. I’ve found that using a light touch is key to achieving a razor-sharp edge.
- 4. As you continue to sharpen the knife, check the edge regularly to see how you’re progressing. You can do this by carefully running your thumb or finger along the edge of the blade (be careful, it’s getting sharper by the minute!). If the edge is still dull, continue sharpening and checking until you achieve the desired level of sharpness. I like to think of this step as fine-tuning the edge, making sure it’s just right.
- 5. Once you’ve achieved a sharp edge, hone the blade to remove any tiny imperfections. This step is all about refining the edge, making it smooth and even. Use a steel hone or a fine-grit whetstone to gently polish the blade, removing any microscopic imperfections. I’ve found that this step makes all the difference in achieving a truly razor-sharp edge.
- 6. Now that your knife is sharpened, clean and dry the whetstone. This is an important step, as a clean whetstone will perform better and last longer. Simply wipe the whetstone clean with a dry cloth and store it in a dry place. I like to think of this step as putting the tools away, making sure everything is ready for the next adventure.
- 7. Finally, store your sharpened knife in a safe place, where it won’t get damaged or cause any accidents. I like to store my knives in a knife block or on a magnetic strip, where they’re easy to access and out of harm’s way. And that’s it – with these steps, you should now have a sharpened knife that’s ready for whatever culinary adventure comes your way.
A Guide to Whetstone Knife Sharpening
As I delve deeper into the world of whetstone sharpening, I’ve come to realize the importance of whetstone selection for beginners. Choosing the right whetstone can make all the difference in achieving that perfect edge. I recall my first whetstone, a humble Arkansas stone that my father had given me, and how it helped me develop my knife sharpening techniques for straight edge knives. Over time, I’ve experimented with various types of whetstones, from ceramic to diamond stones, each with its unique characteristics and advantages.
Maintaining the whetstone’s flatness is also crucial, as a uneven surface can lead to inconsistent sharpening results. To avoid this, I make sure to hone my whetstone regularly, using a whetstone flattening stone to keep it in top condition. Additionally, understanding the common whetstone grit progression is essential for achieving the desired level of sharpness. I’ve found that starting with a coarse grit and progressing to finer ones yields the best results.
When it comes to sharpening with a whetstone, it’s essential to distinguish between honing and sharpening. While sharpening removes metal to create a new edge, honing refines the existing edge to maintain its sharpness. To keep my whetstone in good condition, I follow some simple whetstone care and maintenance tips, such as cleaning it regularly and storing it in a dry place. By doing so, I can ensure that my whetstone remains a trusted companion in my knife-sharpening journey.
Honing vs Sharpening With Ease
As I delve into the world of whetstone sharpening, I’ve come to realize that many of us confuse honing and sharpening. For me, the difference lies in the purpose: sharpening is about creating a new edge, while honing is about refining an existing one. I recall a flea market find – an old whetstone with a note that read, “For the gentle touch.” It was then that I understood the art of honing, and how it requires a softer approach to maintain the knife’s edge.
With my trusty polaroid camera, I’ve captured the process of honing and sharpening, and I must say, it’s been a game-changer for my cooking adventures. By mastering both techniques, I’ve been able to keep my knives in top condition, and it’s amazing how it elevates the entire cooking experience. Whether I’m chopping vegetables for a hearty stew or slicing through a freshly caught fish, my knives now glide with ease, thanks to the whetstone’s gentle touch.
Whetstone Selection for Beginners
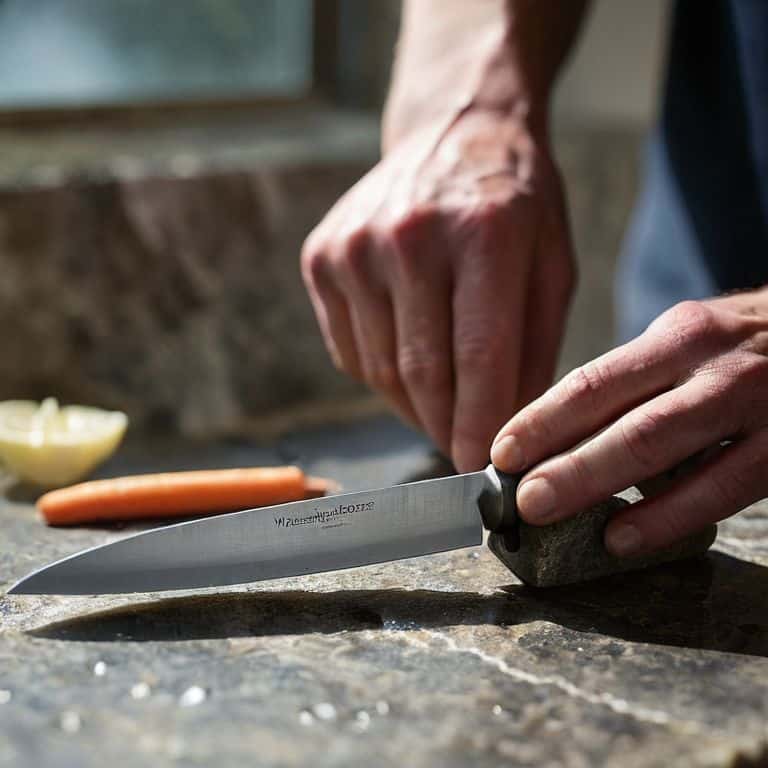
As I wandered through the flea market last weekend, I stumbled upon a quaint little stall tucked away in a corner, filled with an assortment of whetstones. The vendor, noticing my fascination, began to share stories of how each stone was carefully selected for its unique properties. For beginners, choosing the right whetstone can be overwhelming, but I’ve learned that it’s essential to start with a stone that’s versatile and easy to work with. I recommend opting for a medium-grit stone, around 1000-1500 grit, as it provides a great balance between sharpening and polishing.
When selecting a whetstone, consider the type of knife you’ll be sharpening most often. For instance, if you’re a culinary enthusiast like myself, a water stone or ceramic stone would be an excellent choice, as they’re ideal for sharpening high-carbon steel knives. As I continue to explore the world of whetstone sharpening, I’m excited to share more of my discoveries with you, and I hope this helps you get started on your own sharpening journey.
Sharpening Secrets: 5 Tips to Unlock Your Whetstone's Full Potential
- I still recall the thrill of discovering my first vintage whetstone at a flea market – it was love at first sight, and I’ve been sharpening knives like a pro ever since, so be sure to inspect your whetstone for any imperfections before use
- Remember, the key to mastering whetstone sharpening is patience, just like my grandmother used to say when teaching me how to cook up a storm in our cozy coastal kitchen, so take your time and maintain consistent pressure
- Don’t be afraid to experiment with different sharpening angles, it’s all about finding that sweet spot, and I learned this the hard way after ruining a few knives in my early days of sharpening, but now I can sharpen a knife in under 5 minutes
- Keep your whetstone well-lubricated, I like to use a mix of water and oil, it makes all the difference in getting that perfect edge, and I swear by this trick after trying countless other methods
- Practice makes perfect, so don’t get discouraged if your first few attempts at sharpening don’t yield the desired results, just like my travels to new destinations, every experience is a chance to learn and improve, and I’m always excited to share my latest discoveries with you
Sharpening Essentials: 3 Key Takeaways
I’ve found that the right whetstone can make all the difference in sharpening knives – from coarse to fine grit, each type serves a unique purpose in achieving that perfect edge
The distinction between honing and sharpening is crucial: honing realigns the blade’s edge, while sharpening removes metal to create a new edge, a lesson I learned from trial and error in my own kitchen
Practice makes perfect, and I encourage you to start with an old or dull knife to get a feel for the whetstone and the sharpening process – it’s amazing how a sharp knife can transform your cooking experience
Sharpening Wisdom
The gentle scrape of a whetstone against a blade is more than just a sharpening technique – it’s a dance between patience and precision, where every stroke tells a story of dedication to the craft.
Vera Kump
Sharpening Your Skills: A Journey to Mastery
As I conclude this guide to using a whetstone to sharpen knives, I want to emphasize the importance of practice and patience in mastering this ancient art. From selecting the right whetstone to understanding the difference between honing and sharpening, we’ve covered the essential steps to get you started. Remember, it’s not just about sharpening a knife, but about developing a skill that will enhance your cooking experience and connect you with a tradition that spans centuries. By following these steps and tips, you’ll be well on your way to becoming a proficient whetstone user, capable of sharpening your knives with ease and precision.
As you embark on this journey, I encourage you to view whetstone sharpening as a meditative process, one that requires focus, dedication, and a willingness to learn. With each stroke of the whetstone, you’re not only sharpening your knife, but also sharpening your senses, developing a deeper appreciation for the simple, yet profound, joys of cooking and creating. So, take a deep breath, pick up your whetstone, and let the rhythmic sound of steel on stone transport you to a world of culinary discovery and wonder.
Frequently Asked Questions
How often should I sharpen my knives with a whetstone to maintain their edge?
I sharpen my knives with a whetstone about once a week, depending on how often I use them. For a home cook like myself, that’s usually enough to keep them in top shape. However, if you’re a professional chef or use your knives daily, you might need to sharpen them every few days to maintain that perfect edge.
What are the most common mistakes to avoid when using a whetstone for knife sharpening?
As I’ve learned from my own trial and error, common mistakes to avoid when using a whetstone include applying too much pressure, which can damage the blade, and not maintaining the stone’s surface, leading to uneven sharpening – lessons I’ve picked up on my travels and from fellow adventurers.
Can I use a whetstone to sharpen other types of blades or tools, such as scissors or axes?
I love exploring the versatility of whetstones – and yes, you can use them to sharpen other blades like scissors or axes, but it’s essential to choose the right grit and technique for each tool to avoid damage.


